
The Windows 11 install error 0x80070103 typically occurs when the system attempts to install a driver that's either already present or incompatible with your hardware. This issue can prevent updates from completing successfully, leaving your system potentially outdated or missing important driver improvements. To resolve this, you can follow several effective methods outlined below.
Method 1: Pause and Resume Windows Updates
This straightforward approach refreshes the update process, clearing minor conflicts or corrupted update files.
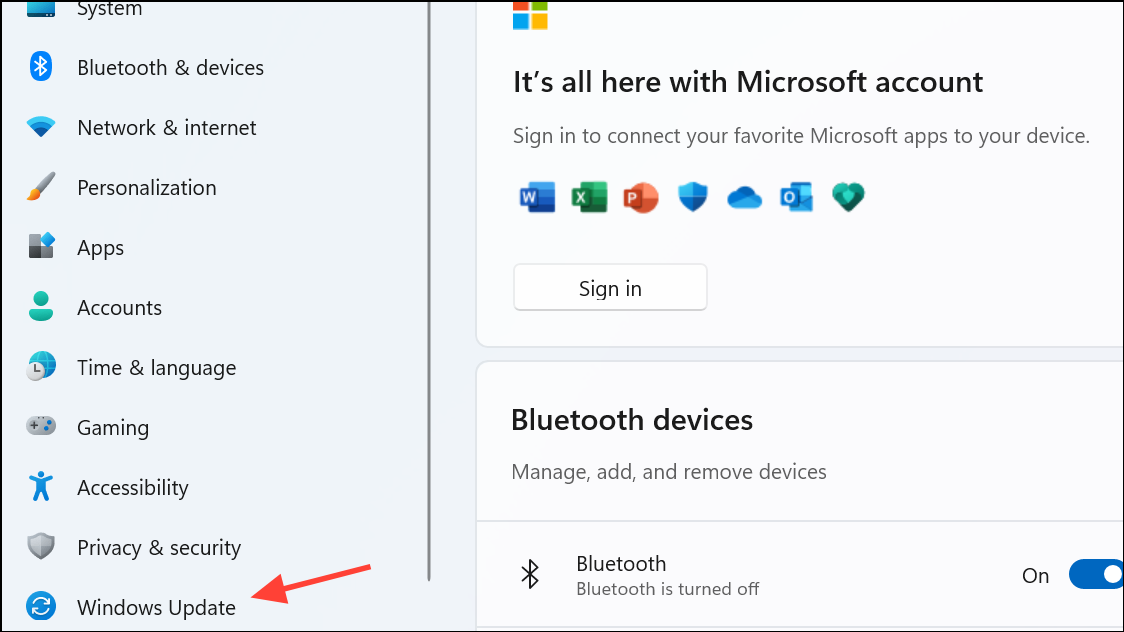
Step 1: Press Windows + I to open Settings and select "Windows Update" from the left sidebar.
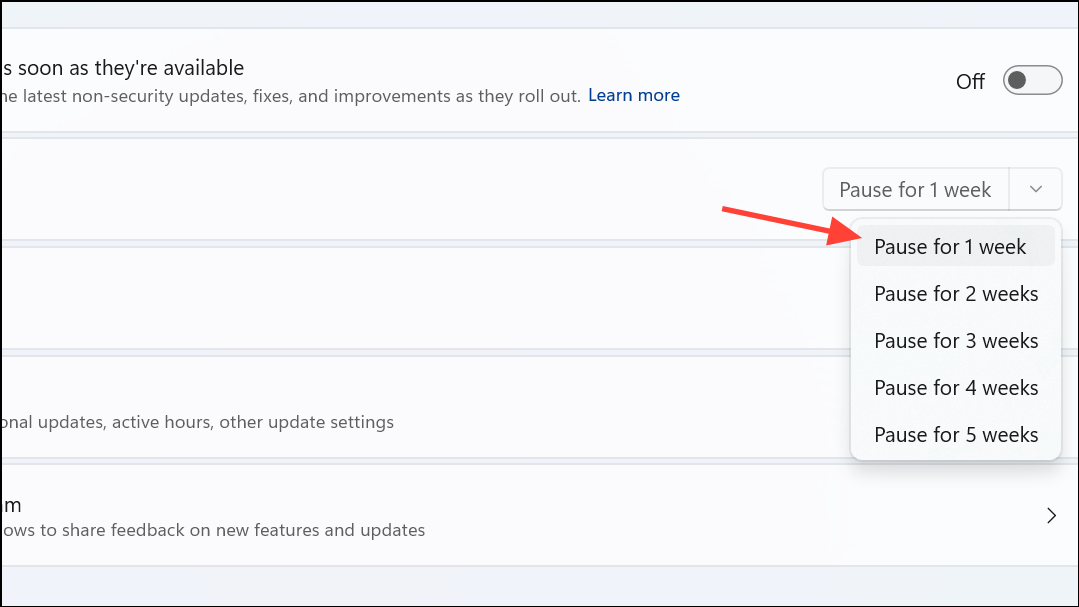
Step 2: Click on "Pause for 1 week," wait a few seconds, then immediately click on "Resume updates." This action forces Windows to reinitiate the update process, potentially resolving temporary issues.
Method 2: Manually Install the Update
If automatic updates repeatedly fail, manually installing the problematic update from Microsoft's Update Catalog can resolve the issue.
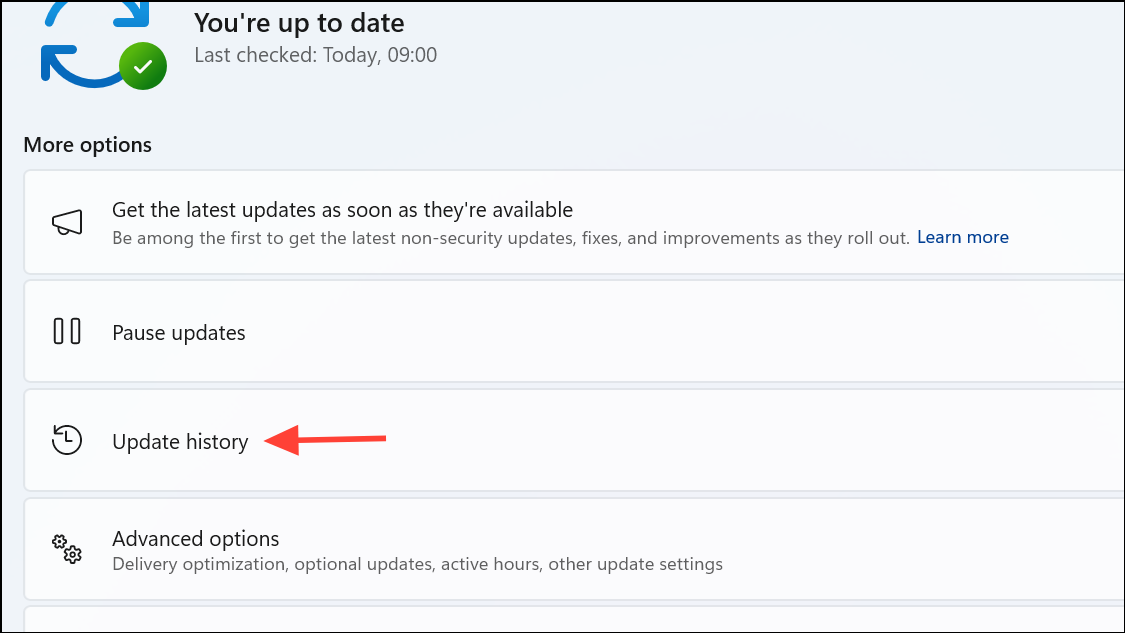
Step 1: Open Settings (Windows + I), navigate to "Windows Update," and select "Update history." Identify the failed update and note its KB number.
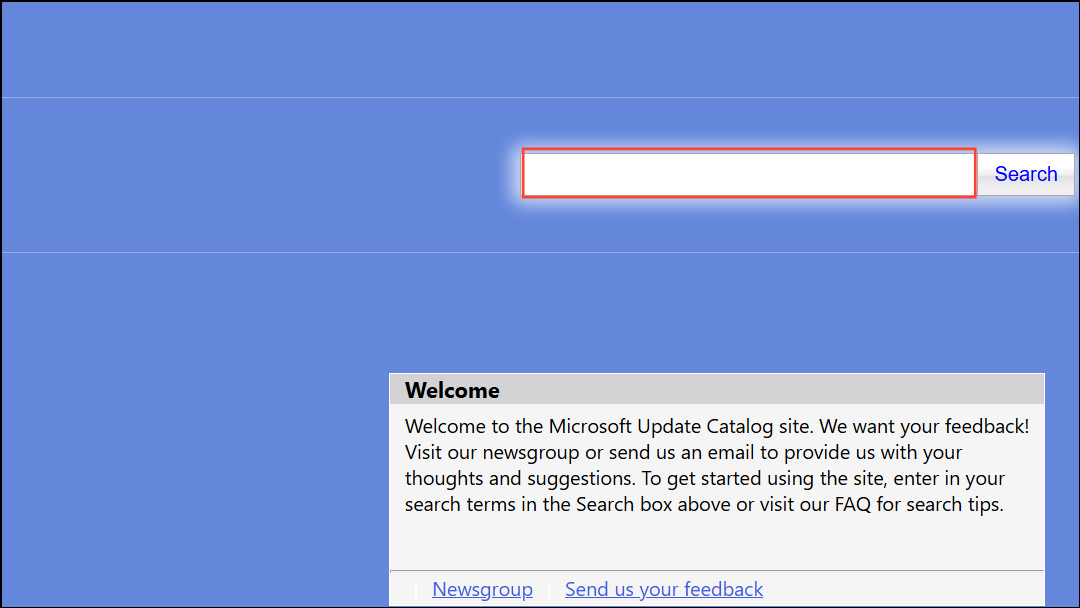
Step 2: Visit the Microsoft Update Catalog, enter the KB number into the search bar, and download the update compatible with your system (usually marked as x64-based).
Step 3: Run the downloaded file and follow the on-screen instructions to install the update manually. Restart your PC afterward.
Method 3: Run the Windows Update Troubleshooter
The built-in troubleshooter automatically detects and resolves common update-related issues.
Step 1: Press Windows + I to open Settings, select "System," then choose "Troubleshoot."
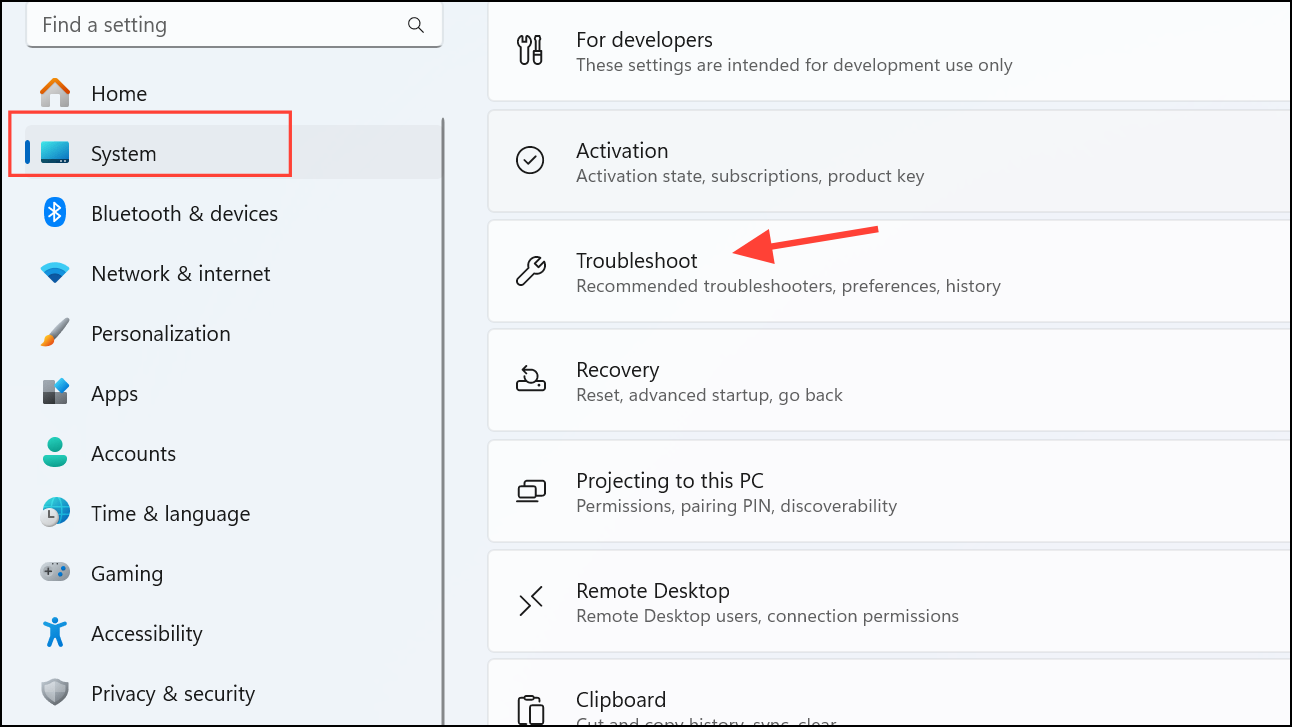
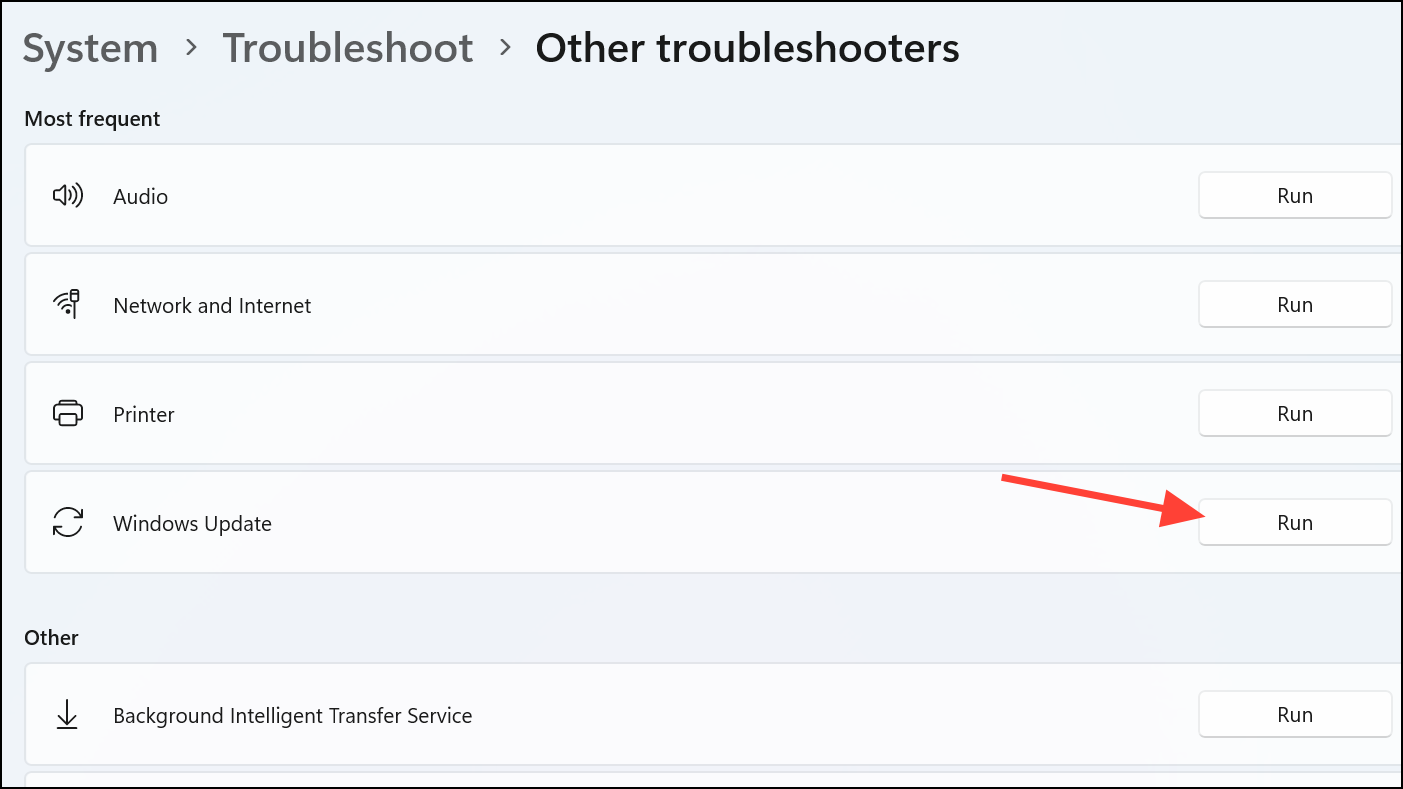
Step 2: Click "Other troubleshooters," locate "Windows Update," and click "Run." Follow any prompts provided by the troubleshooter to fix detected issues.
Method 4: Restart the Windows Update Service
Restarting the update service clears temporary glitches and allows the update process to function properly.
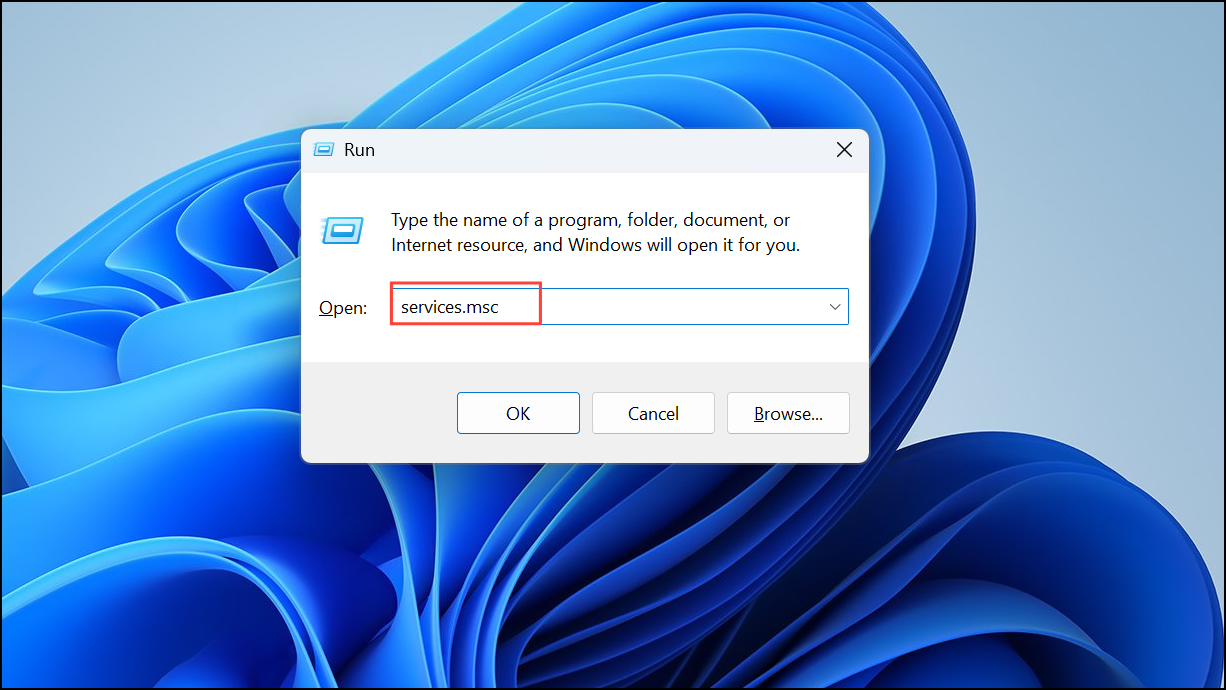
Step 1: Press Windows + R, type services.msc, and press Enter.
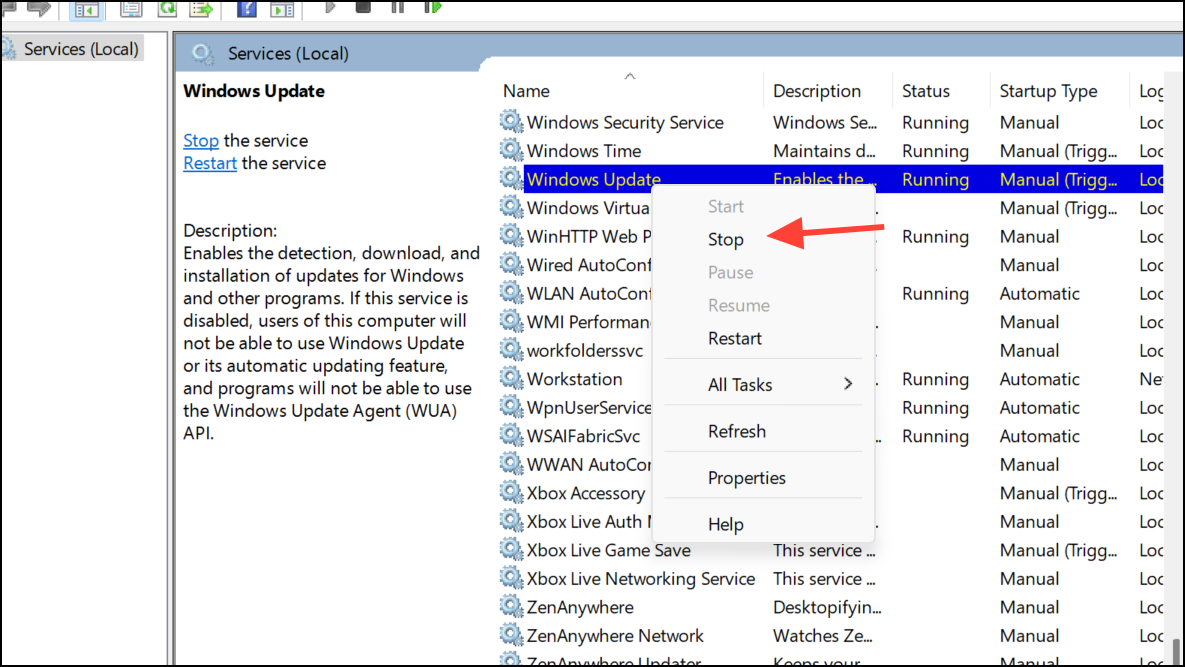
Step 2: Locate "Windows Update," right-click it, and select "Stop." Then, right-click again and choose "Start" or "Restart." After completion, attempt the update again.
Method 5: Clear the SoftwareDistribution Folder
Corrupted files in the SoftwareDistribution folder can block updates. Clearing this folder resolves such issues.
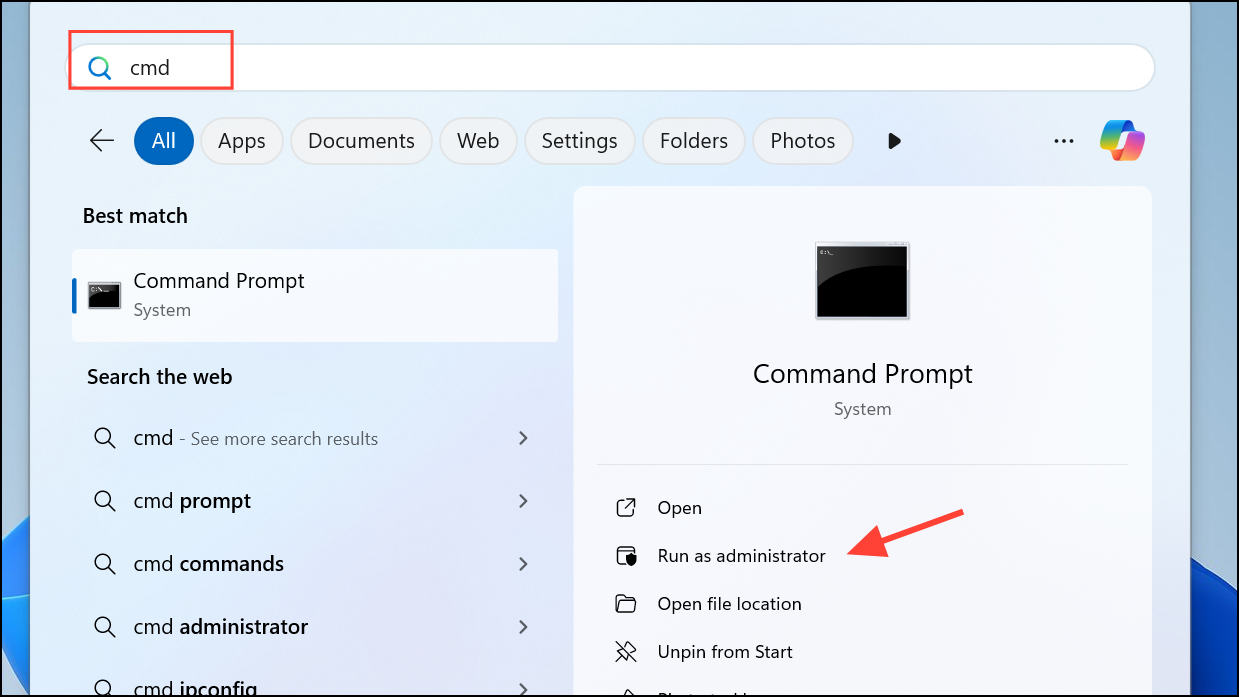
Step 1: Open Command Prompt as administrator by typing "cmd" in the search bar, right-clicking "Command Prompt," and selecting "Run as administrator."
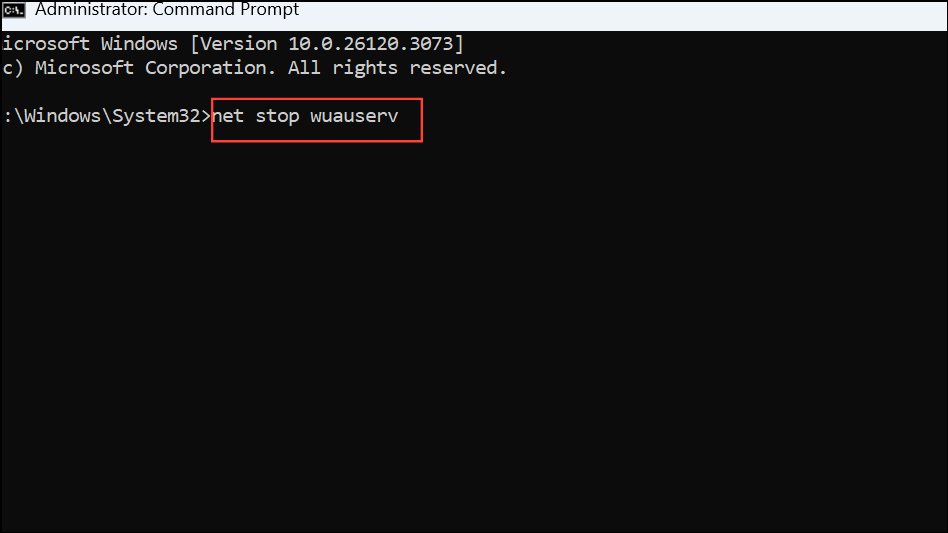
Step 2: Execute the following commands one at a time:
net stop wuauserv
net stop cryptSvc
net stop bits
net stop msiserver
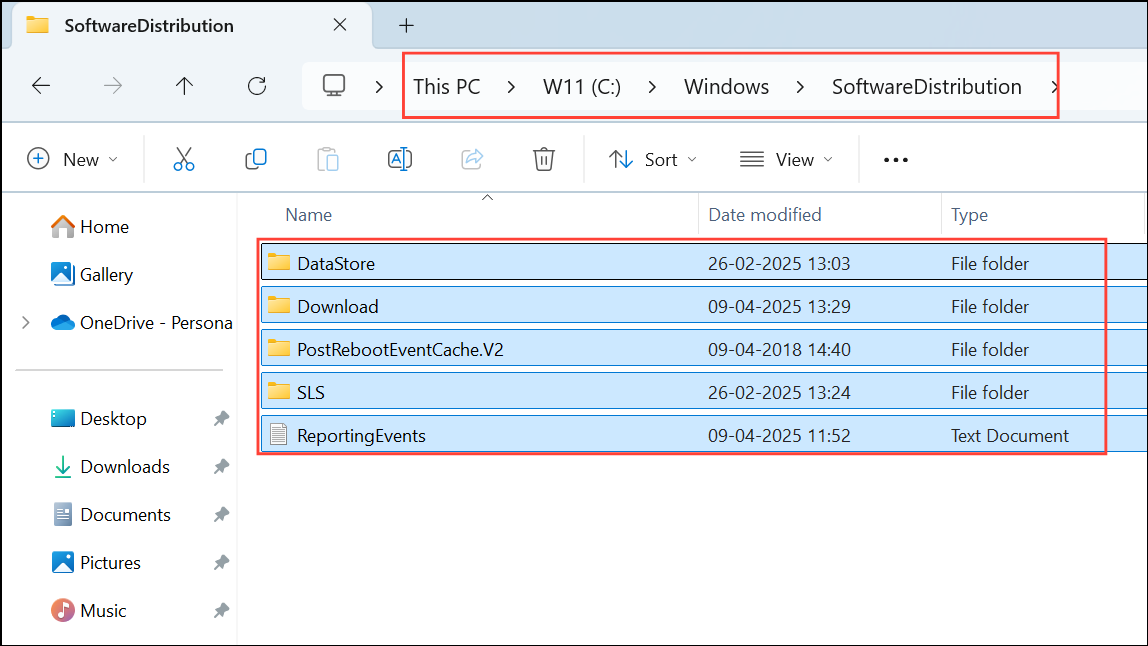
Step 3: Open File Explorer, navigate to C:\Windows\SoftwareDistribution.Select all contents and delete them.
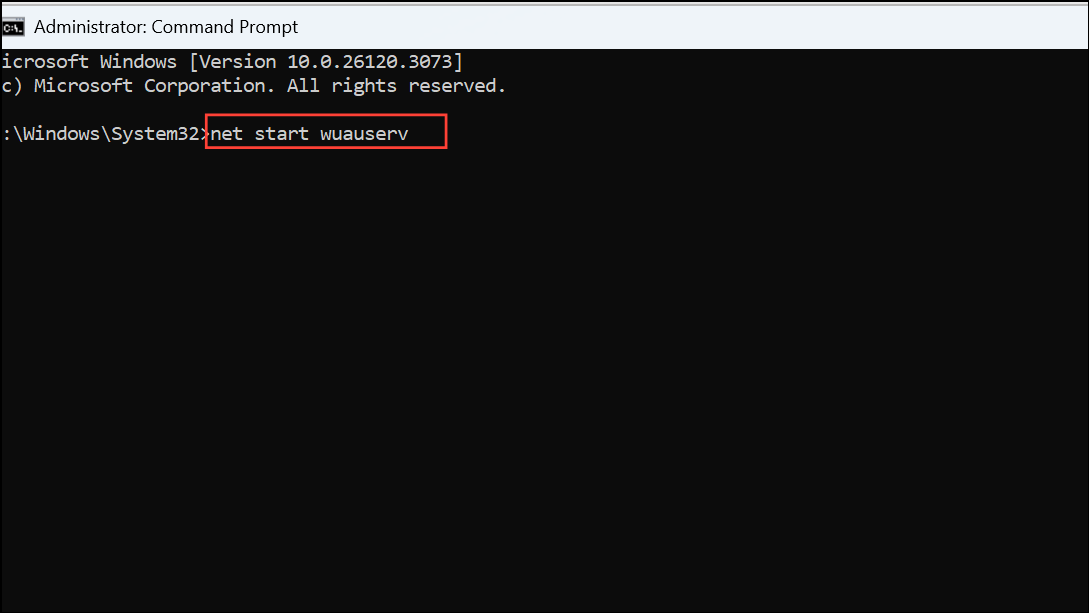
Step 4: Restart the services with these commands:
net start wuauserv
net start cryptSvc
net start bits
net start msiserver
Finally, restart your PC and retry the update.
Method 6: Perform SFC and DISM Scans
System file corruption can trigger update errors. Utilizing built-in repair tools can fix these issues.
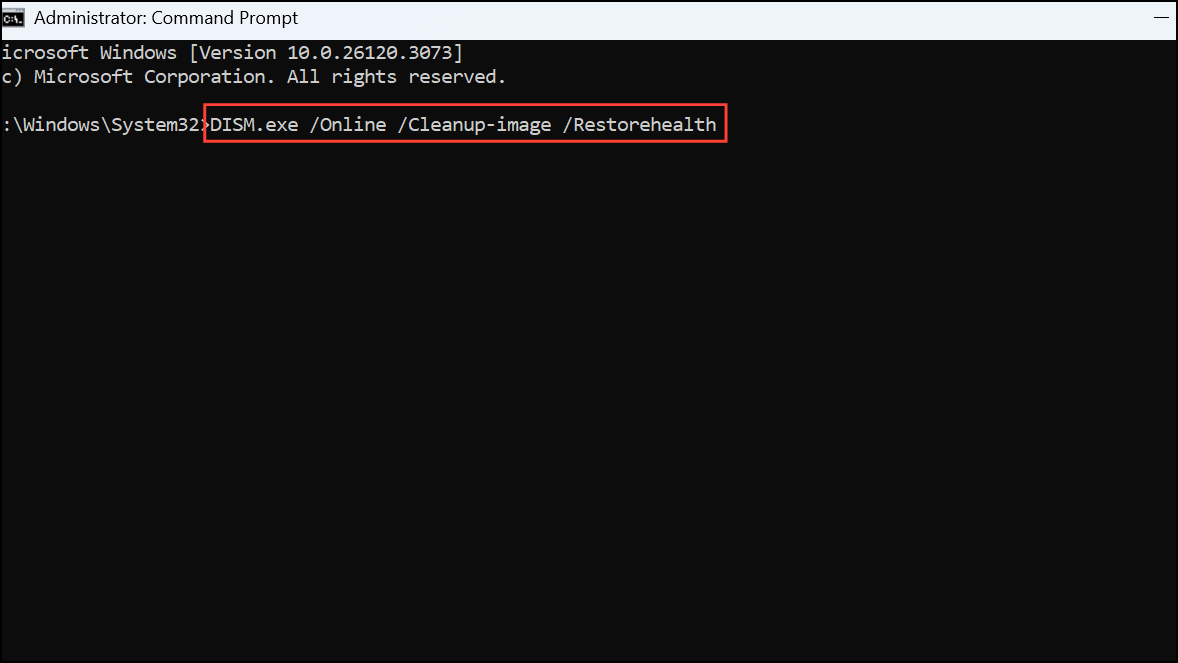
Step 1: Open Command Prompt as administrator.
Step 2: Run the DISM tool first by typing DISM.exe /Online /Cleanup-image /Restorehealth and pressing Enter.
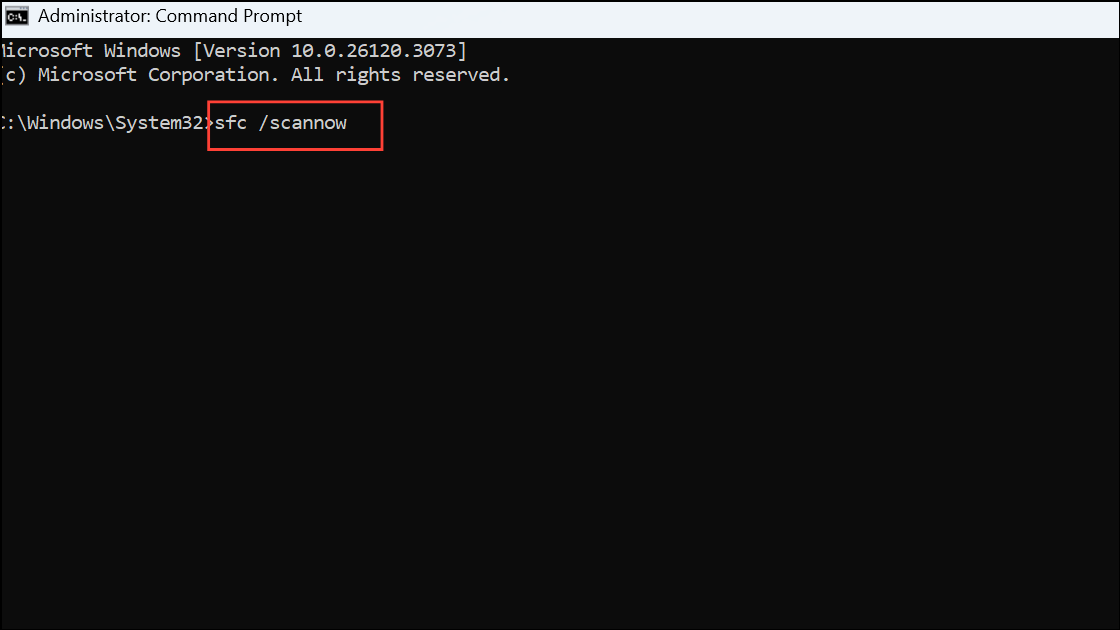
Step 3: After DISM completes, run the System File Checker with sfc /scannow and press Enter. Restart your system after completion.
Method 7: Temporarily Disable Antivirus Software
Sometimes antivirus software interferes with the update process. Temporarily disabling it can resolve conflicts.
Step 1: Locate your antivirus software icon in the system tray, right-click it, and choose an option to temporarily disable or pause protection.
Step 2: Attempt the update again immediately afterward. Remember to re-enable your antivirus software once the update completes.
Method 8: Perform a Clean Boot
A clean boot starts Windows with minimal services, eliminating potential software conflicts causing the update error.
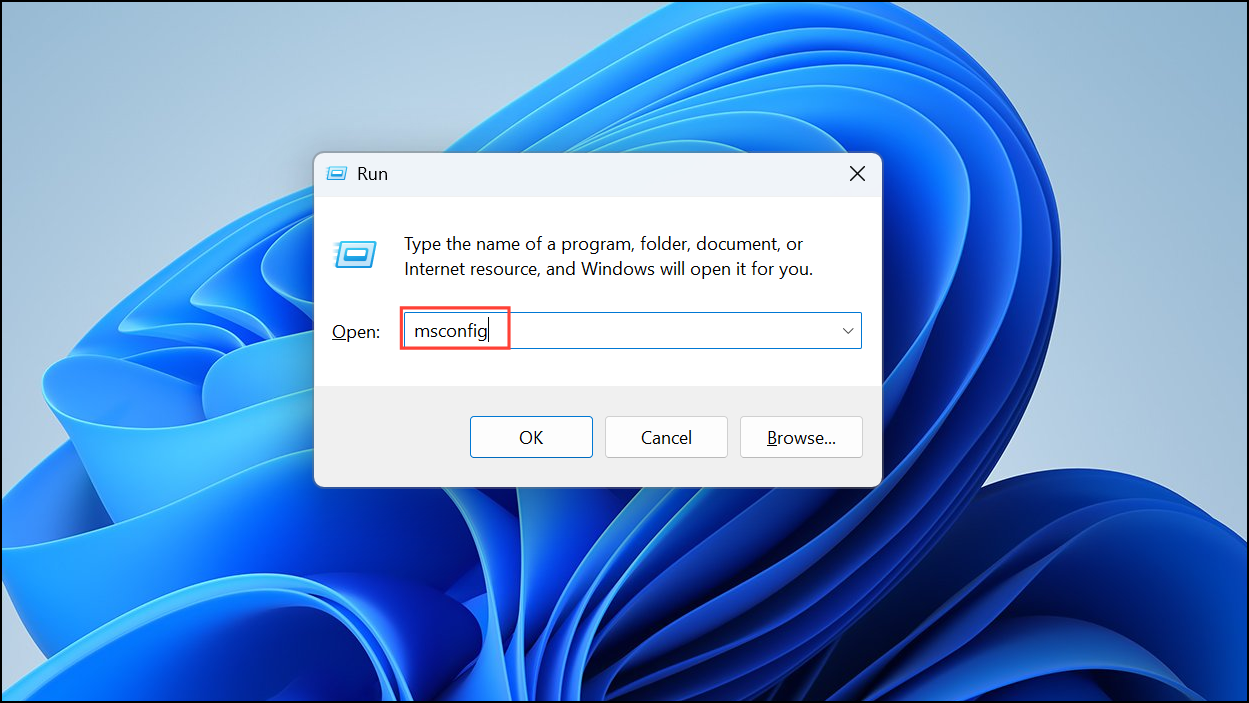
Step 1: Press Windows + R, type msconfig, and press Enter.
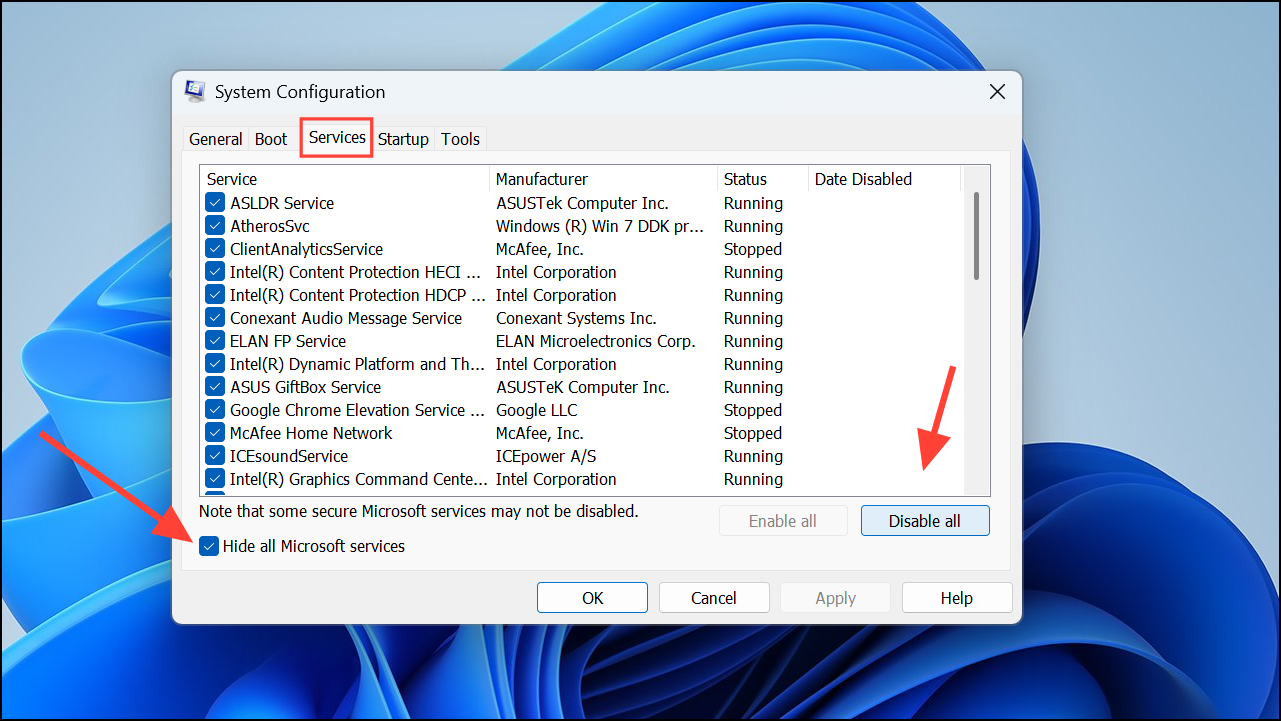
Step 2: Under the "Services" tab, check "Hide all Microsoft services" and click "Disable all."
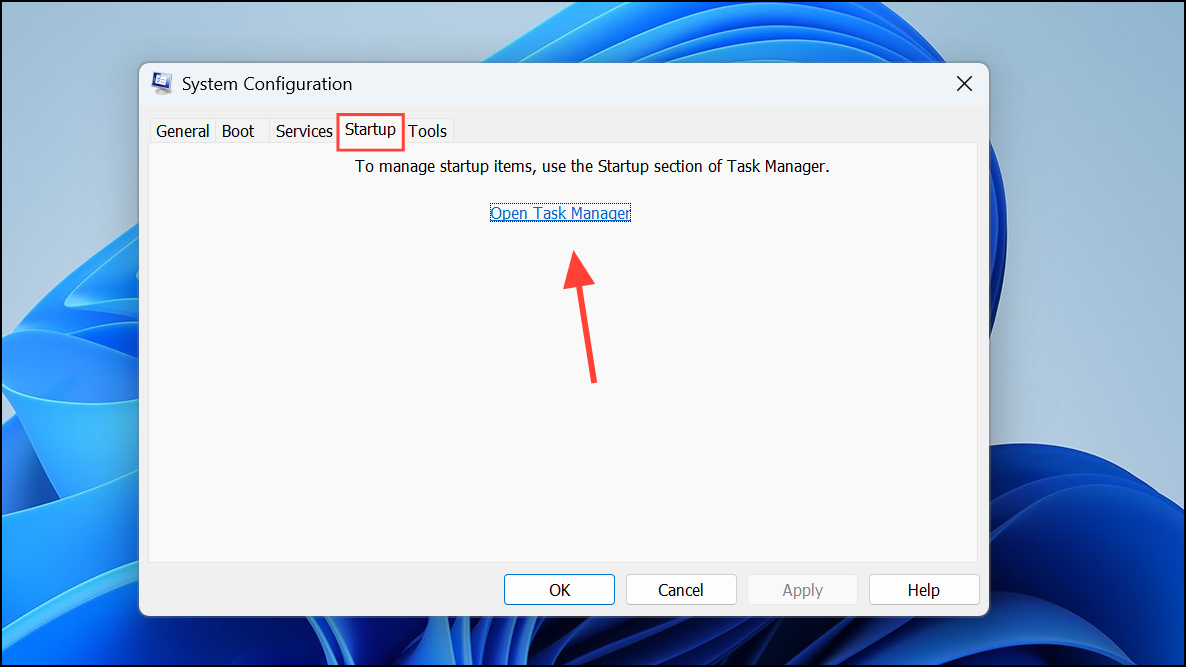
Step 3: Navigate to the "Startup" tab and click "Open Task Manager."
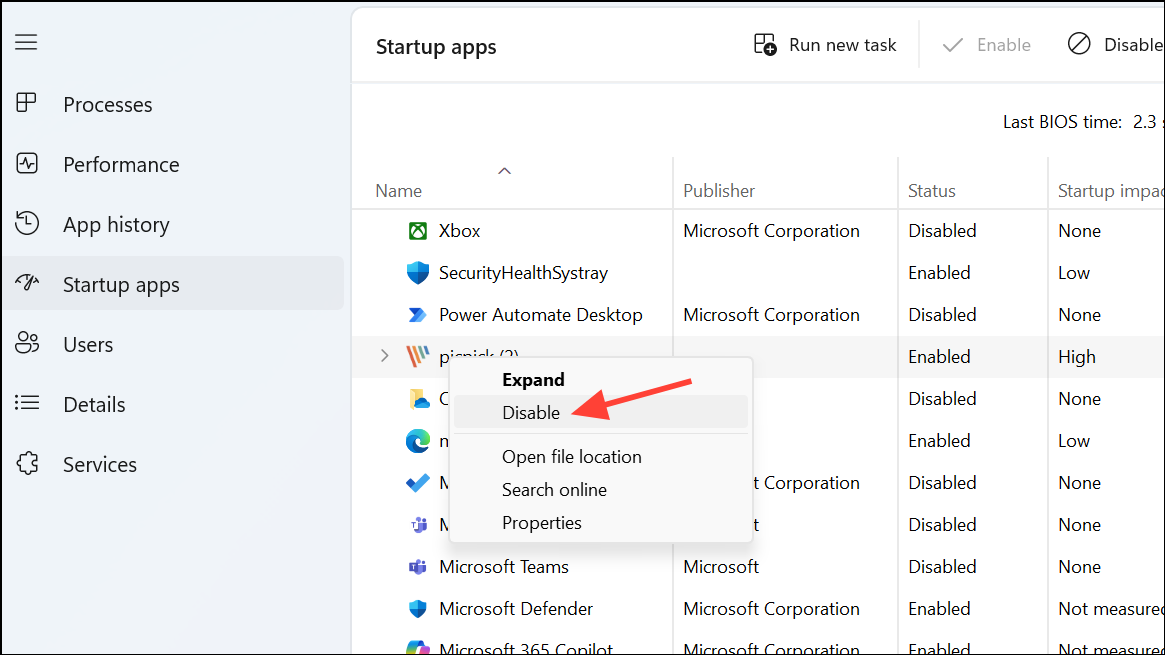
Step 4: Disable all startup items by right-clicking on each item and selecting "Disable."
Step 5: Restart your computer and attempt the update again. After updating, revert these changes to resume normal startup.
By following these methods, you should be able to resolve the installation error 0x80070103 in Windows 11 and keep your system up-to-date without further issues.