
Backlight LEDs remaining on after a laptop is powered down indicate a malfunction in the display's power control, causing unnecessary battery drain and potential hardware stress. This issue persists across brands and models, including Lenovo, HP, Dell, and others, and can be triggered by hardware faults, firmware bugs, or misconfigured power management settings. In some cases, the backlight may stay faintly lit even when the laptop is completely shut down, regardless of operating system or method of shutdown.
Check for Hardware Faults
Step 1: Observe the screen after shutdown. If the backlight remains on (a faint white or grey glow), note whether it affects the entire display or just a corner. Consistent illumination, especially when the device is off or unplugged, suggests a hardware-level fault.
Step 2: Disconnect all power sources. Unplug the AC adapter and, if possible, remove the battery. Wait several minutes. If the backlight turns off only after removing all power, the issue likely involves a component drawing standby power unnecessarily.
Step 3: Hold down the laptop’s power button for at least 15–20 seconds with all power removed. This discharges residual energy from internal capacitors, temporarily shutting off the backlight. If the backlight returns once power is restored, the root cause is not resolved and may indicate a faulty mainboard, display panel, or power circuit.
Step 4: Inspect for signs of damage or contamination. If the issue started after a spill, cleaning, or physical impact, moisture or a shorted circuit may be responsible. Allow the device to air out in a dry, ventilated area for at least 48 hours before further troubleshooting.
Update BIOS/UEFI Firmware
Step 1: Download the latest BIOS or UEFI firmware for your laptop model from the manufacturer’s support website. Firmware updates often address power management bugs that can cause the backlight to remain on when it should be off.
Step 2: Follow the manufacturer’s instructions to update the BIOS. This typically involves running an update utility within Windows or from a bootable USB drive. Ensure the laptop is connected to AC power during the update to avoid interruption.
Step 3: After updating, fully shut down the laptop and check if the backlight turns off as expected. If the issue persists, proceed to the next steps.
Adjust Power Management and Display Settings
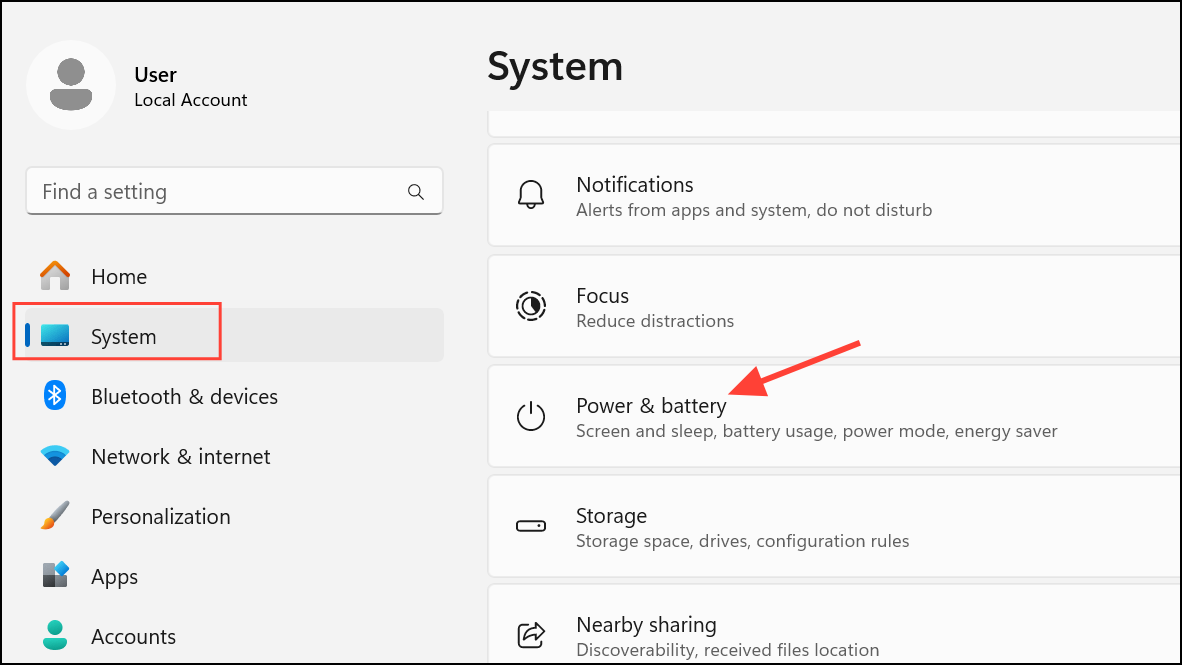
Step 1: Open Settings > System > Power & battery and set specific timeouts for turning off the display and putting the device to sleep.
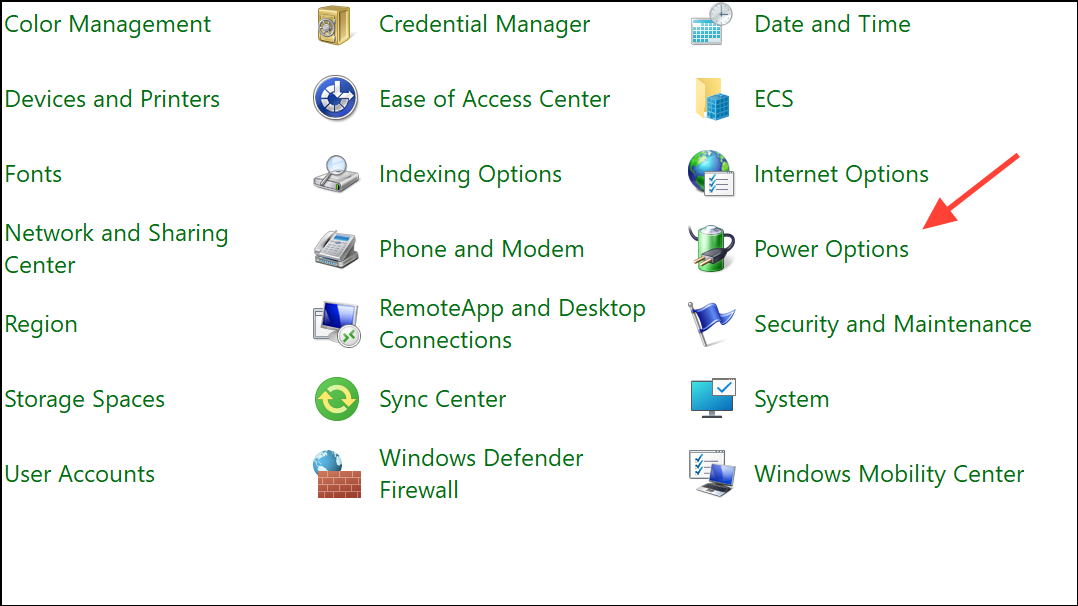
Step 2: Click Additional power settings to access your power plan. You can also access it by opening the Control Panel and selecting Power options.
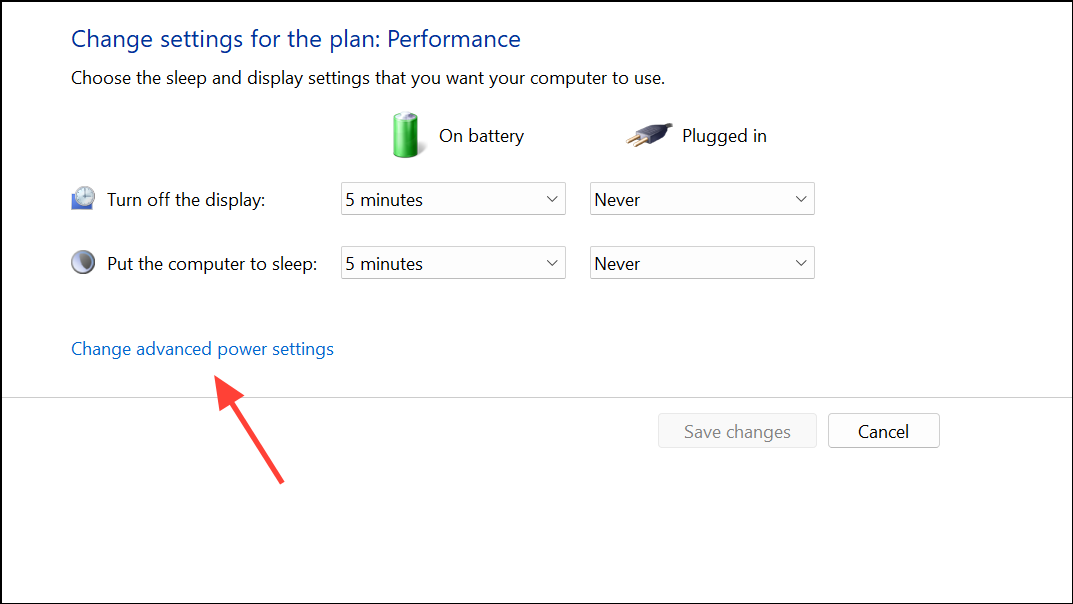
Step 3: Click Change plan settings for your active plan, then Change advanced power settings.
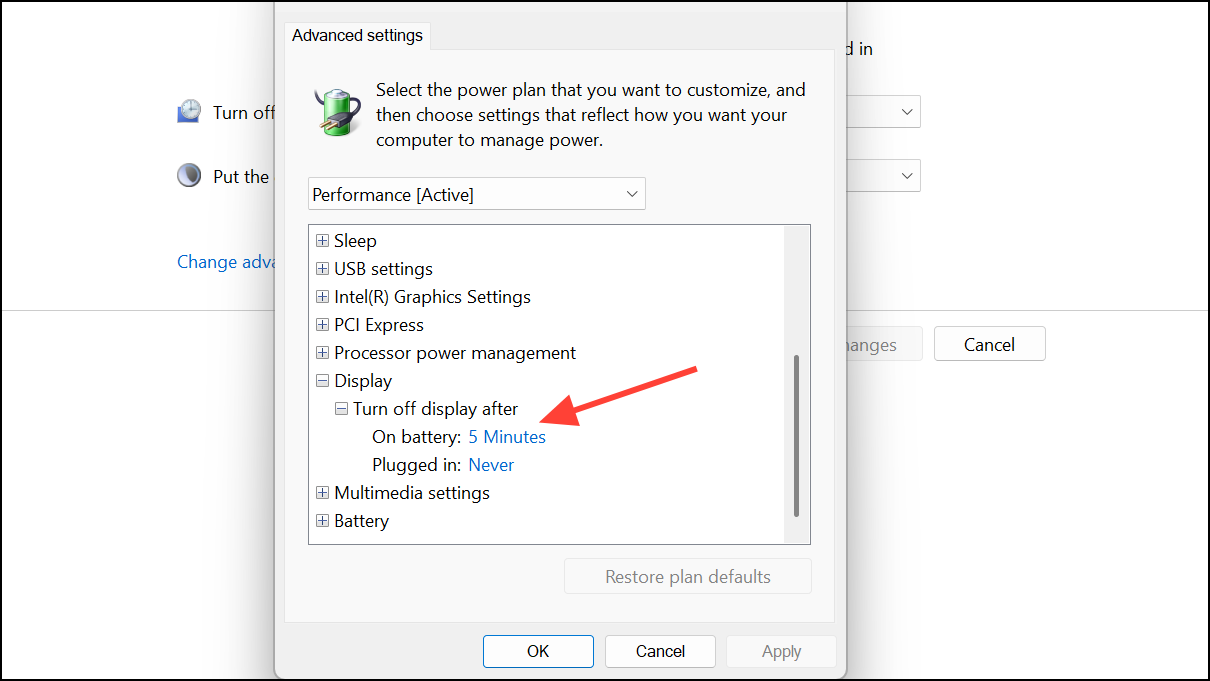
Step 4: Under the Display section, ensure Turn off display after is set to your desired timeout. Expand the Sleep section and set Allow hybrid sleep to Off. This can correct signaling issues that cause the backlight to stay on during sleep or shutdown.
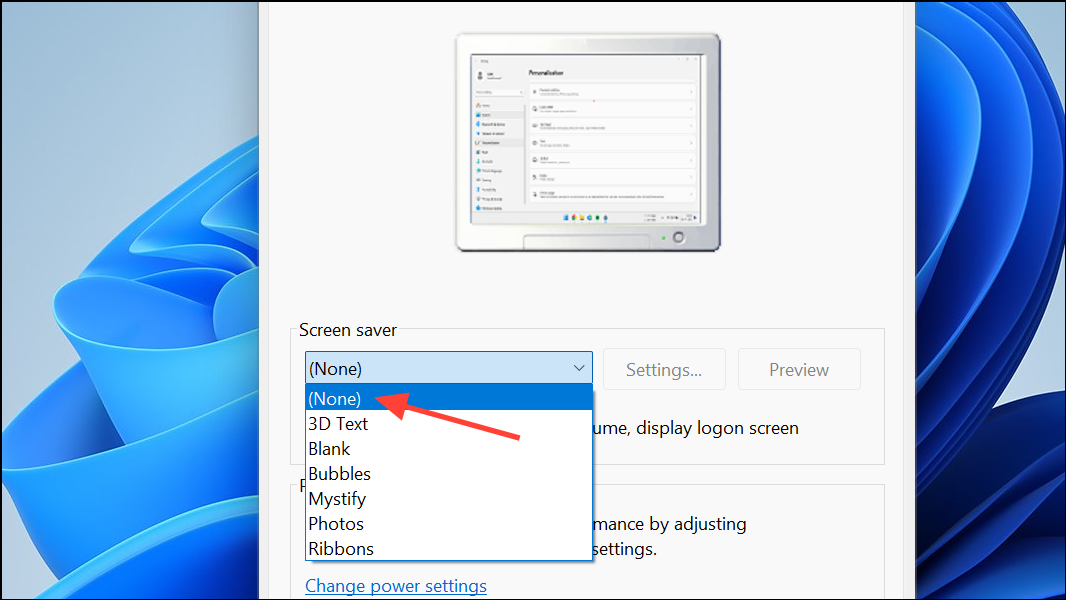
Step 5: Disable any screen savers set to Blank. Instead, set the screensaver to None and rely solely on the display timeout. A blank screensaver may send a continuous black image, keeping the backlight powered.
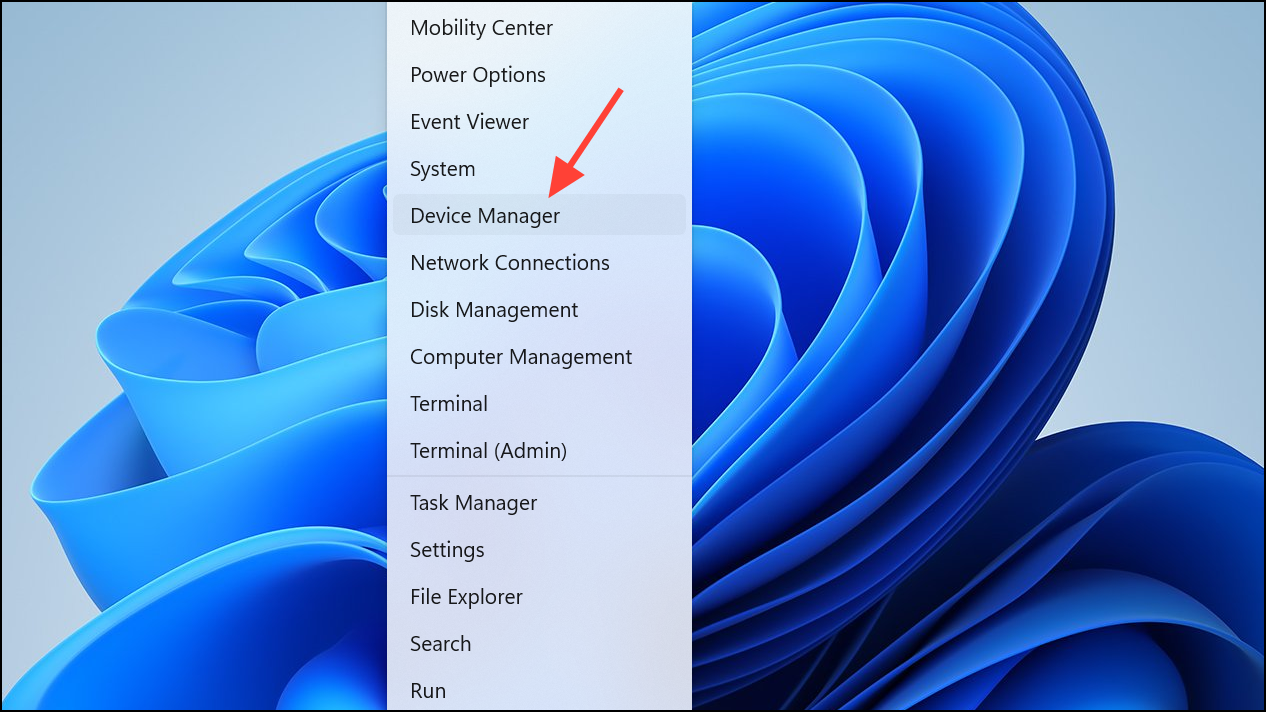
Step 6: Right-click the Start button and select Device Manager.
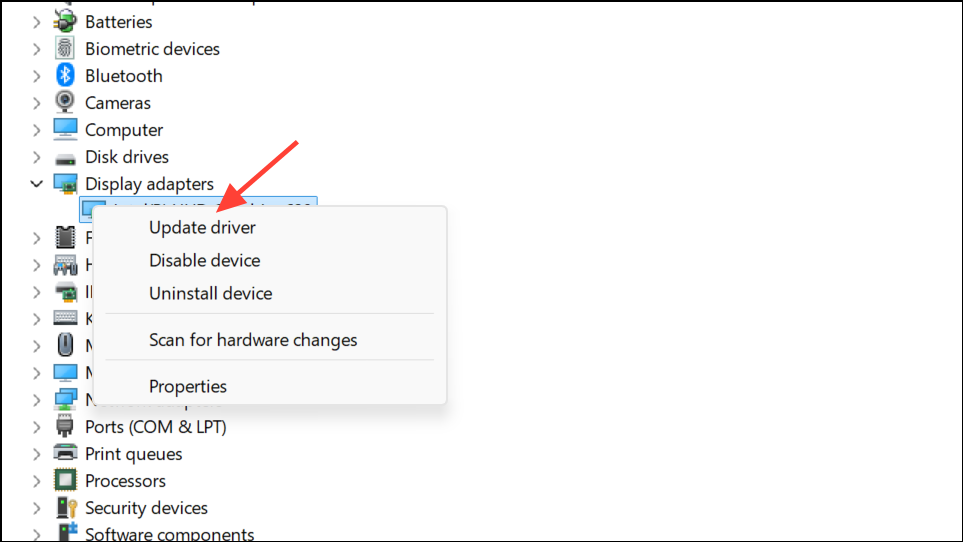
Step 7: In Device Manager, expand Display adapters, right-click your graphics driver, and select Update driver.
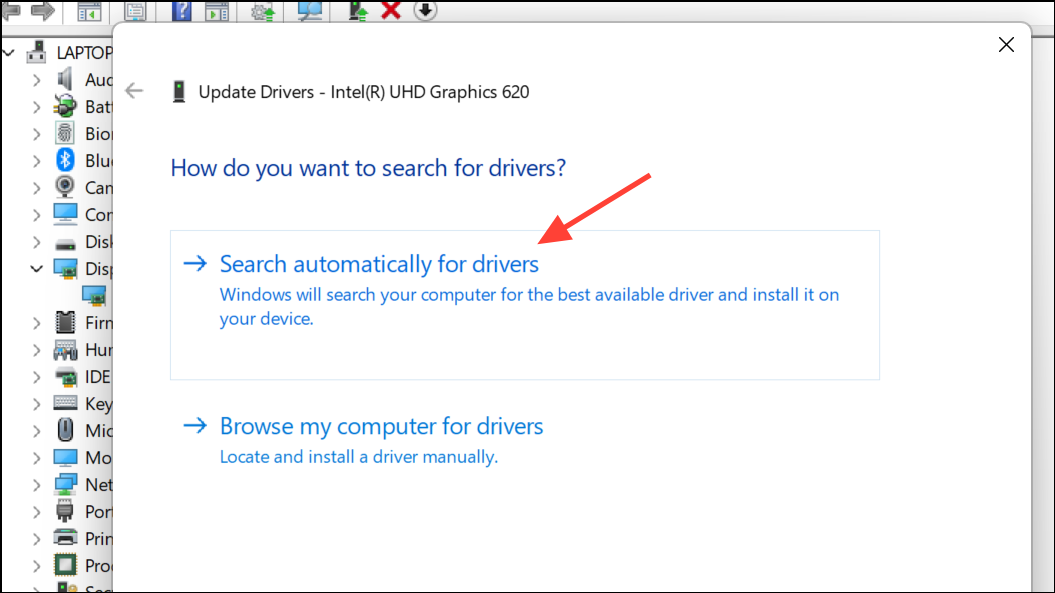
Step 8: Choose Search automatically for updated driver software or download the latest version from the manufacturer.
Disable Fast Startup
Step 1: Open Control Panel > Hardware and Sound > Power Options.
Step 2: Click Choose what the power buttons do, then Change settings that are currently unavailable.
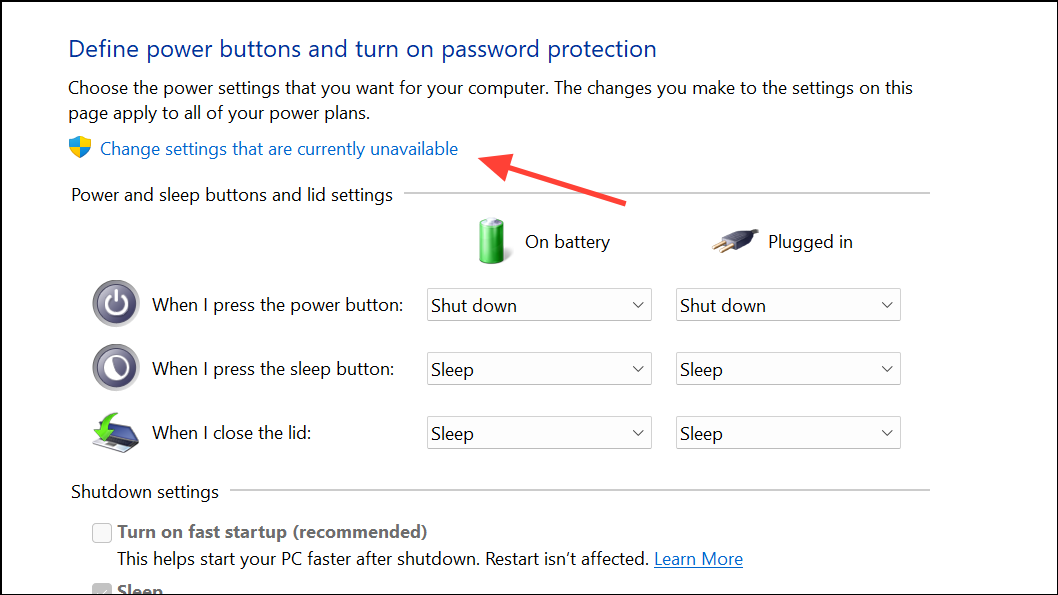
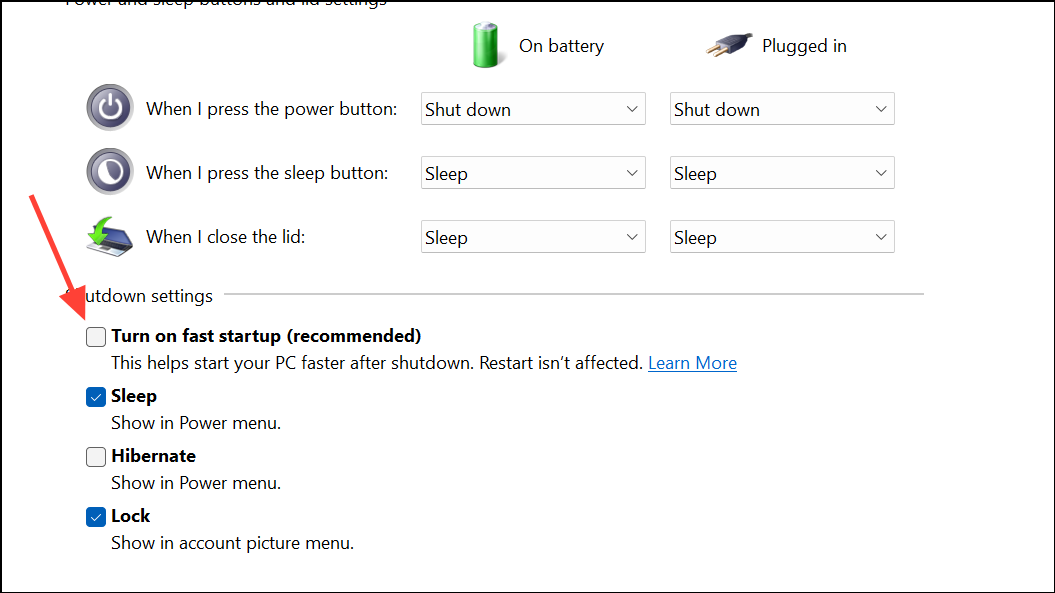
Step 3: Uncheck Turn on fast startup (recommended) and click Save changes. Fast Startup can prevent the system from fully powering down hardware, leaving the backlight on.
Update or Reinstall Display Drivers
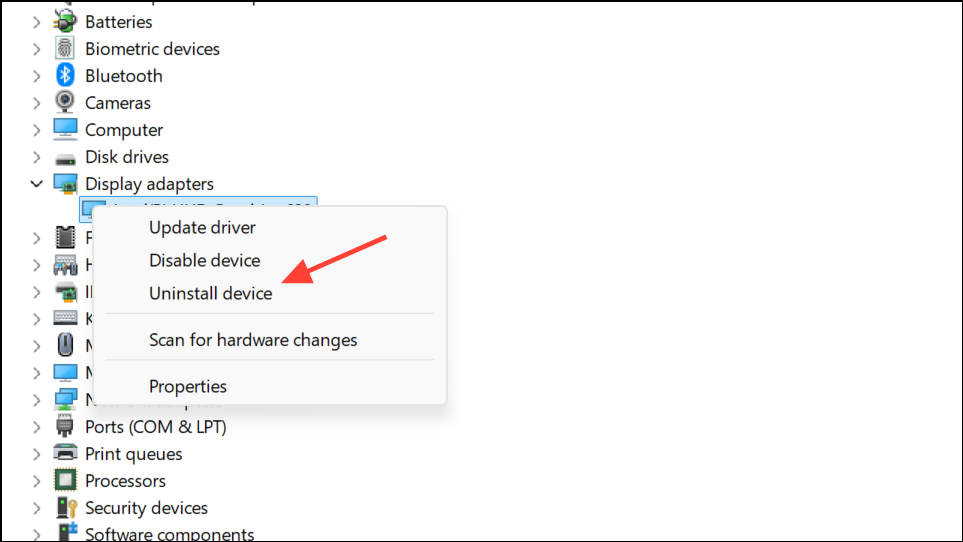
Step 1: In Device Manager, uninstall your current display driver by right-clicking your graphics adapter and selecting Uninstall device. Check the box to delete the driver software if prompted.
Step 2: Restart your laptop. Windows will attempt to reinstall the default driver. Alternatively, visit your laptop or GPU manufacturer’s website to download and install the latest driver version.
Run the Power Troubleshooter
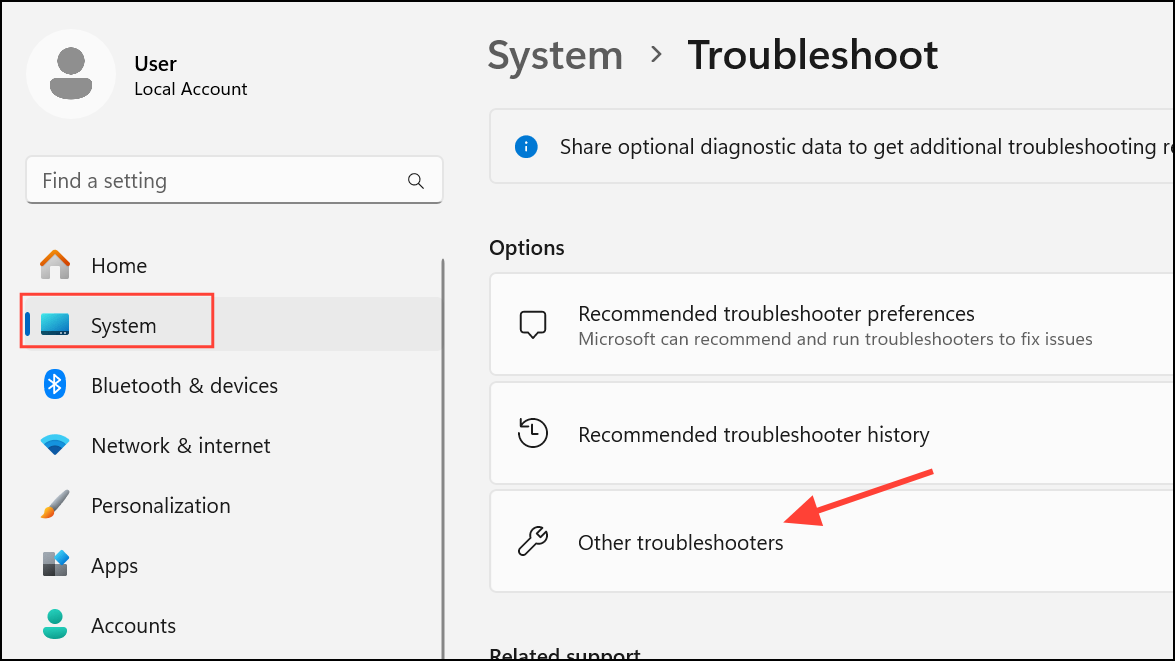
Step 1: Open Settings > Update & Security > Troubleshoot. Select Additional troubleshooters, then choose Power and run the troubleshooter. This tool scans for misconfigured settings that could keep the backlight active.
Perform a Hard Reset
Step 1: Shut down the laptop and disconnect all external devices. If the battery is removable, take it out. Press and hold the power button for 15–20 seconds to drain any residual charge. Reinstall the battery, reconnect power, and turn the device on. This resets embedded controllers that may be stuck in a faulty state.
When to Seek Hardware Repair
If the above steps do not resolve the issue, the persistent backlight is likely due to a hardware fault. Common causes include a failing display panel, a shorted LED, or a malfunctioning power circuit on the motherboard. Continuing to use the device in this state generally will not immediately damage other components, but it can cause unnecessary battery drain and, over time, stress the affected circuits. Professional repair or screen replacement may be required. If the laptop is under warranty, contact the manufacturer for service. If out of warranty, consult a qualified technician to diagnose and replace the faulty part.
Resolving a laptop backlight that won't turn off involves a mix of firmware updates, power management tweaks, and, when necessary, hardware repairs. With careful troubleshooting, you can restore proper screen shutdown and avoid needless power drain or hardware wear.