Logitech G Hub is a vital application for customizing and optimizing Logitech gaming peripherals like mice, keyboards, and headsets. If you’re experiencing issues where Logitech G Hub isn’t opening on Windows 11, there are several methods you can try to resolve the problem. Below are some effective solutions to help you get the application running smoothly again.
Restart the Logitech G Hub services
Restarting the Logitech G Hub services can fix issues caused by intertwined or unresponsive processes.
Start button and type Task Manager into the search bar. Select the Task Manager app from the results. Alternatively, you can press Ctrl + Shift + Esc on your keyboard to open it directly.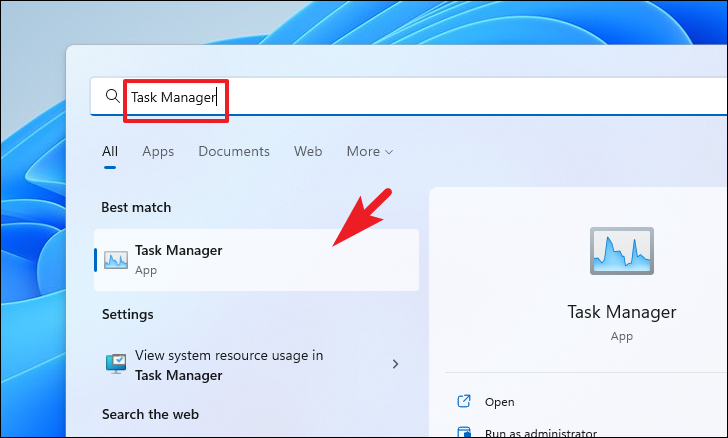
lghub_updater.exe. Click on it to select.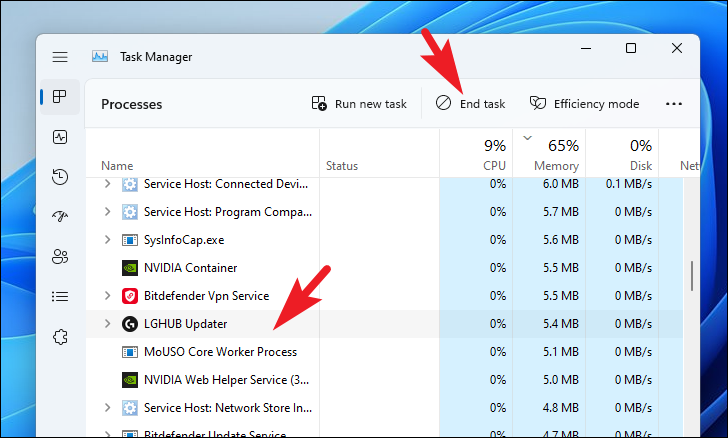
Windows + E to open File Explorer. Alternatively, double-click on the This PC icon on your desktop.
C:\Program Files\LGHUB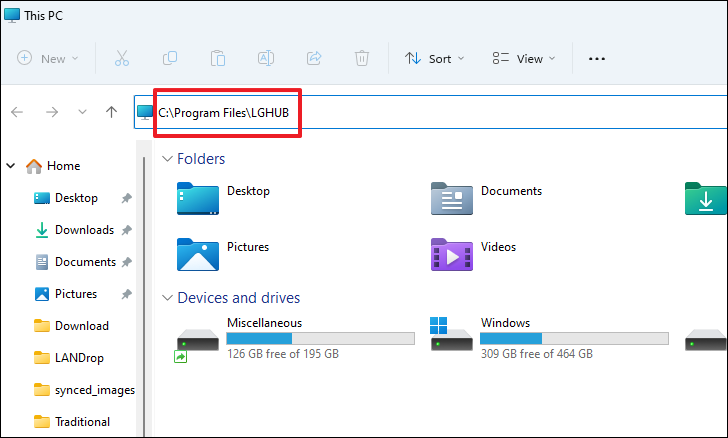

After completing these steps, try launching Logitech G Hub to see if the issue has been resolved.
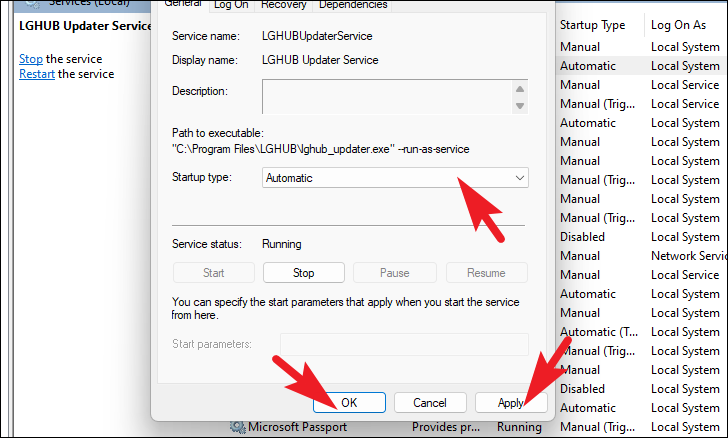
Check if the LGHUB service is enabled
If restarting the services didn’t work or the issue reoccurs after restarting your computer, the LGHUB service might not be set to start automatically.
Windows + R to open the Run dialog box. Type services.msc and press Enter to open the Services window.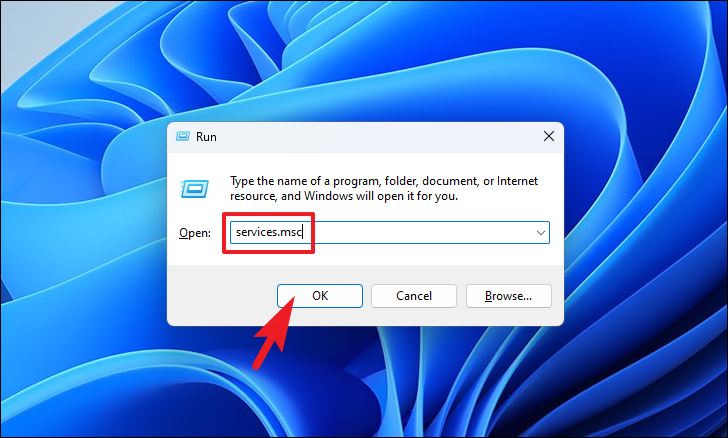

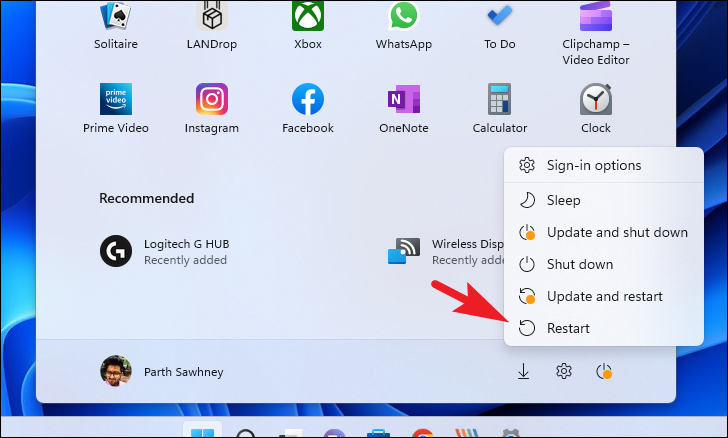
Restart your computer and check if Logitech G Hub opens correctly after the reboot.
Run Logitech G Hub as an administrator
Running the application with administrative privileges can sometimes resolve issues related to permissions.
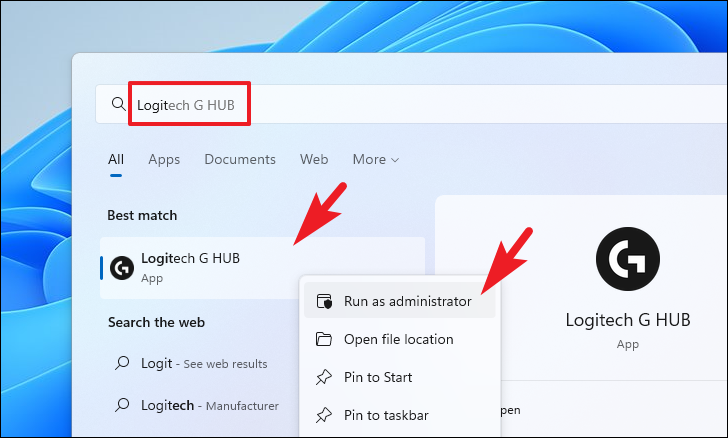
Check if the application launches successfully with administrative rights.
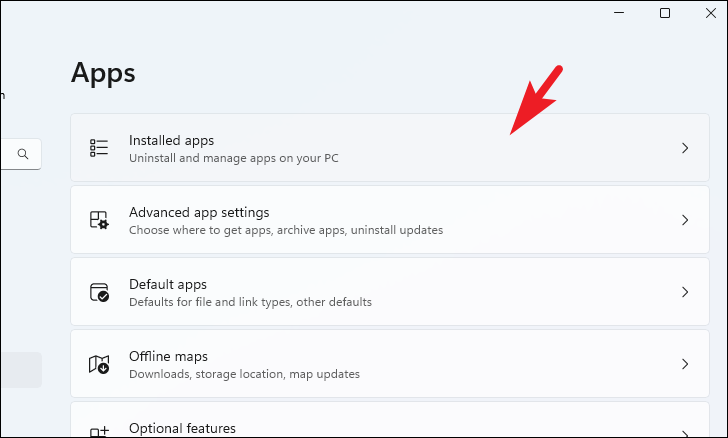
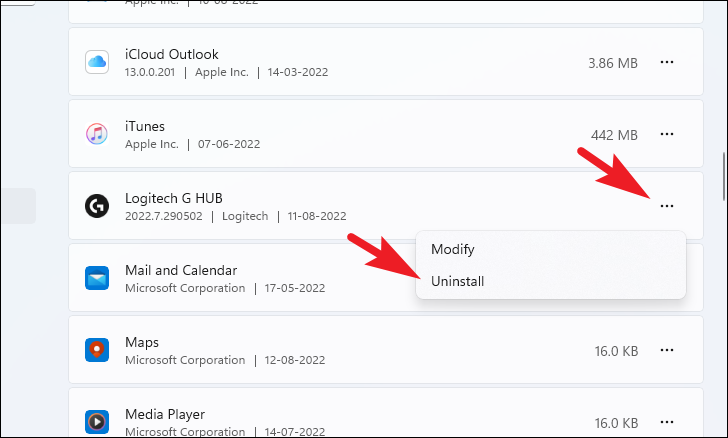
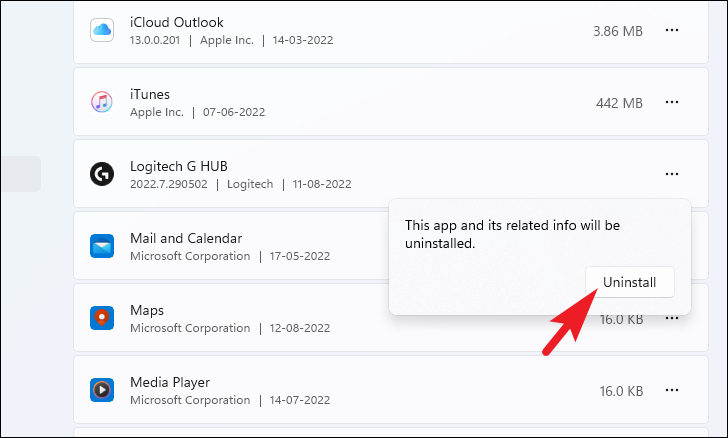
Reinstall Logitech G Hub
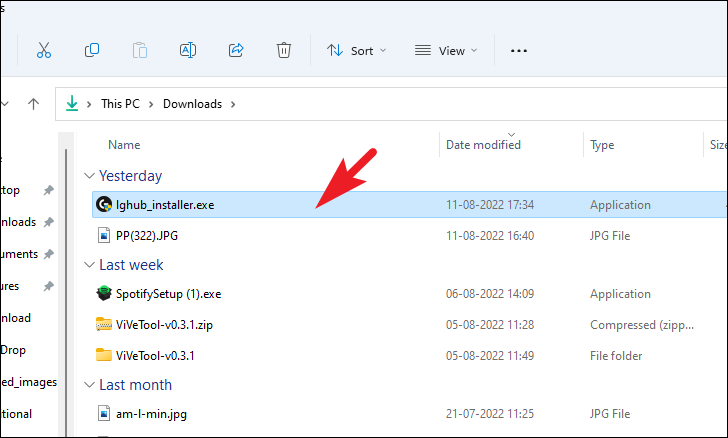
If the previous methods didn’t help, reinstalling the application may fix issues caused by corrupted or damaged files.
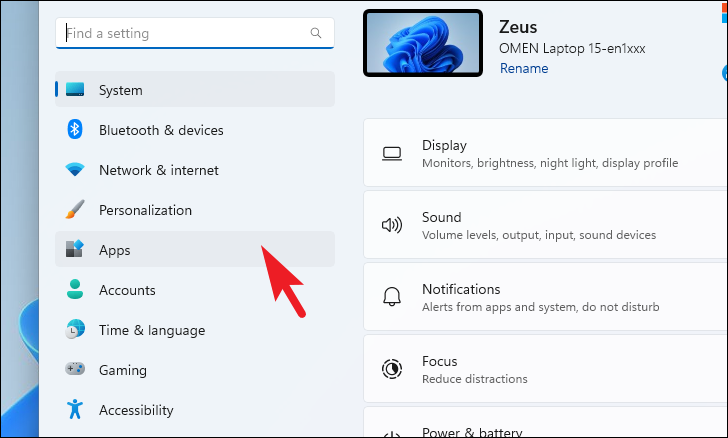
Start button and selecting the Settings gear icon, or by pressing Windows + I on your keyboard.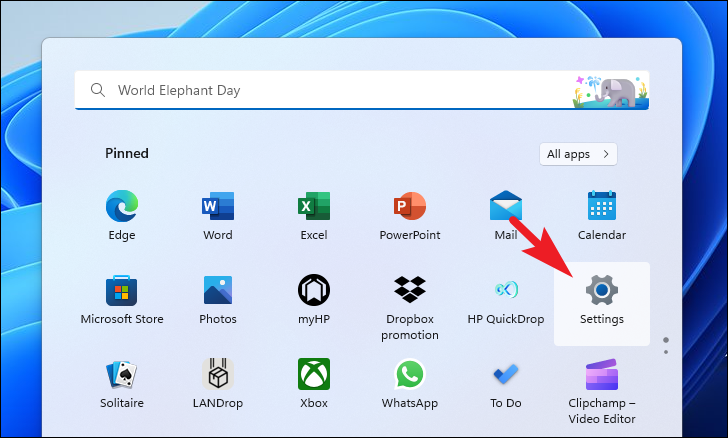

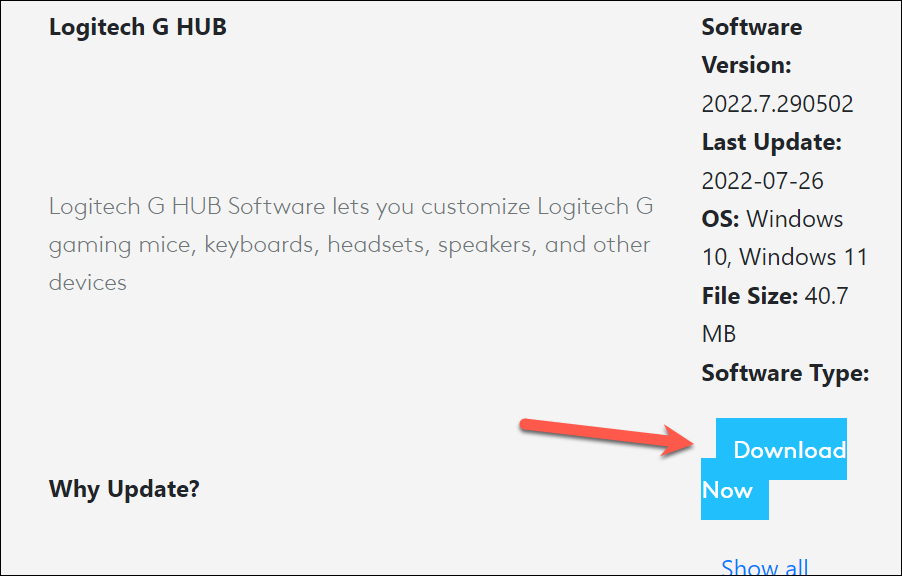
You can also use this alternative link if you prefer. Click Download Now to get the installer.
Check if the issue has been resolved after reinstalling.
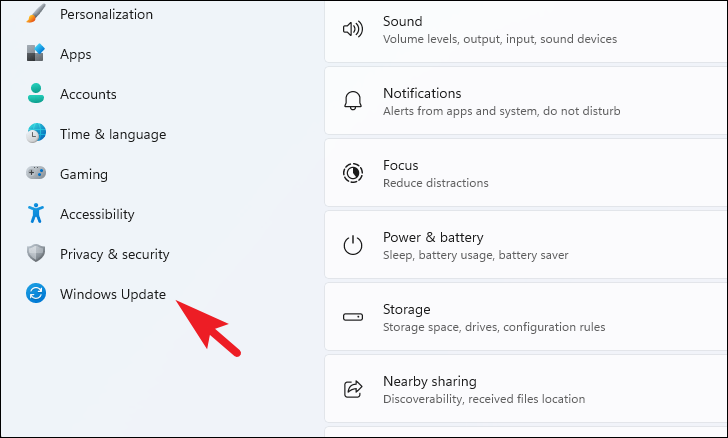
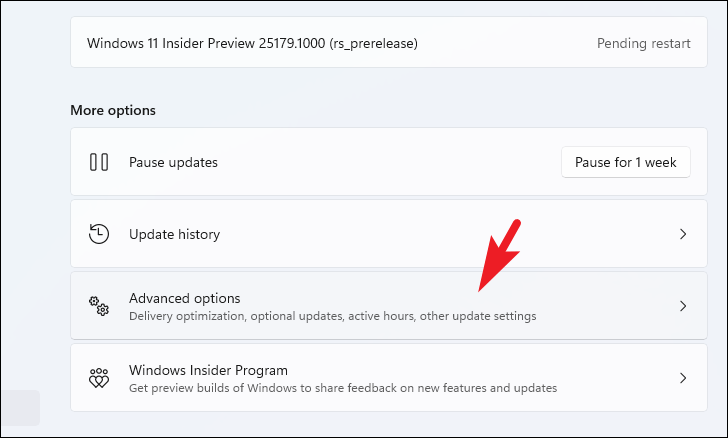
Update Windows 11
Ensuring your operating system is up to date can fix compatibility issues that might prevent applications from running properly.
Windows + I on your keyboard or by selecting it from the Start menu.

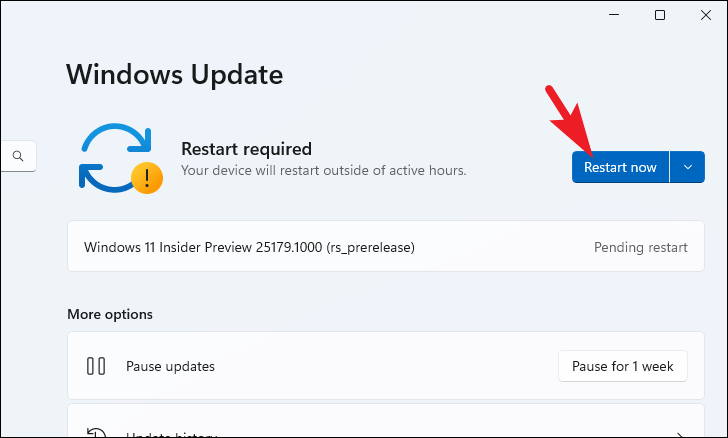
After the updates are installed, restart your computer and try opening Logitech G Hub again.
Update faulty or outdated drivers
Outdated or corrupt device drivers can cause applications like Logitech G Hub to malfunction. Updating your drivers can resolve these issues.
Using the Settings app:
Using Device Manager:

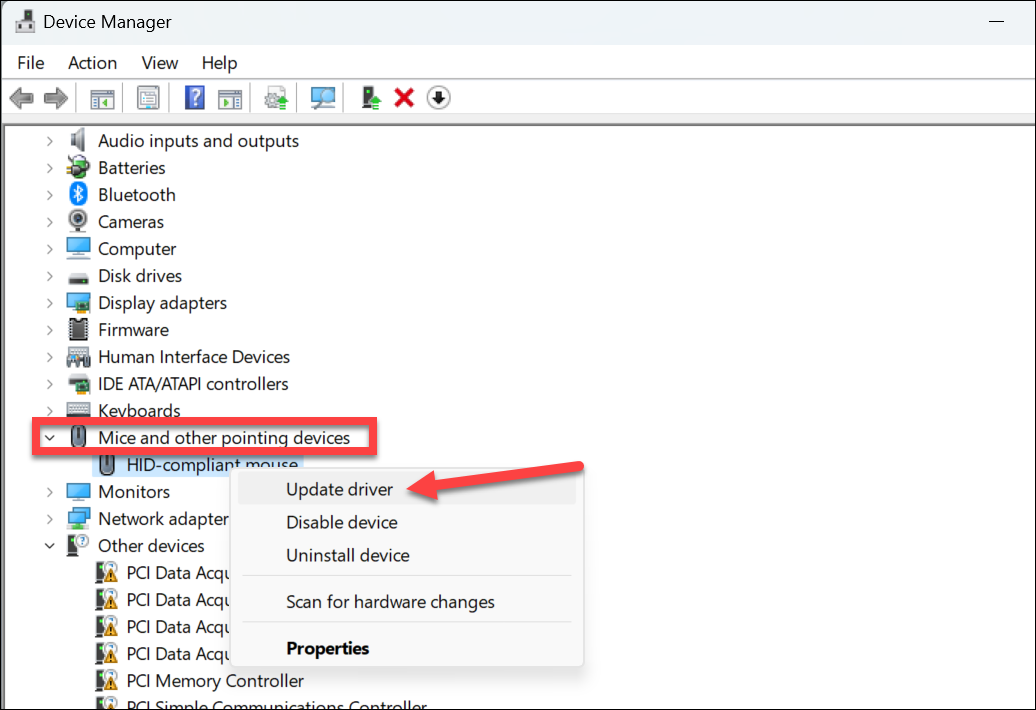
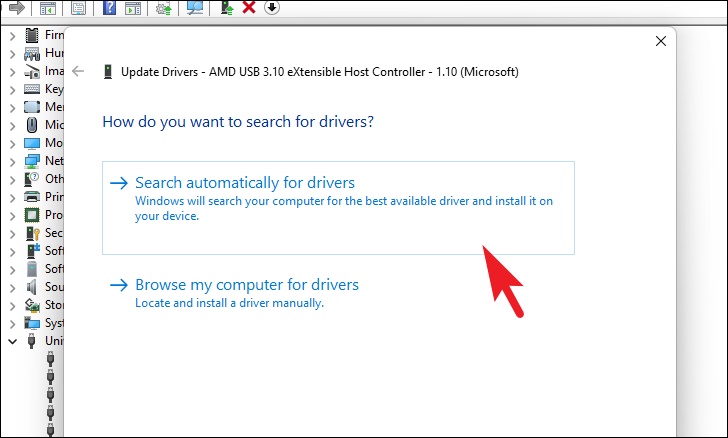
After updating the drivers, restart your computer and try launching Logitech G Hub.
Start PC in clean boot
If none of the above methods resolved the issue, a third-party application or service might be interfering with Logitech G Hub. Performing a clean boot can help identify if this is the case.
Windows + R to open the Run dialog box. Type msconfig and press Enter to open the System Configuration window.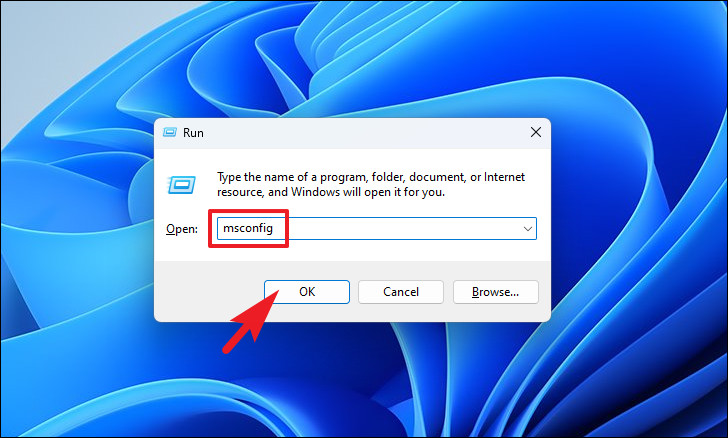
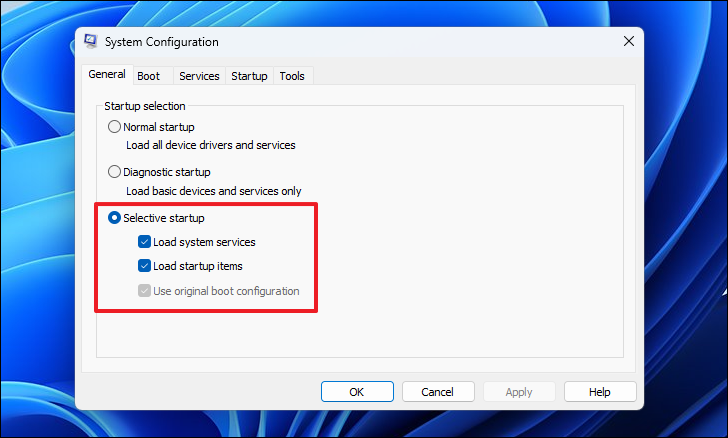

After the restart, try launching Logitech G Hub. If it opens successfully, a third-party service or application is likely causing the conflict. You can then enable services one by one to identify the culprit.
By following these methods, you should be able to resolve the issue with Logitech G Hub not opening on Windows 11. If the problem persists, it may require further troubleshooting from Logitech’s support team.


