
Microsoft.Photos.exe, the core process behind the Photos app in Windows 11, sometimes consumes excessive memory, slowing down the system and causing delays when opening images or managing files. This issue often appears after system updates or when the app runs background tasks like thumbnail generation or photo indexing. Addressing this high memory usage involves targeted fixes that restore normal resource consumption and improve system responsiveness.
Re-Register the Microsoft Photos App
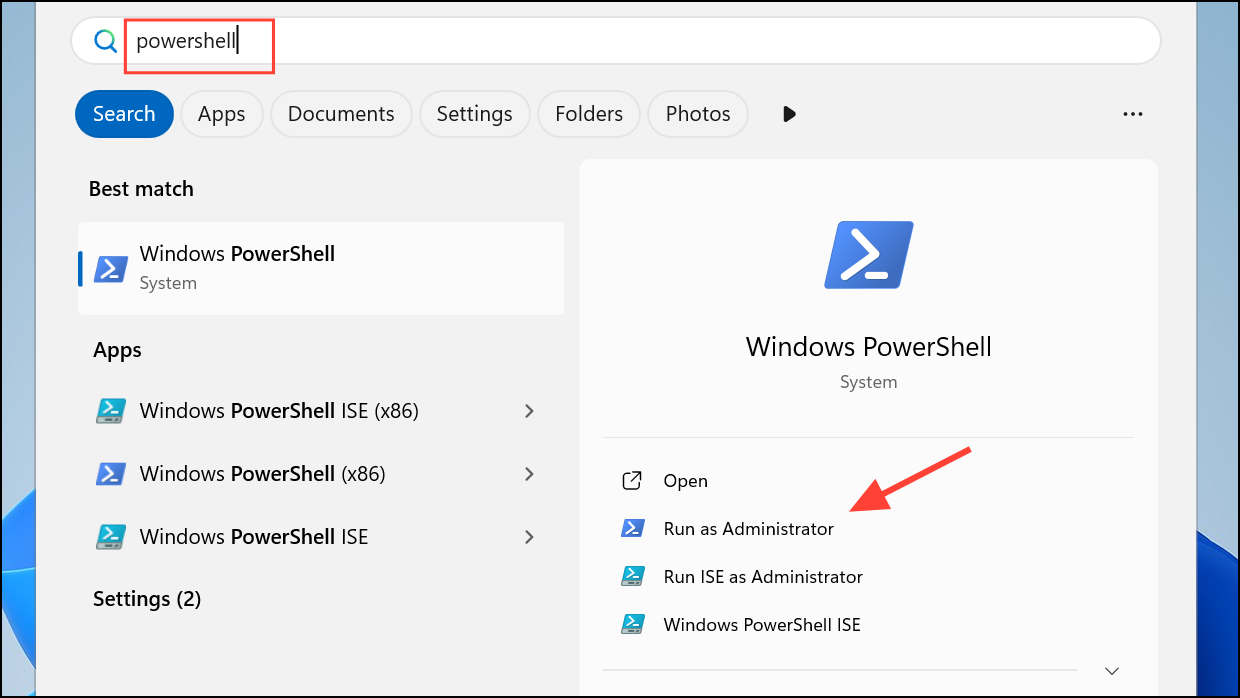
Step 1: Open the Start menu and type Windows PowerShell. Right-click on the result and select Run as administrator to launch PowerShell with elevated privileges.
Step 2: In the PowerShell window, enter the following command to re-register all Windows apps for your user account:
Get-AppXPackage | Foreach {Add-AppxPackage -DisableDevelopmentMode -Register "$($_.InstallLocation)\AppXManifest.xml"}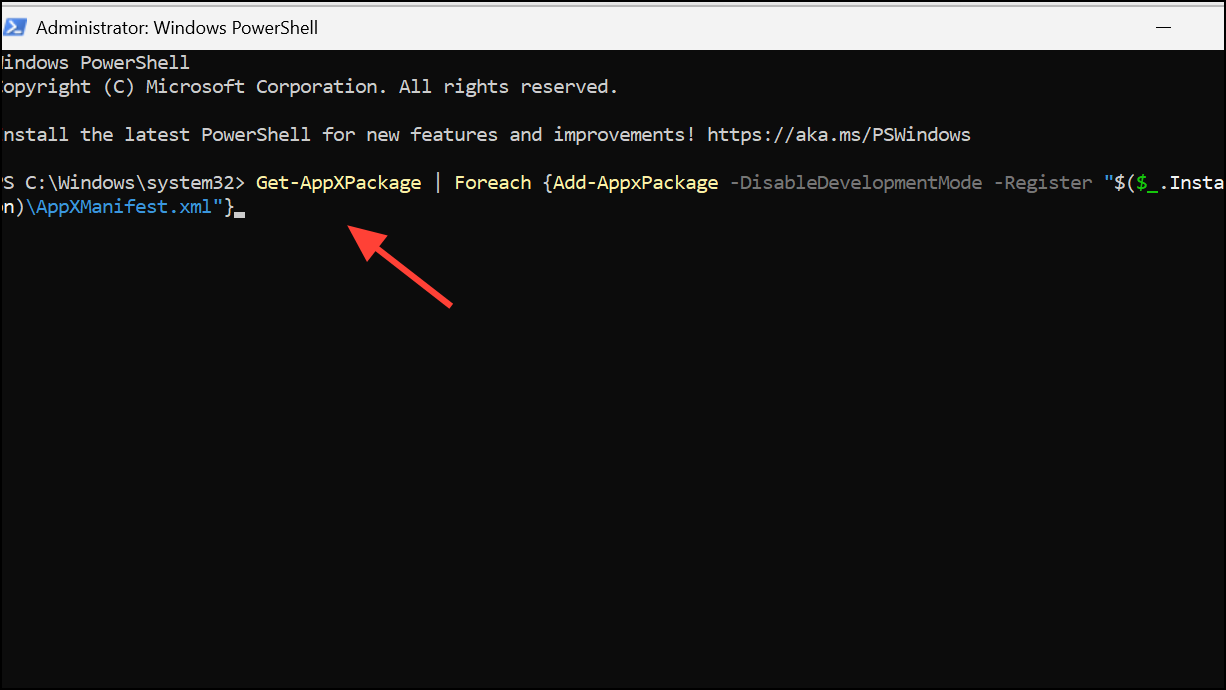
This command reinstalls all Windows Store apps, including Photos, which can fix corruption or configuration issues causing high memory usage.
Step 3: For a system-wide reset affecting all users, use:
Get-AppXPackage -AllUsers | Foreach {Add-AppxPackage -DisableDevelopmentMode -Register "$($_.InstallLocation)\AppXManifest.xml"}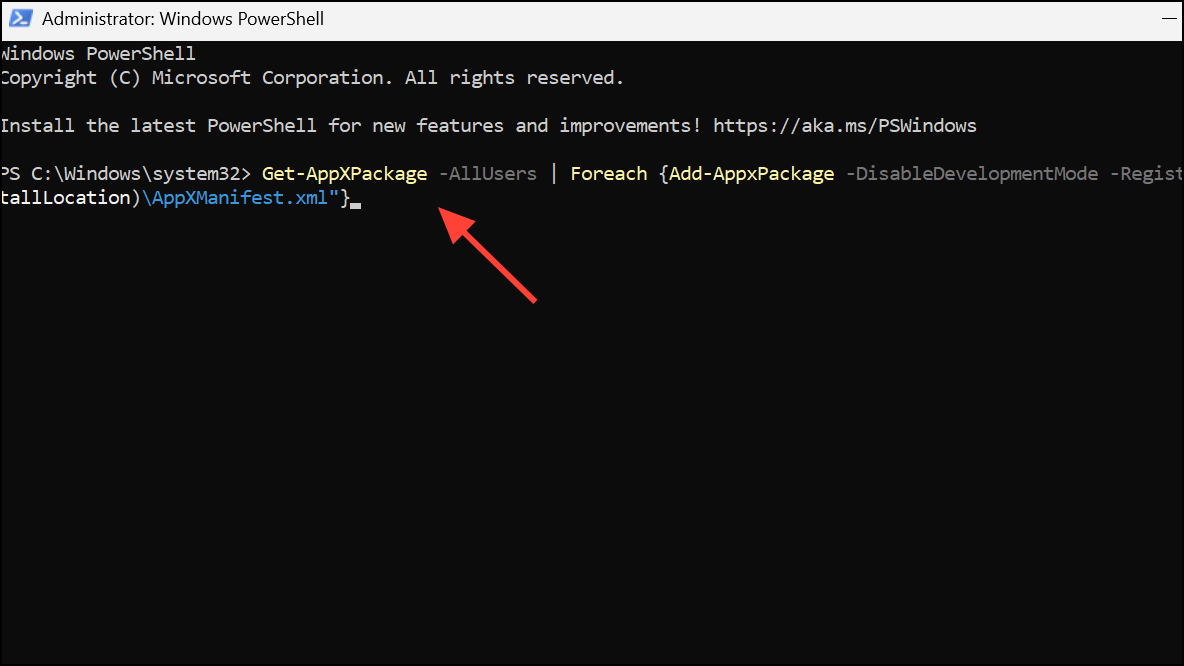
After running the command, restart your PC. This step often resolves persistent Photos app resource problems by restoring default app files and settings.
Change Default Photo Viewer
Switching away from Microsoft Photos as the default app for opening images prevents Microsoft.Photos.exe from running in the background and consuming memory.
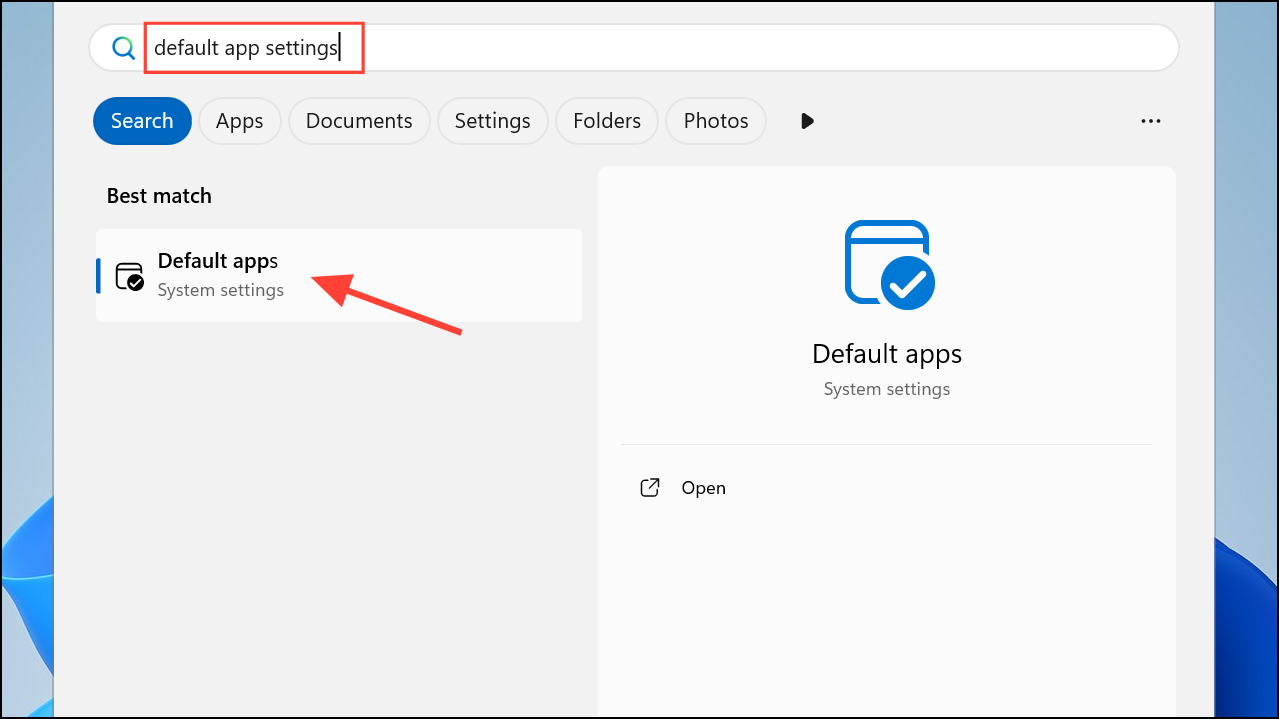
Step 1: Open the Start menu and search for default app settings. Select the corresponding result.
Step 2: Locate the Photo viewer section. Click on Photos (or Choose a default if none is set).
Step 3: Select an alternative image viewer, such as the classic Windows Photo Viewer or a third-party application. This change stops Photos from automatically launching and using memory when opening images.
Remove Folders from Photos App Indexing
By default, the Photos app scans and indexes your folders for images and videos, which can increase memory usage. Removing these folders from the app’s sources limits its background activity.
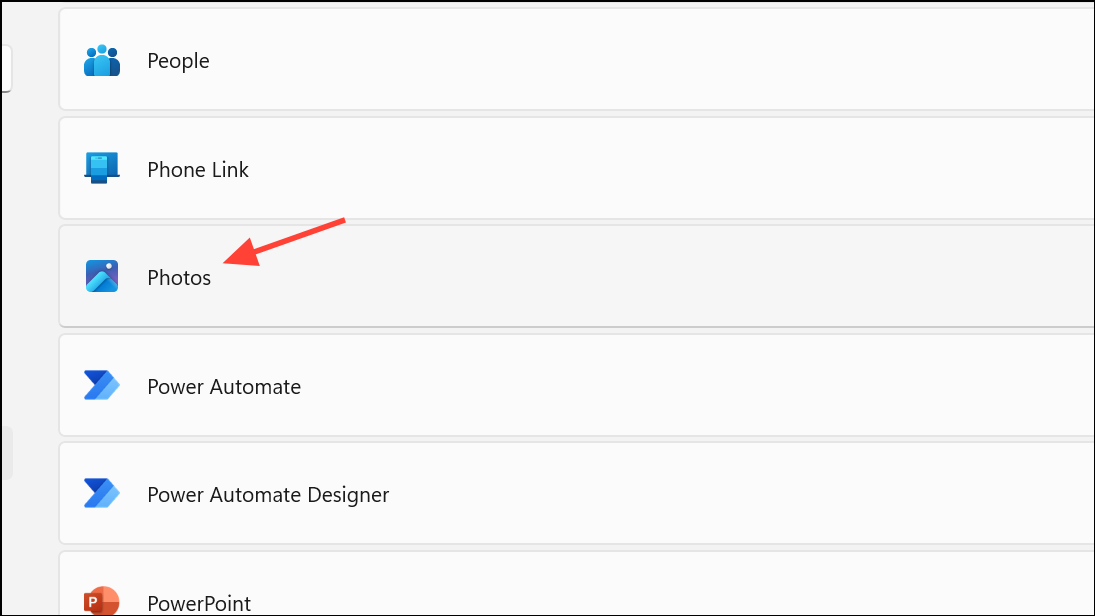
Step 1: Open the Microsoft Photos app.
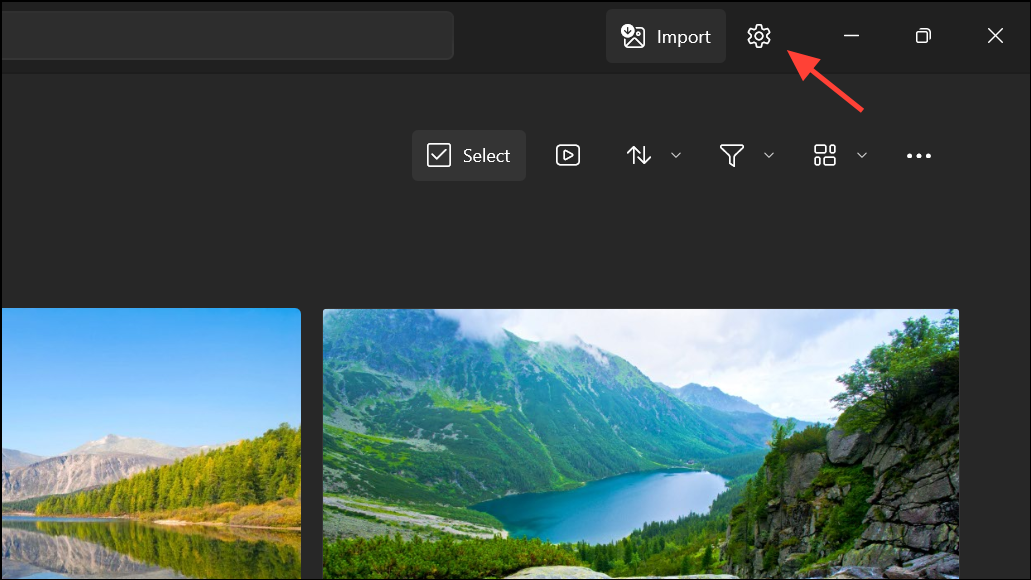
Step 2: Click the triple-dot menu at the top right and click the gear icon to open theSettings.
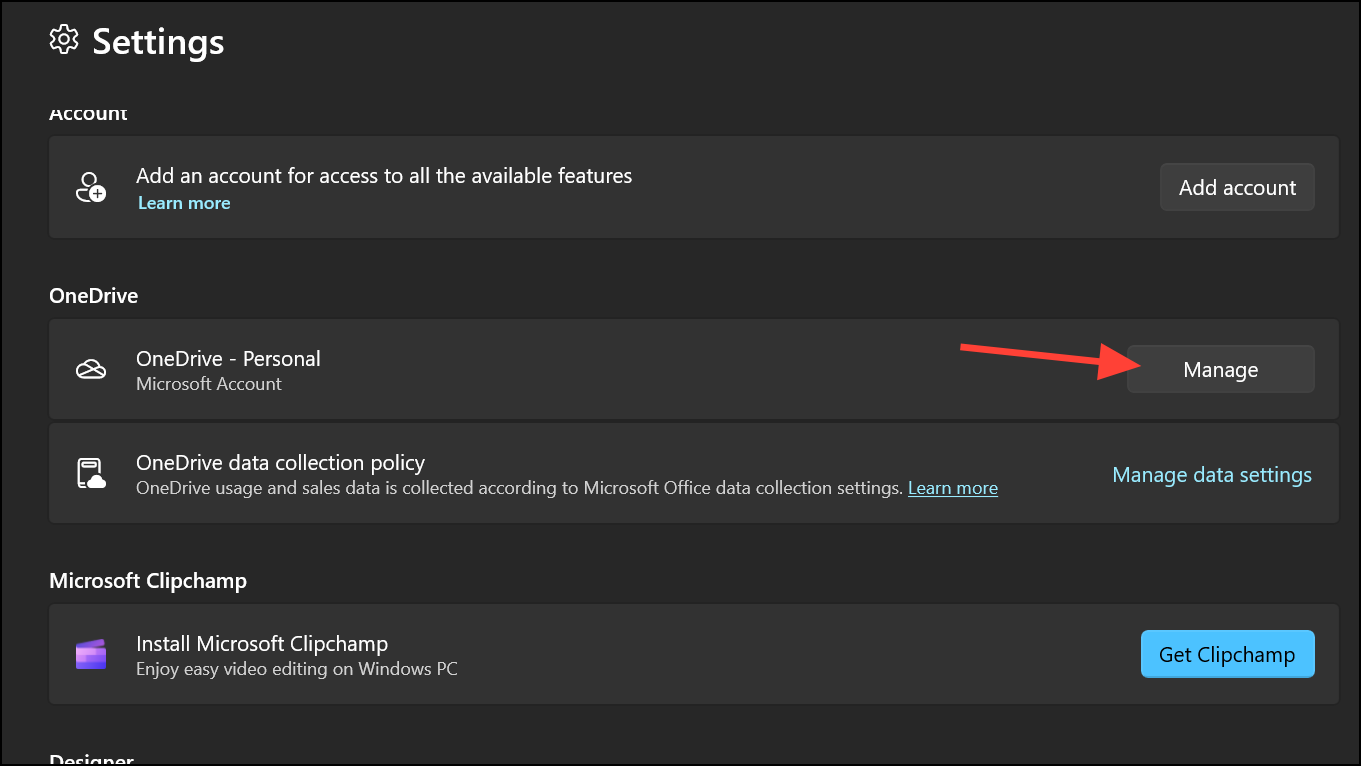
Step 3: Under the Sources section, click the X next to each listed folder to remove it. This stops the app from indexing those locations. This option may not be available on newer versions of the Photos app.
Step 4: Optionally, turn off OneDrive sync within the Photos app if you do not use cloud photo backup, further reducing background activity.
Restart your PC and observe if memory usage drops.
Disable Thumbnails in File Explorer
Thumbnail generation for image folders can trigger high Photos process activity. Disabling this feature stops Photos from running in the background to create thumbnails.
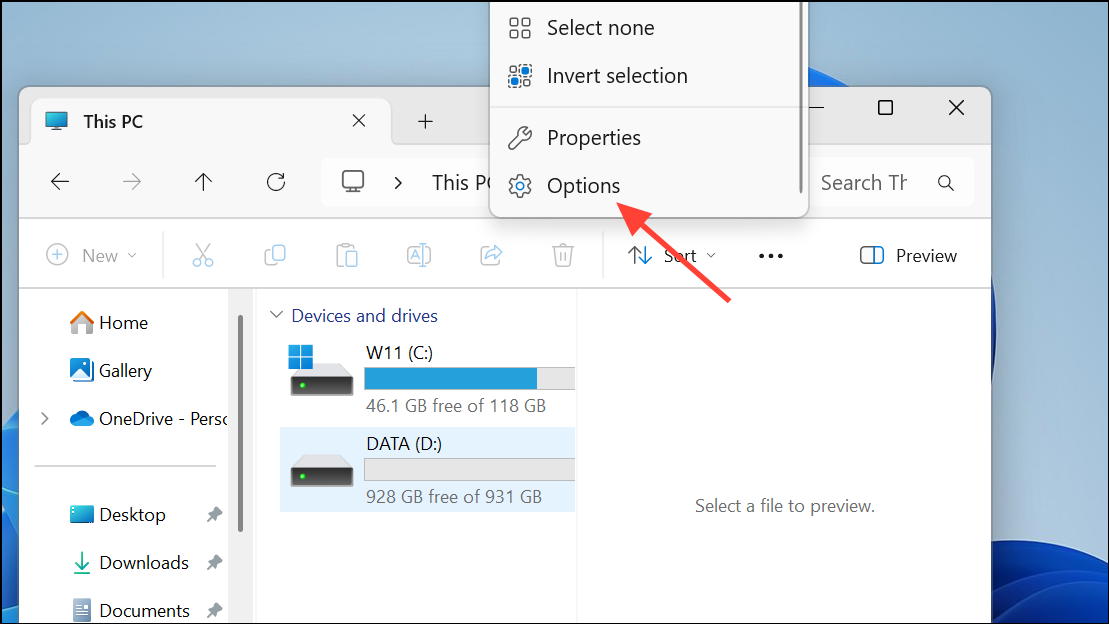
Step 1: Open File Explorer and click the three dots at the top.
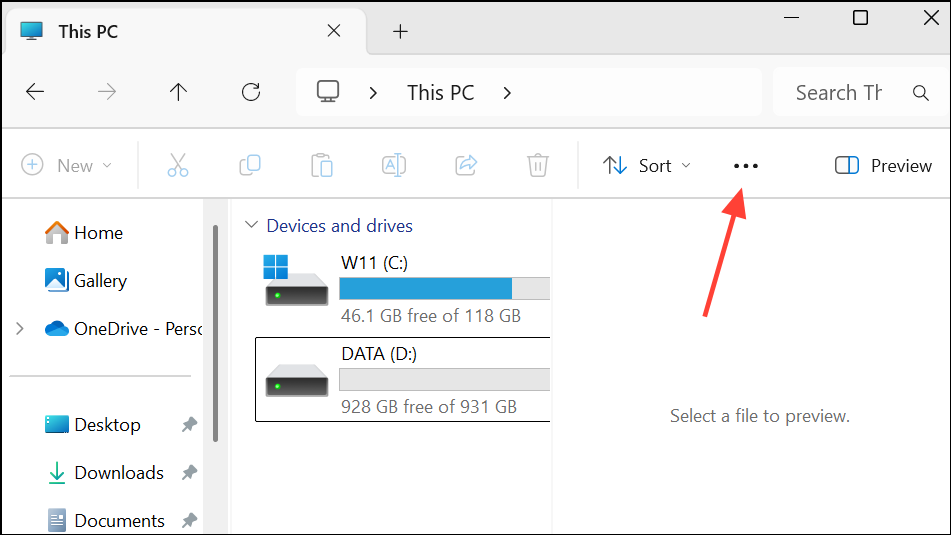
Step 2: Choose Options (or Change folder and search options).
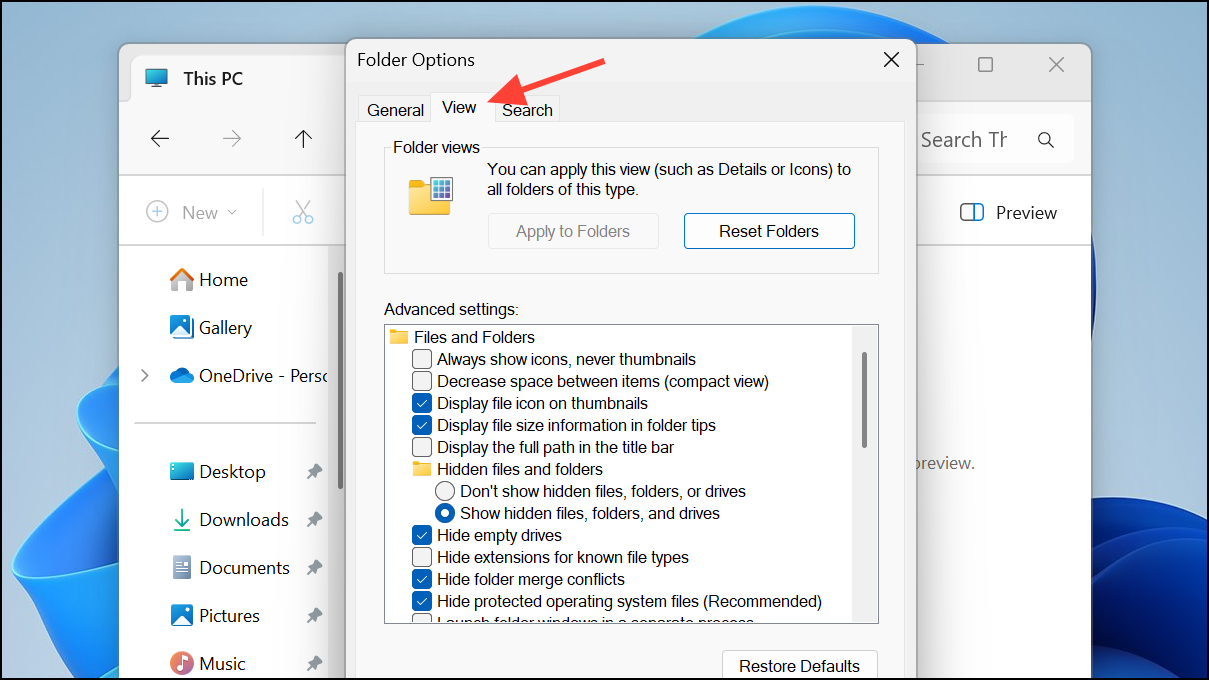
Step 3: In the Folder Options window, go to the View tab.
Step 4: Check Always show icons, never thumbnails under Files and Folders. Click OK to save changes.
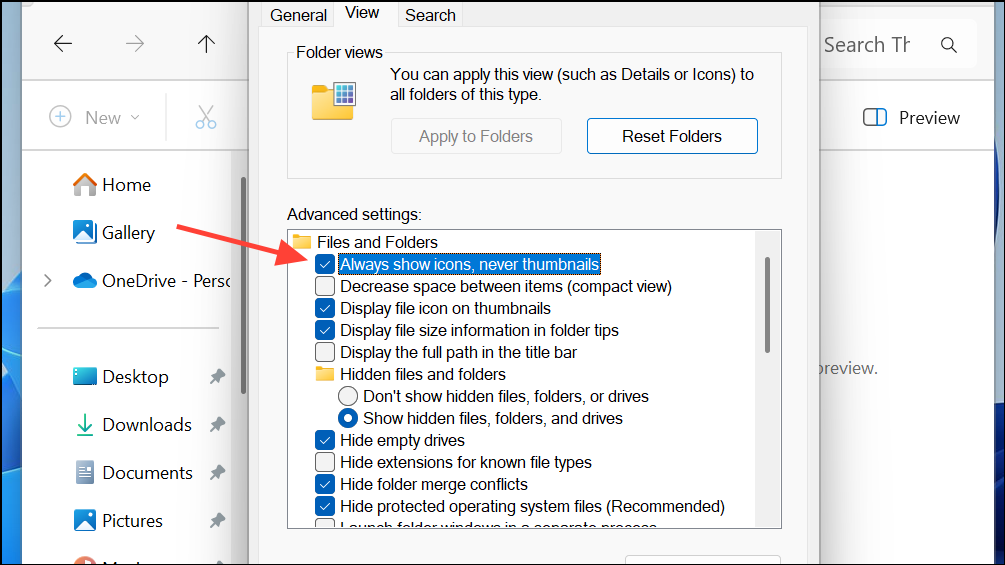
This stops thumbnail previews and prevents Photos from using memory to generate them.
Uninstall and Reinstall Microsoft Photos
If the Photos app continues to misbehave, uninstalling and reinstalling can clear up persistent memory leaks or process issues.
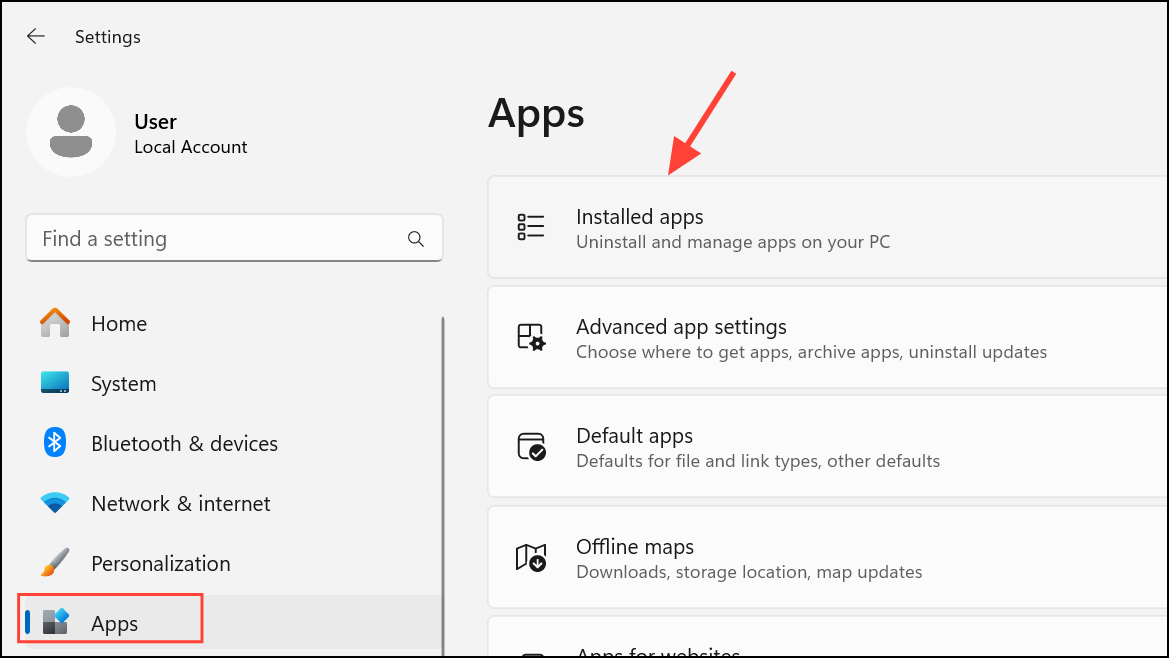
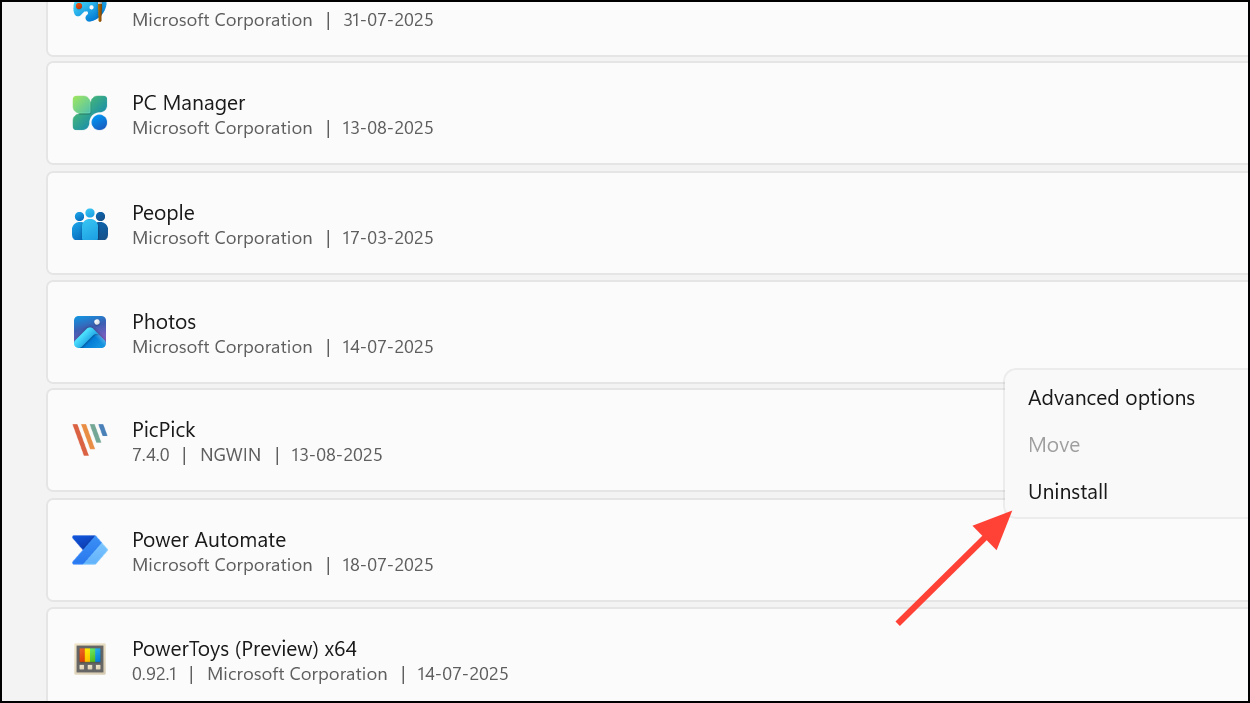
Step 1: Press Start and open Settings. Navigate to Apps > Installed apps (or Apps & features).
Step 2: Locate Microsoft Photos in the list. Click the three-dot menu and select Uninstall.
Step 3: After the uninstall process, open the Microsoft Store, search for Microsoft Photos, and reinstall the app.
This refreshes the app installation and often resolves memory problems rooted in corrupted app files.
End Microsoft.Photos.exe Process via Task Manager
When Photos.exe continues to use memory after closing the app, manually ending the process can provide immediate relief.
Step 1: Press Ctrl + Shift + Esc to open Task Manager.
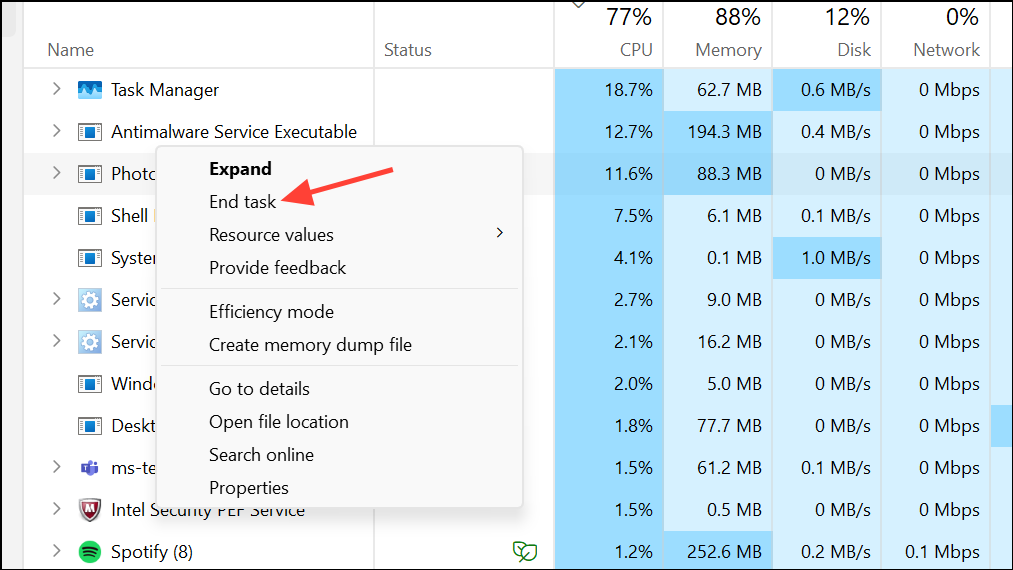
Step 2: Find Microsoft.Photos.exe or Photos.exe in the Processes list.
Step 3: Right-click the process and select End task. This immediately frees up memory, though the process may restart if the app is launched again.
Additional Tips for Persistent High Memory Usage
- Update Windows 11 and device drivers to the latest versions to patch known memory leaks.
- Check for third-party apps or services that could conflict with Photos, especially after major Windows updates.
- Consider using an alternative lightweight image viewer if high memory usage persists.
Applying these targeted fixes will reduce Microsoft Photos’ memory usage and restore faster, more stable performance on Windows 11. If high memory consumption returns after updates, revisit these steps to keep your system running smoothly.