
In this pandemic struck Earth, we all have been working, connecting, and meeting people right from our homes. And at the core of it, software such as Microsoft Teams makes it all happen for us.
However, many users have been reporting facing the CAA20002 error out of the blue when trying to sign in to their Teams account on their Windows PC. If you have been facing the same issue yourself, this guide will certainly help you resolve this frustrating issue.
What is Error Code CAA20002 in Microsoft Teams?
Error code CAA20002 can present itself due to a variety of reasons, you could face it due to piled up Teams cache on your machine, even multiple device sign-ins can also trigger this issue at times, or discrepancy between Windows and Teams account on your machine can also bring up this problem.
However, thankfully the problem is usually software-based and account-related. Thus, resolving it is fairly easy compared to a hardware-based problem. That being said, since the issue can arise due to several reasons, you might have to try more than one fix listed below to completely eradicate the problem.
4 Ways to Fix Error Code CAA20002 in Microsoft Teams
Let’s start with methods requiring minimal inputs from your side and work our way towards more demanding fixes for the issue.
1. Clear Microsoft Teams Cache Files
As mentioned earlier, piled-up cache files could also bring up the issue on your machine. Since clearing the cache is pretty elementary, starting this fix definitely doesn’t hurt, as it can save you a ton of time if the issue resolves using this simple method.
First, make sure you have quit the Teams app completely and it is not running in the background.
Then, open ‘This PC’ on your Windows device by either clicking on the ‘This PC’ icon present on your desktop or by pressing the Windows+E keys together on your keyboard.

Once opened, click on the address bar and type or cop+paste the below-mentioned address in the address bar and hit Enter to navigate to the directory.
%appdata%\Microsoft\Teams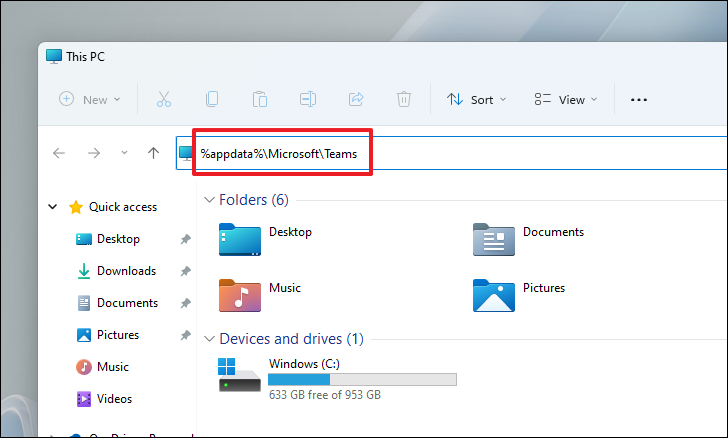
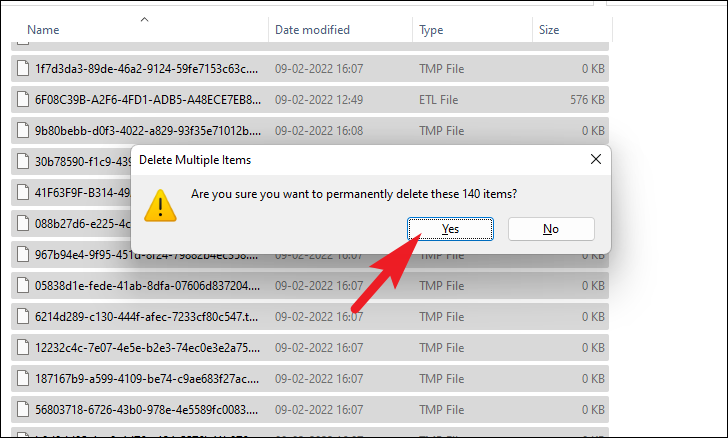
After that, select the entire content of the folder by pressing Windows+A keys together on your keyboard and then press Shift+Delete keys on the keyboard. This will bring up a prompt on your screen, click on the ‘Yes’ button to confirm permanent deletion of all files.
Once done, restart your PC from the Start Menu. Then, once the PC restarts, try logging back into your Teams account to check if the issue still persists.
2. Change Your Associated Microsoft Account Password
Since this issue can also occur due to multiple device logins from different locations, changing the password for your Microsoft Account associated with your Teams account can also help as this would de-register all the previously logged-in devices.
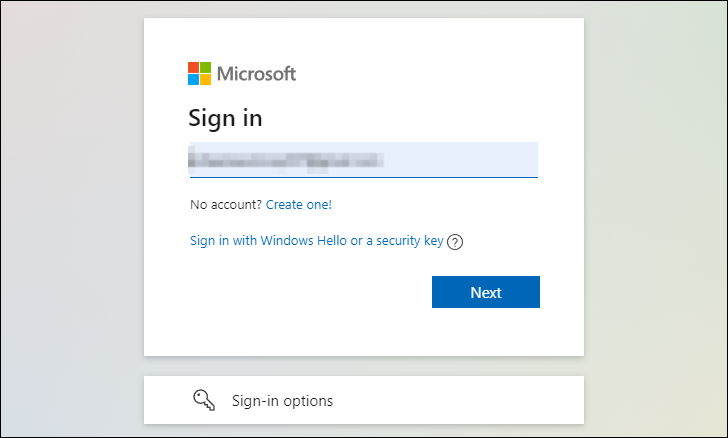
To do so, head to microsoft.com using your preferred browser and click on the ‘Sign In’ button present at the top right corner of the webpage.

Then, enter your credentials and authenticate yourself using your preferred way to log in to your account.
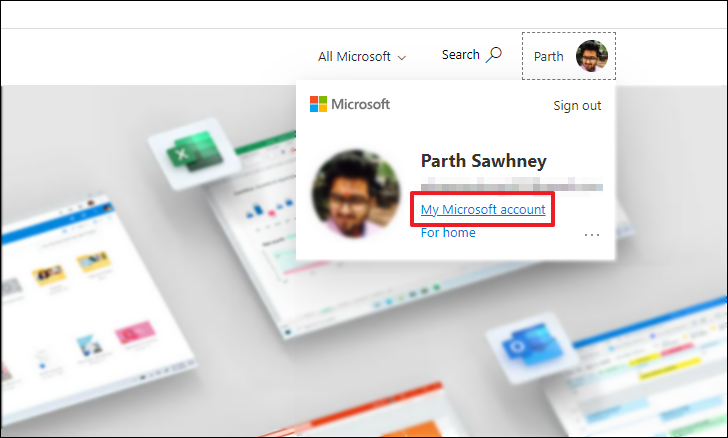
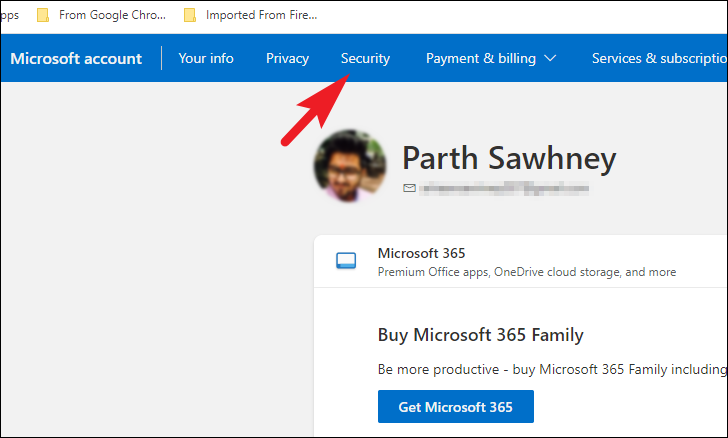
Once logged in, click on your ‘Account Picture’ or ‘Initials’ present on the top right corner of the webpage. Then, click on the ‘My Microsoft account’ option to continue. This will open a separate tab in your browser window.
Now, from the separately opened tab, click on the ‘Security’ option present on the ribbon menu.
Next, on the ‘Security’ page, locate the ‘Password security’ tile and click on the ‘Change my password option present on the bottom section of the tile.

Now, on the ‘Change your password’ screen, enter your old password and new password in the respective fields. Once done, click on the ‘Save’ button to change the password.

Once you have successfully changed your Microsoft account password, try logging in to the Teams app to check if the issue has been resolved. If it is not, jump to the next section.
3. Make Sure Your Teams Account is Added in Windows Account Manager
If the Microsoft Teams account you are using is assigned to you by your organization or school and is different from the Microsoft account you are using on your Windows machine, there is a high probability the Windows account manager is creating the ruckus.
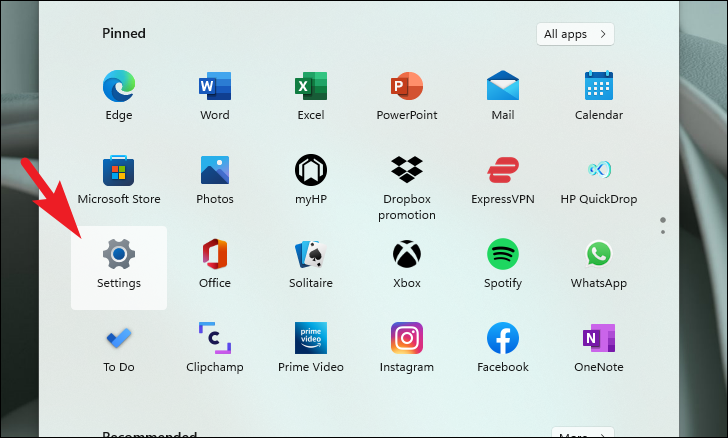
To reach the Windows account manager, open the Start Menu and click on the ‘Settings’ tile either from the ‘Pinned apps’ section or by searching for it.
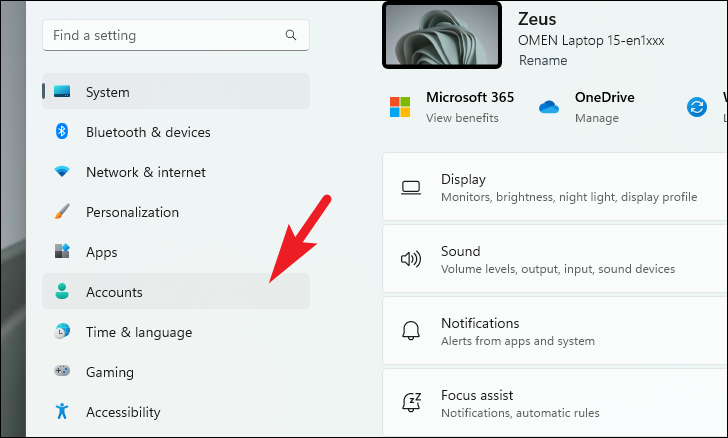
Next, from the left sidebar present on the Settings window, click on the ‘Accounts’ tab.
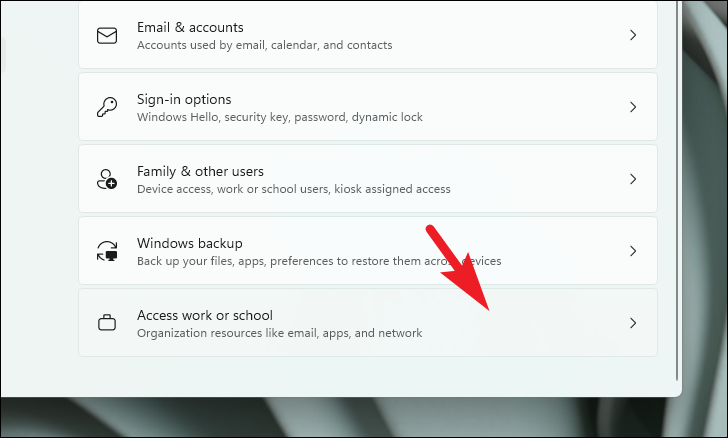
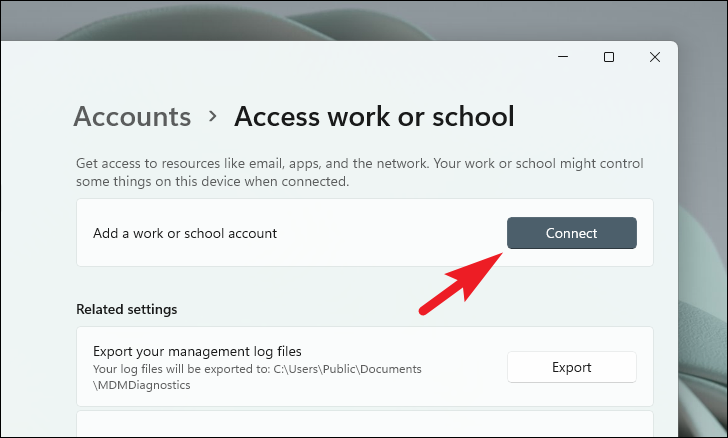
After that, from the right section of the window, locate and click on the ‘Access work or school’ tile to proceed.
Now, if the Teams account you are using is not present, click on the ‘Connect’ button present on the ‘Access work or school’ tile. This will open a separate window on your screen.
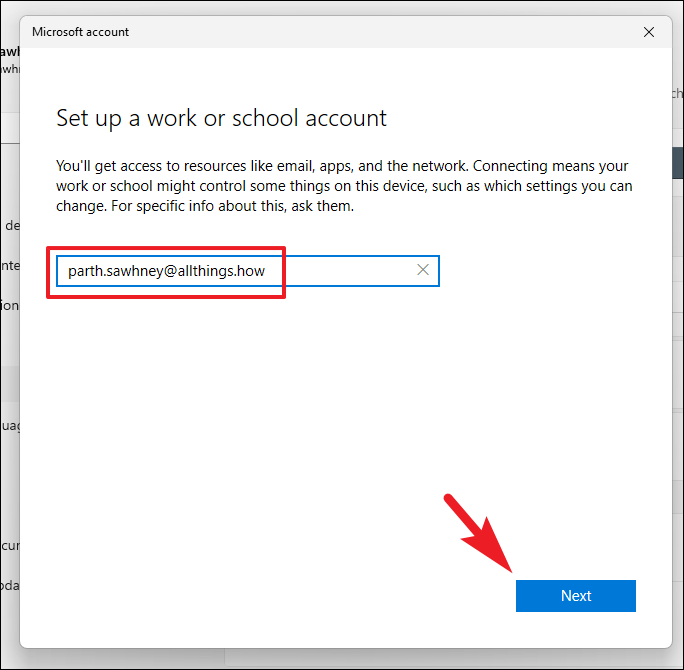
After that, from the separately opened window, enter your credentials and click on the ‘Next’ button. Then, authenticate yourself using your preferred method.
In case the account is already present, disconnect and reconnect it again using the steps mentioned above.
Once you have added or reconnected the account successfully, try logging back into the Teams app to see if the issue still persists. If it does, hop onto the next section for a sure shot to resolve this issue.
4. Reinstall Microsoft Teams
If nothing has worked till now, it is now time to bring out the big guns. Uninstalling and Reinstalling Teams back on your Windows device is bound to fix the issue for you without fail.
To do so, open the Start Menu and click on the ‘Settings’ tile either from the ‘Pinned apps’ section or by searching for it.

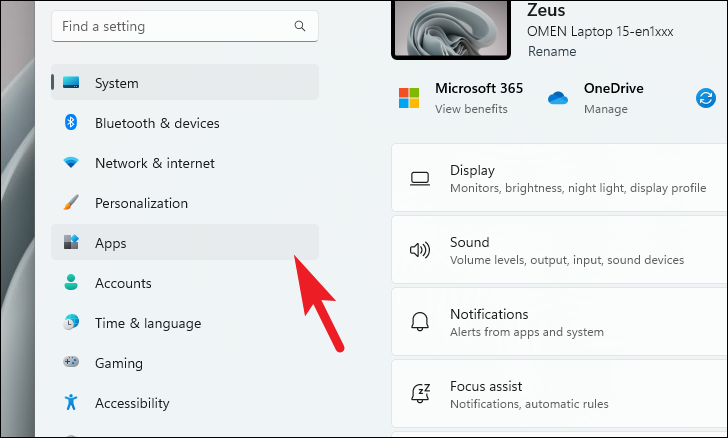
Then, from the left sidebar present on the ‘Settings’ window, click on the ‘Apps’ option.
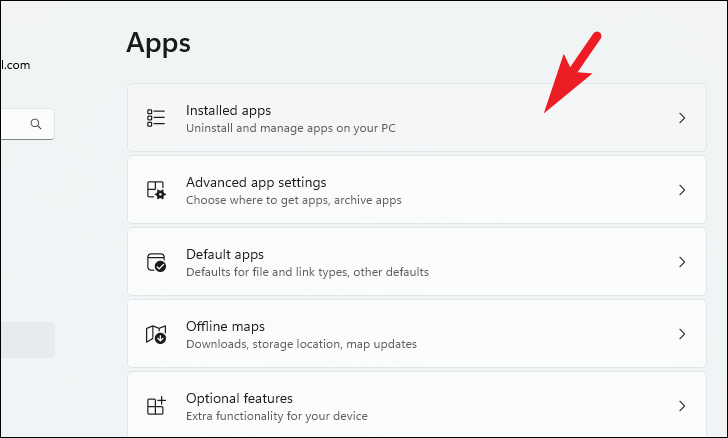
Next, from the right section of the window, locate and click on the ‘Installed apps’ tile to continue.
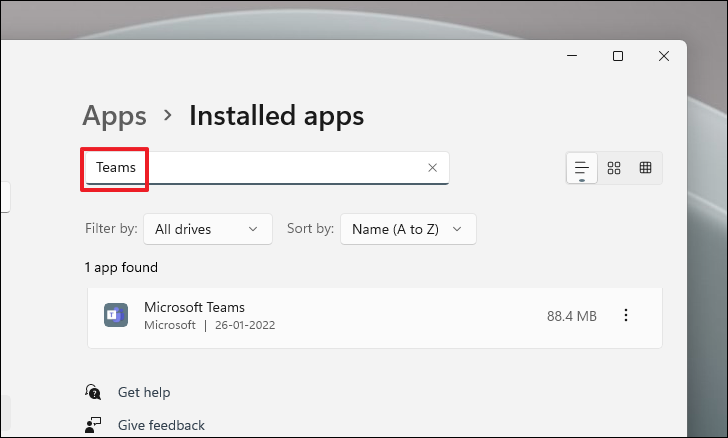
Now, either use the ‘search’ bar present on the top of the window by typing Teams into it, or you can manually scroll down to locate the Teams app.
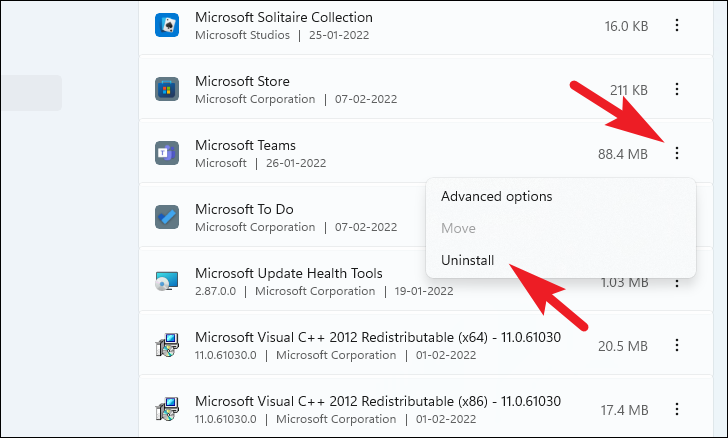
Once located, click on the kebab menu icon (three vertical dots) present on the far right edge of the tile to reveal a context menu. Then, click on the ‘Uninstall’ option from the list to proceed. This will bring up a prompt on your screen.
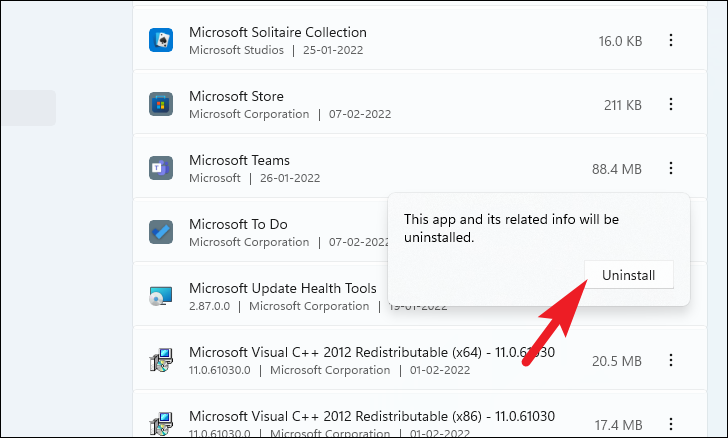
Now, from the prompt, click on the ‘Uninstall’ button to commence uninstallation.
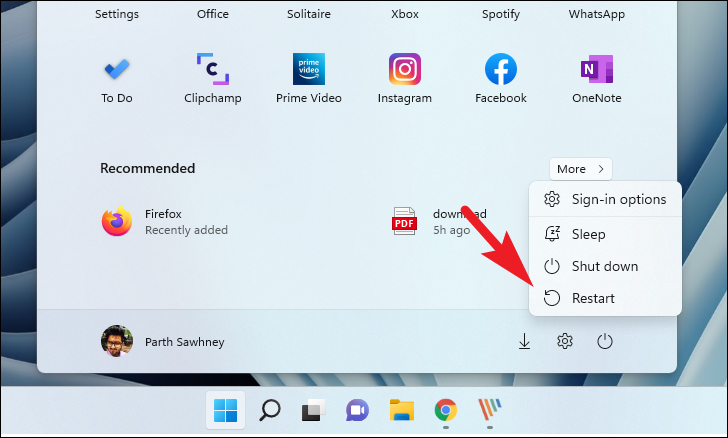
Once you have uninstalled the Teams app from your device, restart your machine from the Start Menu.
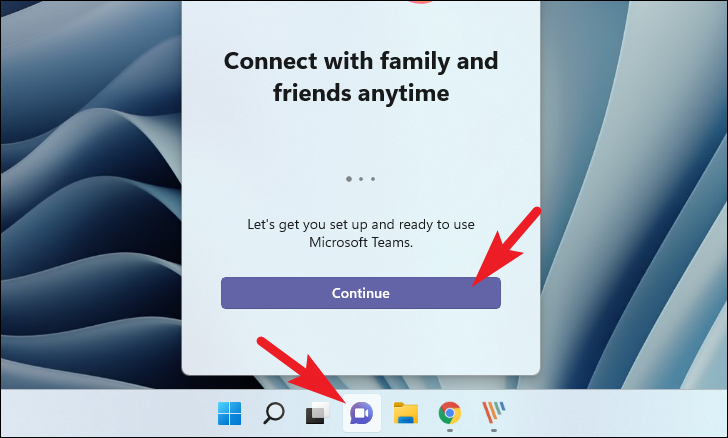
Once restarted, click on the ‘Chat’ icon pinned on the taskbar to open an overlay window. Then, click on the ‘Continue’ button to initiate the installation process.
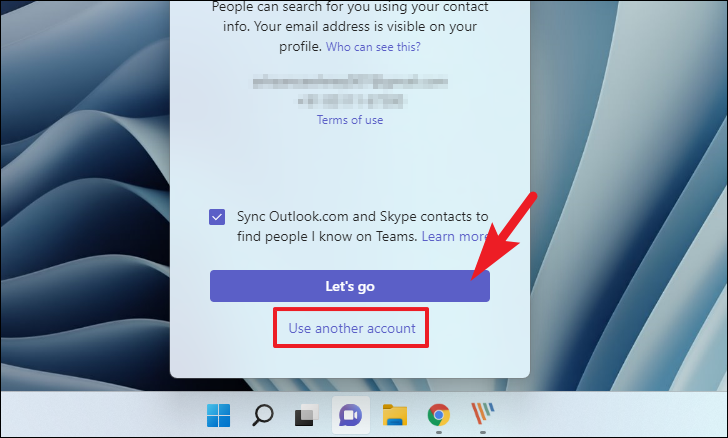
After that, click on the ‘Continue’ button again if you wish to use the same account for Teams that you are using to log into your device. Otherwise, click on the ‘Use Another account’ option to log in using a different account in Teams.
You should now be able to log into your Microsoft Teams account without any hiccup.
There you go people, hopefully, this guide will help you resolve the error on your Teams app.