
The IRQL_NOT_LESS_OR_EQUAL error in Windows 11 can be frustrating, but there are several effective ways to resolve it. This guide will walk you through the most reliable methods to fix this error and get your system running smoothly again.
What causes the IRQL_NOT_LESS_OR_EQUAL error?
This error typically occurs when a device driver attempts to access a memory address without proper permissions. Common causes include:
- Corrupted system files
- Incompatible or outdated drivers
- Faulty hardware (especially RAM)
- Incomplete software installations
Method 1: Run Memory Diagnostics
Since this error often relates to memory issues, running a diagnostic on your system’s RAM is a good first step.
- Open the Start Menu and search for “Memory Diagnostics”
- Click on “Windows Memory Diagnostic” in the search results
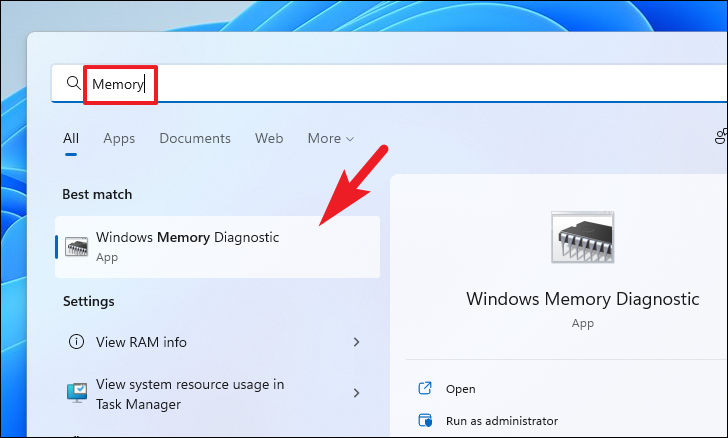
- Select “Restart now and check for problems”
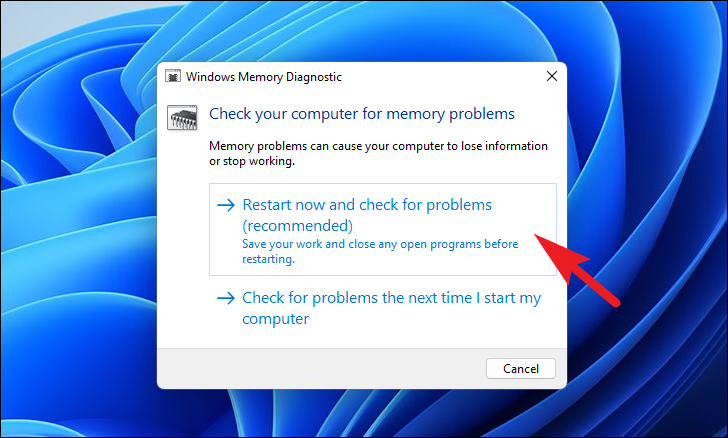
Your PC will restart and run the diagnostic. After completion, you’ll receive a report detailing any issues found.
Method 2: Use DISM and SFC Scan
Corrupted system files can trigger this error. Using the DISM and SFC tools can help repair these files.
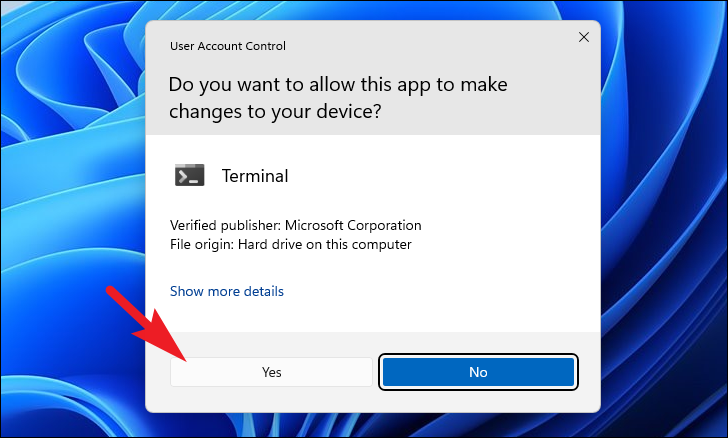
- Right-click the Start Menu and select “Windows Terminal (Admin)”
- If prompted, click “Yes” to allow admin access
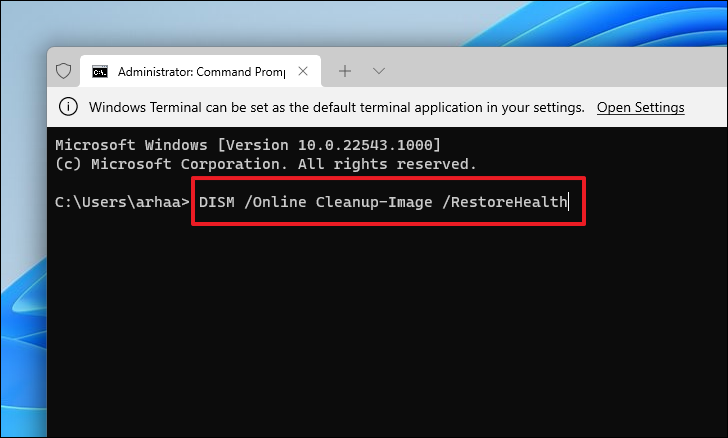
- In the terminal, run the following command:
DISM /Online /Cleanup-Image /RestoreHealth
- Once DISM completes, run the SFC scan with this command:
SFC /scannow
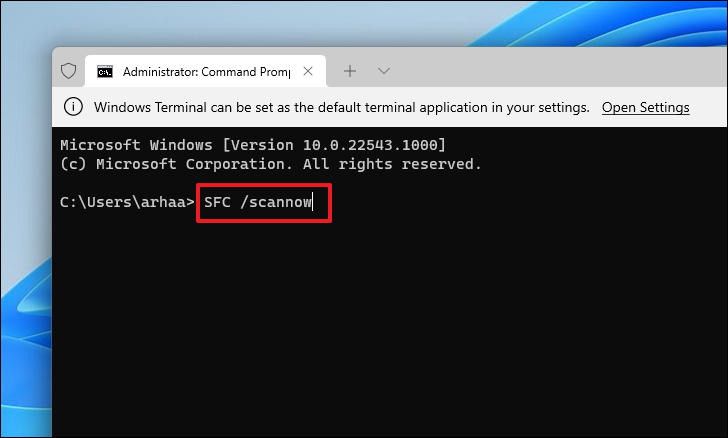
- Restart your computer after the scan finishes
Method 3: Update or Roll Back Drivers
Problematic drivers are a common cause of this error. You may need to update outdated drivers or roll back recently updated ones.
- Open Device Manager from the Start Menu
- Locate the component category for the suspected problematic driver
- Double-click the component to open its properties

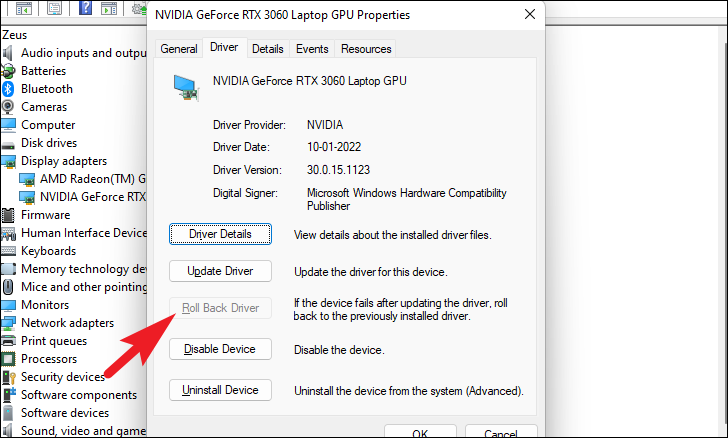
To roll back a driver:
4. Go to the “Driver” tab
5. Click “Roll Back Driver” if available
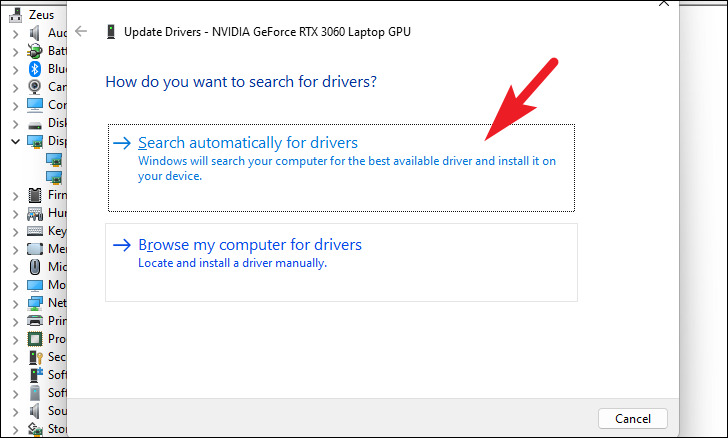
To update a driver:
4. Click “Update Driver”
5. Choose to search automatically or browse your computer for driver software
Repeat this process for any other potentially problematic drivers.
Method 4: Reset Your PC
If other methods fail, resetting your PC can often resolve persistent issues.
- Open Settings and navigate to System > Recovery
- Click “Reset PC” under Recovery options
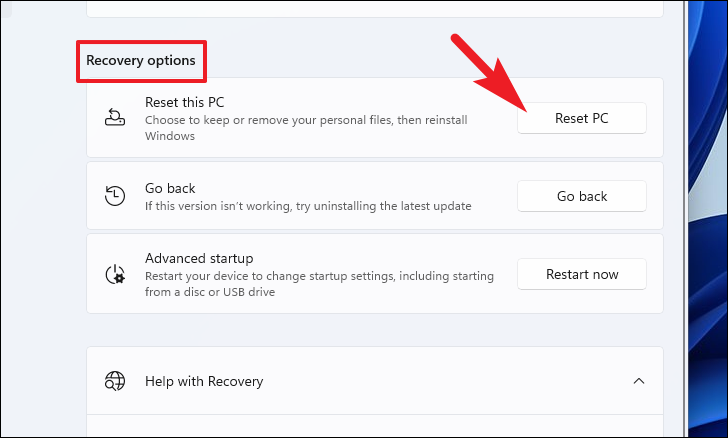
- Choose whether to keep your files or remove everything
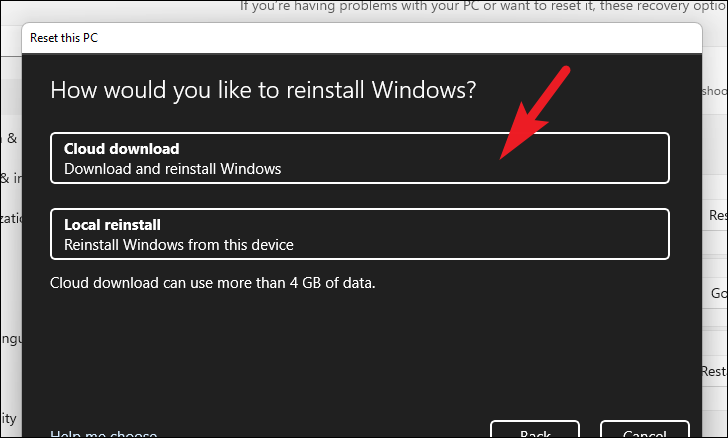
- Select between cloud download or local reinstall
- Review additional settings if desired
- Click “Reset” to begin the process
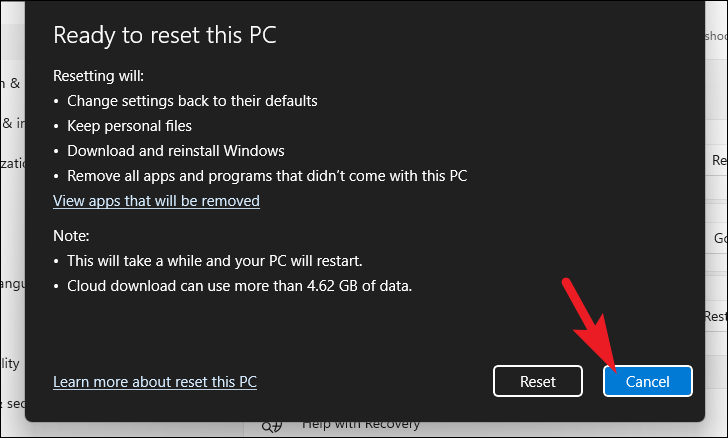
The reset process may take several hours. Your PC will restart multiple times during this process.


