
Microsoft Teams is a leading communication platform that enables seamless collaboration across teams. However, some users may experience issues where Teams doesn’t open or crashes upon launch. If you’re encountering this problem, there are several solutions you can try to get Teams up and running again.
Method 1: Reinstall Microsoft Teams
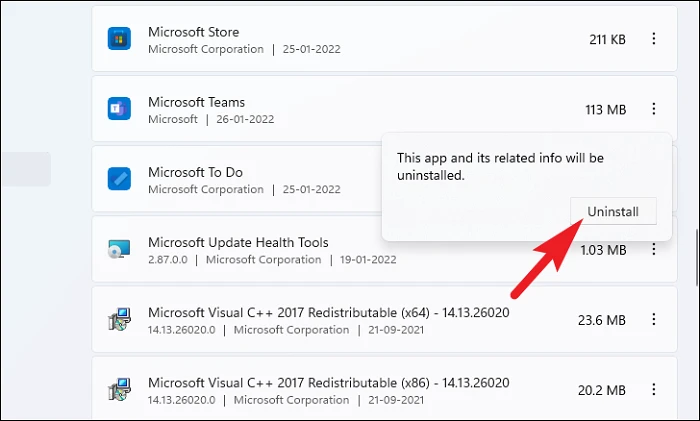
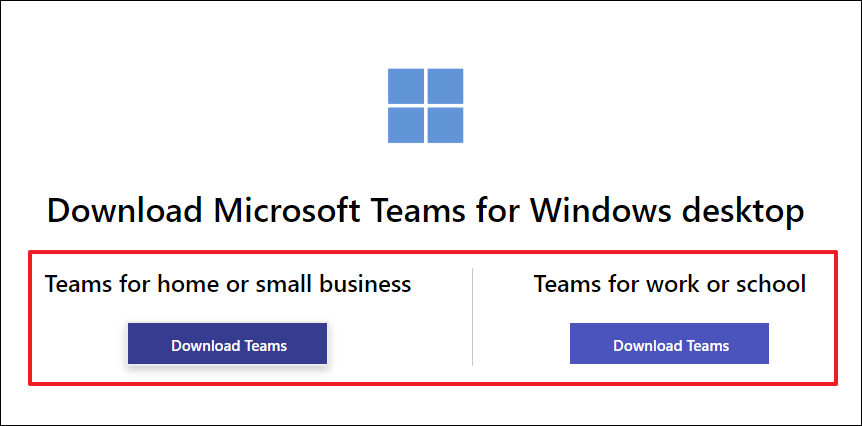
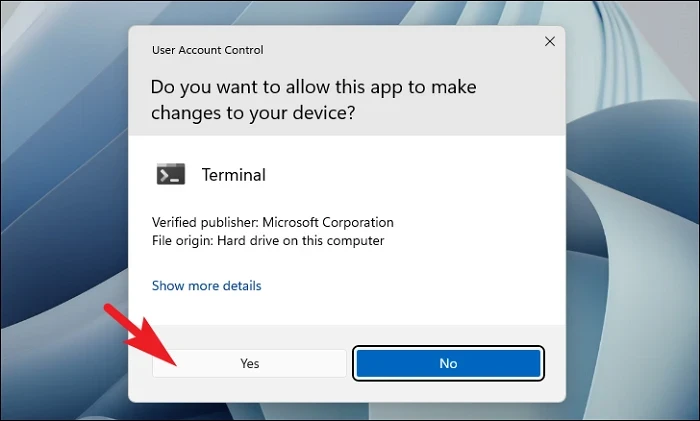
Reinstalling Microsoft Teams can resolve issues stemming from corrupted files or incomplete installations.
.EXE file to start the installation.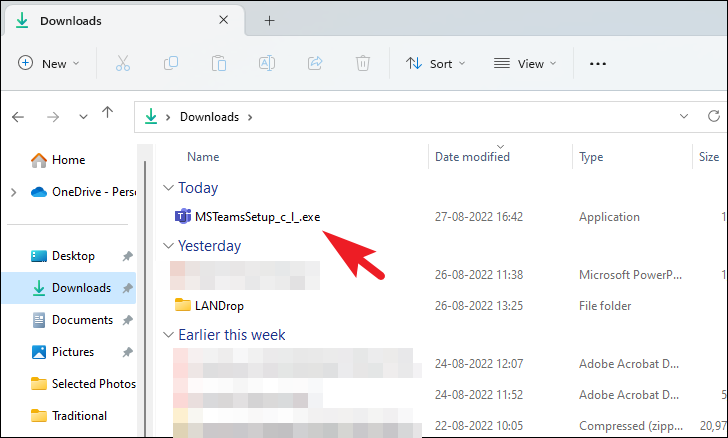
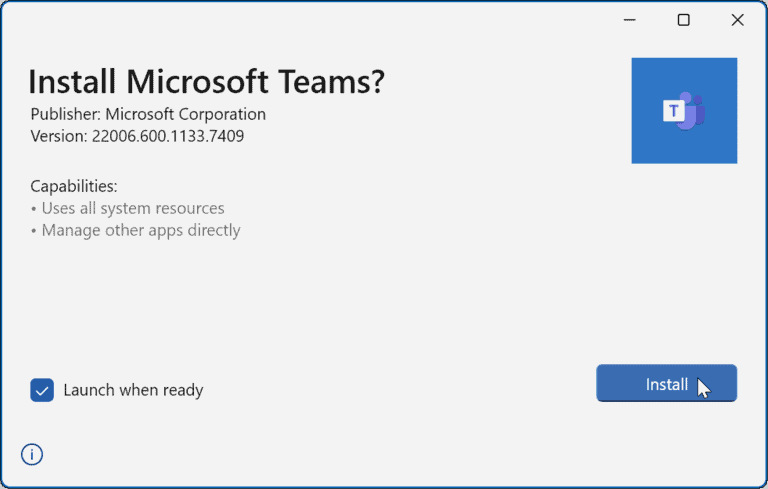
After reinstalling, launch Microsoft Teams to see if the issue has been resolved.
Method 2: Clear Microsoft Teams local cache
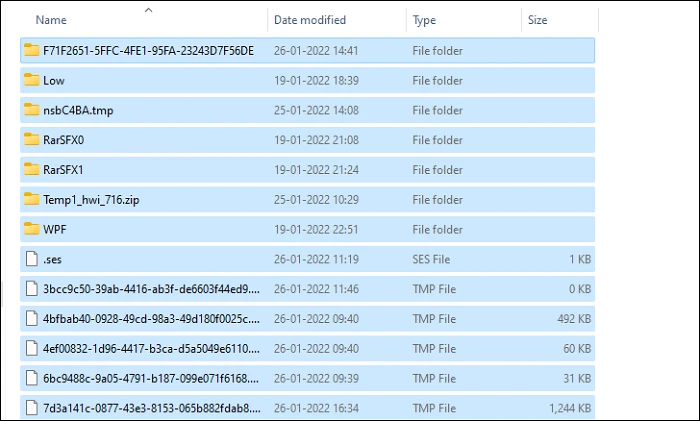
Clearing the Teams cache can fix issues caused by corrupted cache files.
%appdata%\Microsoft\Teams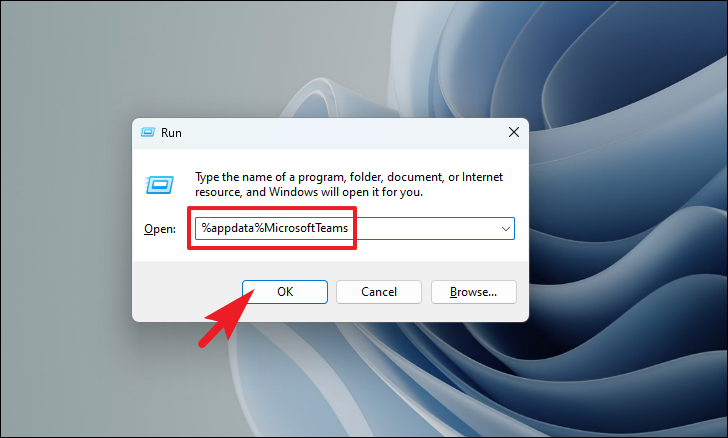
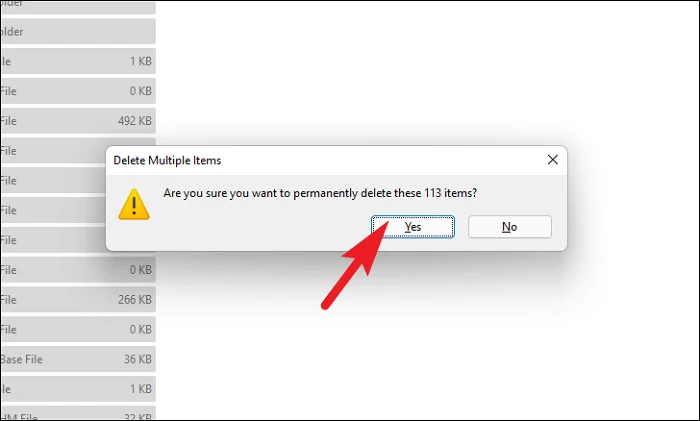
Note: This action cannot be undone, and it ensures all cache files are completely removed.
A confirmation prompt will appear. Click Delete to confirm the deletion.
Reopen Microsoft Teams to check if the problem is resolved.
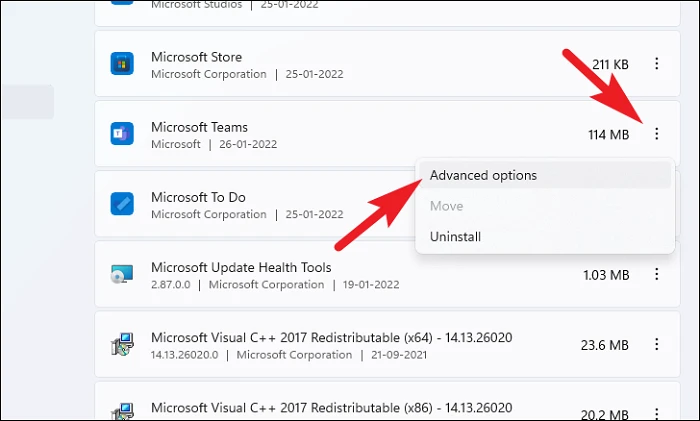
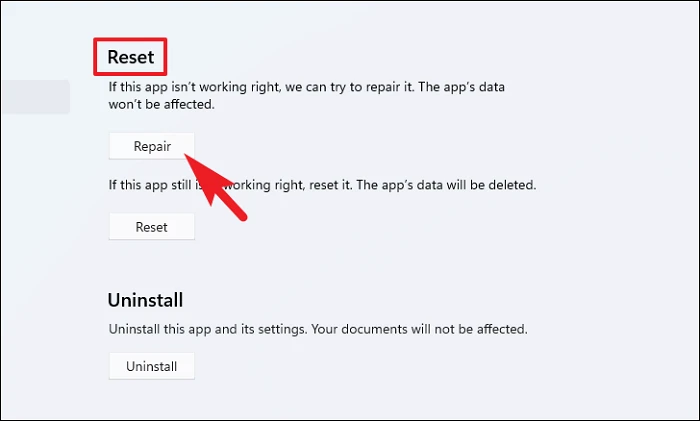
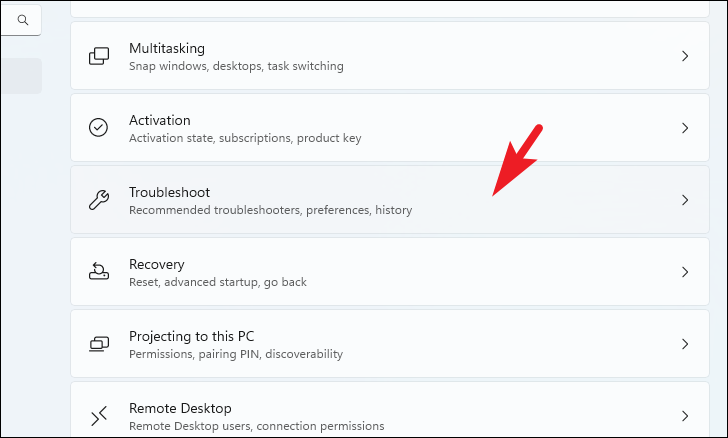
Method 3: Repair or reset Teams through Settings
Repairing or resetting the Teams app can fix issues related to app files.
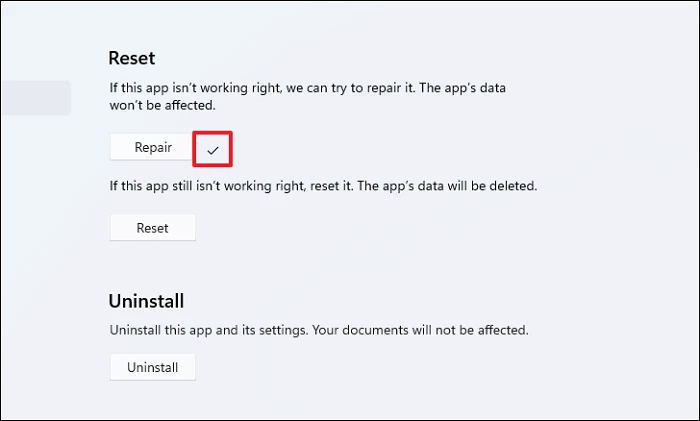
Once the repair is complete, a checkmark will appear next to the Repair button.
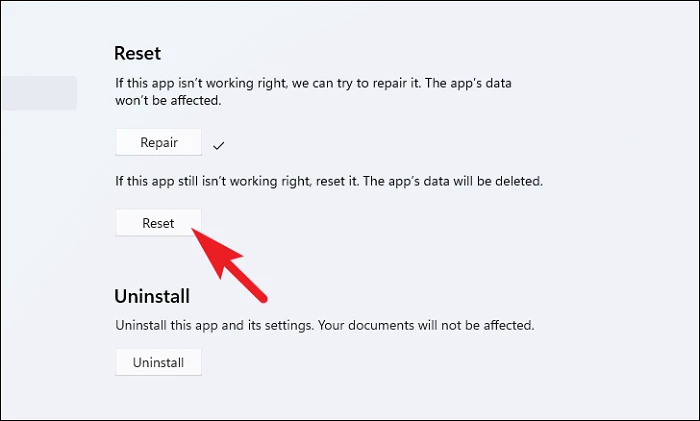
Note: Resetting will delete the app’s data, including your sign-in details, and restore the app to its default settings.
After resetting, launch Teams and sign in to see if the issue is resolved.
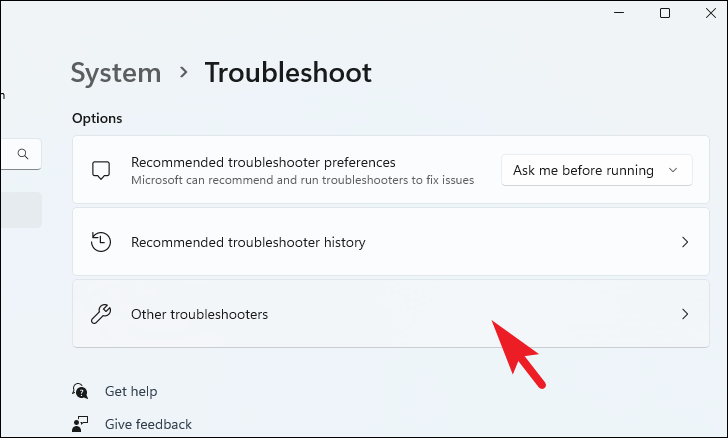
Method 4: Run the app troubleshooter
Using the built-in Windows troubleshooter can identify and fix problems with Microsoft Store apps, including Teams.
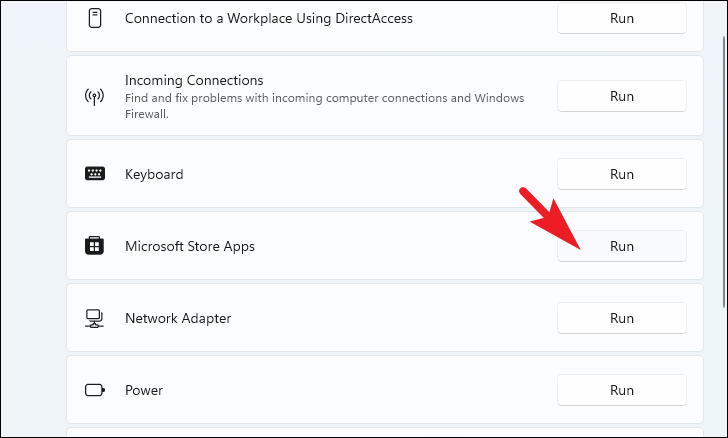
Follow the on-screen instructions to complete the troubleshooting process. If any issues are found, the troubleshooter will suggest fixes.
After the troubleshooter finishes, try opening Microsoft Teams again.
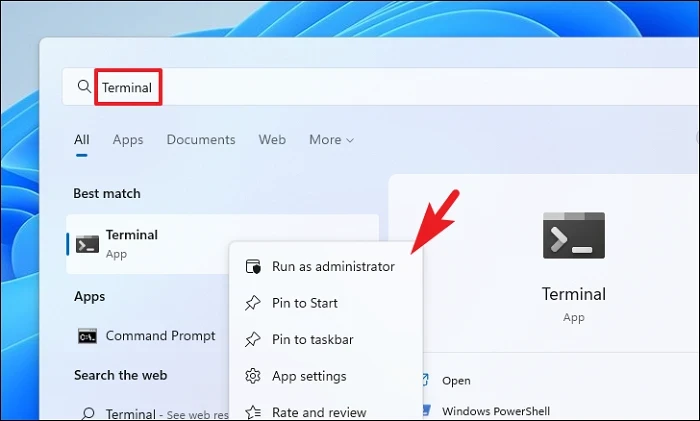
Method 5: Run SFC and DISM scans
Running System File Checker (SFC) and Deployment Image Servicing and Management (DISM) scans can repair corrupted system files that might be affecting Teams.

DISM /Online /Cleanup-Image /RestoreHealth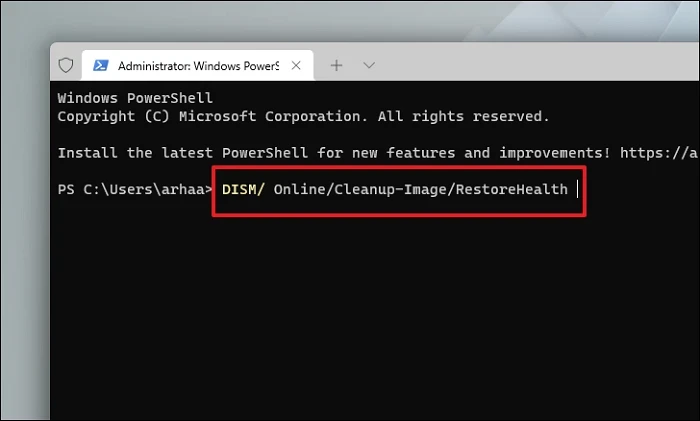
This process may take some time to complete.
SFC /scannow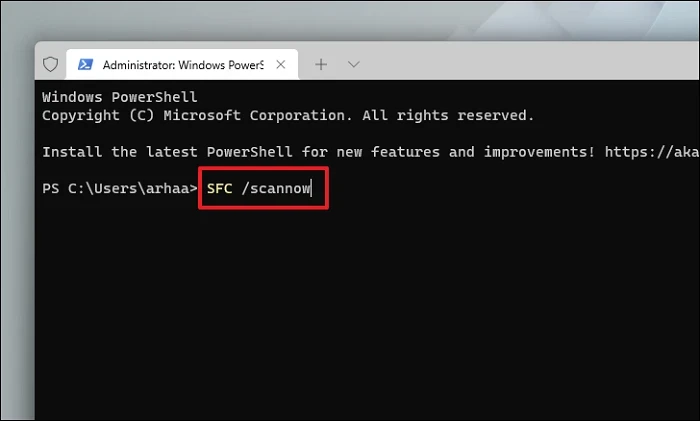
Wait for the verification to reach 100%. Once completed, restart your computer and try launching Teams.
Method 6: Check Microsoft Teams service status
Occasionally, Teams may not open due to server outages on Microsoft’s end.
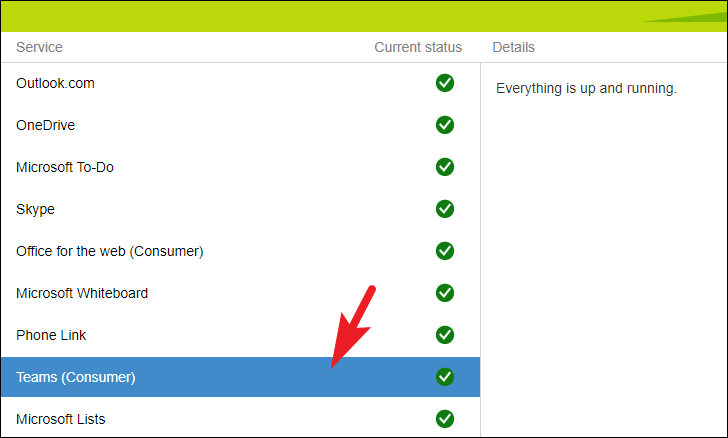
If there’s a green checkmark next to Teams, the service is operational. If not, the issue may be on Microsoft’s side, and you’ll need to wait until it’s resolved.
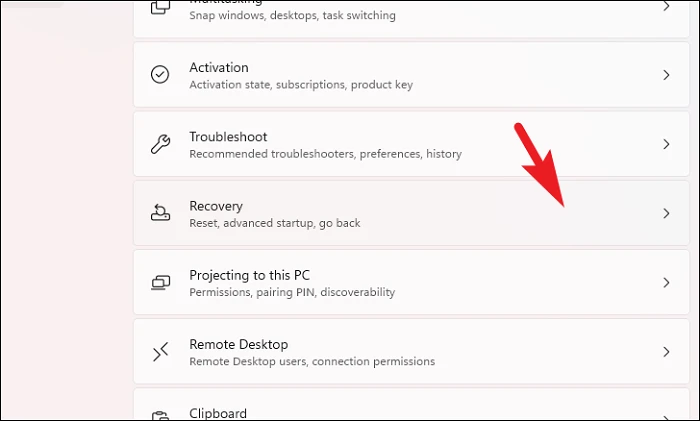
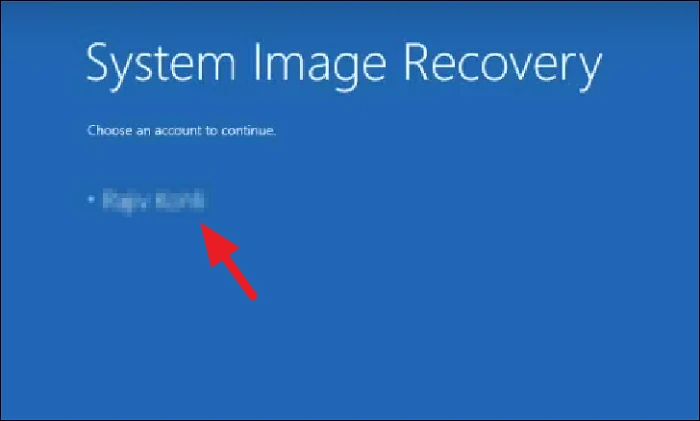
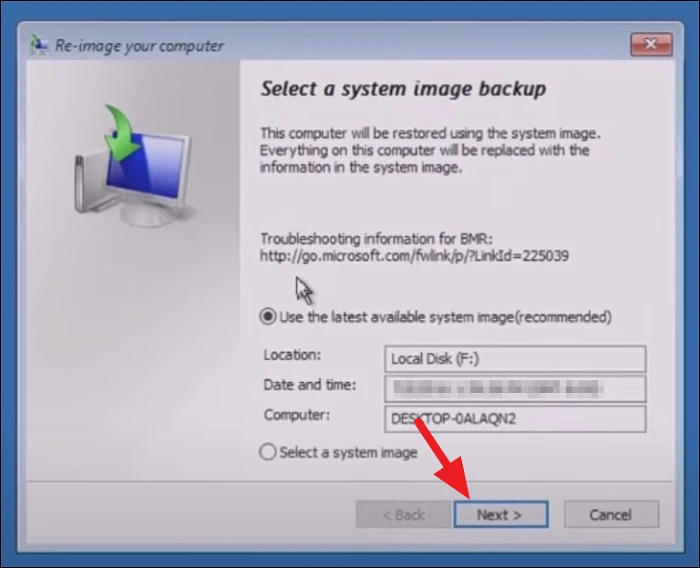
Method 7: Restore your PC using a system image backup
If the problem started recently and you have a system image backup from when Teams was functioning correctly, restoring your PC can resolve the issue.
Note: Restoring from a system image will remove any apps and data added after the backup was created. Ensure you back up important files before proceeding.

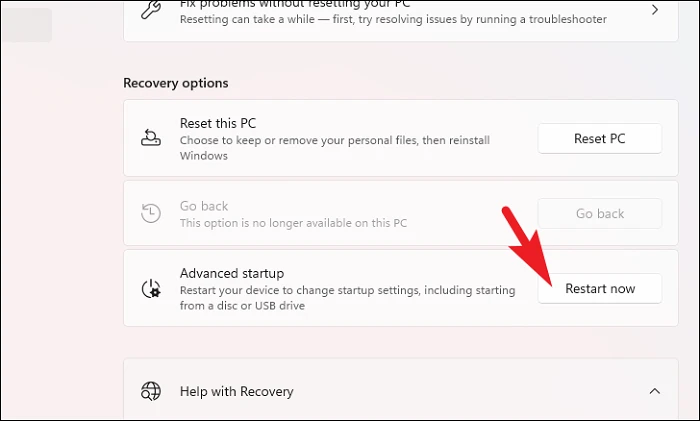
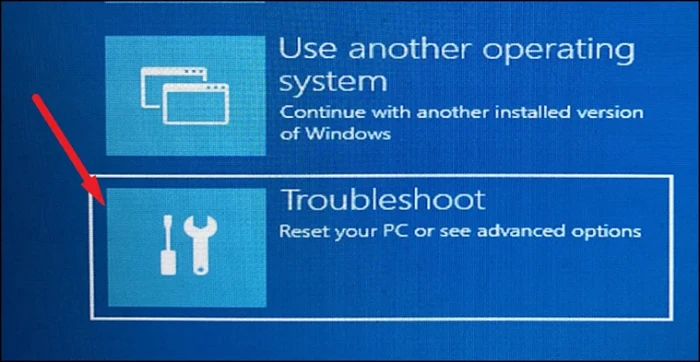

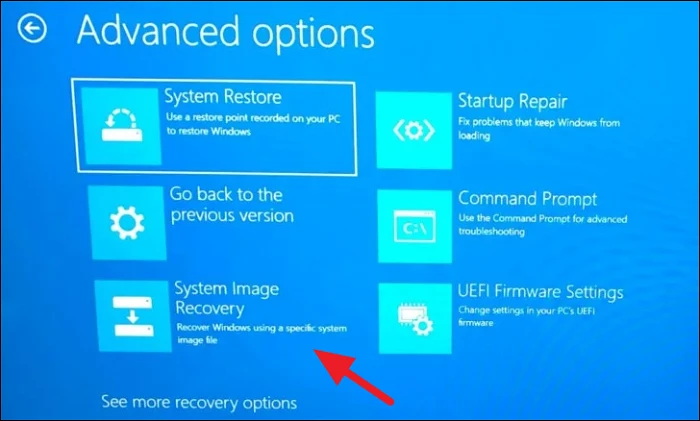
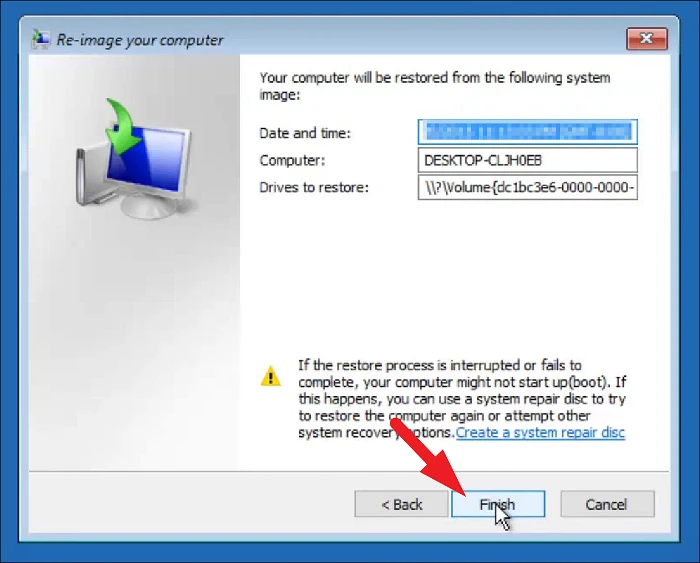
Once the process is complete, your system will be restored to the state it was in when the backup was made. Open Teams to see if the issue has been resolved.
By following these methods, you should be able to resolve the issue of Microsoft Teams not opening on your Windows 11 PC.


