
Signature lines or digital signatures in Microsoft Word sometimes fail to appear due to document settings, compatibility limitations, or certificate issues. This can disrupt document workflows, especially when signatures are required for approval or verification. Addressing this problem requires checking feature availability, ensuring correct configuration, and using alternative methods when standard options are unavailable.
Method 1: Insert a Signature Line Using Built-In Tools
Step 1: Place your cursor where you want the signature line to appear in your Word document. This ensures the signature line is positioned correctly for signers.

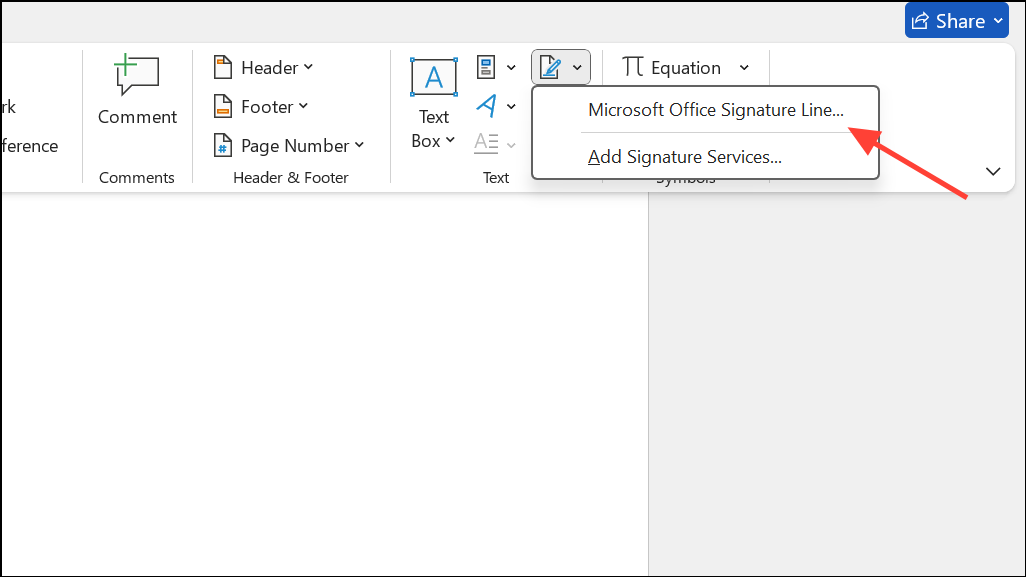
Step 2: Go to the Insert tab on the ribbon, then select Microsoft Office Signature Line. In most modern versions of Word for Windows, this command is directly available. If you do not see the option, your version or platform (such as Word for Mac) may not support digital signature lines natively.
Step 3: In the dialog box that appears, fill in the details for the suggested signer and any additional instructions. This information helps identify who should sign the document and clarifies the signing process.
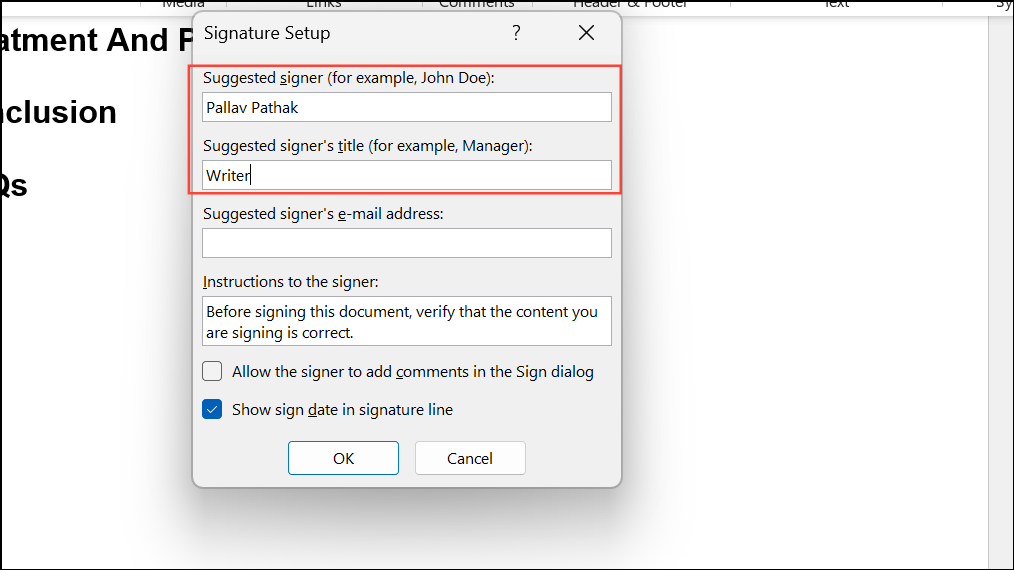
Step 4: Click OK. The signature line will be inserted at the chosen location, displaying an X and a line for the signature.

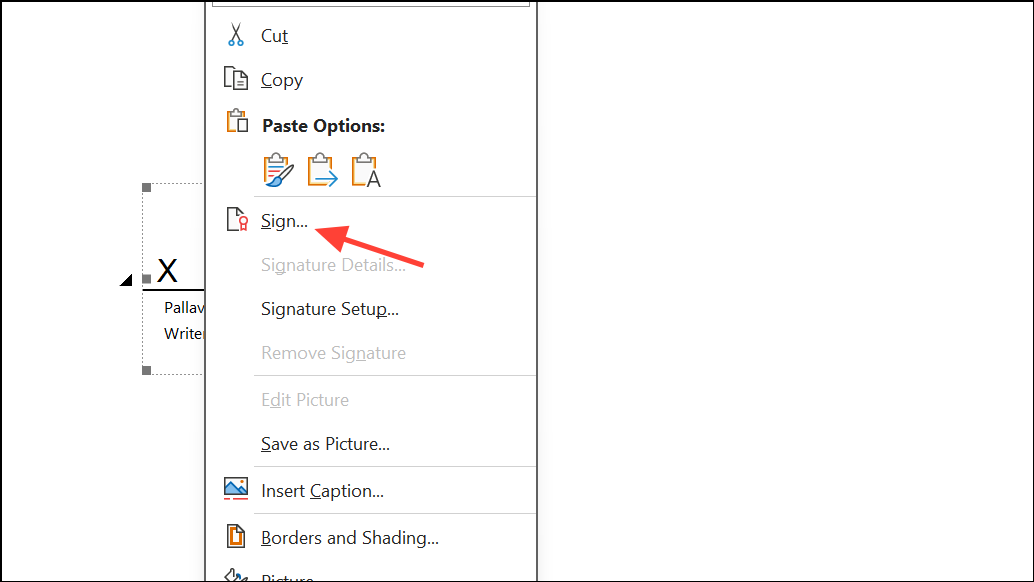
Step 5: To digitally sign, right-click the signature line and select Sign. If prompted, select your digital certificate. If you do not have one, Word may offer to create a self-signed certificate, though some organizations require certificates from trusted authorities.
Method 2: Scan and Insert a Handwritten Signature as an Image
Step 1: Sign your name on a blank sheet of paper using a dark pen for better visibility. This creates a clear source for your signature image.
Step 2: Scan the signed paper using a scanner, and save the file in a common image format such as .jpg or .png. If a scanner isn’t available, you can use a smartphone camera, but ensure the image is well-lit and clear.
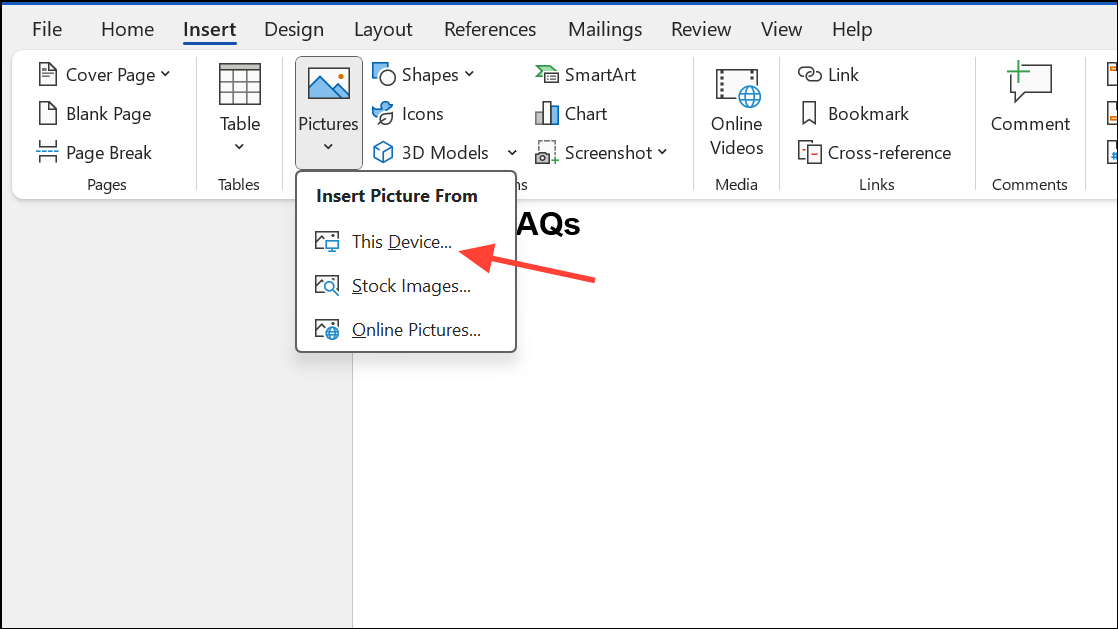
Step 3: Open your Word document, navigate to the Insert tab, and select Pictures > This Device. Locate your scanned signature image and insert it into the document.
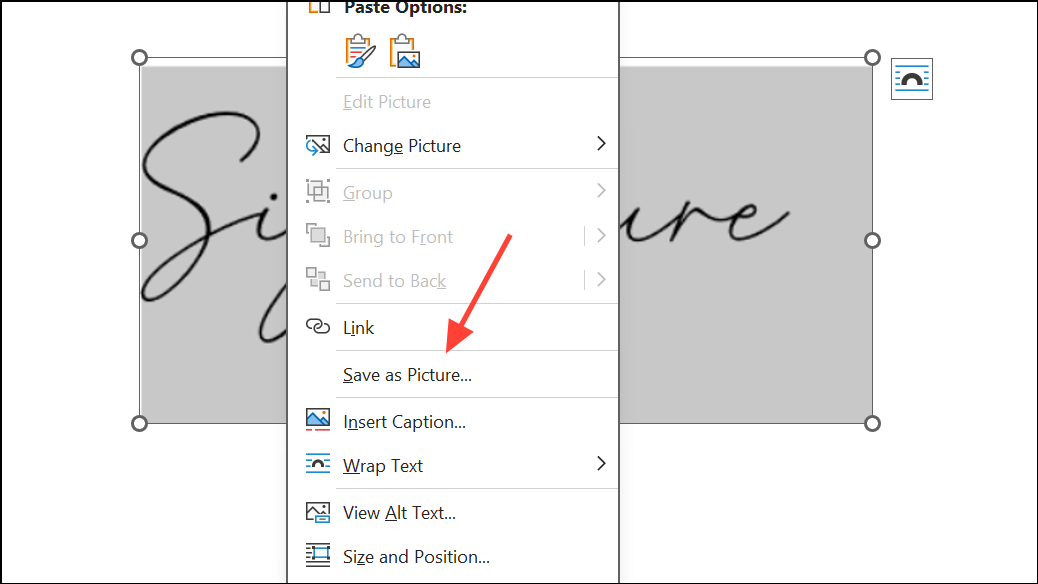
Step 4: Select the inserted image. Use the Picture Format tab and choose Crop to remove unwanted white space or borders. Right-click the image and choose Save as Picture if you want to reuse the cropped version in other documents.
Step 5: Drag the image to the appropriate place in your document. Resize as needed to fit the signature line area.
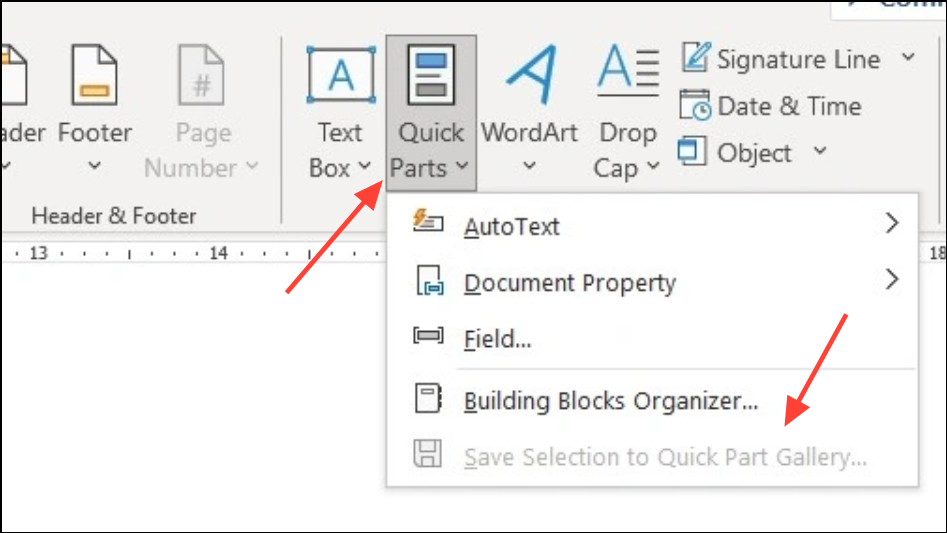
Step 6: For repeated use, select both the signature image and any accompanying text (such as your name or title), then use Insert > Quick Parts > Save Selection to Quick Part Gallery (Windows) or AutoText (Mac) to create a reusable signature block.
Method 3: Troubleshoot Missing Signature Line or Block
Signature lines may not appear in Word for several reasons:
- The feature is unavailable on your version or platform (such as Word for Mac or Word Online).
- The document is opened in a compatibility mode that disables digital signature features.
- Document protection or editing restrictions are enabled, preventing insertion of new signature lines.
- Signature lines created in macro-enabled templates may not display properly in Word Online or when uploaded to services like SharePoint.
- Signature lines may be hidden if the document is viewed in a mode that suppresses certain objects, such as in draft view or in some print layouts.
Step 1: Confirm that you are using a supported version of Word. Digital signature lines are available in most desktop versions of Word for Windows, but not in Word for Mac or Word Online. For unsupported platforms, use the scanned signature image method.
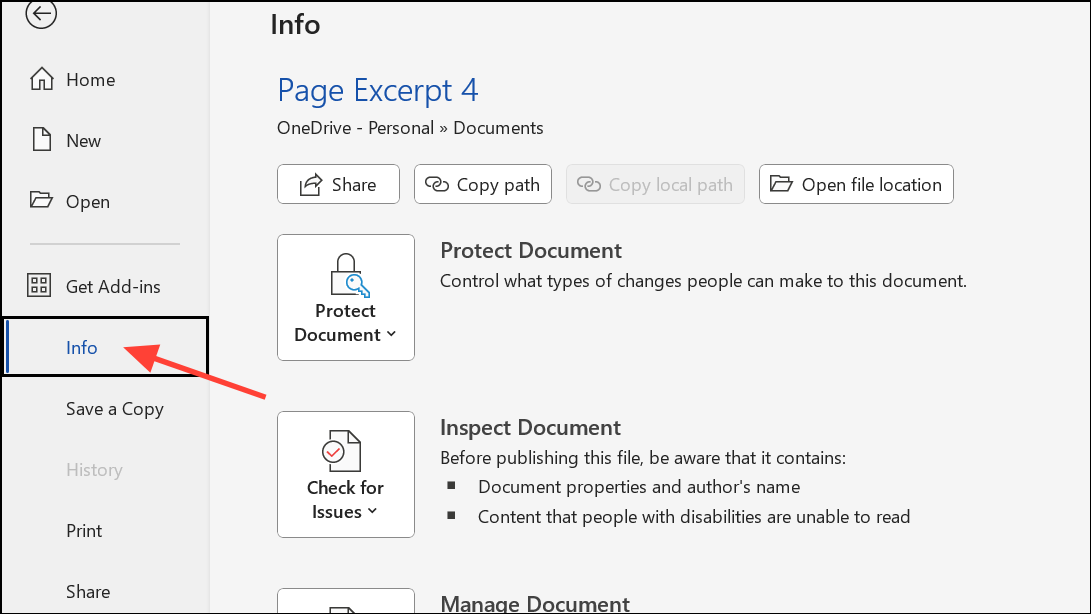
Step 2: Check document compatibility. If the file was created in an older version of Word, convert it to the latest format by selecting File > Info > Convert. This enables modern features, including signature lines.
Step 3: Review document protection settings. Go to the Review tab and select Restrict Editing. If restrictions are active, disable them to allow signature line insertion.

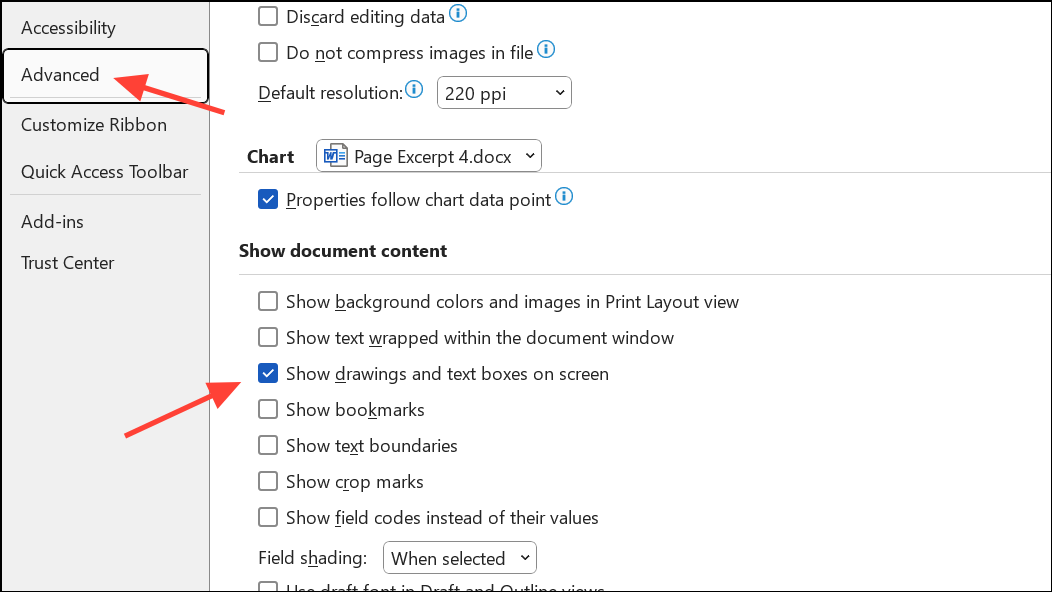
Step 4: If the signature line appears when printing but not on screen, check your display settings. Switch to Print Layout view and ensure that drawing objects and images are set to display in Word’s options: File > Options > Advanced, then scroll to Show document content and verify Show drawings and text boxes on screen is checked.
Step 5: When using SharePoint or Word Online, be aware that macro-enabled signature blocks or certain signature features may not be supported. Download the document and open it in the desktop app to view or add signatures.
Method 4: Fix Digital Certificate or Signing Issues
Sometimes, Word prevents you from signing a document due to untrusted or missing digital certificates. This is common when using self-signed certificates or after recent security updates.
Step 1: When prompted for a certificate, ensure you have a valid, trusted digital certificate installed. If your organization requires certificates from a specific authority, request one from your IT department or a trusted provider.
Step 2: If you see a warning about an untrusted root certificate, you may need to install the certificate in your trusted root store. This process varies by organization and may require administrator privileges.
Step 3: If using a self-signed certificate, be aware that recipients may not trust the signature. For official or legal documents, use a certificate from a recognized authority.
Resolving missing signature lines or digital signatures in Word usually involves checking feature availability, document compatibility, and certificate trust. These steps streamline the process of adding or restoring signatures so your documents remain valid and ready for approval.