
Minecraft has captured the hearts of gamers worldwide with its limitless creativity and adventure. If you’re attempting to install Minecraft on your Windows 11 PC and encountering issues with the installer not working, don’t worry. This guide offers several solutions to help you resolve the problem and start exploring your Minecraft world.
Check for a Legitimate Minecraft Installer
Before troubleshooting further, ensure that you’re using an official Minecraft installer. Illegitimate or pirated installers might be corrupted or contain malware, preventing proper installation and potentially harming your computer. Always download the installer from trusted sources like the Official Minecraft Download Page or the Microsoft Store.
Using genuine software not only safeguards your system but also provides you with the latest updates and features. If you’ve downloaded the installer from an unofficial source, delete it and obtain the authentic version before proceeding.
Run Minecraft Installer as Administrator
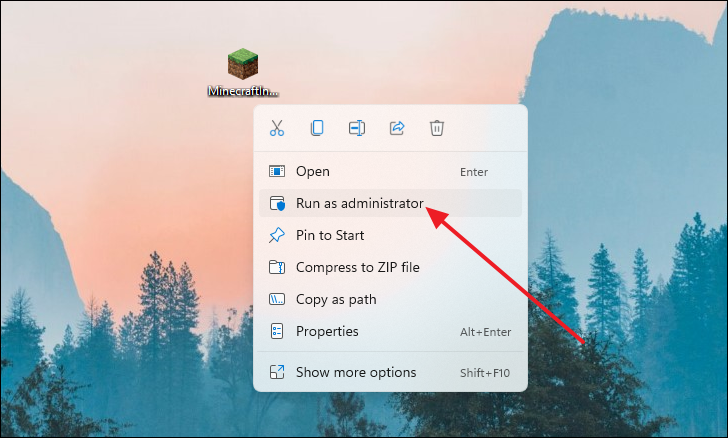
Sometimes, the installer requires administrative privileges to function correctly. Here’s how to run the Minecraft installer in administrator mode:
- Type
MinecraftInstallerin the Windows search bar. - Right-click on the MinecraftInstaller app from the search results.
- Select Run as administrator from the context menu.
A User Account Control (UAC) prompt may appear. Click Yes to allow the installer to make changes to your device. Try running the installer again to see if the issue is resolved.
Terminate Minecraft Processes Using Task Manager
If the installer is not responding, terminating any existing Minecraft processes might help:
- Press
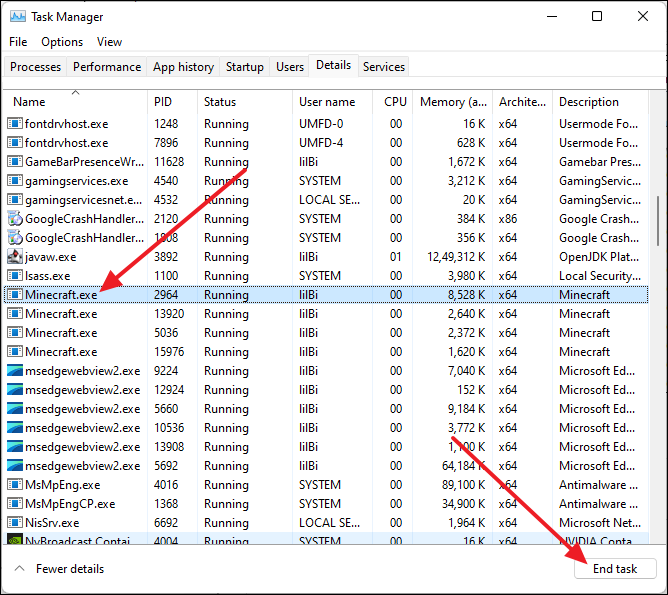
Ctrl+Shift+Escto open Task Manager. - Click on the Details tab to view all running processes.
- Scroll down and find any process named Minecraft.exe.
- Select the process and click End task at the bottom right.
- Confirm by clicking End process in the prompt.
After terminating the processes, try running the installer again.
Allow Minecraft Installer Through Windows Firewall
Your firewall settings might be blocking the installer. To allow it through the firewall:
- Press
Windows+Ito open Settings. - Click on Privacy & security in the left pane.
- Select Windows Security from the options.
- Click on Firewall & network protection.
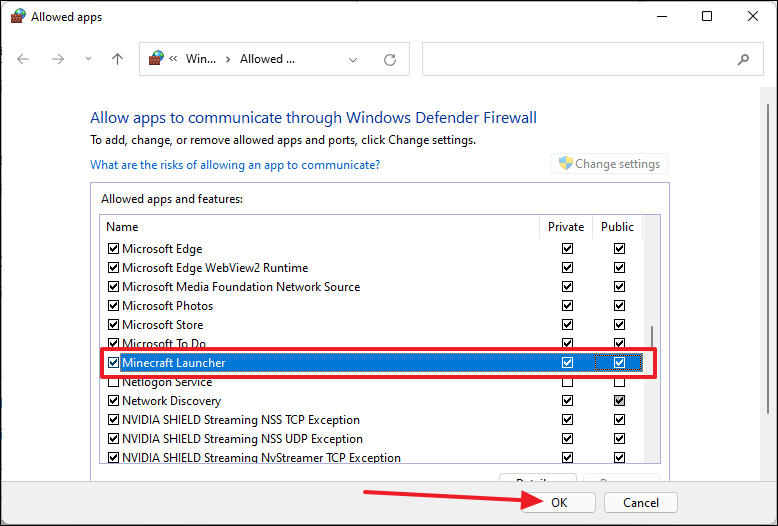
- In the new window, select Allow an app through firewall.
- Click on Change settings.
- Scroll down to find Minecraft Launcher and ensure both Private and Public boxes are checked.
- Click OK to save changes.
Disable Antivirus Temporarily
Third-party antivirus software might interfere with the installer. Consider temporarily disabling or uninstalling your antivirus:
- Press
Windows+Ito open Settings. - Click on Apps in the left pane.
- Select Apps & features.
- Find your antivirus software in the list.
- Click the three-dot menu next to it and select Uninstall.
Alternatively, you can disable the antivirus from its settings or use the Control Panel to uninstall it. After disabling or uninstalling, try running the installer again.
Remove Mod Files
If you’ve previously installed Minecraft mods, leftover mod files might cause conflicts with the new installer. To delete mod files:
- Press
Windows+Rto open the Run dialog. - Type
%appdata%and pressEnter.
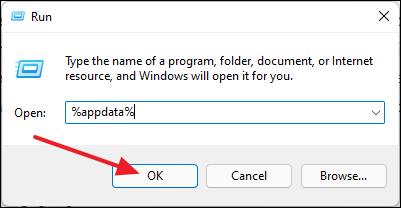
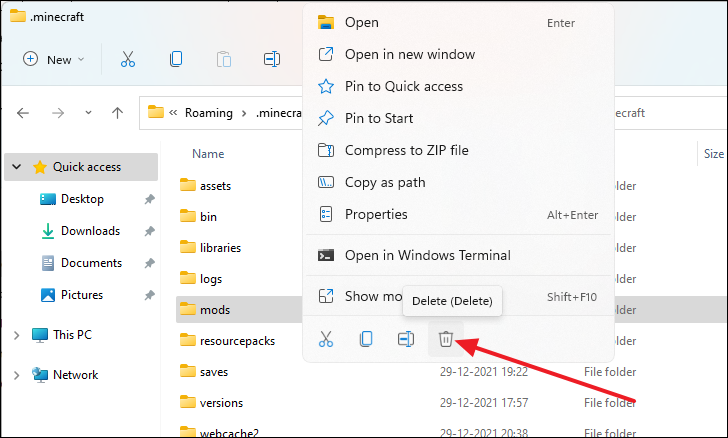
- Open the .minecraft folder.
- Locate the mods folder.
- Right-click on the mods folder and select Delete.
After removing the mod files, try running the installer again.
Run Minecraft Installer in Compatibility Mode
If the installer isn’t compatible with Windows 11, running it in compatibility mode might help:
- Locate the
MinecraftInstaller.exefile (e.g., on your Desktop). - Right-click on the file and select Properties.
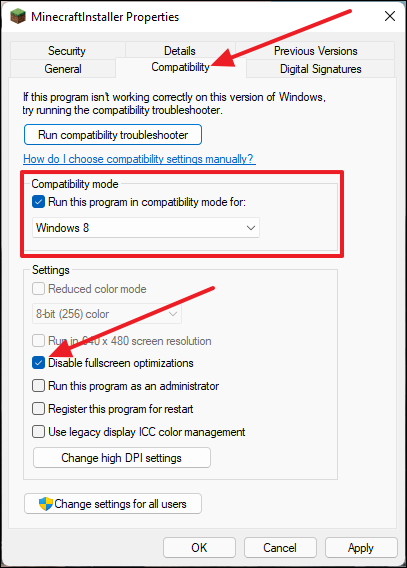
- Go to the Compatibility tab.
- Check the box for Run this program in compatibility mode for:
- Select Windows 8 from the dropdown menu.
- Under Settings, check the box for Disable fullscreen optimizations.
- Click Apply, then OK.
Now, try running the installer again.
Ensure Your PC Meets Minimum Requirements
Minecraft, though known for its low system requirements, still needs certain hardware and software specifications to run. Verify that your PC meets the minimum requirements:
- CPU: Intel Core i3 3210 or AMD A8 7600 APU.
- GPU: Integrated: Intel HD Graphics 4000 or AMD Radeon R5 series. Dedicated: NVIDIA GeForce 400 Series or AMD Radeon HD 7000 series.
- RAM: 4 GB DDR3 RAM or higher.
- OS: 64-bit Windows 7 or later.
- Connection: Active internet connection.
If your system doesn’t meet these requirements, the installer may not work, and you might need to upgrade your hardware.
Update Graphics Drivers
Outdated graphics drivers can cause installation issues. To update your graphics drivers:
- Right-click on the Start button and select Device Manager.
- Expand the Display adapters section.
- Right-click on your graphics card and select Update driver.
- Choose Search automatically for drivers and follow the prompts.
You can also use your GPU manufacturer’s software (NVIDIA GeForce Experience or AMD Radeon Software) to update drivers.
Restart Your Computer
Sometimes, a simple restart can fix temporary glitches:
- Close the Minecraft installer if it’s open.
- Click on the Start menu.
- Select the Power icon.
- Choose Restart from the options.
After your computer restarts, try running the installer again.
Download Minecraft via the Xbox App
If the installer still doesn’t work, you can download Minecraft using the Xbox app:
- Open the Microsoft Store and install the Xbox app if you haven’t already.
- Launch the Xbox app and sign in with your Microsoft account.
- Type
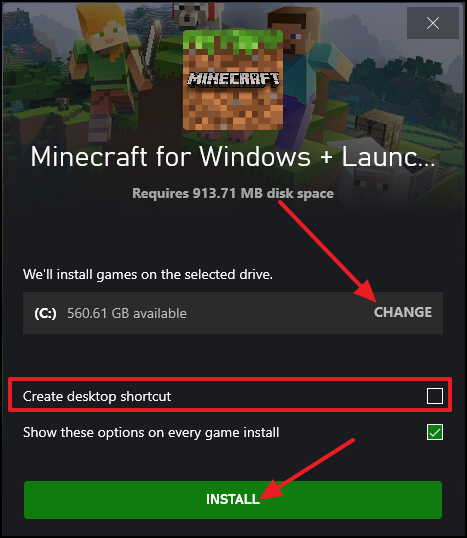
Minecraftin the search bar at the top. - Select Minecraft for Windows + Launcher from the results.
- Click on Install.
- Follow the prompts to complete the installation.
Once installed, you can launch Minecraft directly from the Xbox app.
By following these methods, you should be able to resolve the Minecraft installer issues on your Windows 11 PC and enjoy building and exploring in your Minecraft world.


