
Audio output can stop working in Windows 11 immediately after a system update, leaving the speaker icon disabled or showing “No Audio Devices Connected.” This issue interrupts video playback, meetings, and basic computer use. The following steps address the most effective solutions first, including driver repairs, device settings, and system troubleshooting, based on recent user reports and official documentation.
Update or Reinstall Audio Drivers
Driver conflicts or corruption are a leading cause of audio loss after Windows 11 updates. Reinstalling or updating the audio driver restores communication between the operating system and your hardware.
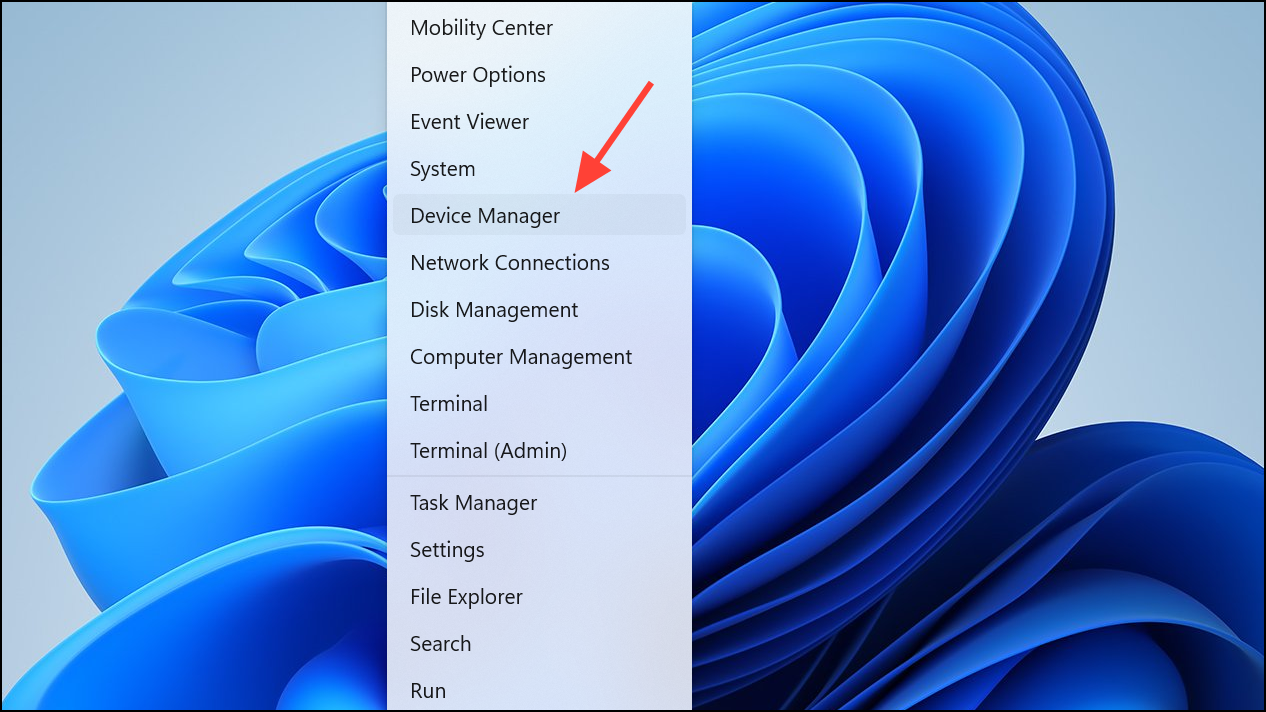
Step 1: Open Device Manager by pressing Win + X and selecting Device Manager.
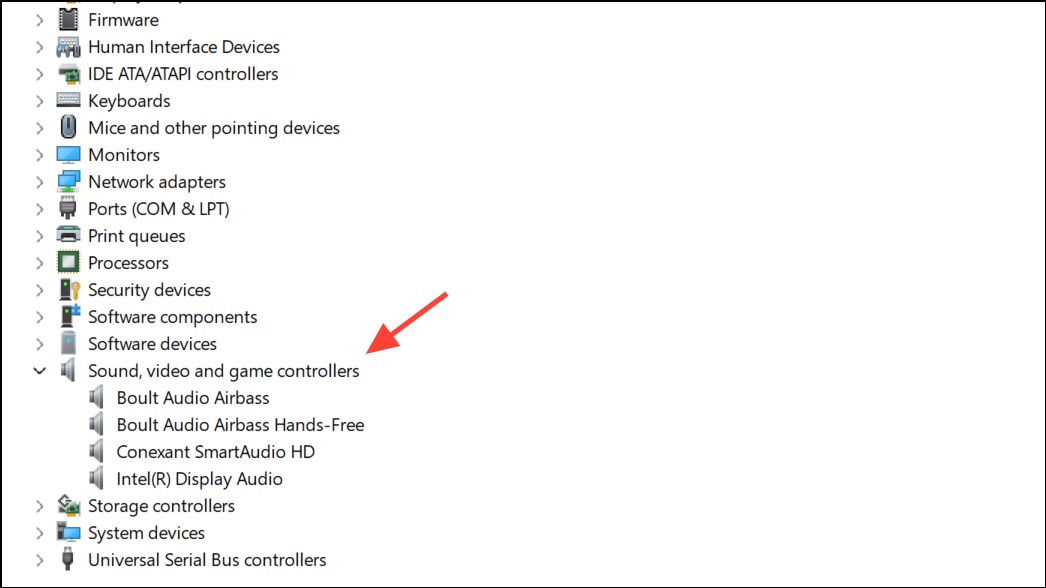
Step 2: Expand Sound, video and game controllers. If your audio device is missing, look for any unknown devices or items with a yellow exclamation mark.
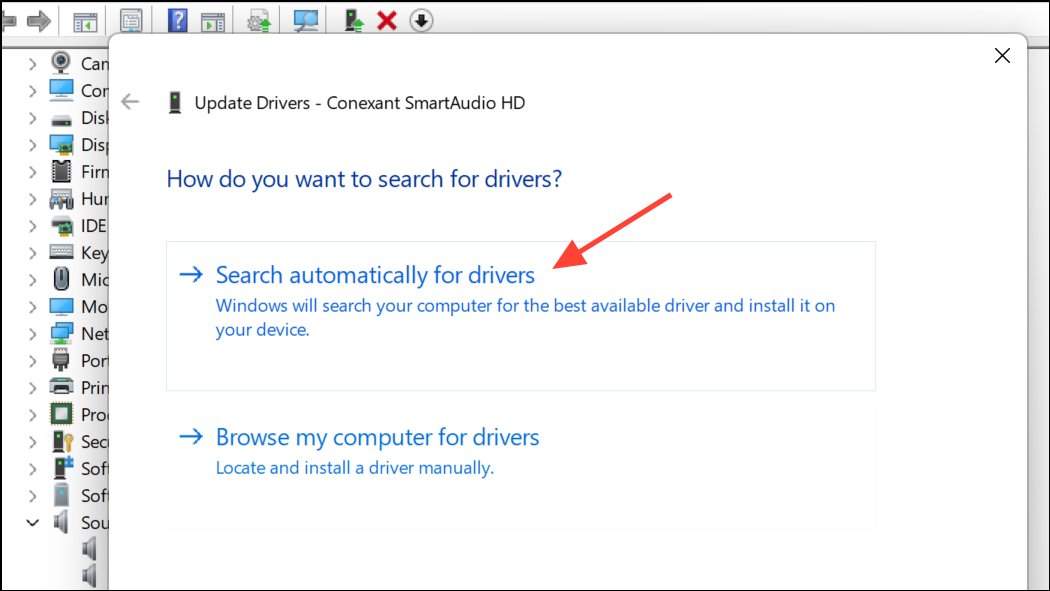
Step 3: Right-click your audio device (such as Realtek, Intel, or your laptop’s brand-specific driver) and select Update driver. Then choose Search automatically for drivers.
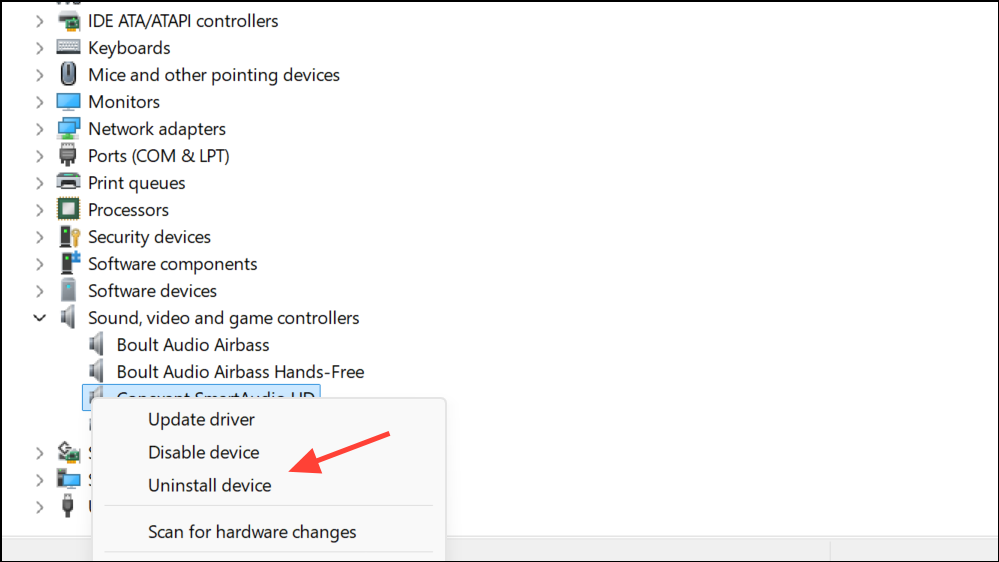
Step 4: If no updates are found, right-click the device again and select Uninstall device. Confirm and restart your computer. Windows will attempt to reinstall the correct driver automatically on reboot.
Step 5: If your audio device is still missing or not working, visit your device manufacturer’s support website (such as HP, Dell, Lenovo, or ASUS) and download the latest Windows 11-compatible audio driver. Install it, then restart your PC.
Roll Back Audio Driver
Occasionally, a new driver installed by Windows Update causes compatibility problems. Rolling back to a previous version can immediately restore sound.
Step 1: In Device Manager, right-click your audio device and choose Properties.

Step 2: Navigate to the Driver tab and select Roll Back Driver if the option is available. Follow the prompts and restart your computer.
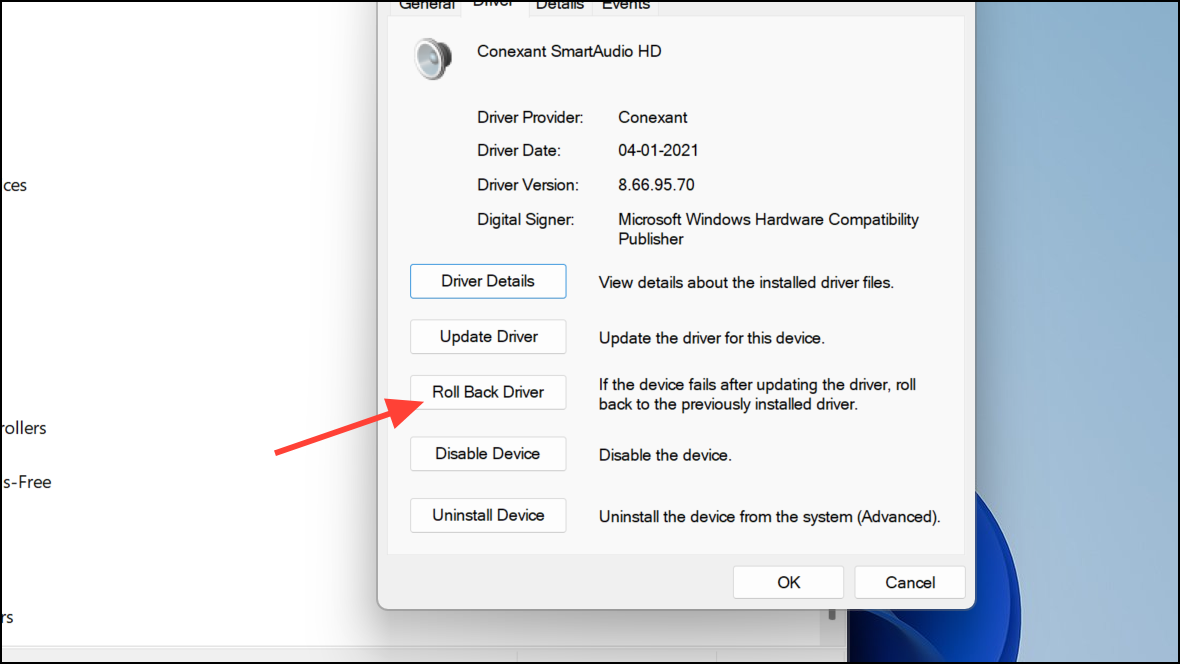
This step is especially effective if the issue began immediately after a Windows update or a driver upgrade.
Check and Set Default Audio Output Device
Updates can reset your default audio device, causing sound to route to the wrong output (such as a disconnected monitor or disabled port).
Step 1: Click the speaker icon in the system tray and select the arrow next to the volume slider.
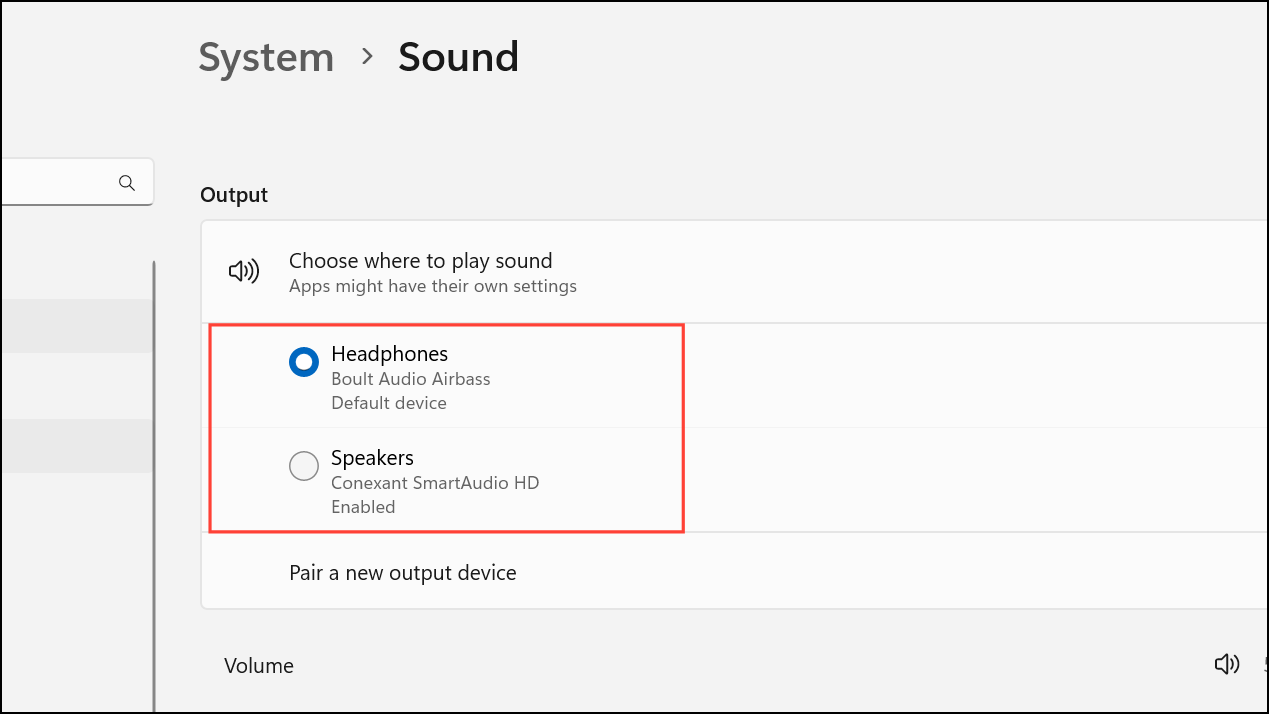
Step 2: Review the list of available audio devices. Select your preferred output (like “Speakers,” “Headphones,” or your USB device). Test audio playback.
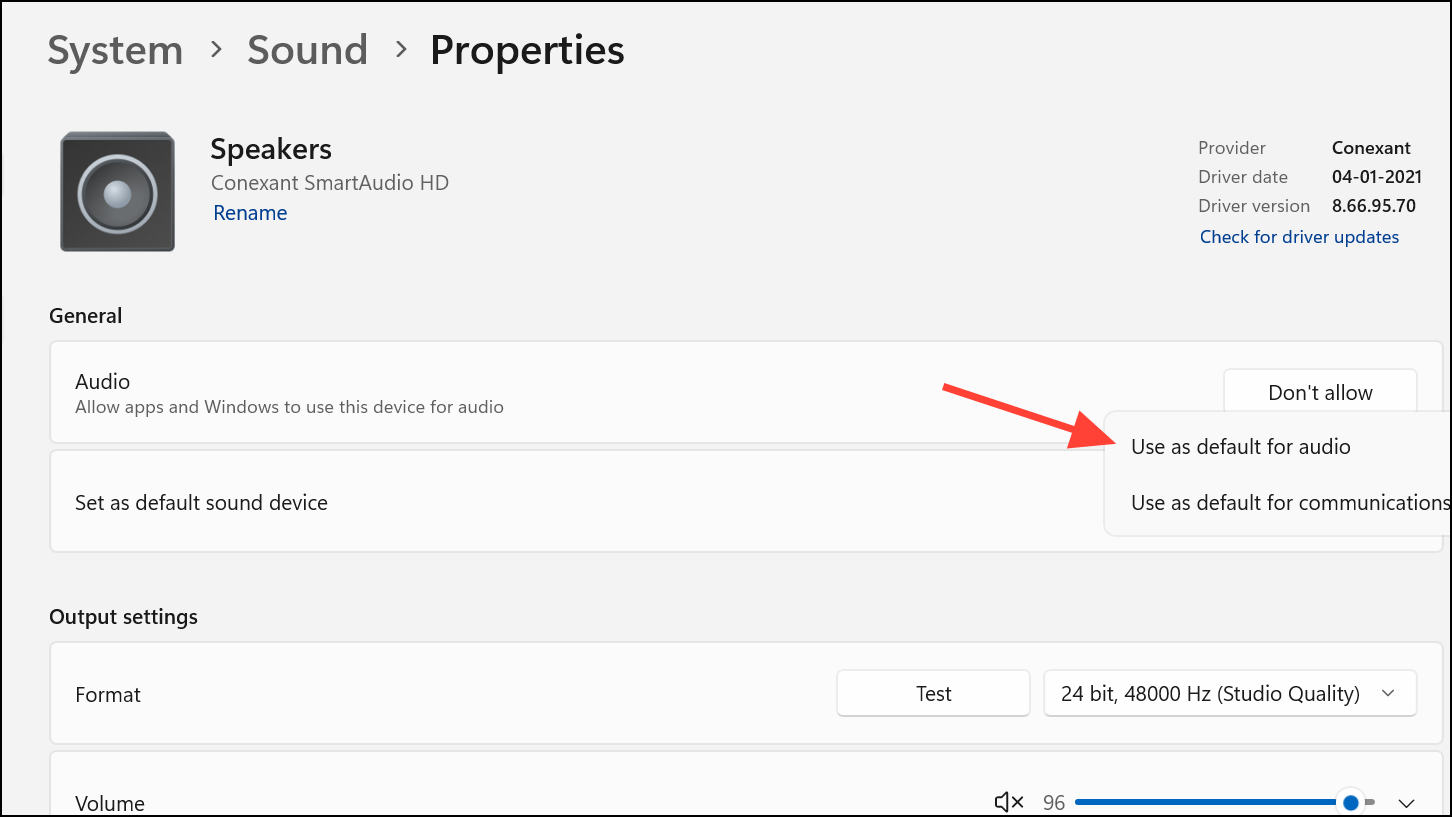
Step 3: To set a device as default, right-click the speaker icon and choose Sound settings. Under Output, select your main device and click Use as default for audio.
Run the Windows Audio Troubleshooter
Windows 11 includes a built-in troubleshooter that automatically diagnoses and repairs common audio problems.
Step 1: Go to Settings > System > Sound.
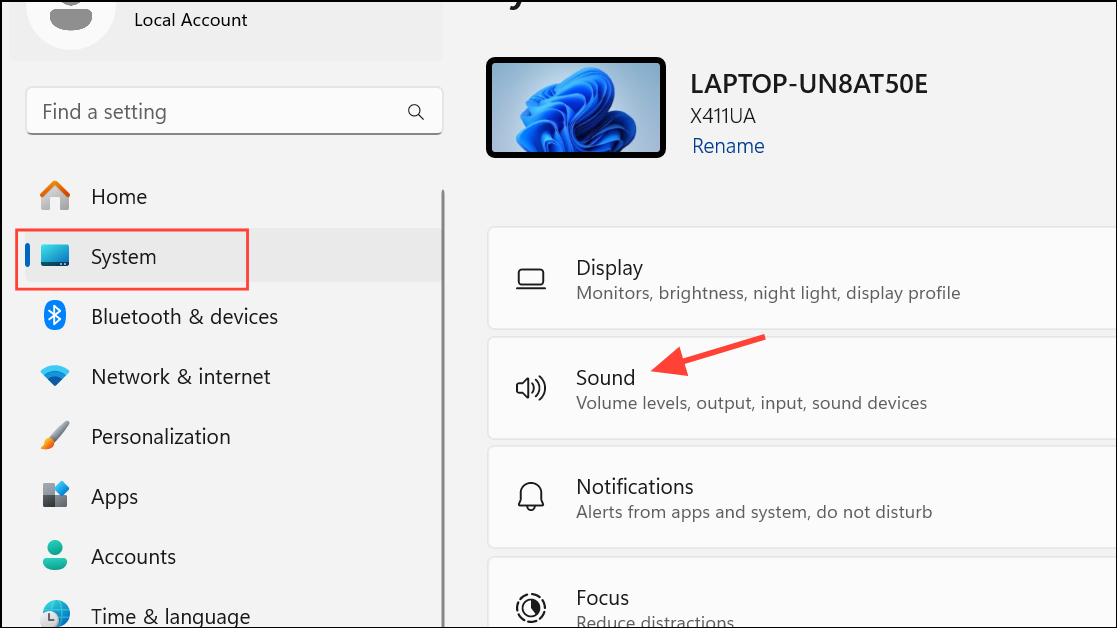
Step 2: Scroll to Troubleshoot common sound problems and select Troubleshoot next to your output device. Follow the on-screen instructions.
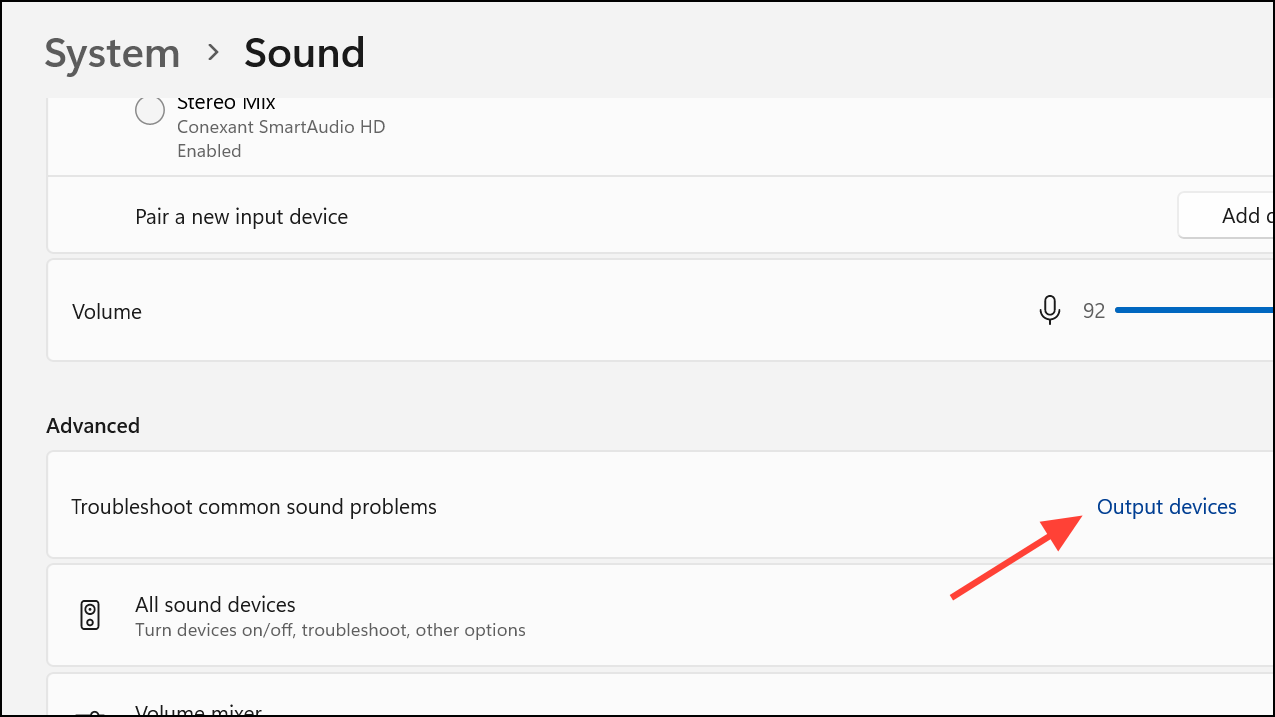
Step 3: If prompted, allow Windows to apply suggested fixes or restart services.
Restart Audio Services
Audio services may fail to start correctly after an update. Restarting them restores audio processing on your system.
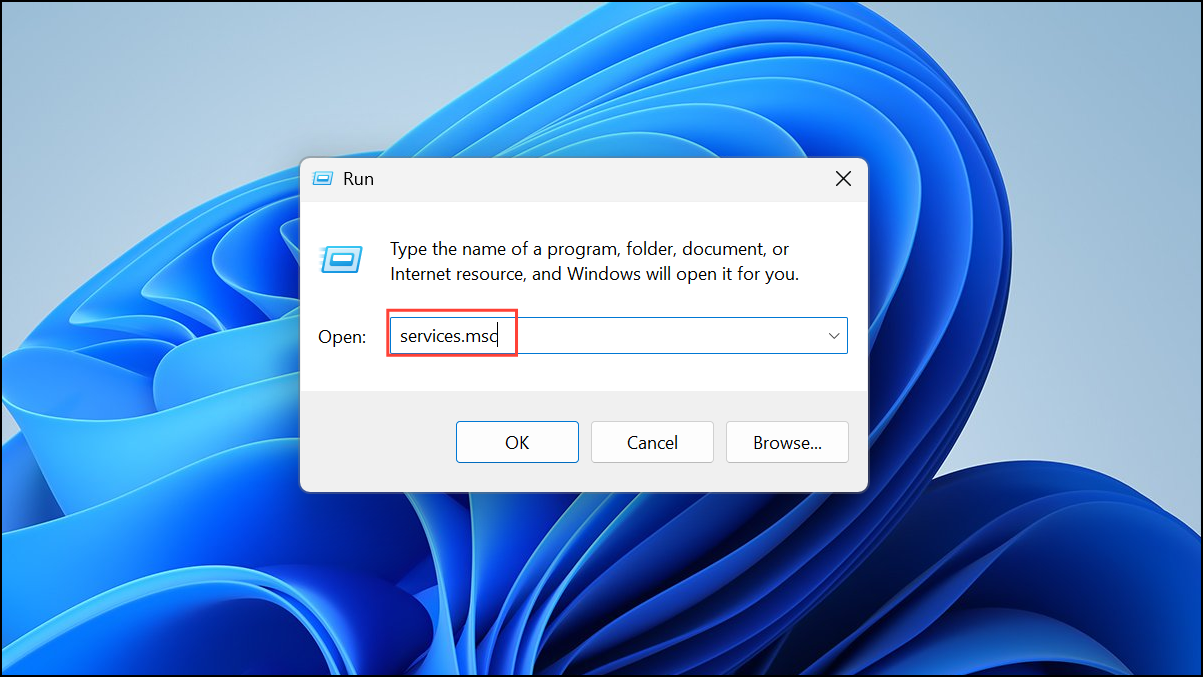
Step 1: Press Win + R, type services.msc, and press Enter.
Step 2: Find and right-click each of the following services, then select Restart:
- Windows Audio
- Windows Audio Endpoint Builder
- Remote Procedure Call (RPC)
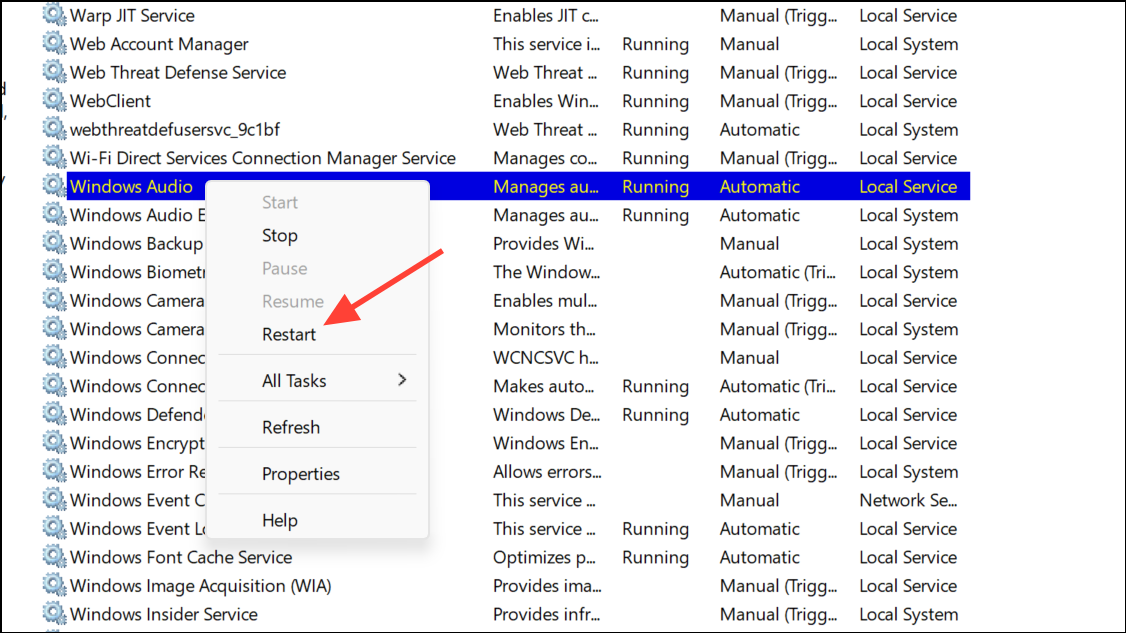
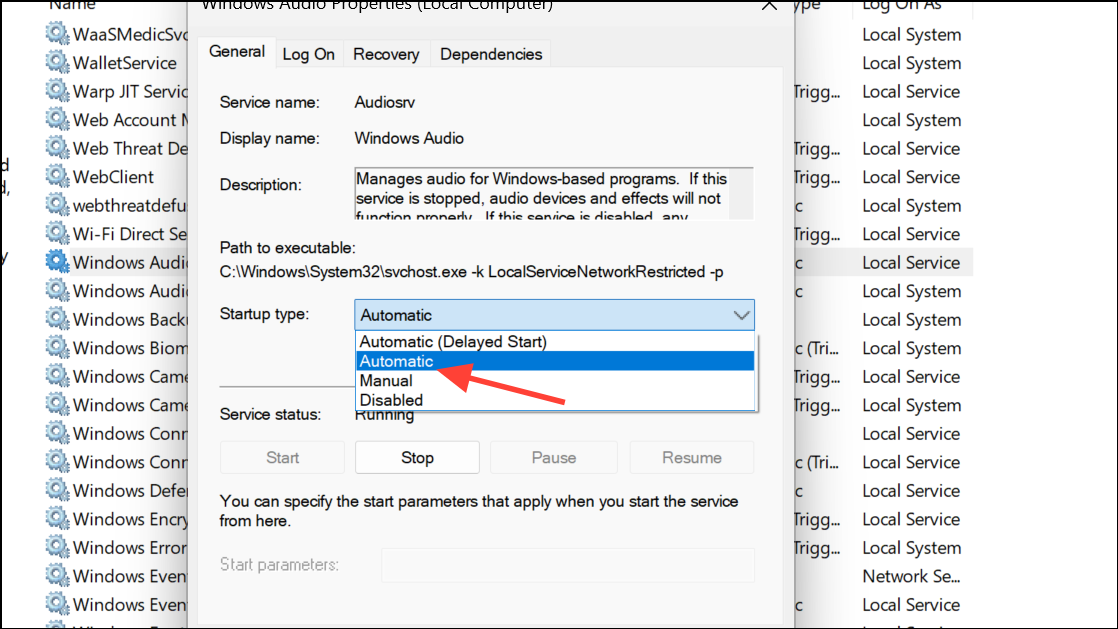
If any service is not running, right-click and select Start. Confirm that their startup type is set to Automatic.
Disable Audio Effects
Audio effects or “enhancements” may cause compatibility problems after updates, resulting in silence or distortion.
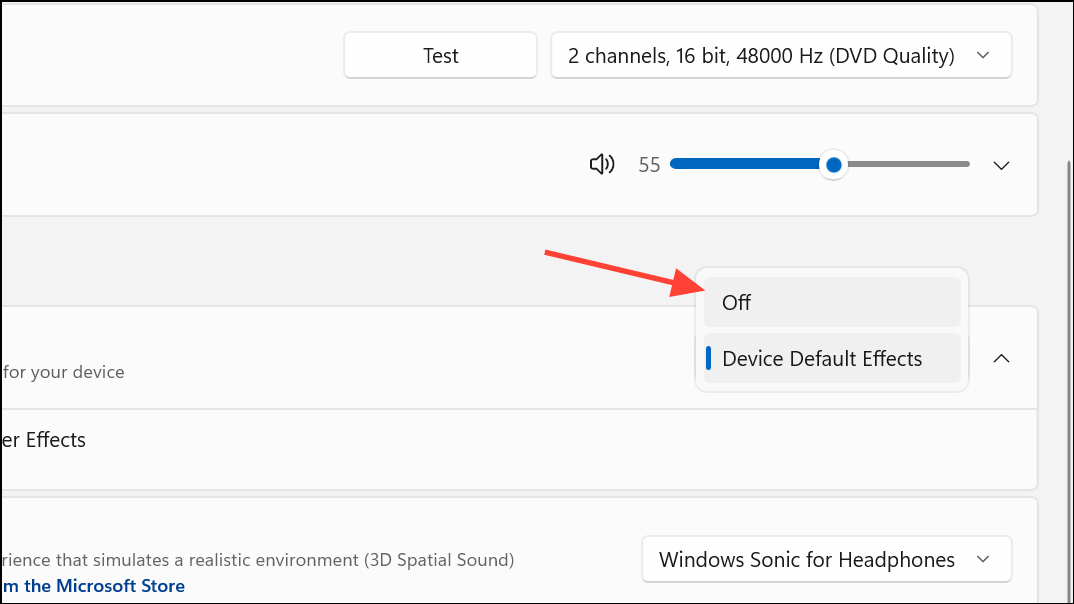
Step 1: Open Settings > System > Sound and select your output device.
Step 2: Scroll to Advanced settings and set Audio enhancements to Off in the dropdown menu.
Alternatively, right-click the speaker icon, go to Sounds, select your playback device, click Properties, and disable all enhancements under the Enhancements tab.
Check Physical Connections and Hardware
Loose or incorrectly placed cables, unplugged speakers, or malfunctioning ports can appear as software problems.
Step 1: Verify all cables are securely connected to the correct ports. For desktop PCs, check both front and rear audio jacks.
Step 2: If using external speakers or headphones, test them on another device. If they work elsewhere, the issue is likely with your PC’s software or hardware configuration.
Step 3: If only USB audio devices work (but not 3.5mm jacks), check motherboard drivers or try alternate ports. Sometimes, switching the playback device setting in your audio control panel (such as Realtek Audio Console) resolves the issue.
Restore System or Reinstall Windows (Last Resort)
If none of the above steps restore audio, a system restore or a clean Windows installation may be required. This approach reverts your PC to a previous state where sound was functioning or completely refreshes your operating system.
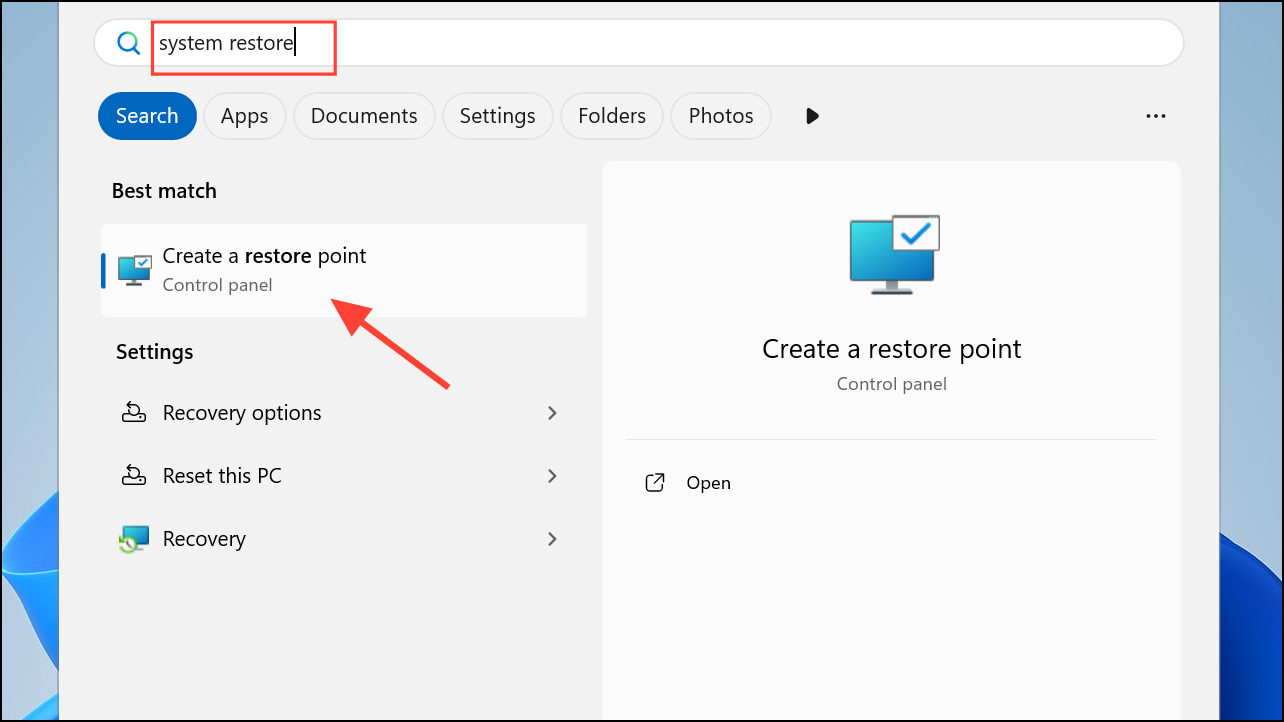
Step 1: Search for System Restore in the Start menu and follow the prompts to restore from a point before the update.
Step 2: If system restore is unavailable or fails, back up your important files and perform a clean installation of Windows 11. This step has resolved persistent audio issues for some users when all other troubleshooting fails.
Regularly updating drivers from your device manufacturer and checking sound settings after major updates can prevent audio problems in the future. If problems persist, contacting official support or your hardware vendor may be necessary for hardware diagnostics.