
The "There's a problem with this drive. Scan the drive now and fix it." message appears on Windows 11 when connecting USB drives or external storage devices that may have file system inconsistencies, bad sectors, or were previously removed unsafely. This prompt can interrupt file transfers, create uncertainty about data safety, and, if ignored repeatedly, may signal deeper drive health issues.
Windows 11 triggers this message when it detects the drive's file system is marked as "dirty"—a state that often results from unplugging the device without using the "Safely Remove Hardware" option. While the device may still function, persistent errors can indicate underlying problems that, if left unaddressed, risk data loss or total drive failure.
Method 1: Use Windows Error Checking to Scan and Repair the Drive
Step 1: Open File Explorer and locate the problematic drive in the list of available devices.
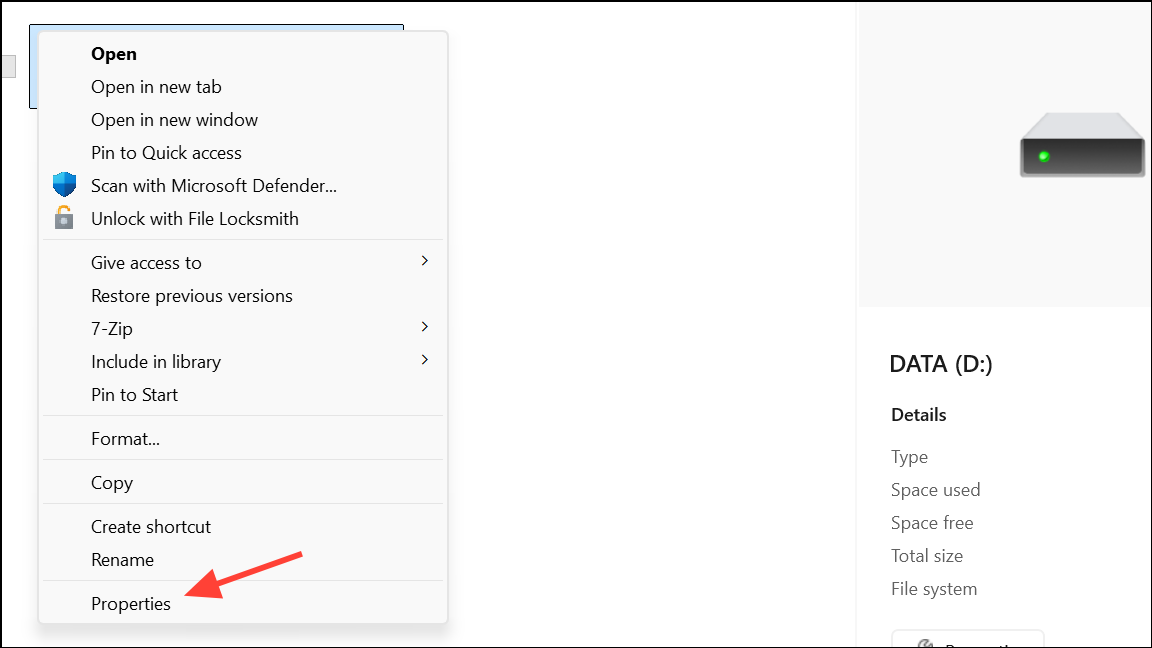
Step 2: Right-click the drive and select Properties.
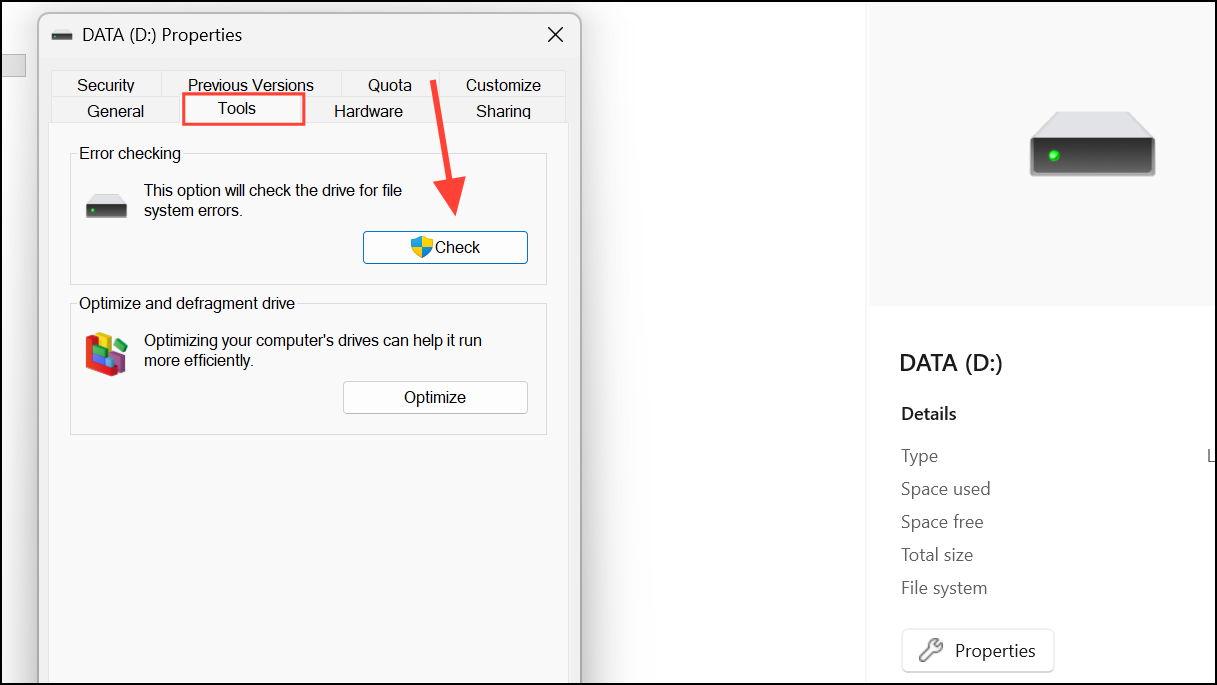
Step 3: Go to the Tools tab, then under Error checking, click Check.
Step 4: In the dialog box that appears, click Scan and repair drive. Windows will scan for file system errors and attempt repairs automatically. Wait for the process to complete before removing the drive or accessing files.
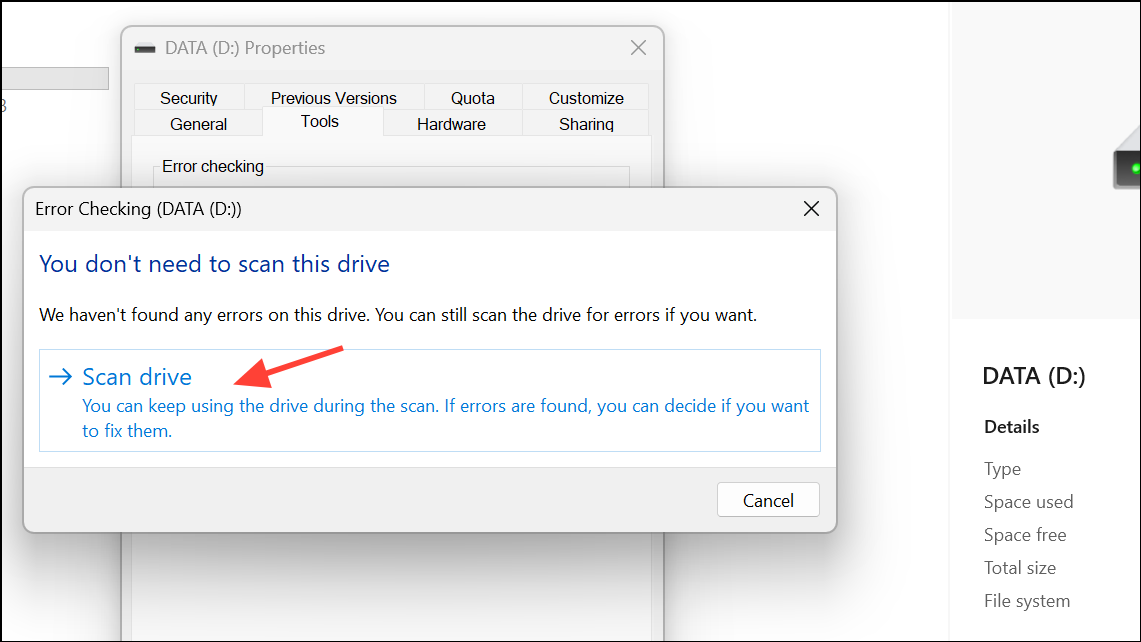
Scanning the drive with this tool does not delete your files; it checks the integrity of the file system and fixes any inconsistencies. If errors are found and repaired, the "scan and fix" prompt should stop appearing when you reconnect the drive.
Method 2: Run CHKDSK Command for Advanced Repair
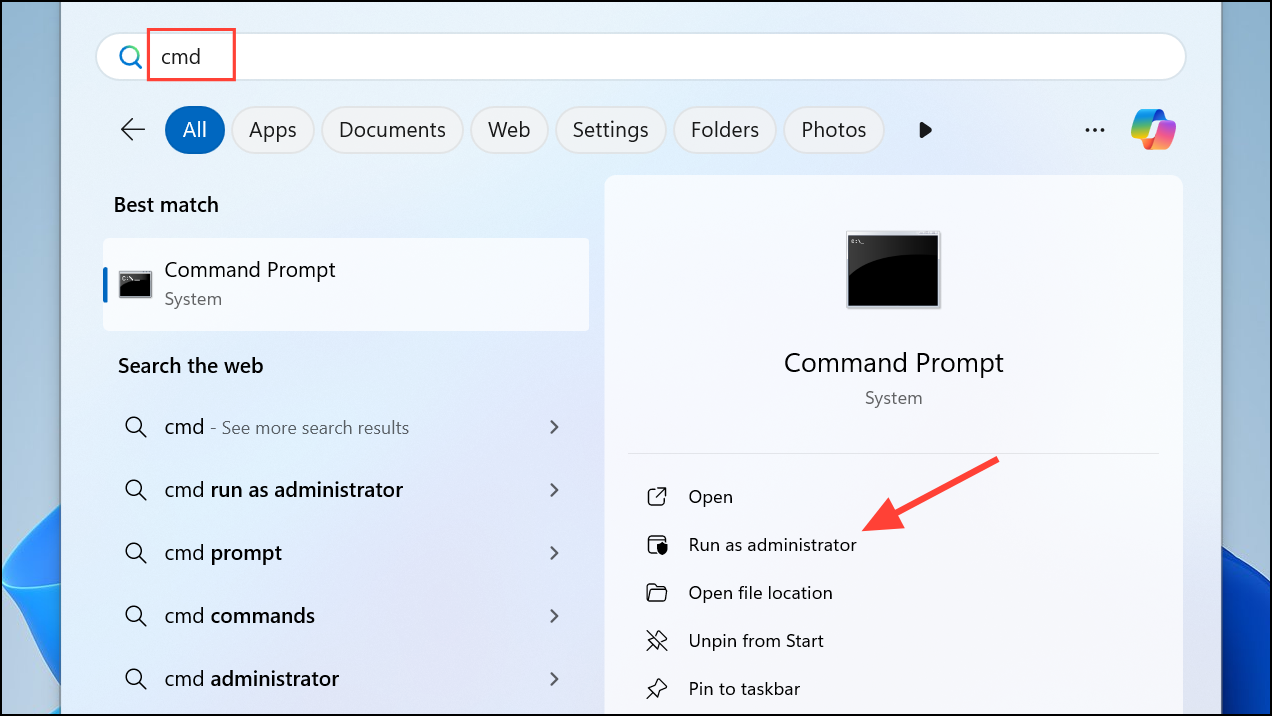
Step 1: Press Windows + S, type cmd, right-click Command Prompt, and select Run as administrator.
Step 2: In the command window, enter:
chkdsk X: /f /r /xReplace X: with the actual drive letter of your USB or external drive.
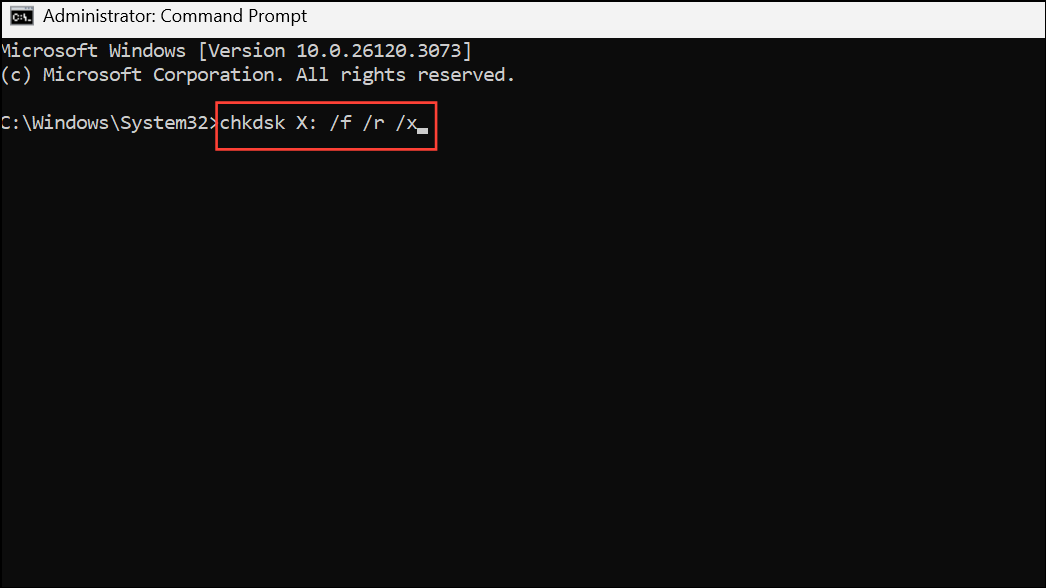
Step 3: Press Enter. The /f flag tells Windows to fix errors, /r locates bad sectors and recovers readable information, and /x forces the drive to dismount before the scan.
Step 4: Wait for CHKDSK to complete its scan and repair. This may take several minutes to hours, depending on drive size and error severity. Once finished, reconnect the drive and check if the error persists.
CHKDSK is a powerful tool for addressing deeper file system corruption and physical bad sectors. However, if the drive repeatedly fails CHKDSK or errors return immediately, the hardware may be failing.
Method 3: Set the Drive to Quick Removal Mode
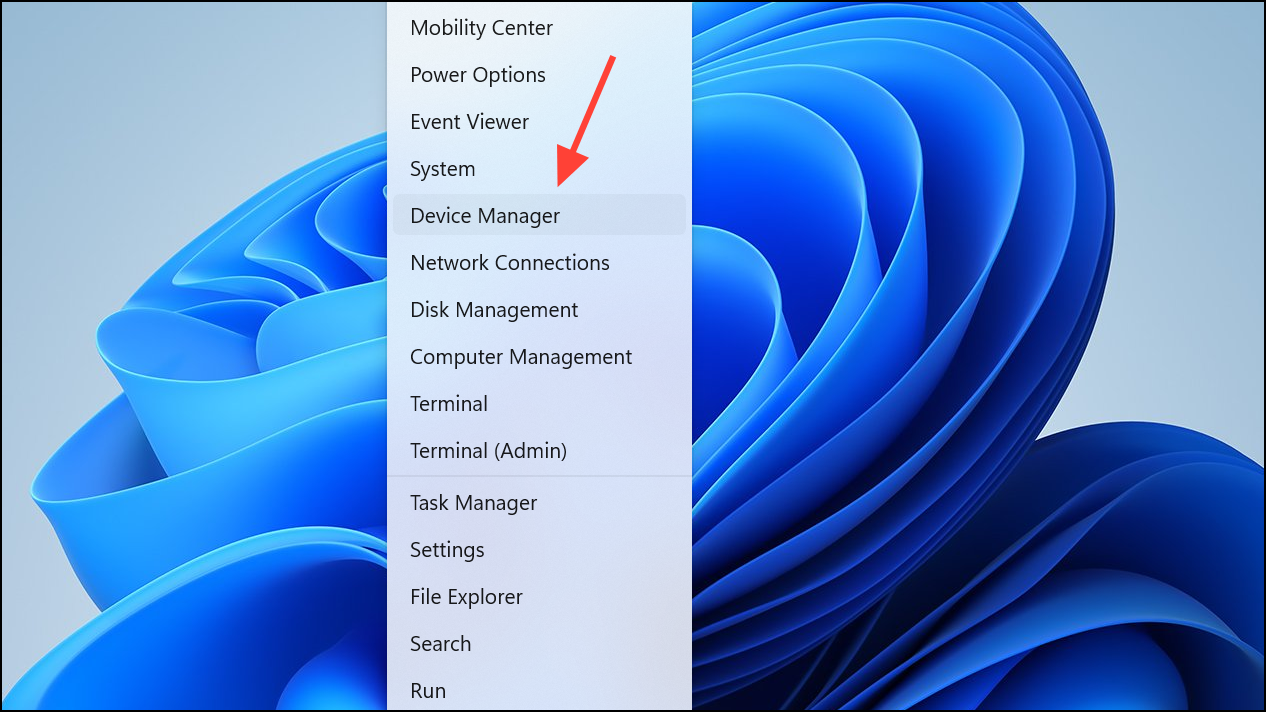
Step 1: Press Windows + X and select Device Manager.
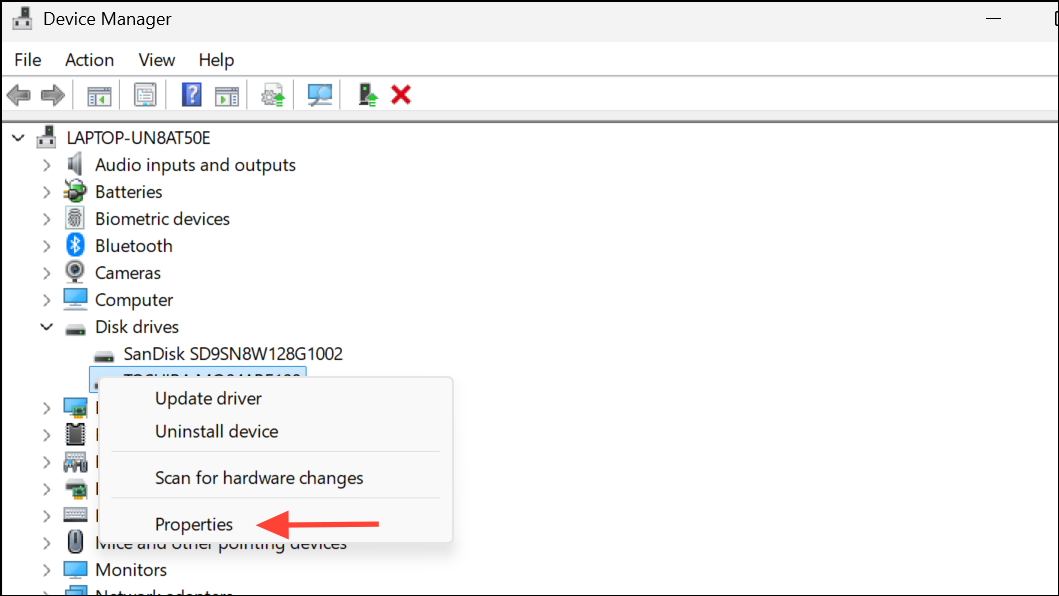
Step 2: Expand Disk drives, right-click your USB or external drive, and choose Properties.
Step 3: Go to the Policies tab and select Quick removal. Click OK to apply.
Quick removal disables write caching, allowing you to unplug the drive without using "Safely Remove Hardware." While this slightly reduces write performance, it minimizes the risk of file system errors from sudden removal. This setting is especially useful for users who frequently move drives between devices.
Method 4: Use Windows Troubleshooter for Hardware Devices
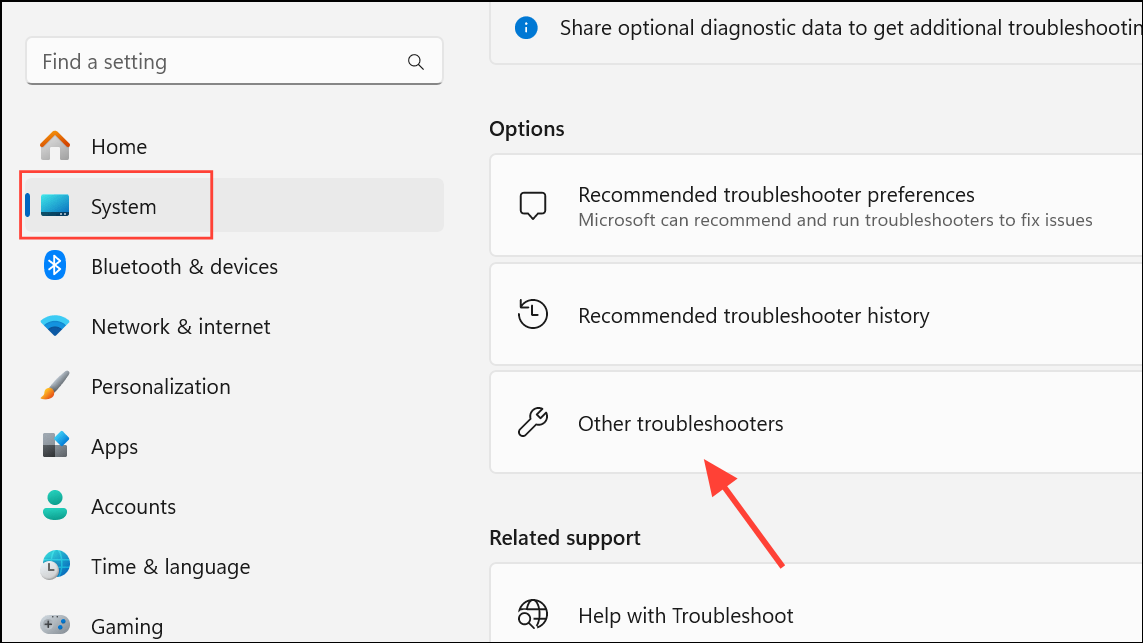
Step 1: Open Settings and navigate to System > Troubleshoot > Other troubleshooters.
Step 2: Find Hardware and Devices in the list and click Run.
Step 3: Follow the on-screen instructions. The troubleshooter will scan for hardware conflicts, driver issues, or other device-specific errors and attempt to resolve them automatically.
This built-in tool is useful for addressing problems that persist after basic repairs or when the drive is not recognized correctly by Windows 11.
Method 5: Reinstall or Update USB Drivers
Step 1: Open Device Manager with Windows + X and select Device Manager.
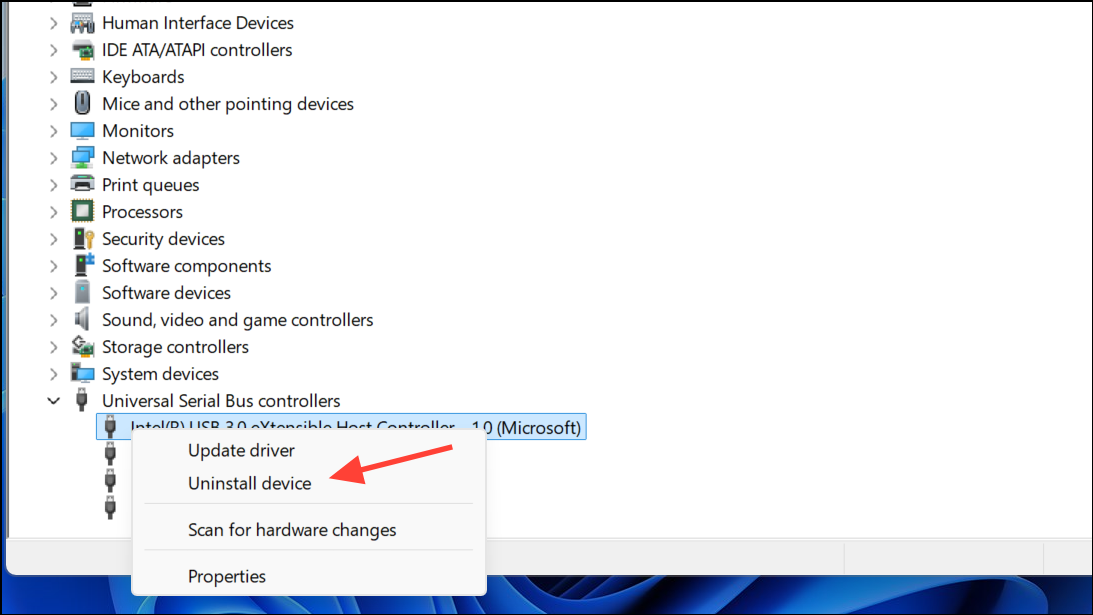
Step 2: Expand Universal Serial Bus controllers, right-click each USB device listed, and choose Uninstall device.
Step 3: After uninstalling, restart your computer. Windows 11 will automatically reinstall the necessary drivers upon reboot.
Corrupted or outdated USB drivers can cause recurring "scan and fix" errors. Reinstalling ensures the system uses the latest, stable drivers for USB communication.
Method 6: Back Up Data and Reformat the Drive
If the error message returns immediately after repairs, or if data becomes inaccessible, the drive's file system may be severely corrupted or the hardware may be failing. In these cases, prioritize backing up important files before attempting further repairs.
Step 1: Copy all accessible files from the problematic drive to another safe location on your computer or cloud storage.
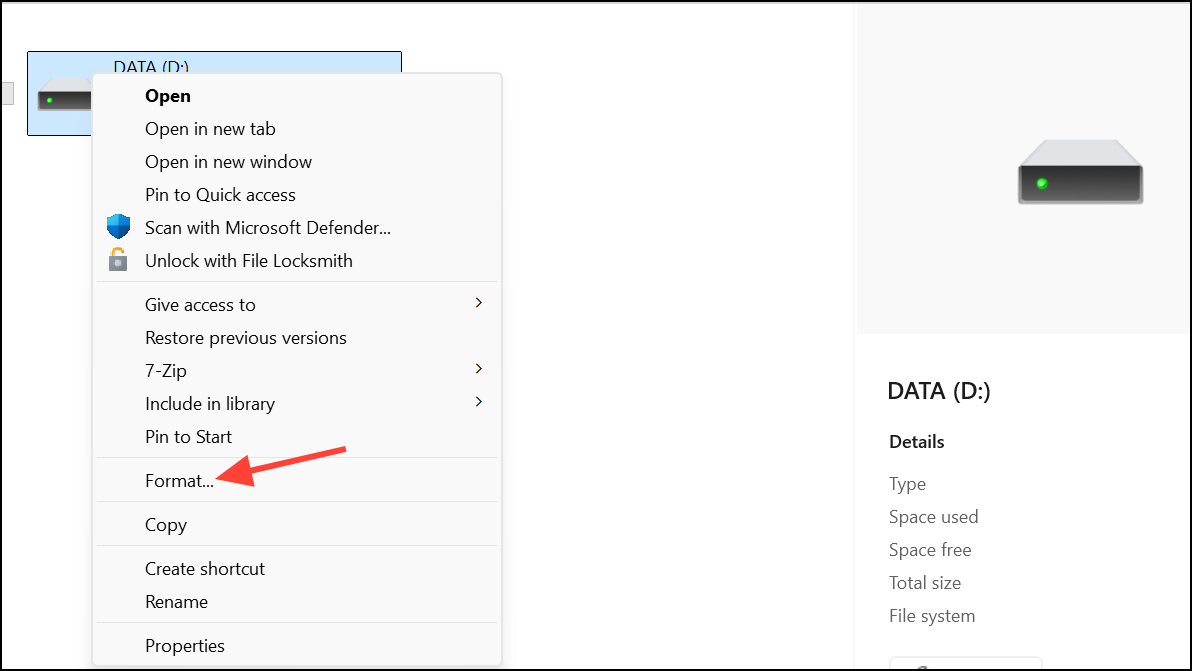
Step 2: Open File Explorer, right-click the drive, and select Format.
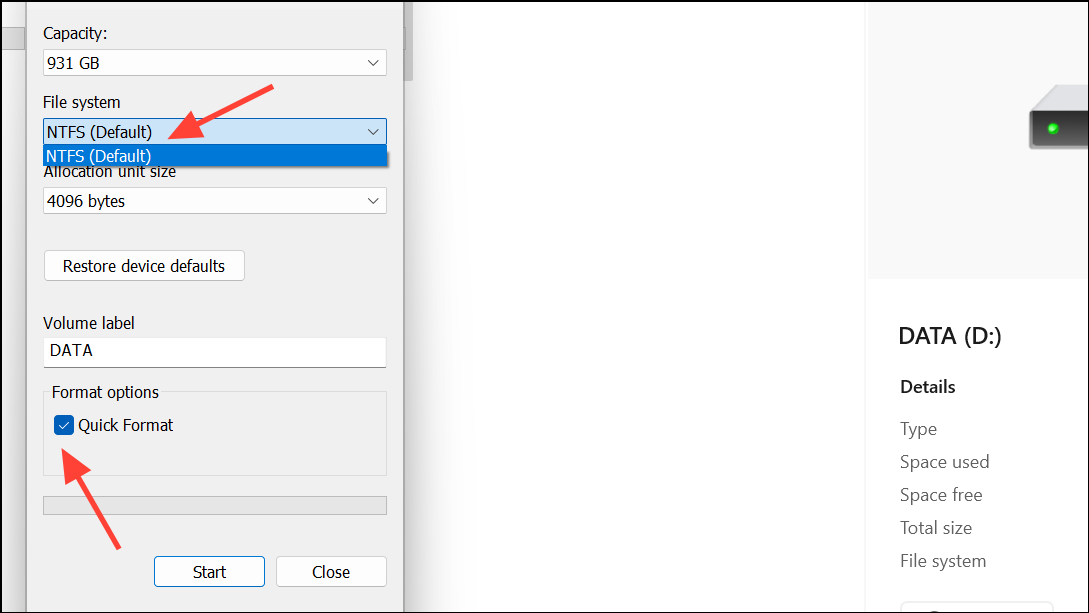
Step 3: Choose the desired file system (NTFS or exFAT for most modern uses), uncheck "Quick Format" for a more thorough check, and click Start.
Step 4: Wait for formatting to complete, then move your files back to the drive. This process wipes all existing data and repairs underlying file system structures, resolving persistent errors but erasing everything on the drive.
Reformatting is a last resort for drives that repeatedly fail error checks or become unreliable. If the drive continues to fail after reformatting, it is likely physically damaged and should be replaced.
Additional Tips and Cautions
- Always use the "Safely Remove Hardware" option or ensure write operations are complete before unplugging external drives, even with Quick Removal enabled.
- If the drive is used across multiple computers or devices, file system inconsistencies are more likely—regularly check for errors.
- Persistent errors after repair attempts may indicate failing hardware. Use tools like CrystalDiskInfo to check SMART health status, and replace the drive if necessary.
- Before running repair utilities, back up important data to avoid accidental loss if the drive is failing or repairs are unsuccessful.
- If Windows error checking or CHKDSK freezes or takes an unusually long time, the drive may have physical defects. Data recovery software or professional services may be needed.
Addressing the "There's a problem with this drive" prompt on Windows 11 restores reliable access to your external storage and reduces the risk of data loss. Regularly checking drive health and safely removing devices will help keep your files secure and drives functioning smoothly.