
Videos and audio tracks that pause and resume on their own disrupt streaming, media playback, and even basic system navigation in Windows 11. This issue can appear across browsers, media players, and streaming services, often making it difficult to pinpoint a single cause. The underlying problem may stem from hardware malfunctions, driver conflicts, or issues with system services. Addressing these root causes restores uninterrupted playback and improves overall device reliability.
Stop the Human Interface Device Service
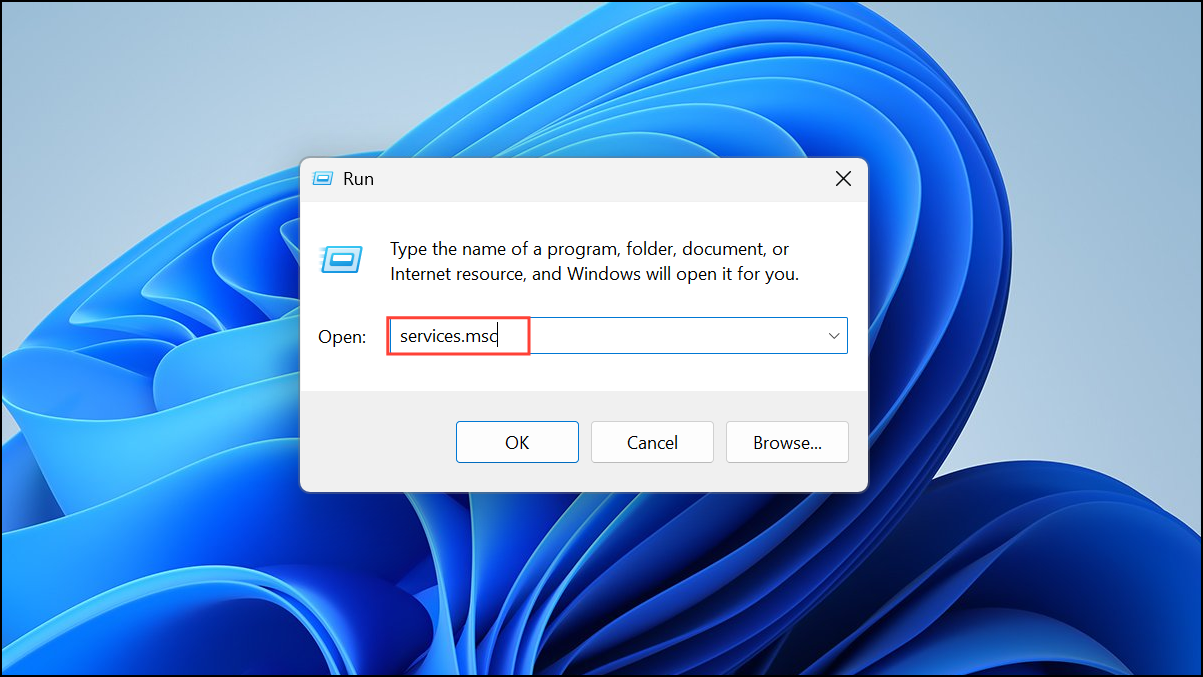
Step 1: Open the Services application by pressing Windows + R, typing services.msc, and pressing Enter. This window lists all system services and their statuses.
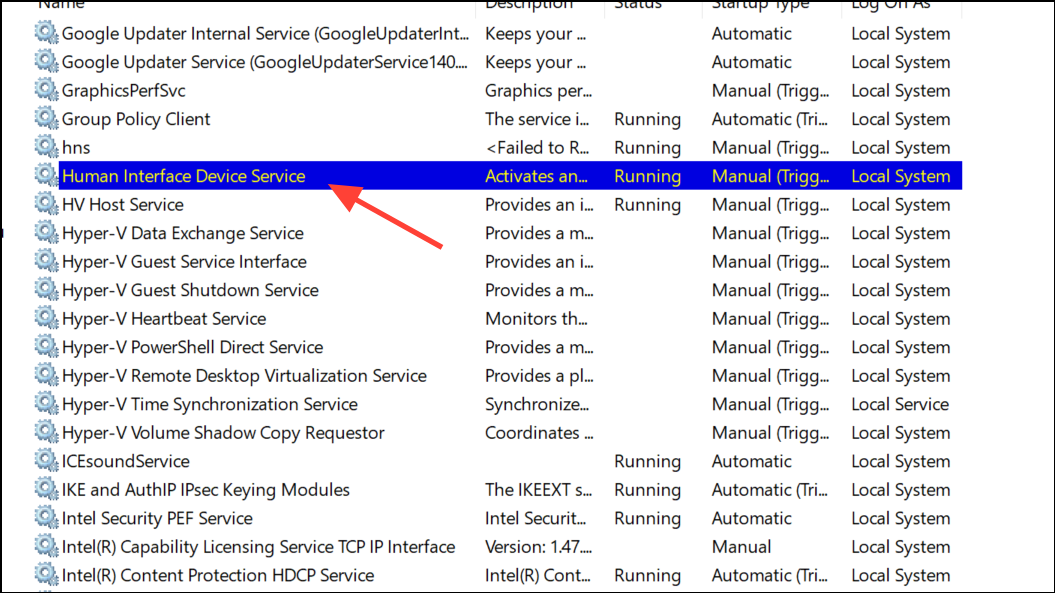
Step 2: Scroll down and locate Human Interface Device Service. This service manages input from devices like keyboards, mice, and media buttons that might send unintended play/pause signals.
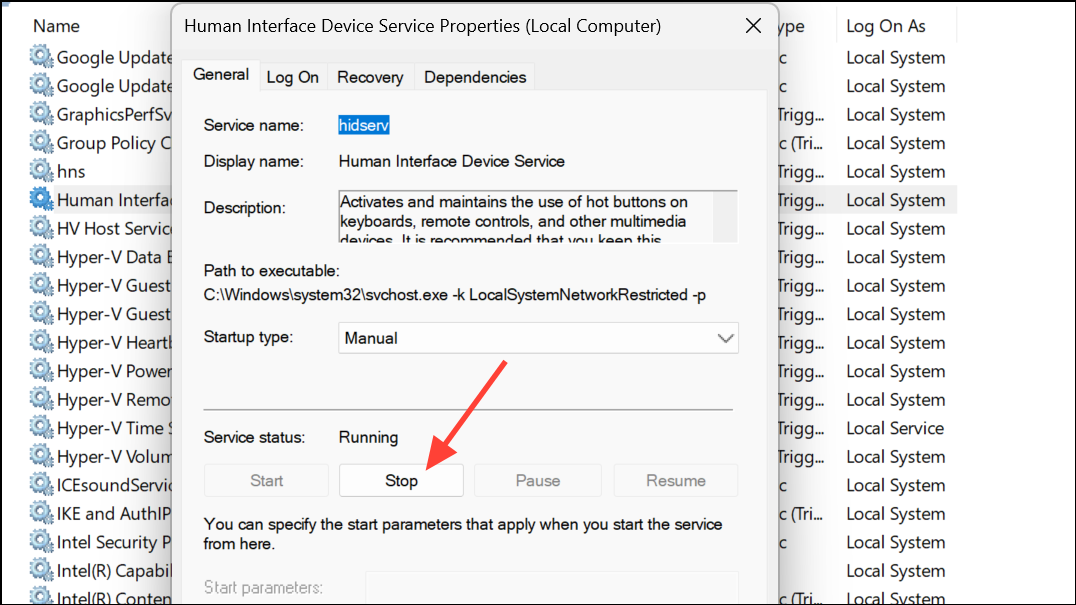
Step 3: Double-click the service to open its properties. Click Stop, then select Apply. This halts the service, which can resolve issues caused by malfunctioning input devices repeatedly sending play/pause commands.
Step 4: Test your media playback in several applications (such as YouTube, Spotify, or Windows Media Player) to confirm whether the pausing issue is resolved. If playback is now stable, the problem likely originated from an input device or its driver.
Check and Disconnect Faulty Input Devices
Step 1: Unplug all nonessential peripherals, such as external keyboards, mice, USB drives, Bluetooth dongles, and game controllers. Faulty or misbehaving input devices can send unintended signals that trigger play/pause actions.
Step 2: If you use a wireless keyboard or mouse, remove their batteries or turn them off. On laptops, disconnect any attached USB or Bluetooth accessories.
Step 3: Open a blank Notepad file and leave the cursor at the beginning. Step away from the computer for a few minutes. If characters or spaces appear without your input, this indicates that a connected device is malfunctioning and may be the cause of the playback issue.
Step 4: If possible, connect a different keyboard or mouse to test whether the problem persists. If playback stabilizes, replace or repair the faulty device.
Physical device problems are common culprits, especially when media keys or function keys are stuck or intermittently faulty. Cleaning or replacing the device often resolves the issue.
Uninstall Conflicting Device Drivers or Software
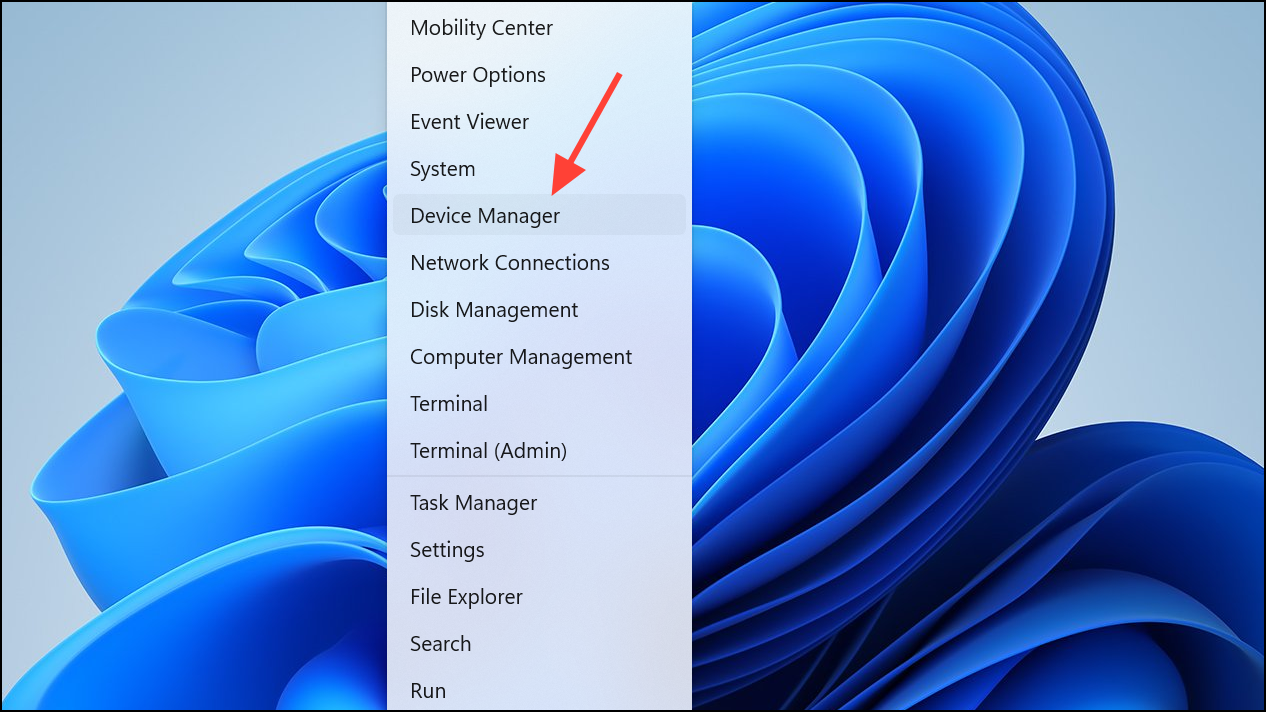
Step 1: Open Device Manager by pressing Windows + X and selecting it from the menu.
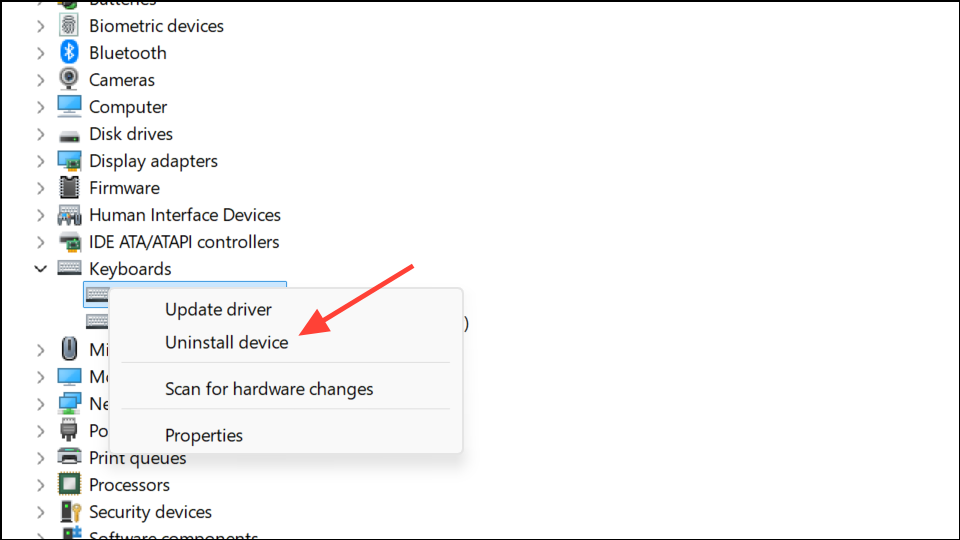
Step 2: Expand the categories for Keyboards, Mice and other pointing devices, and Human Interface Devices. Right-click on any devices you suspect may be causing issues (such as those related to external peripherals or unfamiliar device names) and choose Uninstall device. Confirm the uninstallation if prompted.
Step 3: Remove any unnecessary device management software, such as Logitech Options, Lenovo Hotkeys, or other manufacturer utilities that manage keyboard or mouse functions. These applications can sometimes conflict with Windows 11’s built-in input management and cause repeated play/pause commands.
Step 4: Restart your computer. Windows will reinstall essential drivers automatically. Test playback again to see if the issue is resolved.
Removing conflicting software or outdated drivers often restores normal media playback, especially after major Windows updates or when using third-party device utilities.
Update Windows and Device Drivers
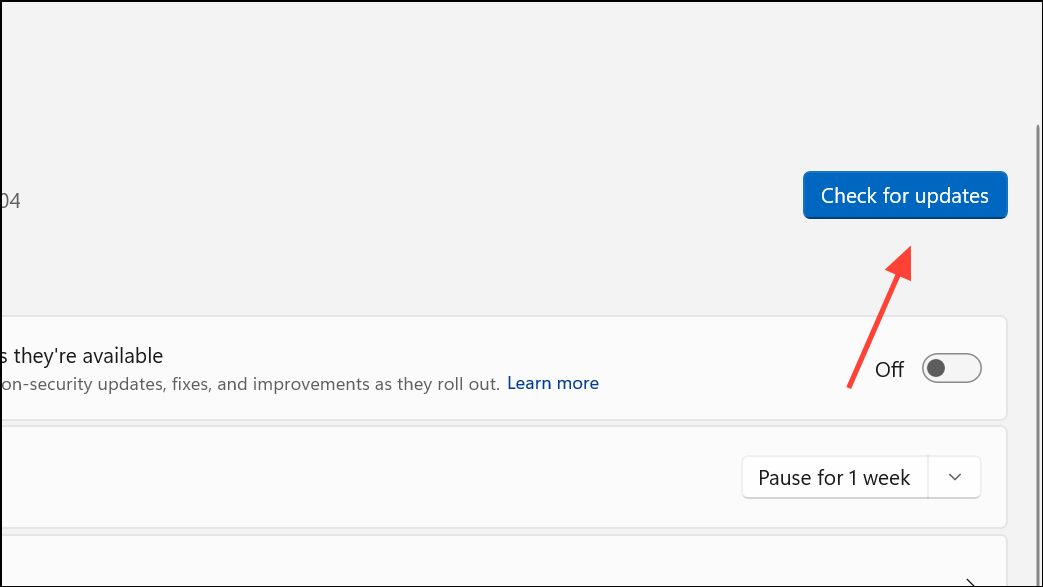
Step 1: Access Settings by pressing Windows + I. Navigate to Windows Update and click Check for updates. Install all pending updates, as these may include critical fixes for device compatibility and driver stability.
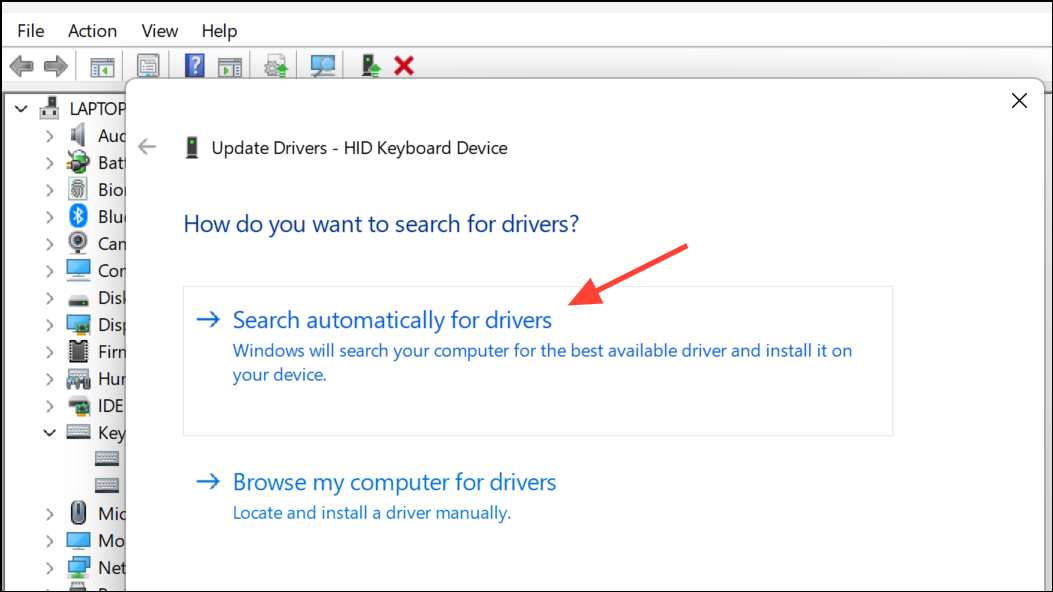
Step 2: In Device Manager, right-click on your audio, video, keyboard, and mouse devices and select Update driver. Choose Search automatically for drivers. If issues persist, try rolling back to a previous driver version if a recent update introduced instability.
Step 3: Visit your device manufacturer’s website to download the latest drivers for your model, especially for laptops with custom input devices or hotkey utilities (such as Lenovo, HP, or Dell).
Driver updates can resolve bugs that cause input devices to misbehave, leading to automatic pausing of audio and video.
Create a New User Profile
Step 1: Open Settings, go to Accounts, and select Family & other users. Click Add account to create a new local user.

Step 2: Log in with the new user account and test video and audio playback. If the issue does not occur, your original profile may be corrupted.
Step 3: Transfer your files and settings to the new profile as needed. This process can fix persistent issues that are profile-specific and not related to hardware or drivers.
Additional Troubleshooting Steps
- Run the built-in Playing Audio and Video Playback troubleshooters from Settings > System > Troubleshoot > Other troubleshooters.
- Perform a clean boot to rule out software conflicts. Open
msconfig, disable all non-Microsoft services, and restart your PC. - If you use Bluetooth headphones, try switching to a wired connection or different headphones to rule out Bluetooth driver issues.
- Reset BIOS settings to default, especially if you have recently changed hotkey or function key configurations. For Lenovo laptops, consider disabling hotkey mode in BIOS if function keys are causing problems.
- As a last resort, consider reinstalling Windows 11 if all other methods fail and the issue persists across user profiles and after disconnecting all peripherals.
Resolving automatic pausing of audio and video in Windows 11 often requires a combination of hardware checks and software troubleshooting. By methodically working through these steps, you can restore smooth playback and prevent further interruptions.