
Unexpected white dots on a Windows 11 display can disrupt your workflow, obscure important content, and may even cause concern about potential hardware failure. These white spots might show up in specific applications, across your desktop, or persist regardless of what’s running. Addressing the issue requires understanding whether the cause is software-related, a display driver problem, or a physical defect in the screen itself.
Identify the Source: Software, Driver, or Hardware?
Determining whether the white dots are caused by a software process, a graphics driver issue, or hardware damage is the first step. The approach you take will depend on where and when the dots appear.
Step 1: Reboot your computer and observe if the white dots appear immediately during the boot process or only after Windows starts. If the dots are present even in the BIOS (the startup configuration screen before Windows loads), the issue is likely hardware-related. If they only appear after Windows loads, the problem is probably software or driver-based.
Step 2: Check if the dots appear in all applications or only specific ones. If the issue is limited to certain programs (such as Microsoft Teams, Steam, Grammarly, or Rainmeter), it’s likely caused by a background application or widget.
Step 3: Move your mouse cursor over the white dot. If the cursor changes shape (for example, to a text input icon), the dot is likely an interactive element—possibly a tiny window, widget, or artifact from a running app, not a dead pixel.
Method 1: Close Background Applications and Widgets
White dots caused by certain applications or widgets are common, especially after recent updates or when using third-party productivity tools.
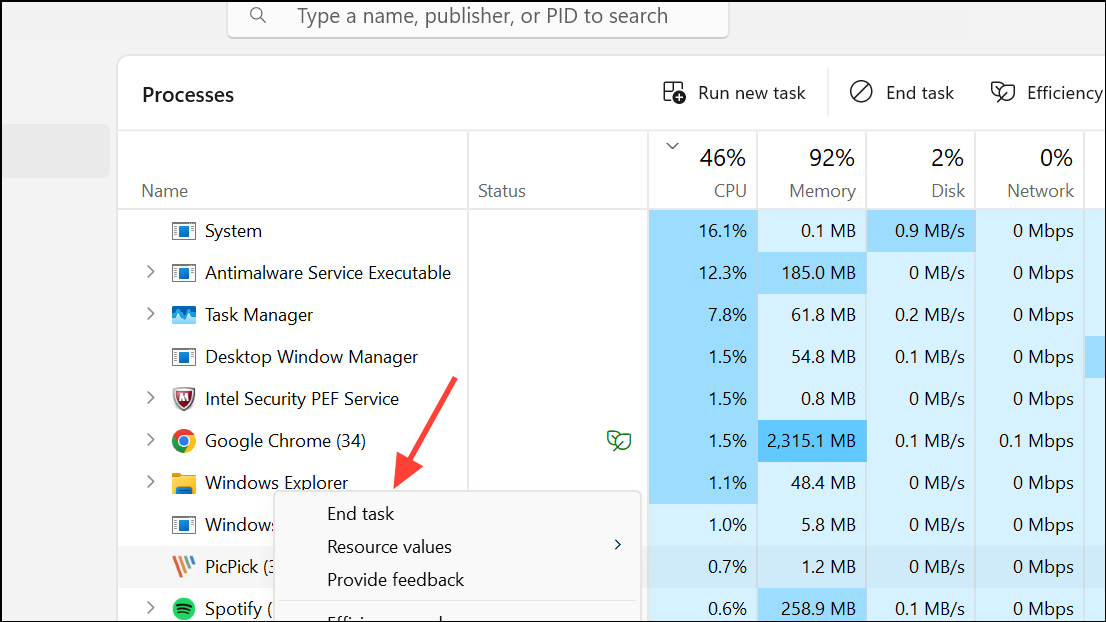
Step 1: Open Task Manager by pressing Ctrl + Shift + Esc.
Step 2: Review the list of running apps and background processes. Look for programs known to cause display artifacts, such as Microsoft Teams (especially the new version), Grammarly, Rainmeter, Steam, or any recently installed utilities.
Step 3: Right-click on the suspected application and select End Task. Watch your screen to see if the white dot disappears.
Step 4: If you find the culprit, consider updating the application, disabling its auto-start settings, or uninstalling it if not essential. Some users report switching Microsoft Teams to dark mode or reverting to an older version resolves the issue.
Step 5: If you use desktop customization tools like Rainmeter, open the app and disable widgets or skins one by one until the dot disappears.
Method 2: Update or Reinstall Display Drivers
Display driver glitches are a frequent source of screen artifacts, especially after Windows updates or when using certain graphics cards.
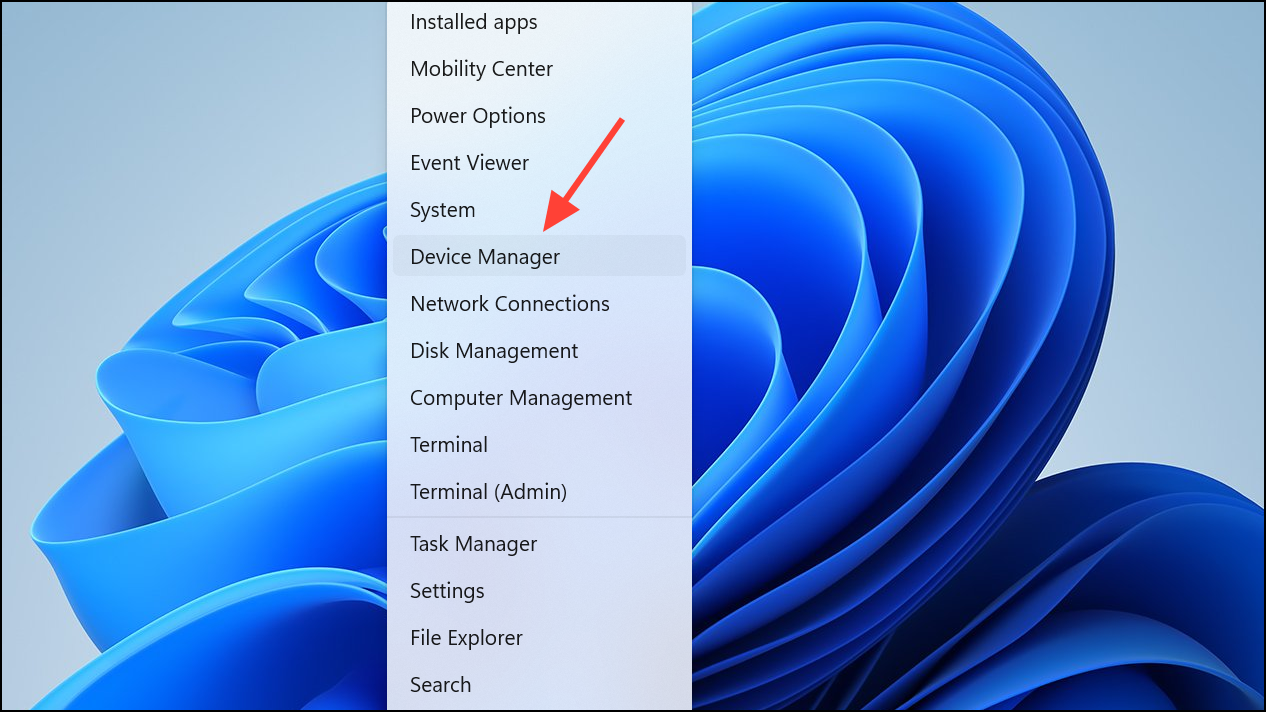
Step 1: Open Device Manager by right-clicking the Start button and selecting Device Manager.
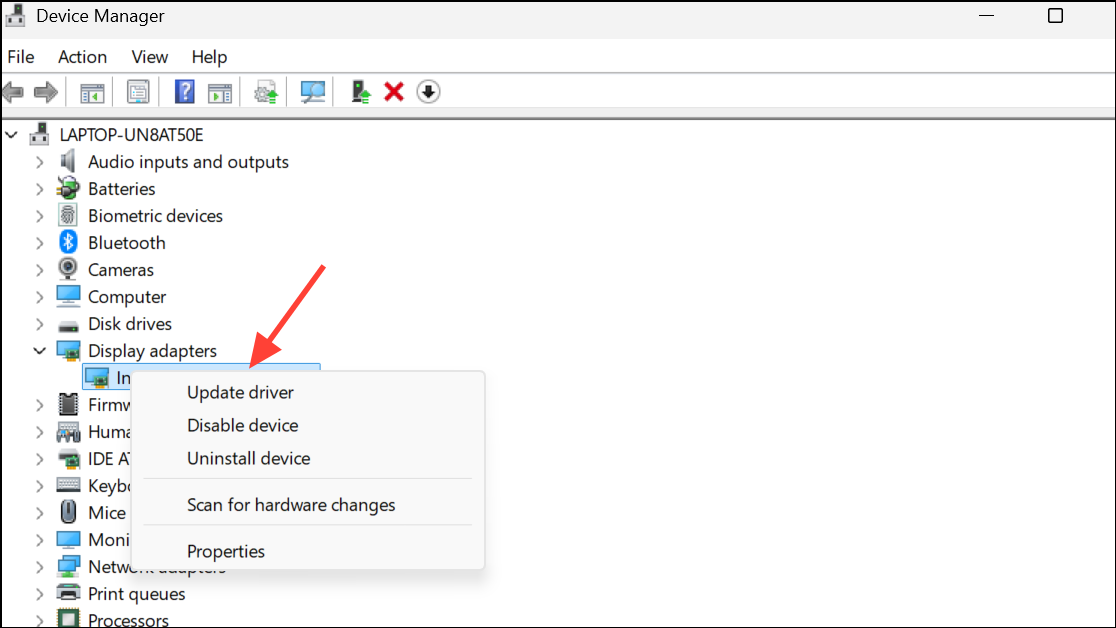
Step 2: Expand the Display adapters section. Right-click your graphics card and choose Update driver. Select Search automatically for drivers and follow the prompts.
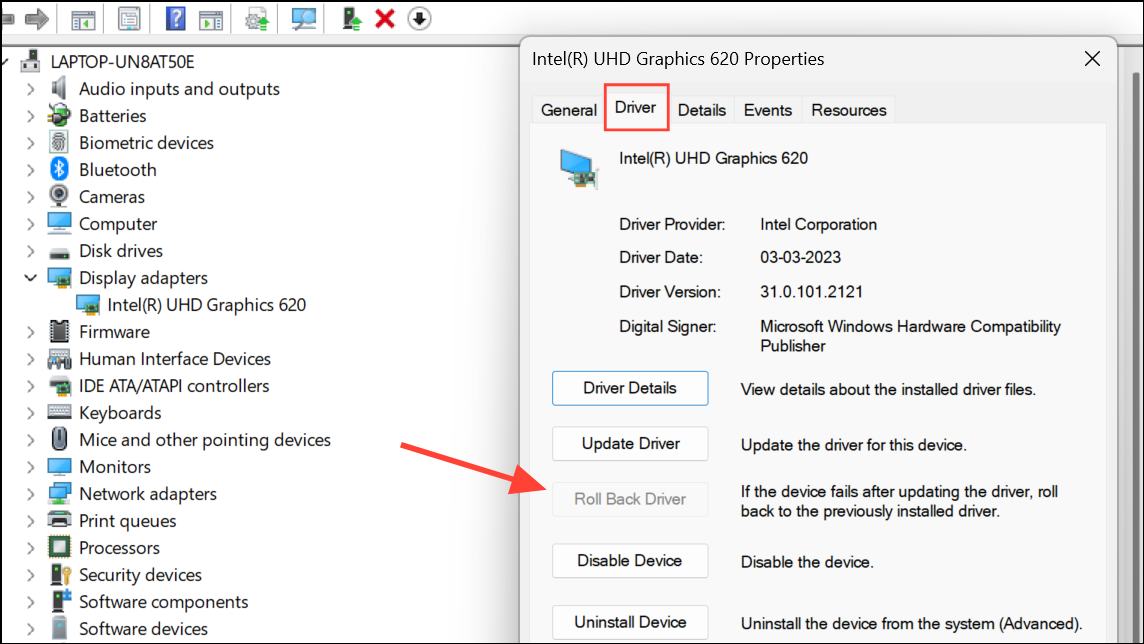
Step 3: If updating does not resolve the issue, try rolling back to a previous driver version. Right-click the display adapter, select Properties, go to the Driver tab, and click Roll Back Driver if available.
Step 4: For persistent issues, completely uninstall the display driver using a tool like Display Driver Uninstaller (DDU), reboot, and reinstall the latest official driver from your hardware manufacturer’s website (NVIDIA, AMD, or Intel).
Step 5: Restart your computer and check if the white dots are gone.
Method 3: Adjust Display Settings
Sometimes, adjusting display settings can mask or reduce the visibility of white spots caused by software rendering or minor hardware inconsistencies.
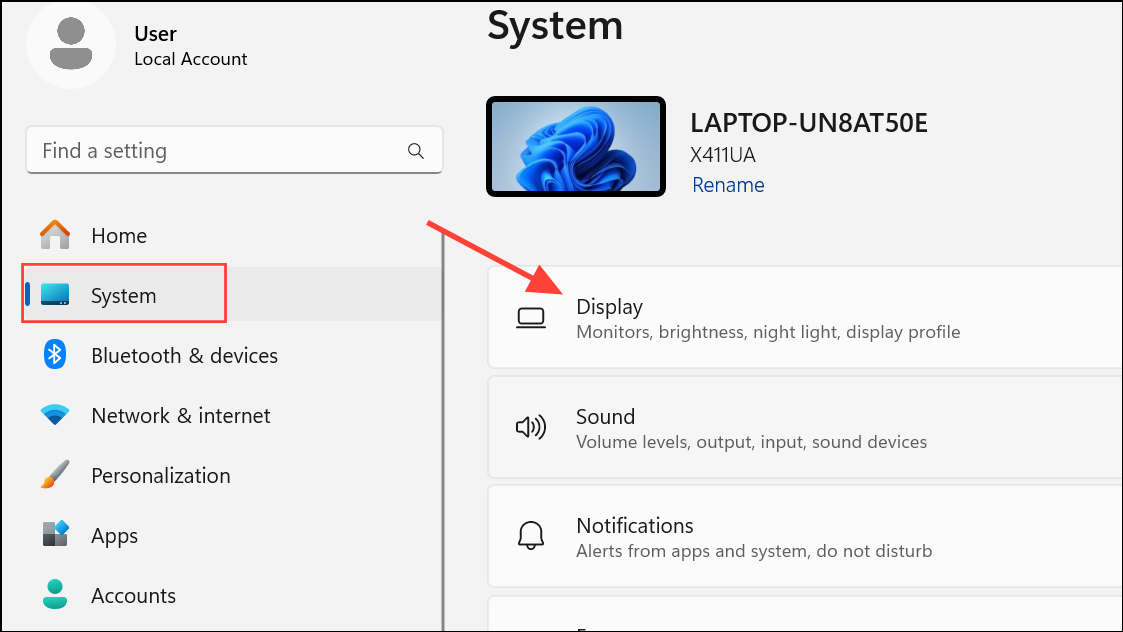
Step 1: Open Settings with Windows + I, then navigate to System > Display.
Step 2: Adjust brightness, contrast, and color settings. Lowering brightness or tweaking contrast may make the white spots less noticeable.
Step 3: Change the display resolution temporarily to a lower setting (such as 1024x768 or 1280x800), then revert to your original resolution. Some users report this action causes persistent white dots to disappear until the next system restart.
Method 4: Test for Hardware Issues
If the white dots remain visible during BIOS setup or on every screen regardless of software, the issue may be hardware-related, such as dead pixels or backlight problems.
Step 1: Reboot your PC and enter BIOS by pressing the appropriate key (usually F2, F10, or Del) during startup. If the dots are present in BIOS, they are hardware defects.
Step 2: For stuck or dead pixels, you can try gently massaging the affected area with a soft cloth to see if the pixel reactivates. Alternatively, run a pixel-fixing tool like JScreenFix, which rapidly cycles colors on the affected area to try to restore normal function.
Step 3: If the spot is a larger white patch rather than a single pixel, it may be caused by pressure damage or a failing backlight reflector. In this case, professional repair or screen replacement is required. If your device is under warranty, contact your manufacturer for service options.
Resolving white dots on a Windows 11 screen usually comes down to closing or updating problematic apps, reinstalling or updating display drivers, or, in rare cases, addressing a hardware defect. Regularly updating your system and keeping track of new app installations can help prevent similar issues in the future.