
Windows 11 systems sometimes fail to detect a second monitor, disrupting workflows and limiting available screen space. This issue can occur even when both monitors and cables work on other devices, or when the setup previously functioned as expected. Addressing this problem requires a systematic approach, starting with the most reliable fixes and moving to more advanced troubleshooting if necessary.
Update or Reinstall Graphics and Chipset Drivers
Driver compatibility problems are a leading cause of monitor detection failures, especially after Windows 11 upgrades or major updates. Manufacturers may release new drivers that Windows Update does not automatically install, resulting in missing or malfunctioning display outputs.
Step 1: Visit your computer or motherboard manufacturer’s support website. Search for your exact model and download the latest graphics and chipset drivers. For example, ASUS users can find drivers on the official ASUS support page. Make sure to download drivers that match your hardware (e.g., AMD, Intel, or NVIDIA).
Step 2: Before installing new drivers, consider running a cleanup utility such as AMD Cleanup Utility or Display Driver Uninstaller (DDU). These tools remove old driver files that might conflict with new installations.
Step 3: Install the downloaded drivers and reboot your system. This action updates the instructions Windows 11 sends to your hardware, which often resolves detection issues for HDMI, DisplayPort, or USB-C connections.
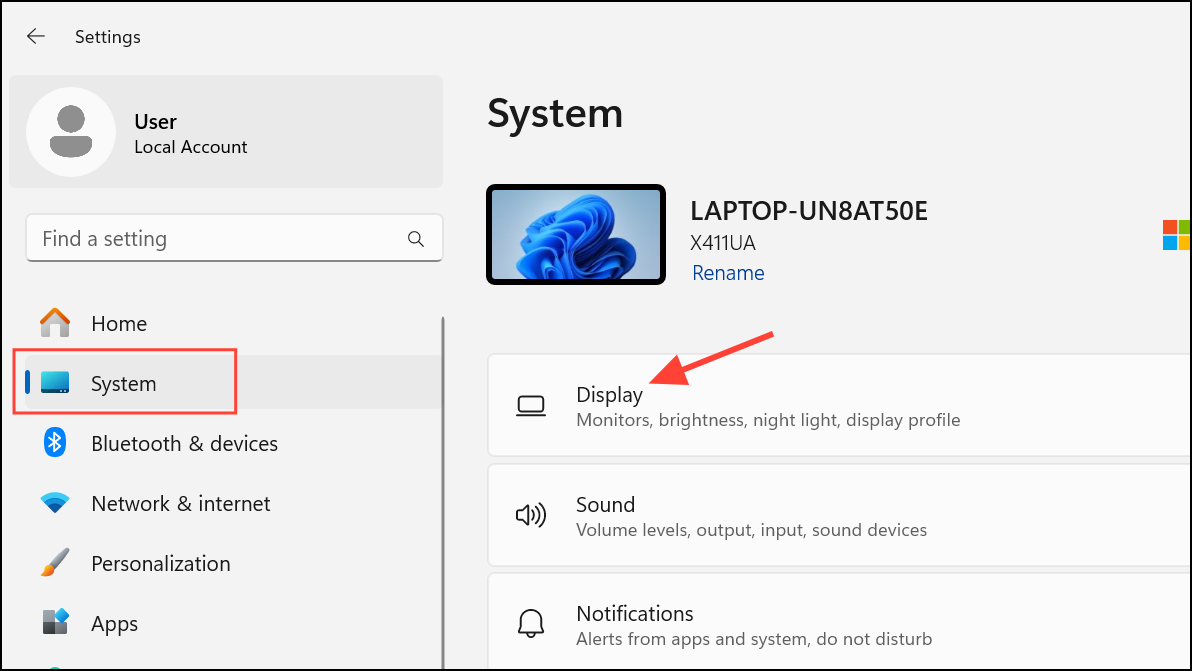
Step 4: After rebooting, check if your second monitor appears in Settings > System > Display. If not, proceed to the next method.
Check Physical Connections and Hardware
Loose, damaged, or incompatible cables and ports can prevent Windows 11 from recognizing your second monitor. Even new equipment can have undetected faults, so it’s important to verify every connection.
Step 1: Inspect all cables for visible damage. Replace any that look frayed or bent. Test each cable by connecting it to another device to confirm functionality.
Step 2: Securely plug the cable into both your monitor and computer. If your device has multiple video outputs, try connecting the monitor to a different port. Sometimes, specific ports may stop working or have compatibility limitations.
Step 3: If possible, connect the second monitor to another computer. If it’s not detected elsewhere, the monitor itself may be defective, even if it’s new.
Step 4: For persistent issues, swap the ports between monitors. Some users have found that Windows “remembers” a specific port, and switching connections can prompt detection.
Adjust Display Settings in Windows 11
Incorrect display configurations can cause Windows 11 to ignore your second monitor or mirror the primary display instead of extending it.
Step 1: Right-click on the desktop and select Display settings. Scroll down to the “Multiple displays” section.
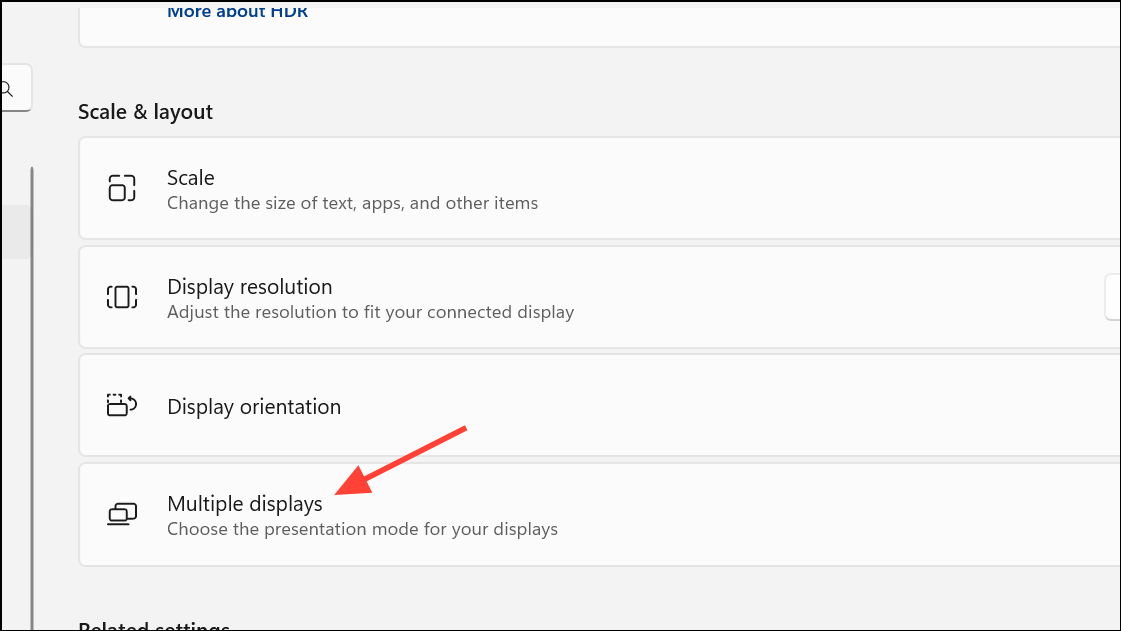
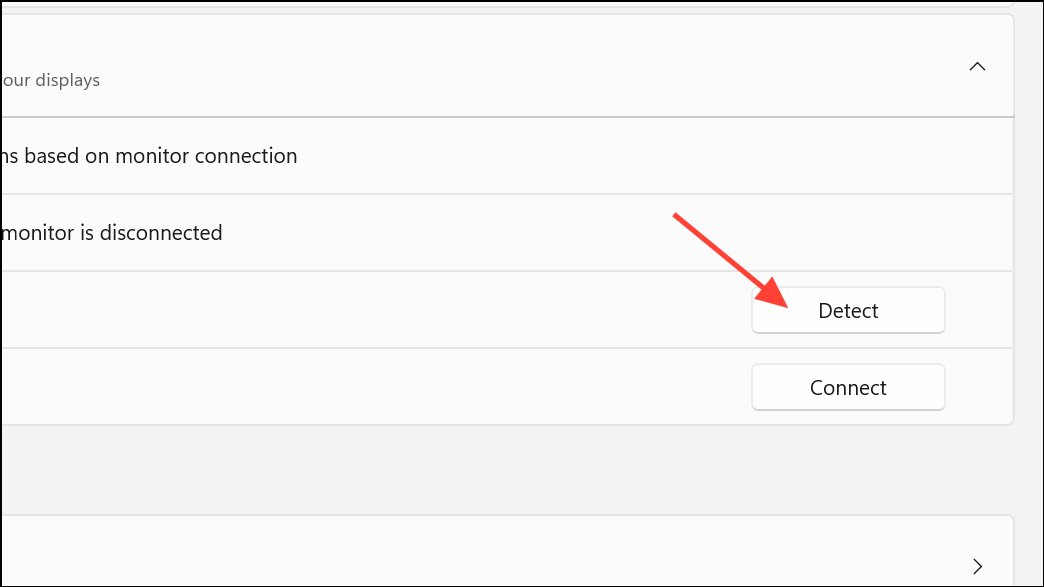
Step 2: Click Detect to prompt Windows to search for additional monitors. If the monitor appears, select it and choose Extend these displays from the display mode dropdown.
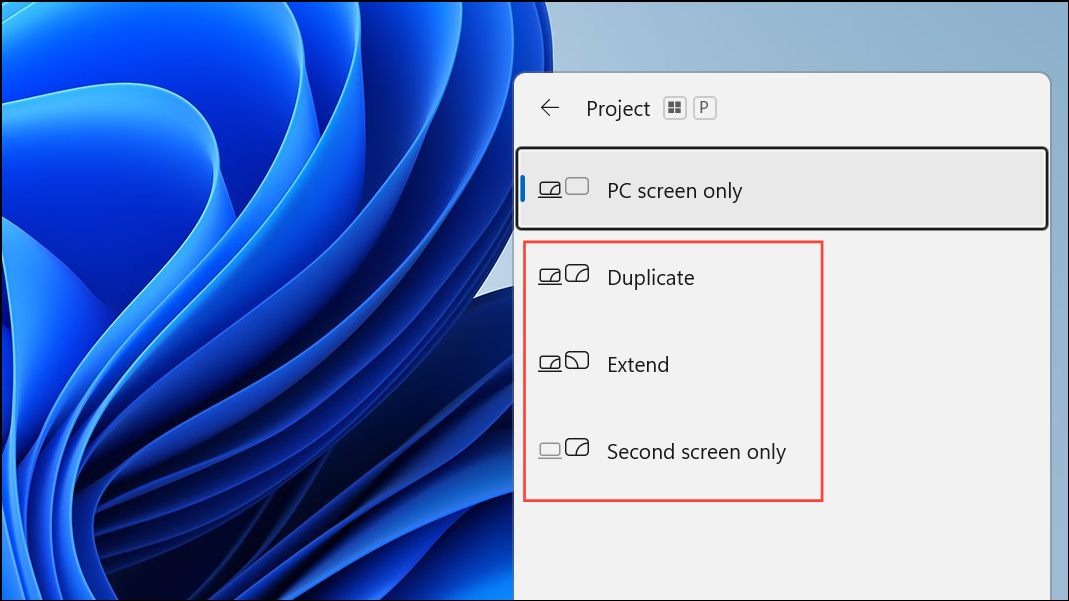
Step 3: If detection fails, use the keyboard shortcut Windows key + P. Press the down arrow and hit Enter to cycle through projection modes (Duplicate, Extend, Second screen only). This can force Windows to activate the display output.
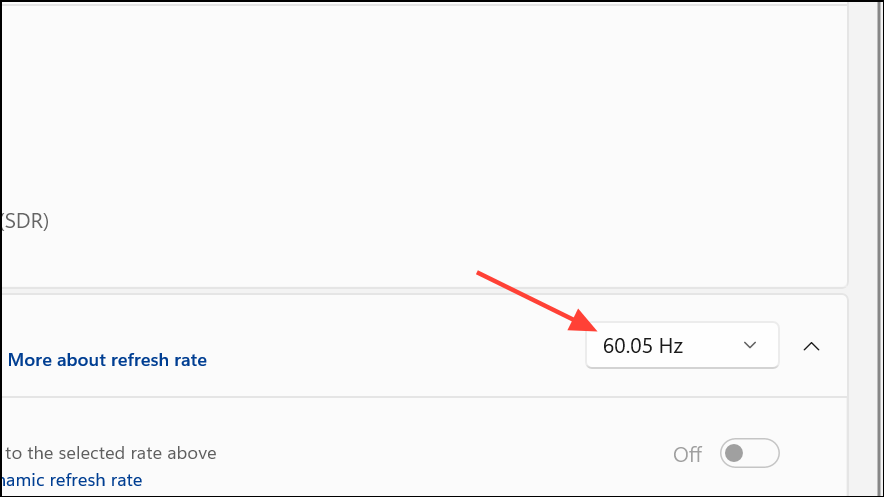
Step 4: Adjust the refresh rate by selecting the second monitor in Advanced display settings and changing the rate to match the monitor’s specifications. Incompatible refresh rates can cause blank screens or failed detection.
Refresh or Reset Graphics Driver
Occasionally, the graphics driver may freeze or fail to initialize new connections. Windows 11 provides a shortcut to reset the display adapter without rebooting.
Step 1: Press Windows key + Ctrl + Shift + B. The screen will briefly go black and you’ll hear a beep, indicating the graphics driver has reset.
Step 2: Check if the second monitor appears after the reset. This method is effective for temporary glitches or after sleep/wake cycles.
Remove Ghost Devices in Device Manager
Windows can accumulate “ghost” or hidden monitor entries, which may interfere with detecting new displays.
Step 1: Disconnect the second monitor from your computer.
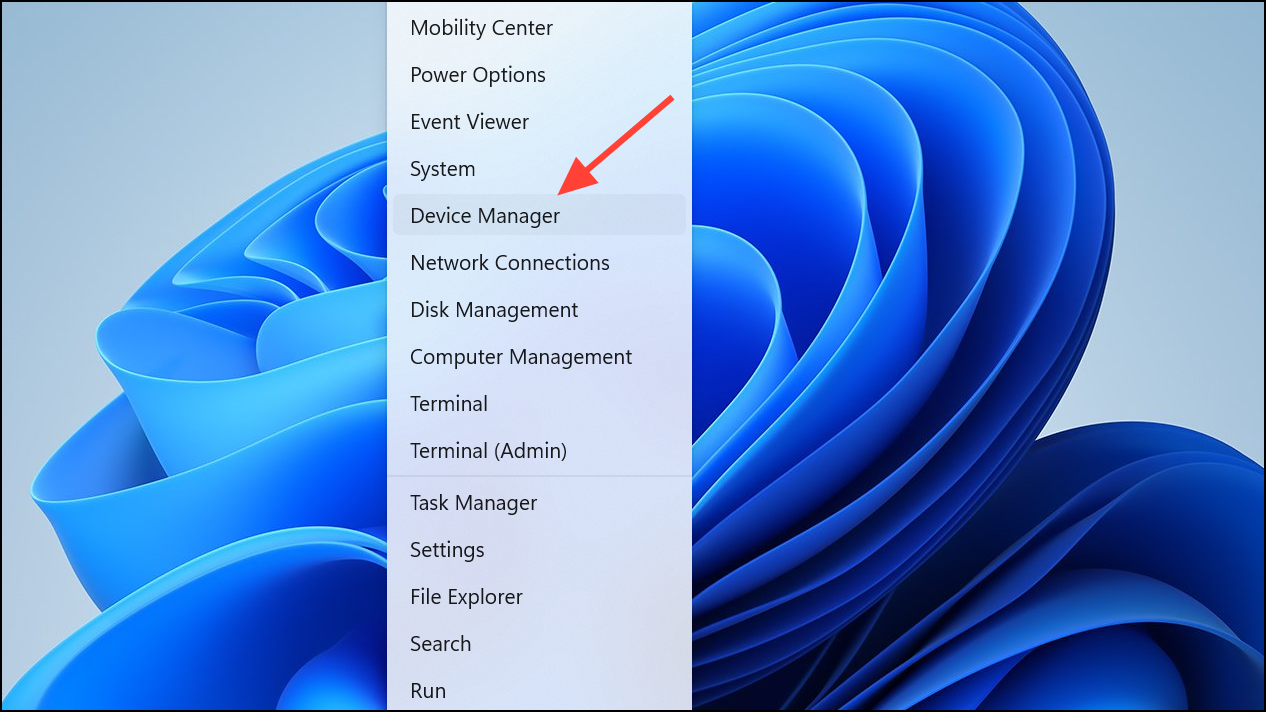
Step 2: Open Device Manager by right-clicking the Start button and selecting Device Manager.
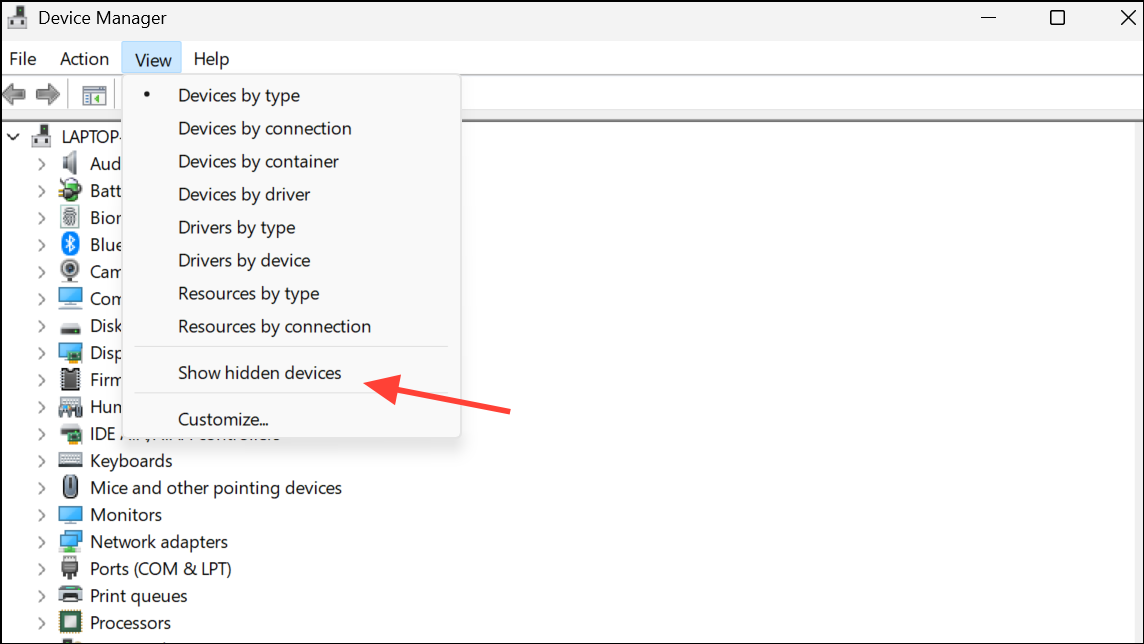
Step 3: Click View > Show hidden devices. Expand the “Monitors” section and right-click to uninstall any greyed-out or duplicate monitors.
Step 4: Reboot your computer, then reconnect the second monitor. This process clears out stale configuration files that may block detection.
Run Windows Troubleshooter and Check for System Updates
Built-in troubleshooters can identify and fix common hardware and device problems, while regular updates address known bugs in Windows 11’s display handling.
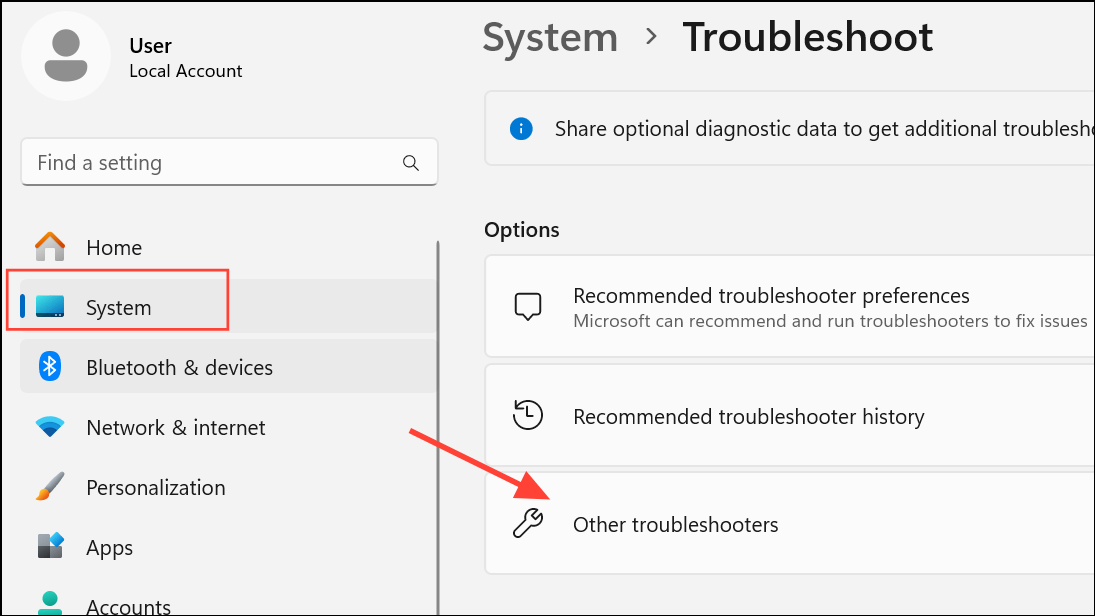
Step 1: Go to Settings > System > Troubleshoot > Other troubleshooters. Find “Hardware and Devices” and click Run. Follow the prompts to apply any suggested fixes.
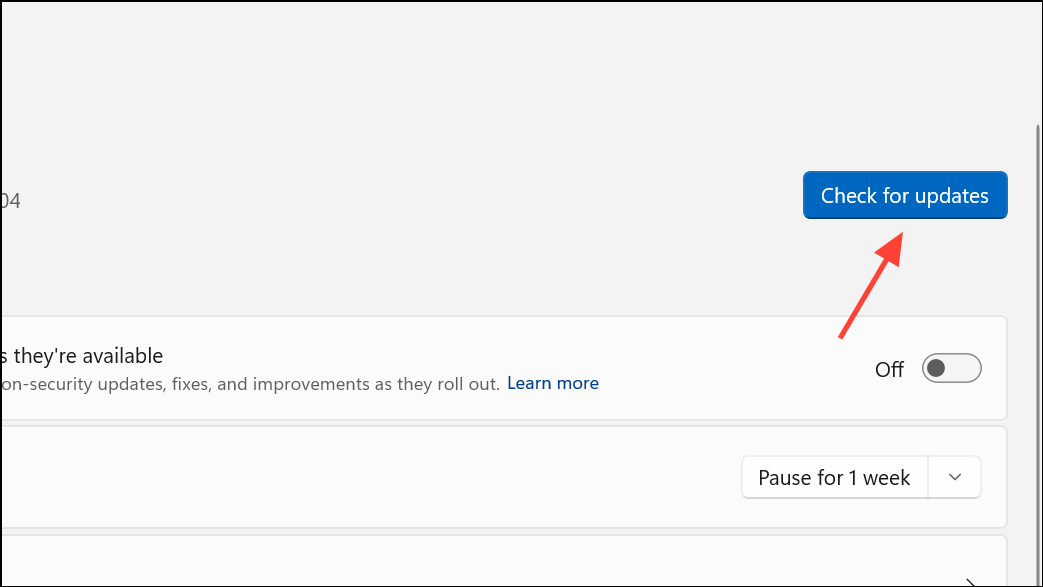
Step 2: Check for Windows updates by navigating to Settings > Windows Update and clicking Check for updates. Install any available patches, as updates can resolve compatibility issues with new hardware or monitors.
Advanced Troubleshooting: Registry and Display Settings Reset
For persistent cases, advanced users can reset display settings or tweak registry values to address detection issues. Proceed with caution and always back up the registry before making changes.
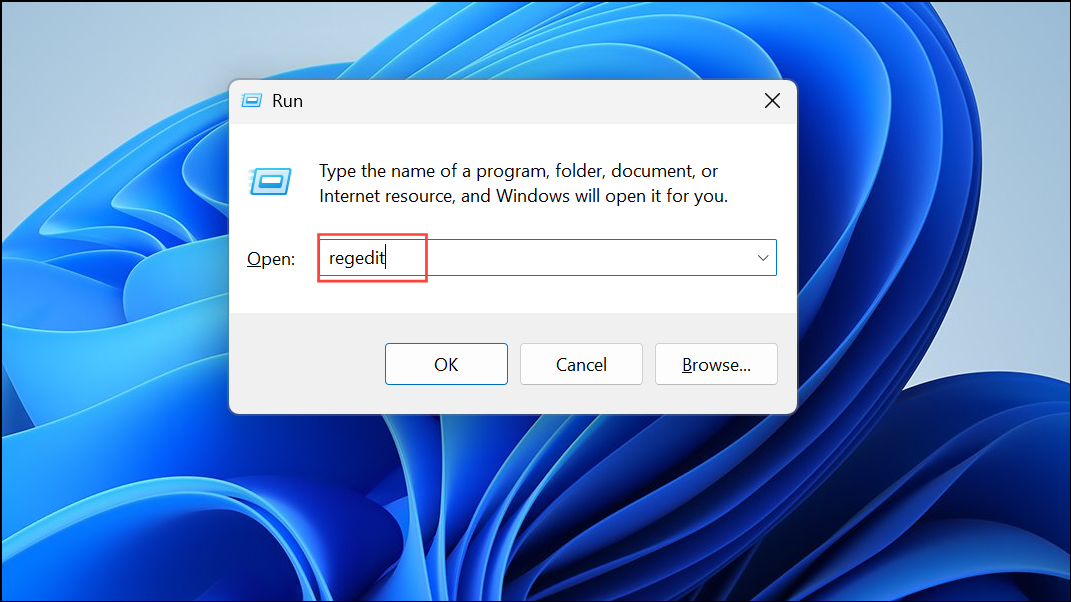
Step 1: Open the Registry Editor by pressing Win + R, typing regedit, and pressing Enter.
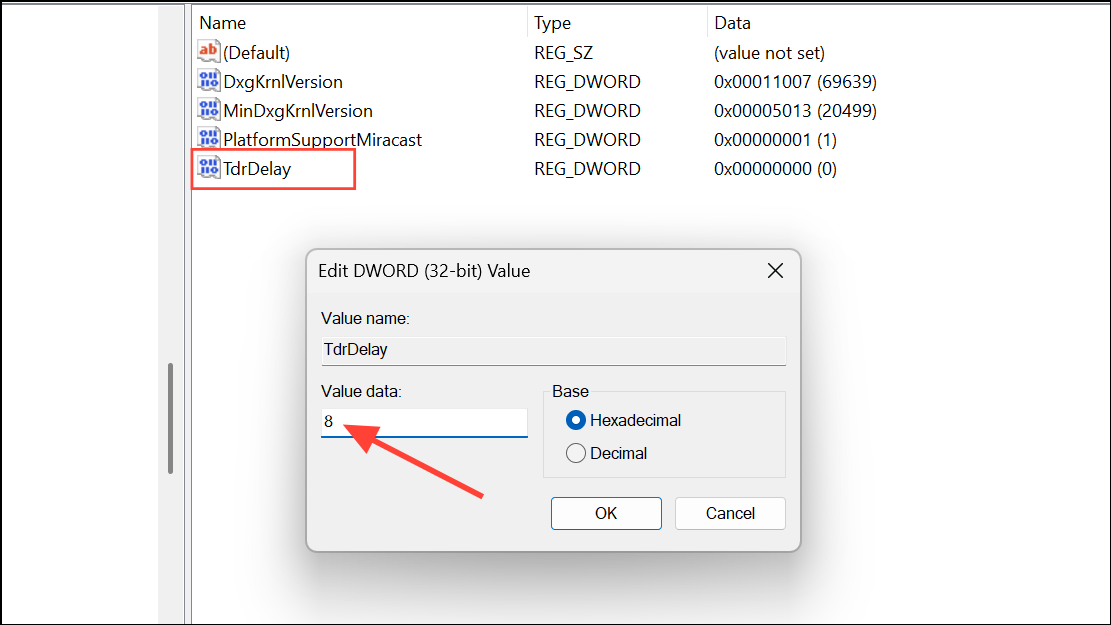
Step 2: Navigate to HKEY_LOCAL_MACHINE\SYSTEM\CurrentControlSet\Control\GraphicsDrivers. Right-click, create a new DWORD (32-bit) value named TdrDelay, and set its value to 8. This increases GPU processing time for display detection.
Step 3: Restart your computer to apply the changes. If you encounter display problems, revert the change or restore your registry backup.
Step 4: To reset display settings, go to Settings > System > Display and manually revert all settings to their defaults, or use the reset option if available.
Check for Hardware Compatibility and Monitor Firmware
Some monitors or cables may not fully support Windows 11 or your graphics card’s output standards. Compatibility issues can cause detection failures, especially with older or budget models.
Step 1: Review your monitor’s specifications and confirm compatibility with your graphics card and Windows 11. If the monitor supports firmware updates, check the manufacturer’s website for new versions.
Step 2: If possible, test your setup using a bootable Linux USB. If the monitor is not detected in Linux either, the issue is likely hardware-related rather than Windows-specific.
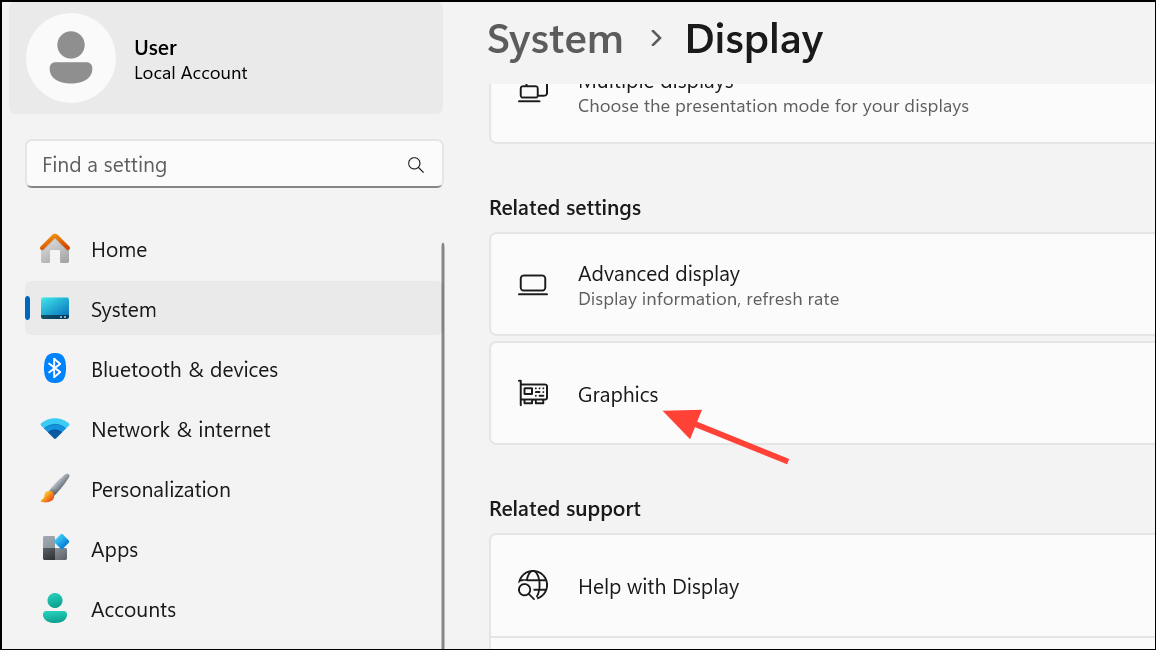
Step 3: Some users report success by disabling advanced graphics features such as hardware-accelerated GPU scheduling and variable refresh rate. Access these options under Settings > System > Display > Graphics and turn off both features for all monitors.
Resolving Windows 11’s second monitor detection problems often requires a combination of driver updates, hardware checks, and display setting adjustments. By methodically following these steps, you can restore a reliable dual-monitor setup and optimize your workspace for productivity.