
"Windows is checking for a solution to the problem" appears when an application crashes and Windows 11 attempts to diagnose the issue using its Error Reporting Service. This process often stalls, provides no real solution, or repeatedly interrupts your workflow. Disabling the Error Reporting Service and addressing the root causes of application crashes can stop these pop-ups and improve system stability.
Disable Windows Error Reporting Service
Disabling the Error Reporting Service prevents Windows 11 from getting stuck searching for solutions after a crash. This step directly stops the persistent pop-ups without affecting your ability to use the Event Viewer or troubleshoot issues manually.
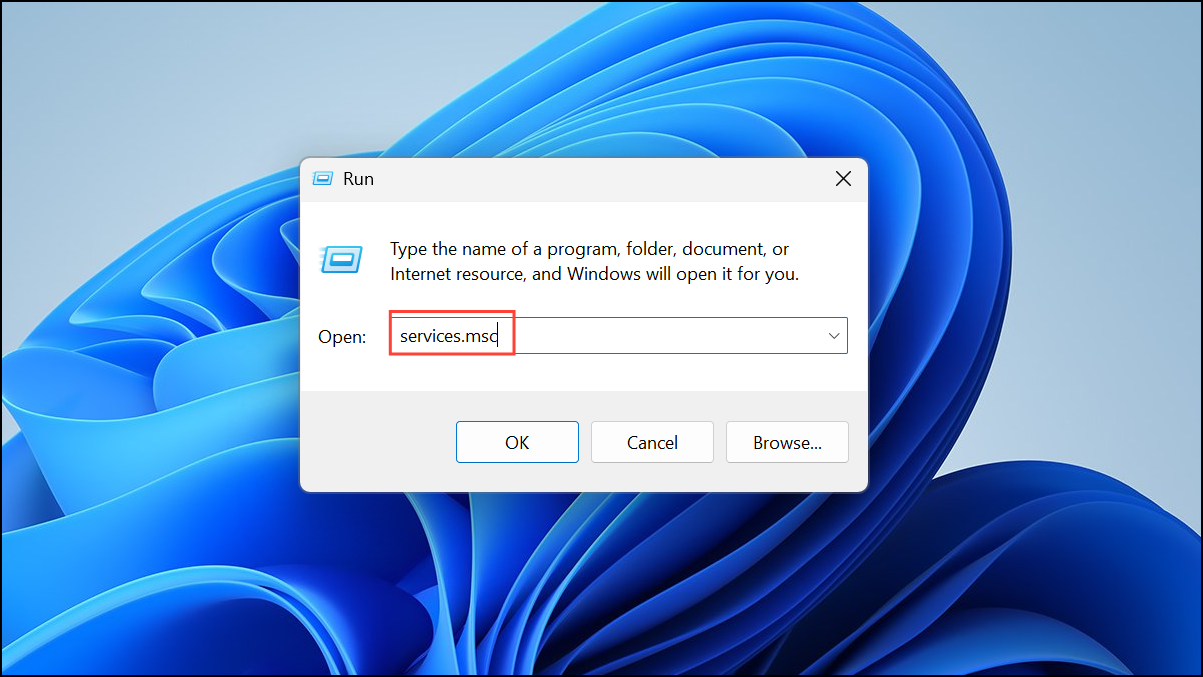
Step 1: Press Windows Key + R to open the Run dialog.
Step 2: Type services.msc and press Enter to launch the Services window.
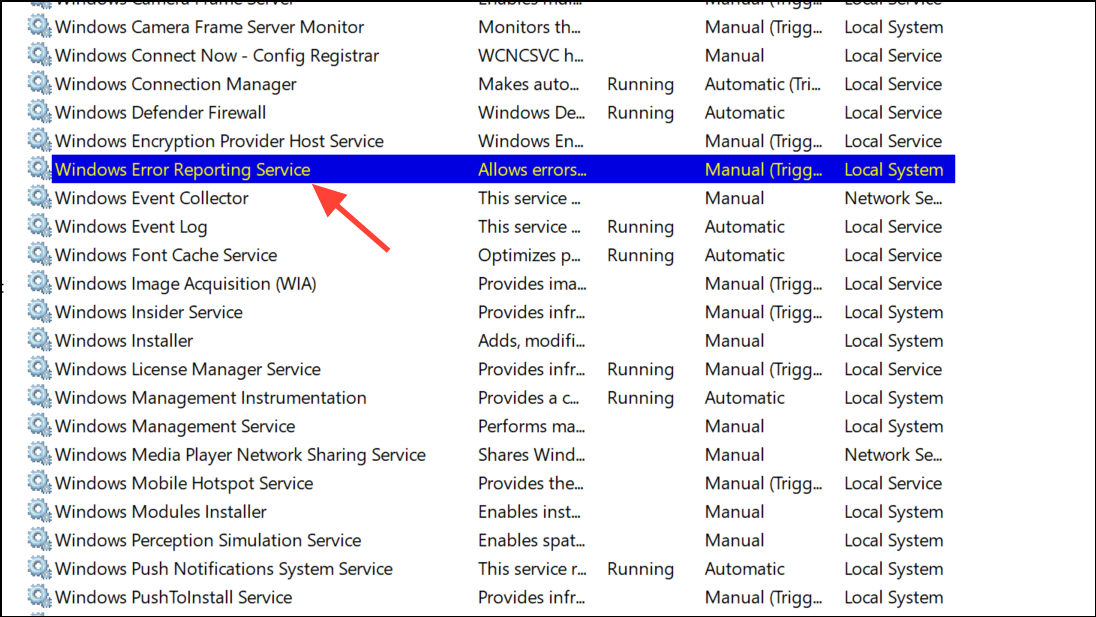
Step 3: Scroll through the list, locate Windows Error Reporting Service, and double-click it.
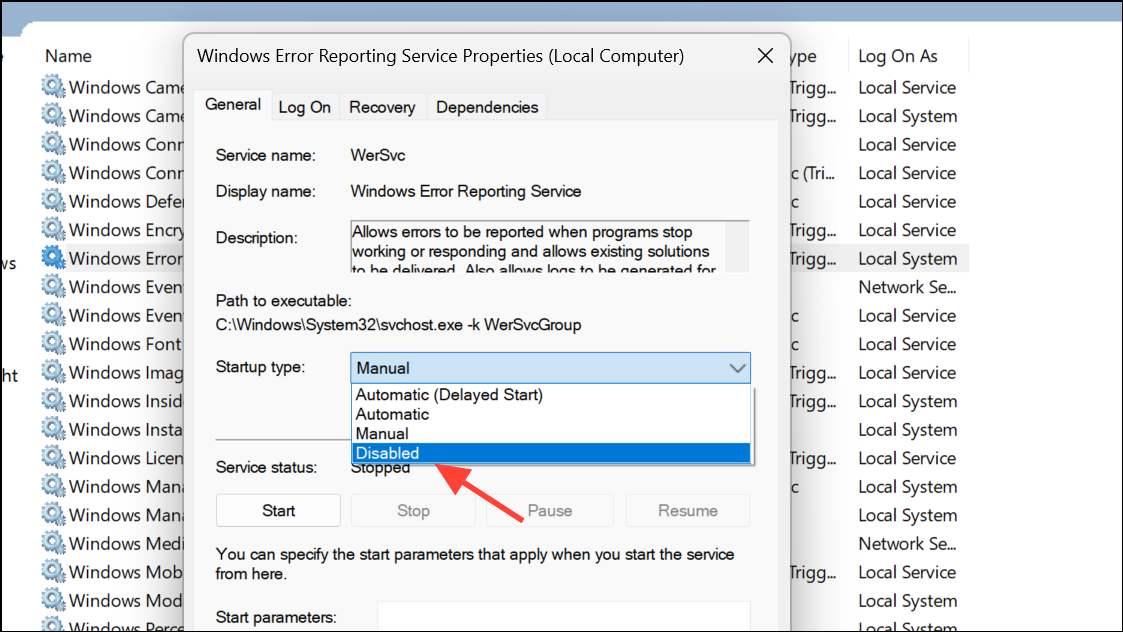
Step 4: In the properties window, set Startup type to Disabled using the dropdown menu.
Step 5: If the service is currently running, click Stop under Service status.
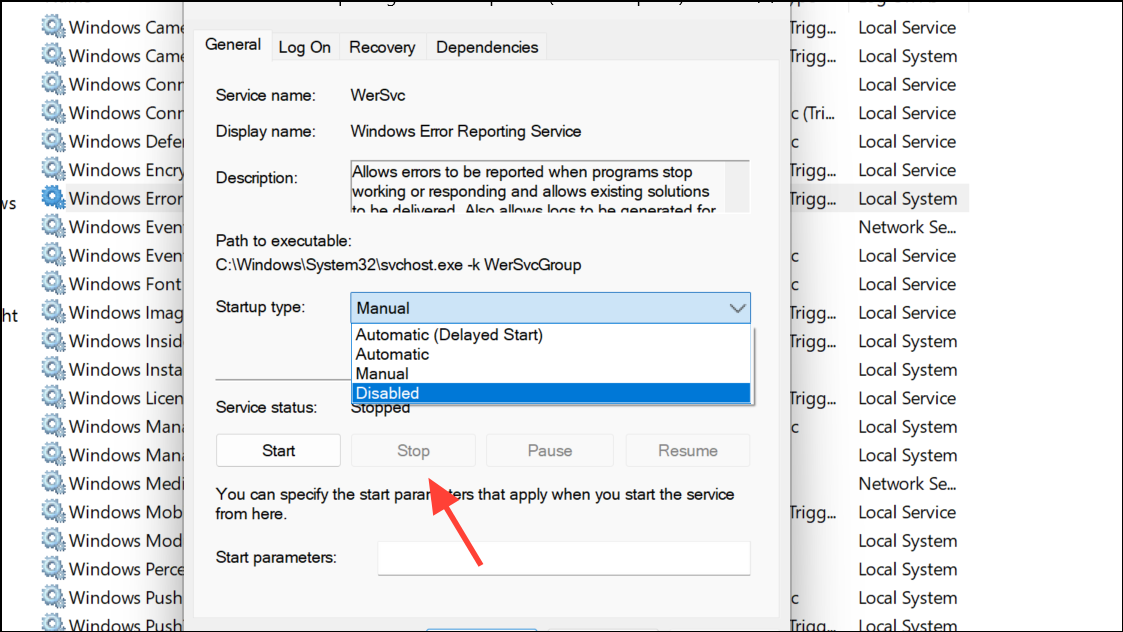
Step 6: Click Apply and then OK to save your changes.
Alternative: Disable Error Reporting via Group Policy Editor
For users running Windows 11 Pro, Enterprise, or Education, the Group Policy Editor offers a centralized way to disable Error Reporting. Windows 11 Home users can enable Group Policy Editor with additional steps, but using the Services method above is simpler for most.
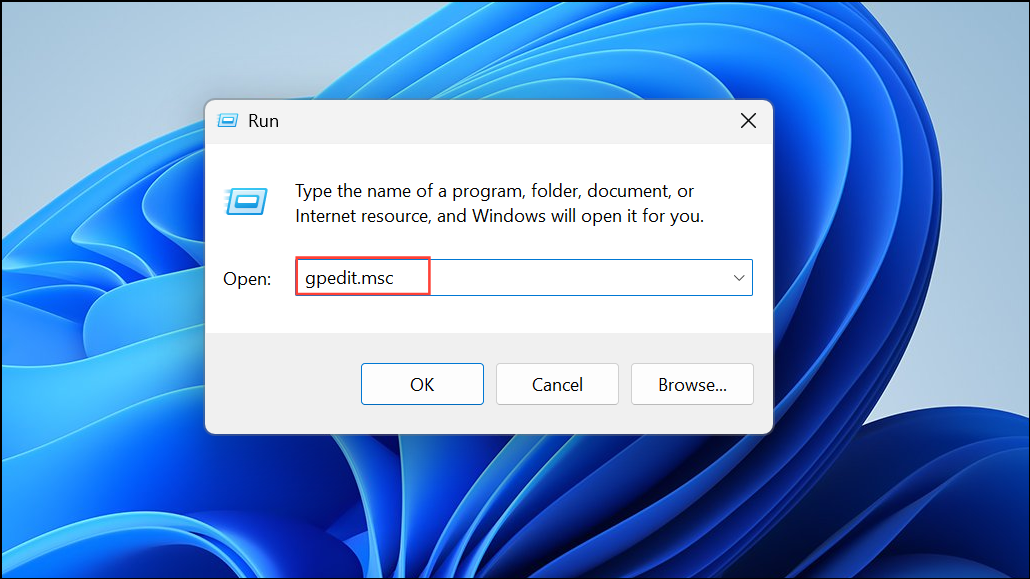
Step 1: Press Windows Key + R, type gpedit.msc, and press Enter.
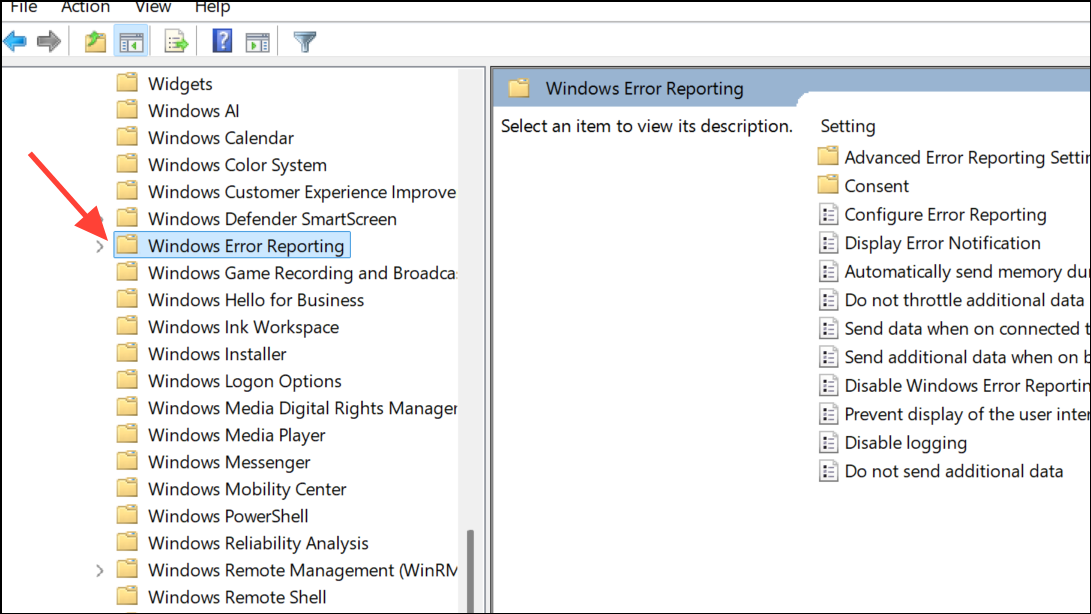
Step 2: Navigate to Computer Configuration > Administrative Templates > Windows Components > Windows Error Reporting.
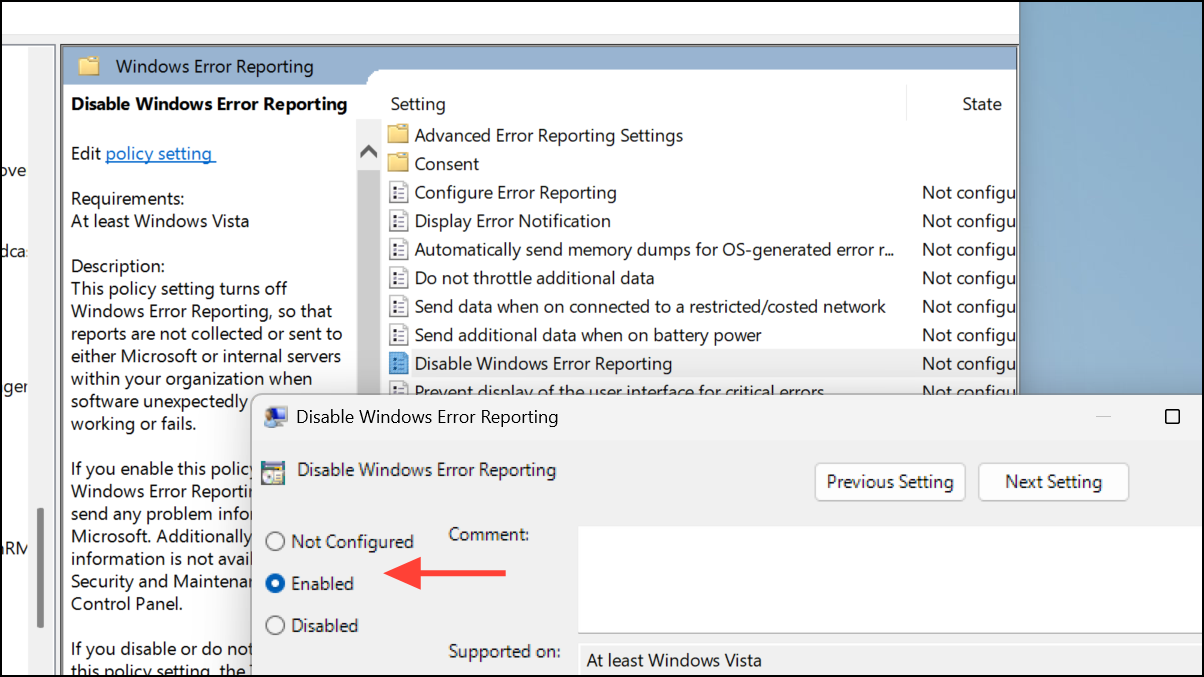
Step 3: Double-click Disable Windows Error Reporting and set it to Enabled.
Step 4: Double-click Display Error Notification and set it to Disabled.

Step 5: Click Apply and OK for each setting.
Advanced: Disable Error Reporting via Registry Editor
If the above methods are unavailable or you prefer a direct approach, editing the Windows Registry can also disable Error Reporting. Always back up your registry before making changes.
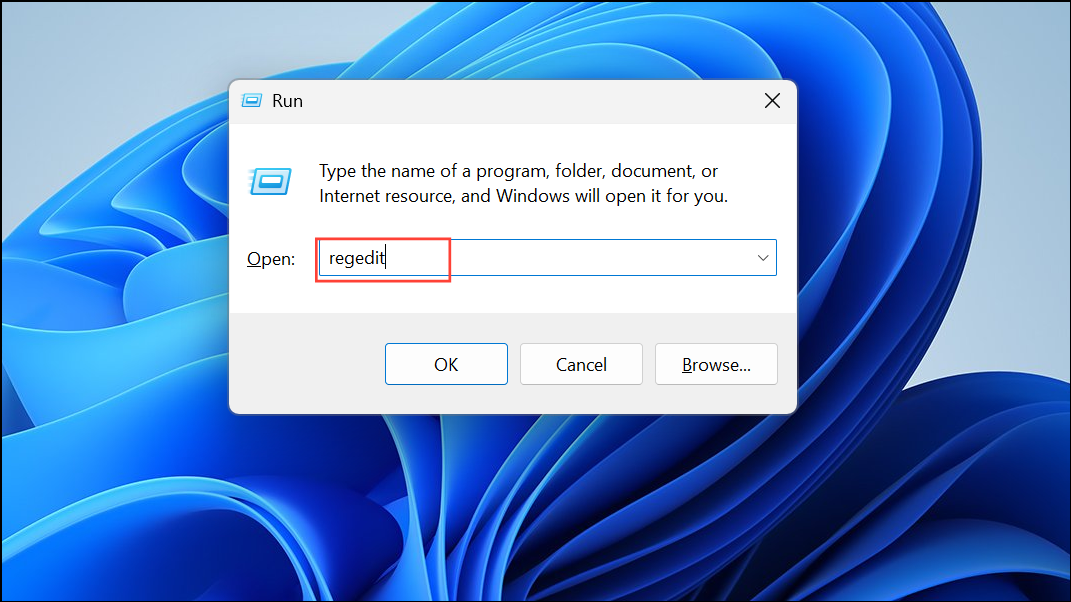
Step 1: Press Windows Key + R, type regedit, and press Enter.
Step 2: Navigate to HKEY_LOCAL_MACHINE\SOFTWARE\Microsoft\Windows\Windows Error Reporting.
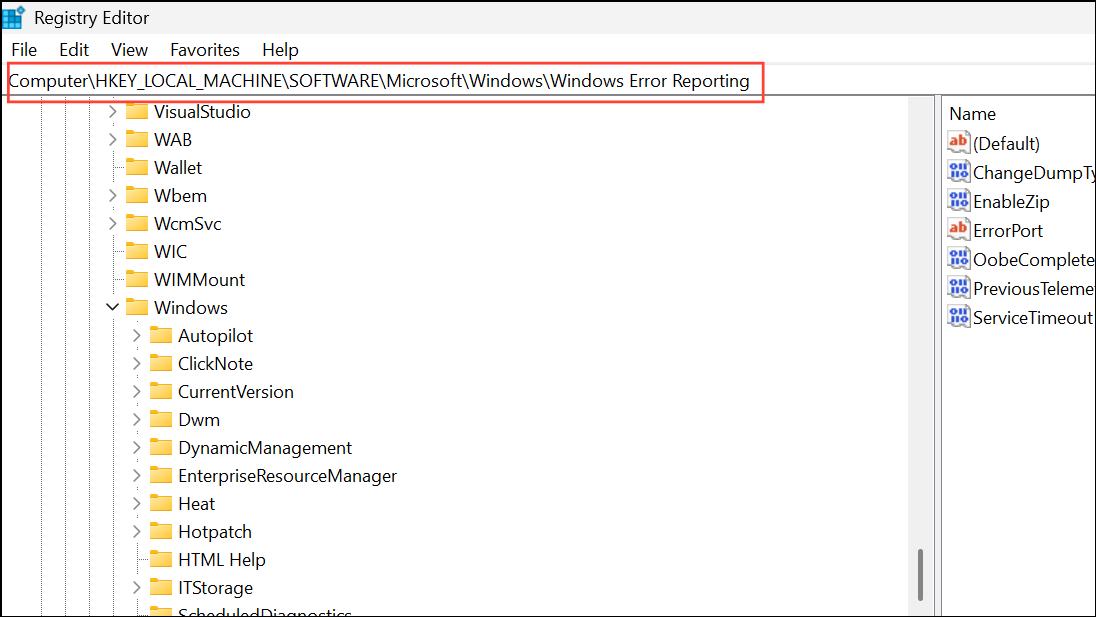
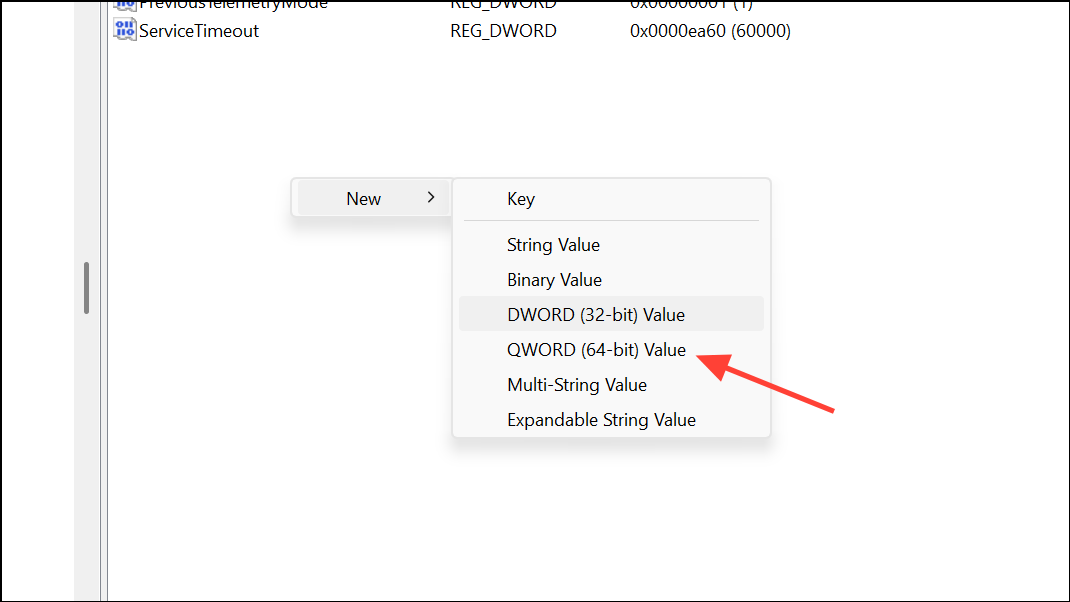
Step 3: Right-click in the right pane, select New > DWORD (32-bit) Value, and name it Disabled.
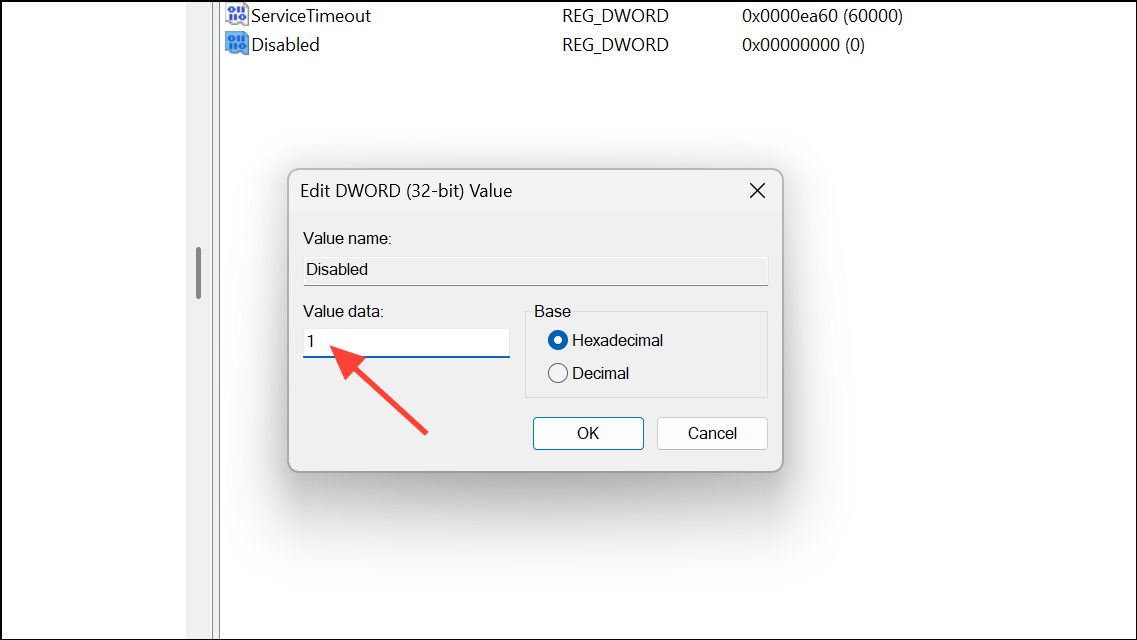
Step 4: Double-click Disabled and set its value to 1.
Step 5: Close Registry Editor and restart your PC to apply the change.
Address Underlying Application Crashes and System Errors
Disabling Error Reporting stops the pop-ups, but resolving the core issues behind application crashes is crucial for a stable system. Windows 11 offers several built-in tools and troubleshooting steps to identify and fix common errors.
Run Built-in Troubleshooters
Windows 11 includes automated troubleshooters for frequent issues such as Windows Update failures, network problems, and audio glitches.
Step 1: Open Settings from the Start menu.
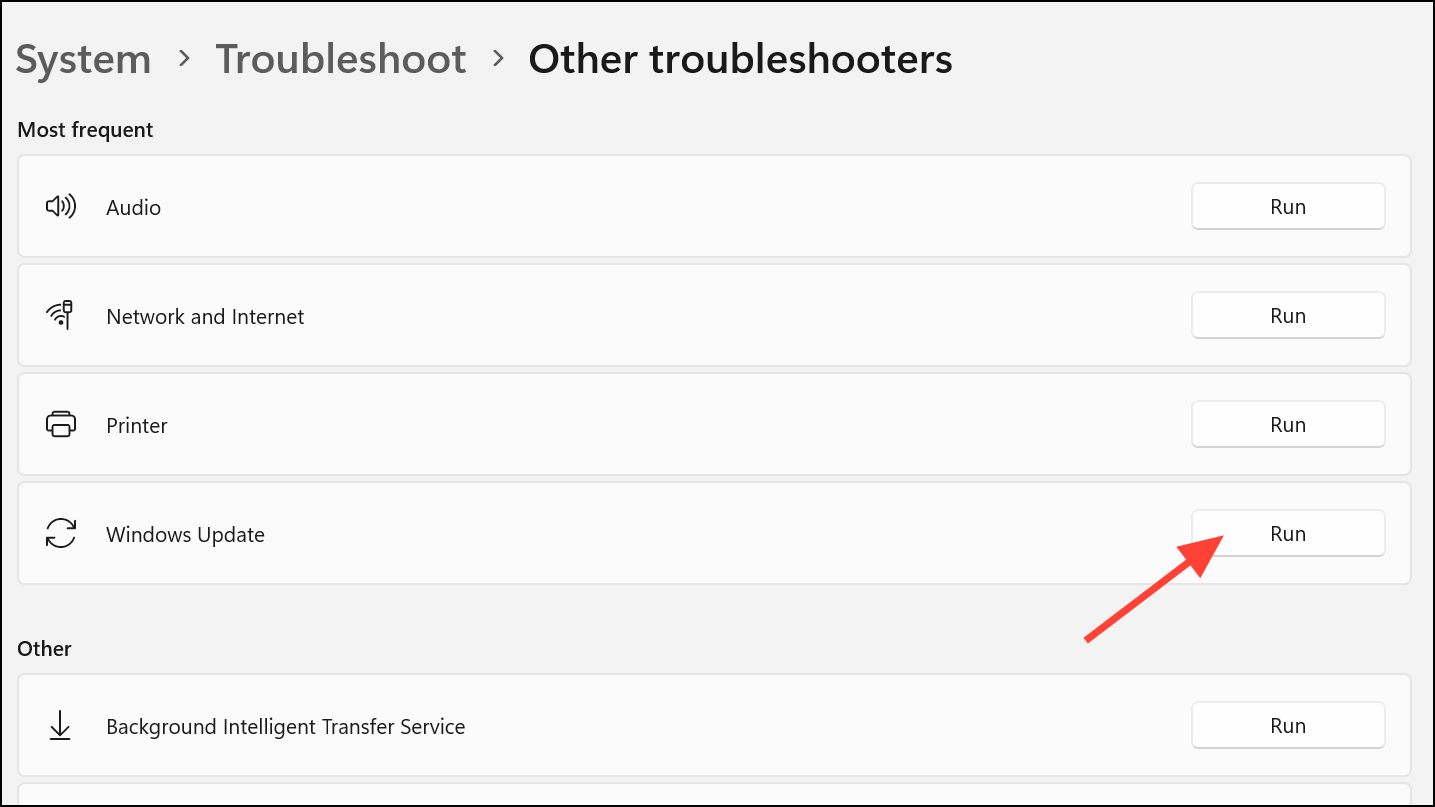
Step 2: Go to System > Troubleshoot > Other troubleshooters.
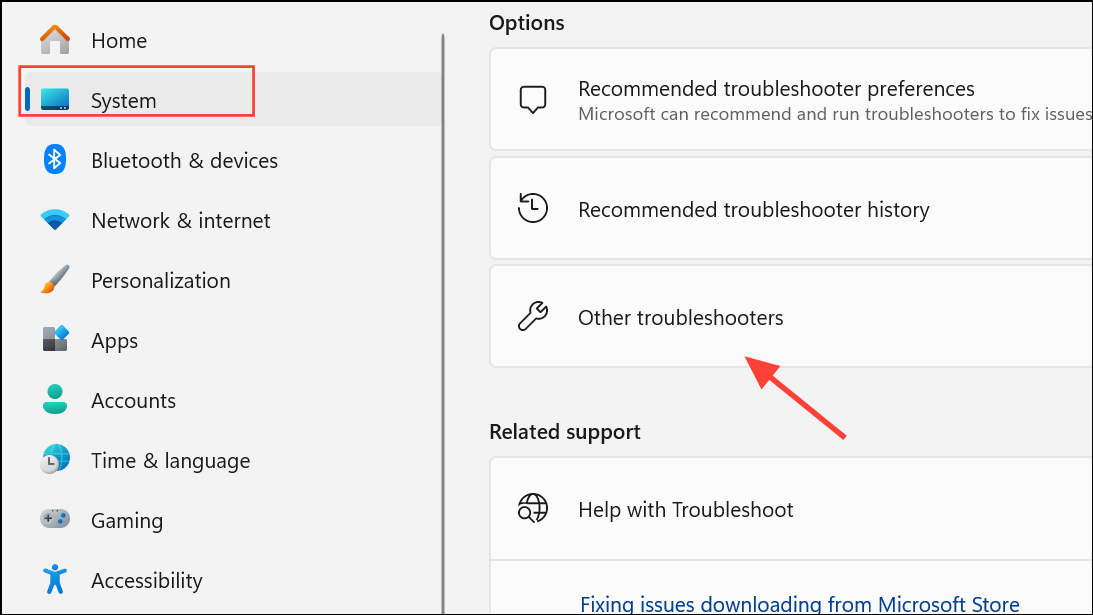
Step 3: Click Run next to the troubleshooter relevant to your problem (e.g., Windows Update, Internet Connections).
Step 4: Follow the on-screen instructions and restart your PC if prompted.
Repair Corrupted System Files
Corrupted or missing system files often cause persistent errors and crashes. The System File Checker (SFC) and Deployment Image Servicing and Management (DISM) tools can scan for and repair these issues.
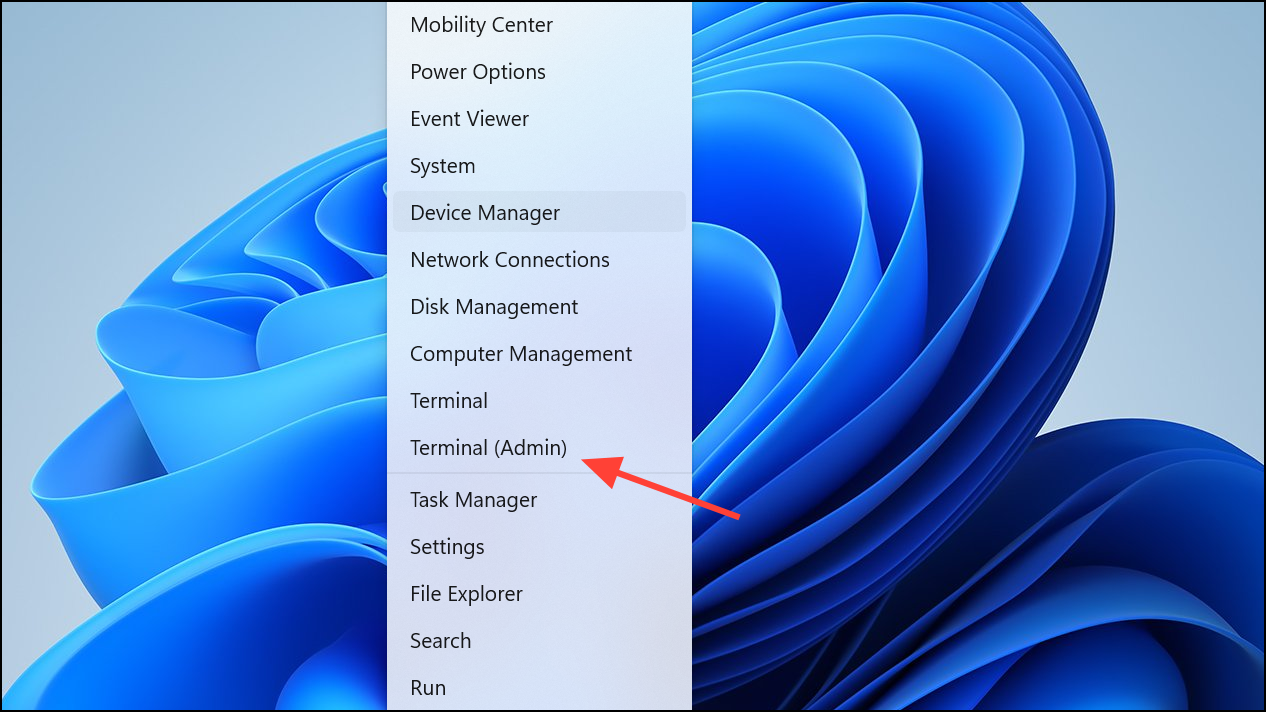
Step 1: Right-click the Start button and select Windows Terminal (Admin) or Command Prompt (Admin).
Step 2: Run the following command to check and repair system files:
sfc /scannow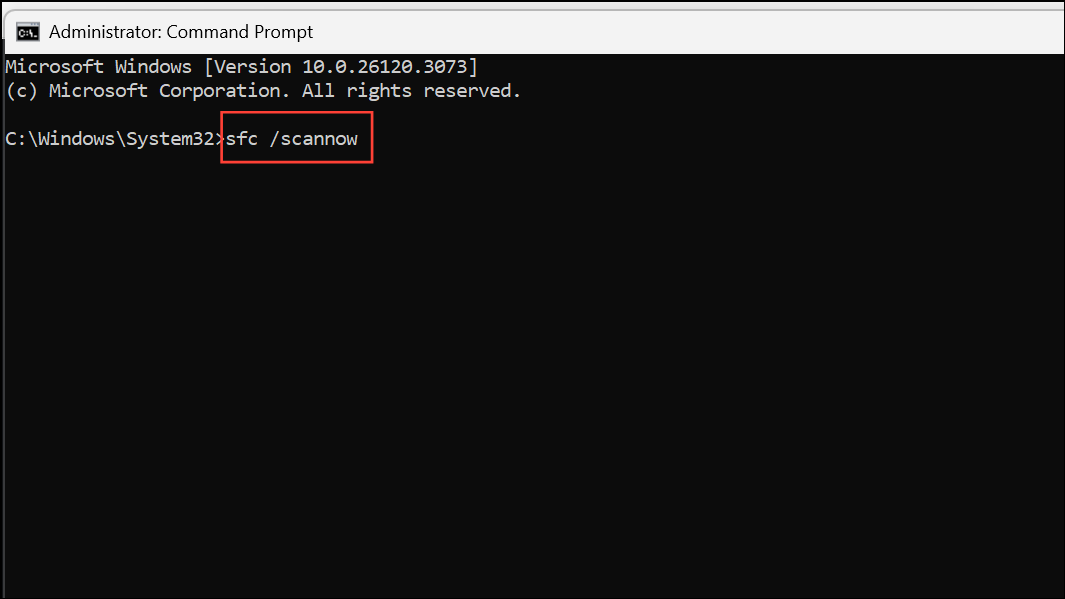
Step 3: Wait for the scan to finish and follow any prompts to restart your computer.
Step 4: If errors persist, run the DISM tool with:
DISM /Online /Cleanup-Image /RestoreHealth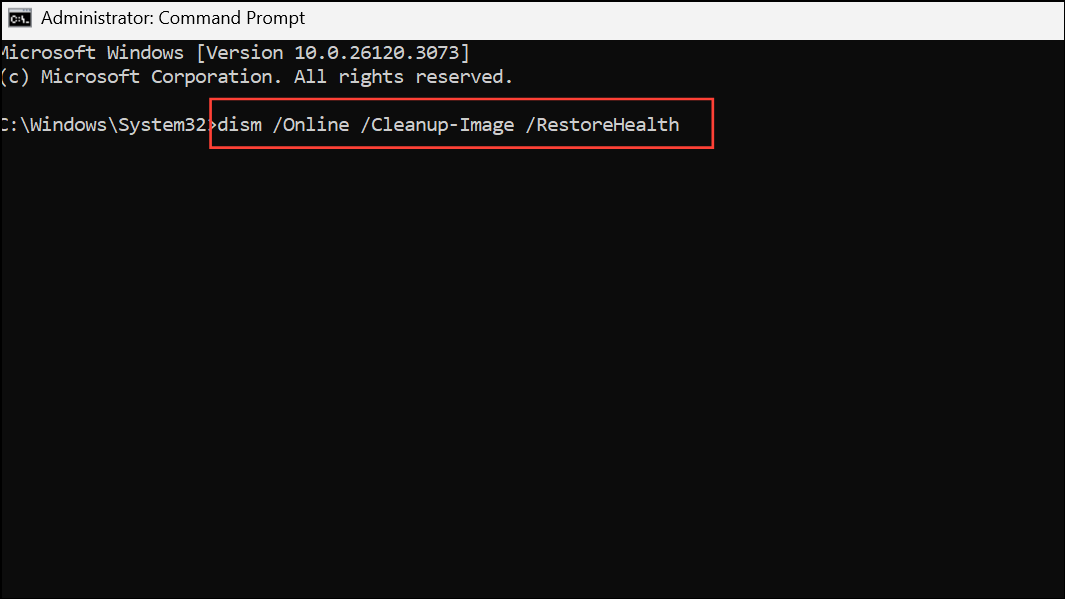
Step 5: After DISM completes, restart your PC and run sfc /scannow again.
Update Drivers and Windows
Outdated drivers and missing system updates frequently cause application instability. Ensuring your system is up to date can resolve many error messages and prevent repeated crashes.
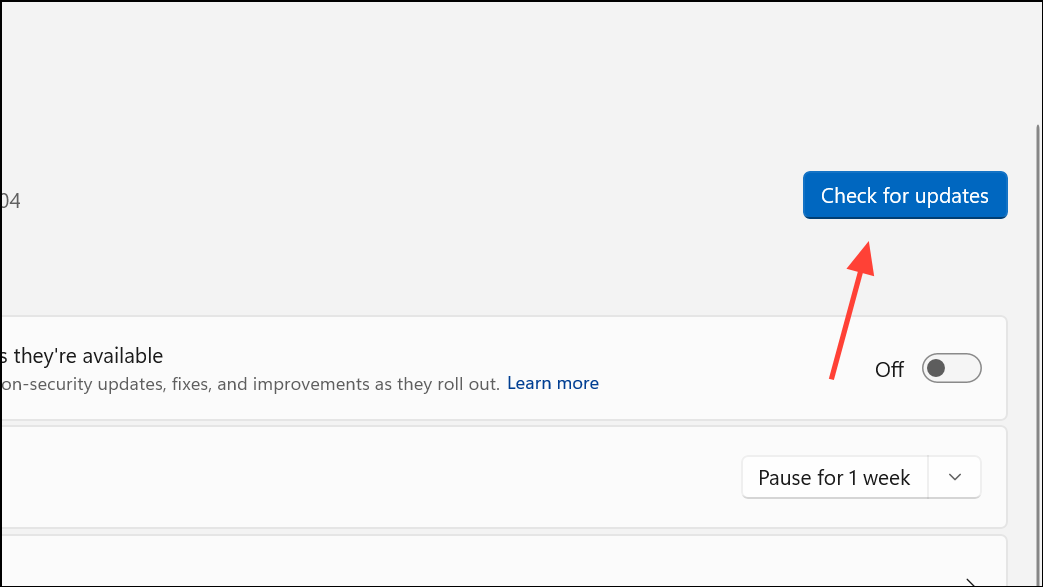
Step 1: Open Settings and navigate to Windows Update.
Step 2: Click Check for updates and install any available updates.
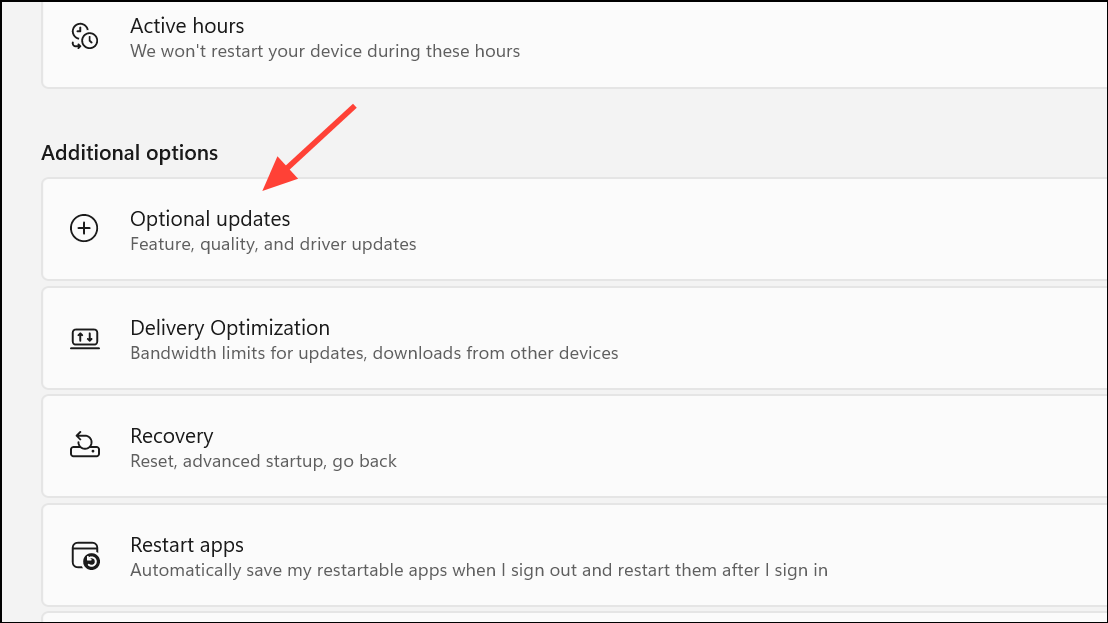
Step 3: For driver updates, expand Optional updates under Windows Update and install any listed driver updates.
Step 4: Restart your computer after updates are installed.
Remove Conflicting or Unnecessary Software
Third-party antivirus, outdated utilities, or incompatible programs can interfere with system processes and trigger errors. Removing these can improve system reliability.
- Uninstall any non-Microsoft antivirus or security tools using their official removal tools.
- Remove unnecessary or outdated applications via Settings > Apps > Installed apps.
- Disconnect external hardware not required for daily use to rule out driver conflicts.
Additional Maintenance Tips
- Regularly create system restore points via Settings > System > About > System protection.
- Monitor system health using Reliability Monitor (search for "Reliability Monitor" in the Start menu) to review crash logs and error patterns.
- Schedule routine scans with SFC and DISM, especially after major updates or software installations.
- Keep regular backups of important data using the 3-2-1 backup rule (three copies, two different media, one offsite).
Disabling the Error Reporting Service stops repetitive solution pop-ups, while targeted troubleshooting and regular maintenance address the root causes of application crashes in Windows 11. Consistent updates, careful removal of conflicting software, and periodic system scans keep your PC running smoothly.