
System File Checker (SFC) relies on Windows Resource Protection and the TrustedInstaller service to scan and repair critical system files. When the error message Windows Resource Protection could not complete the requested operation appears, SFC is unable to perform its repairs, leaving system corruption unresolved. This failure is often linked to the TrustedInstaller service being disabled, malfunctioning, or blocked by system configuration problems. Addressing this issue restores SFC's ability to fix core Windows files, prevents recurring system errors, and supports stable updates.
Restart Windows Modules Installer (TrustedInstaller) via Services Console
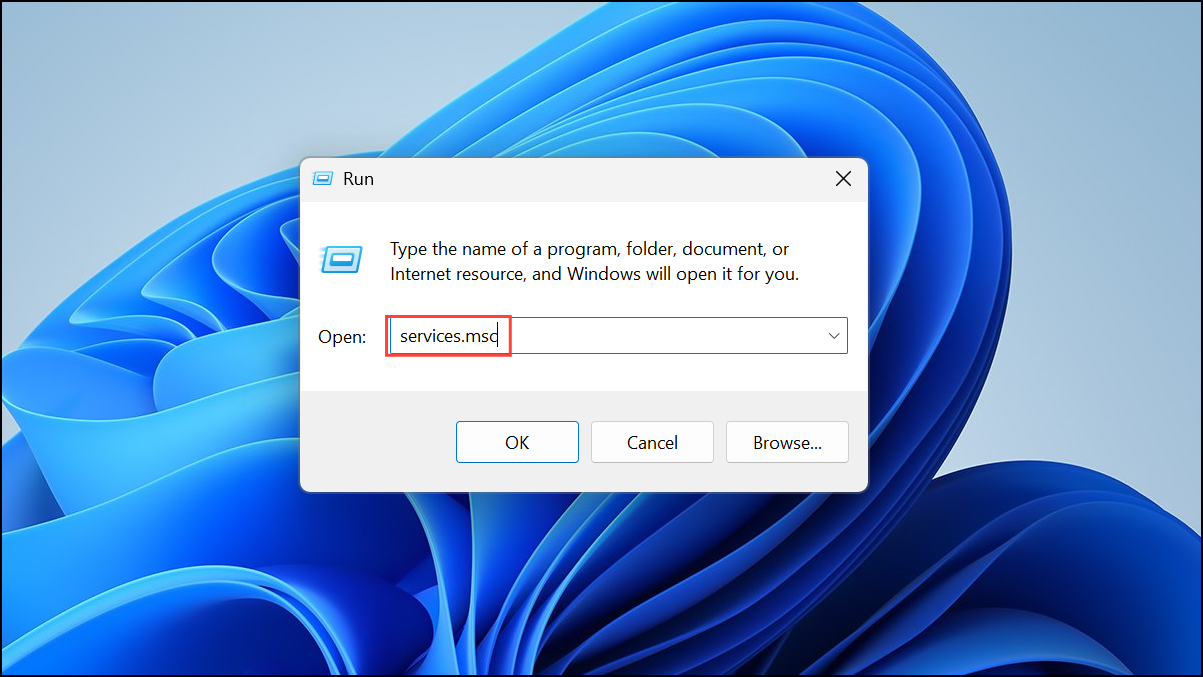
Step 1: Open the Services management console by pressing Windows + R, typing services.msc, and selecting OK. This tool manages background services required for Windows operations.
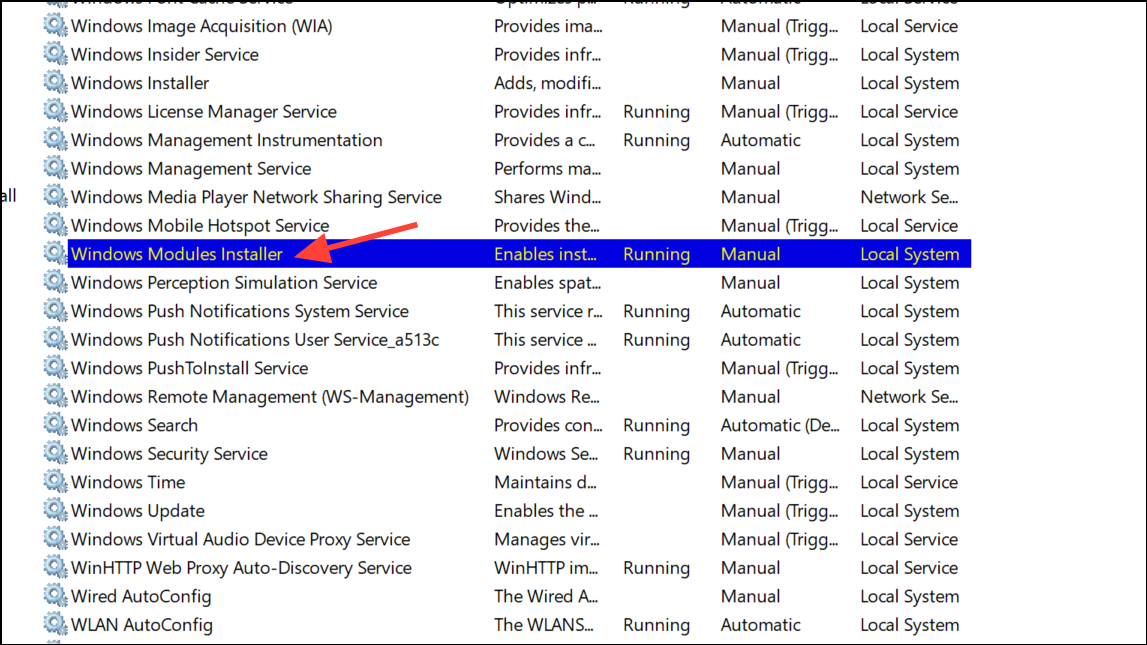
Step 2: Locate Windows Modules Installer in the list. Double-click it to open its properties window. This service, also known as TrustedInstaller, is responsible for installing, modifying, and removing Windows updates and system components.
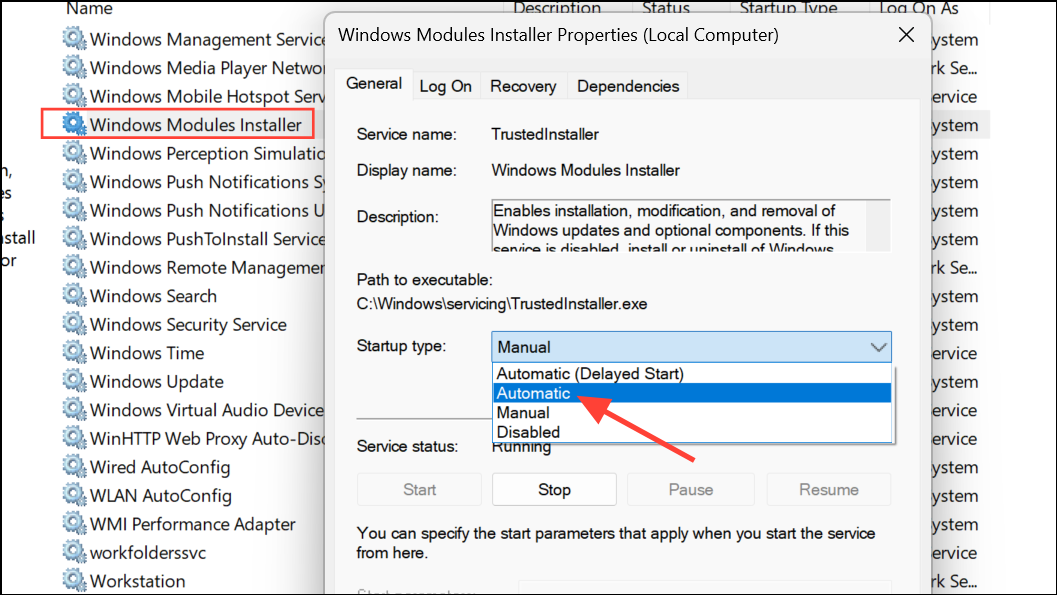
Step 3: Under the General tab, set Startup type to Manual or Automatic. Click Start if the service status is stopped, then select Apply and OK to confirm. This ensures TrustedInstaller is available when SFC tries to run.
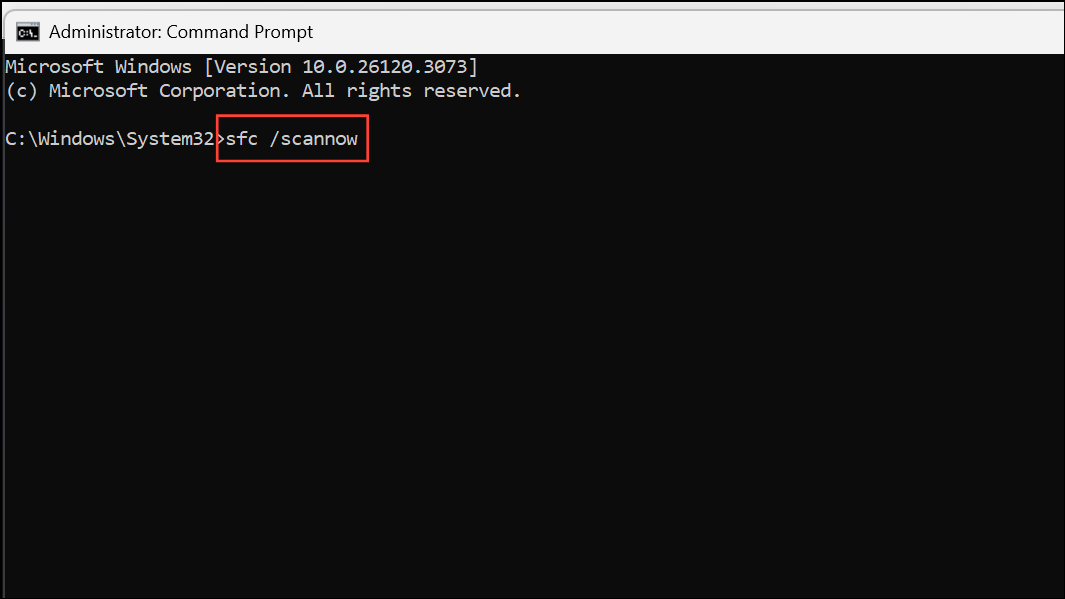
Step 4: Close the Services console and retry the sfc /scannow command in an elevated Command Prompt. If the error persists, continue with the next method.
Enable TrustedInstaller Using Command Prompt
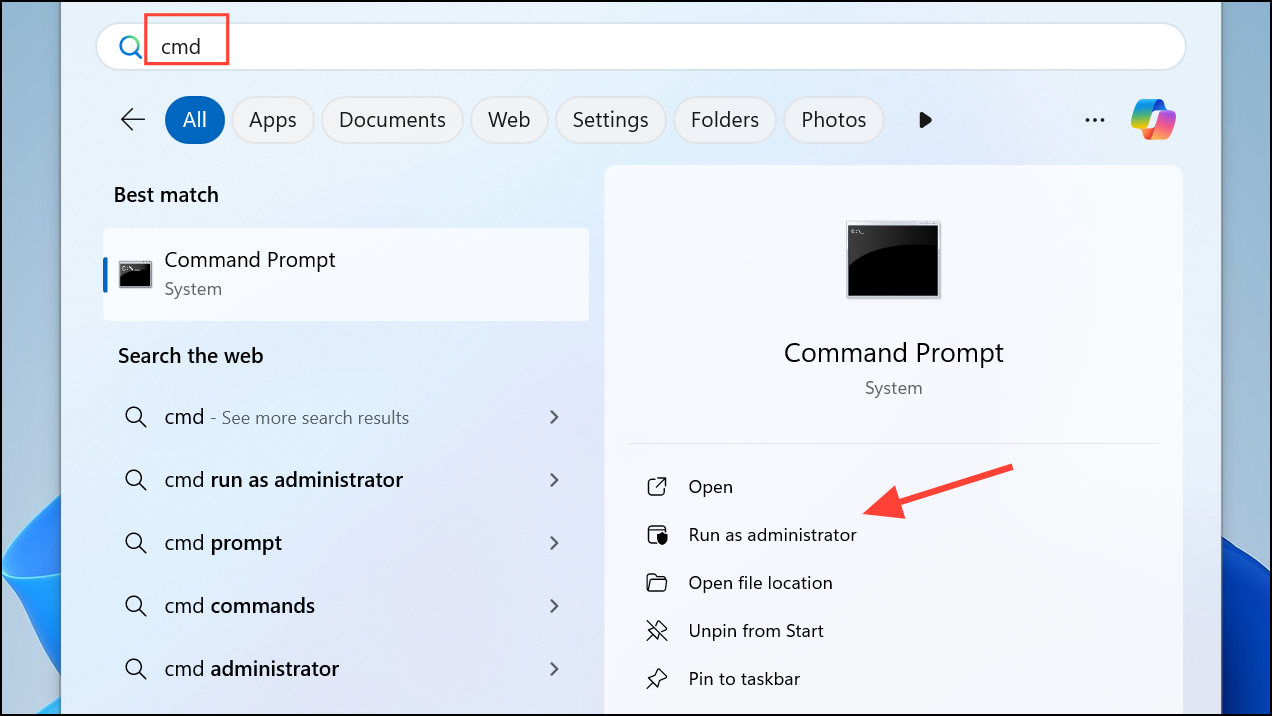
Step 1: Open Command Prompt with administrative privileges. Press Windows + S, type cmd, right-click Command Prompt, and select Run as administrator.
Step 2: To set TrustedInstaller to start automatically, enter:
sc config trustedinstaller start= auto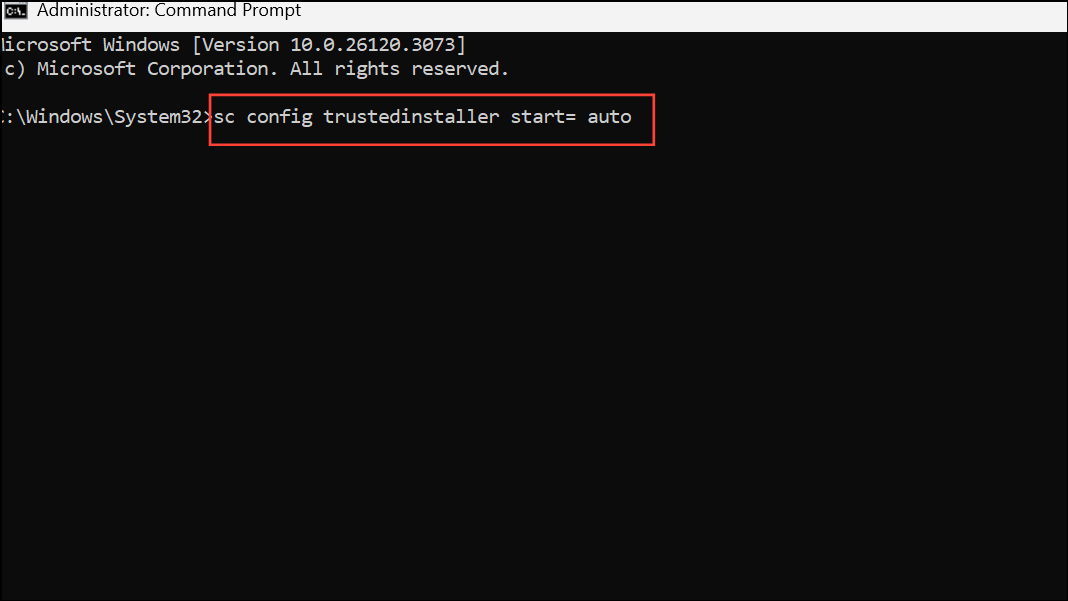
This command configures the Windows Modules Installer service to launch as needed by system processes.
Step 3: Start the service immediately by running:
net start trustedinstaller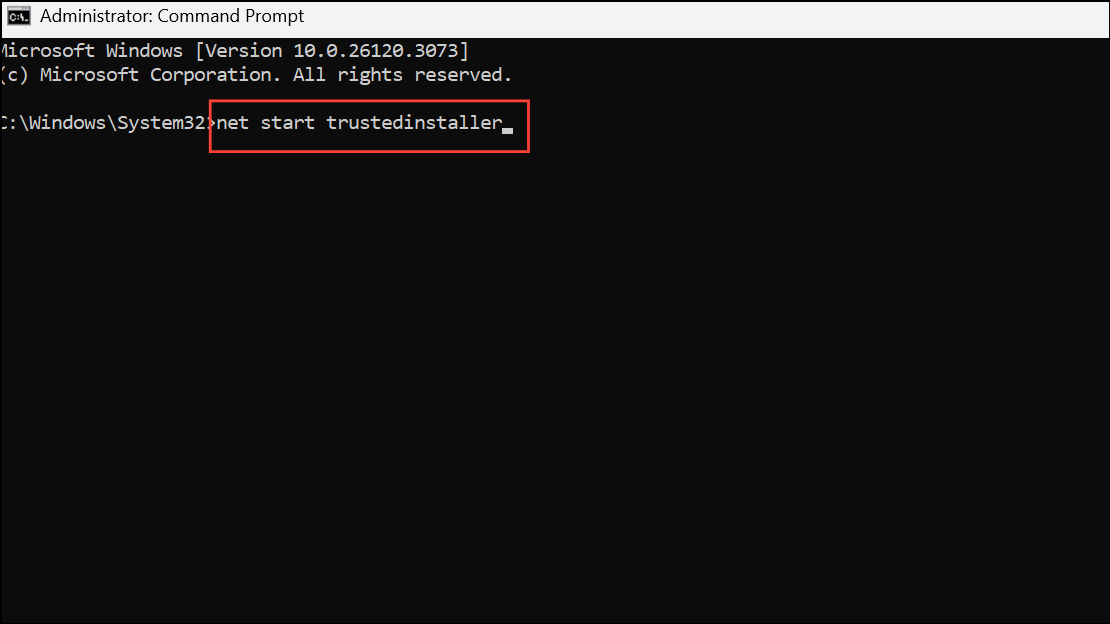
Wait for the confirmation message. Once the service is running, attempt the SFC scan again. If the error continues, proceed to the next approach.
Run System File Checker in Safe Mode
Conflicting background processes or third-party software can sometimes block SFC from running. Booting into Safe Mode loads only essential drivers and services, reducing interference.
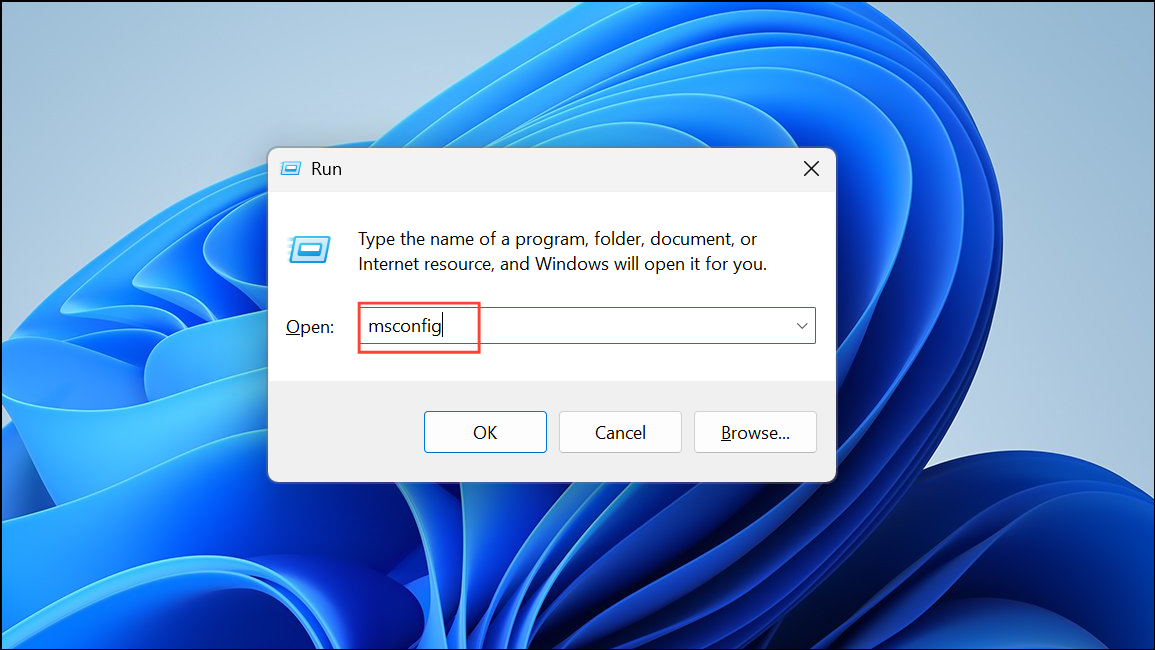
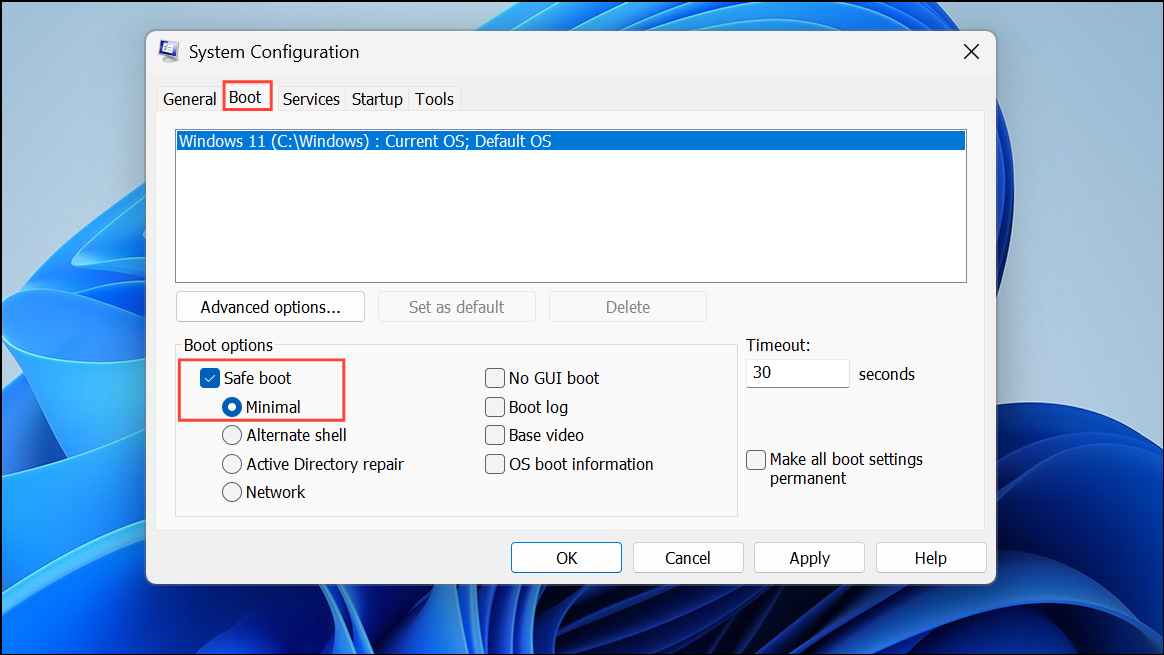
Step 1: Open the System Configuration tool by pressing Windows + R, typing msconfig, and pressing Enter.
Step 2: Go to the Boot tab. Check Safe boot and select Minimal. Click OK and restart your PC.
Step 3: After rebooting into Safe Mode, open an elevated Command Prompt and run sfc /scannow again. If SFC runs successfully, system file repair should complete. Remember to revert the Safe Boot option after finishing.
Repair Windows Image with DISM
Corruption in the Windows image itself can prevent SFC from operating. The Deployment Image Servicing and Management (DISM) tool fixes underlying image issues that block system repairs.
Step 1: Open Command Prompt as administrator.
Step 2: Enter the following command and press Enter:
DISM /Online /Cleanup-Image /RestoreHealth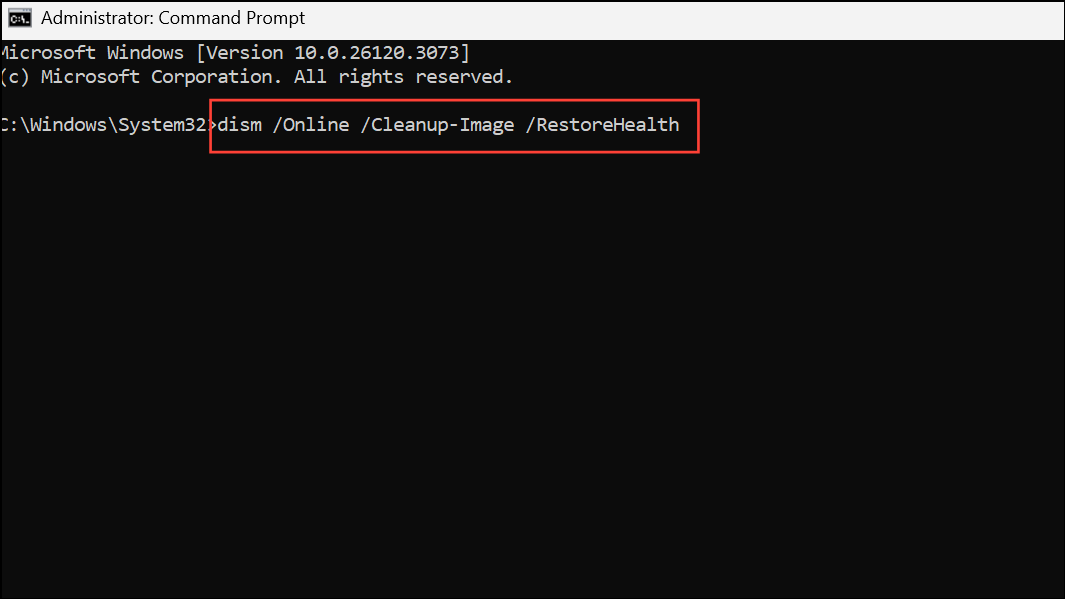
DISM scans and restores the integrity of the Windows image. This process may take several minutes. Once completed, rerun sfc /scannow to check if the error is resolved.
Modify Registry to Restore TrustedInstaller Reference
In rare cases, missing or incorrect registry entries related to TrustedInstaller block SFC from starting. Editing the registry can re-establish the proper service linkage, but this method carries risk—always back up your data before making changes.
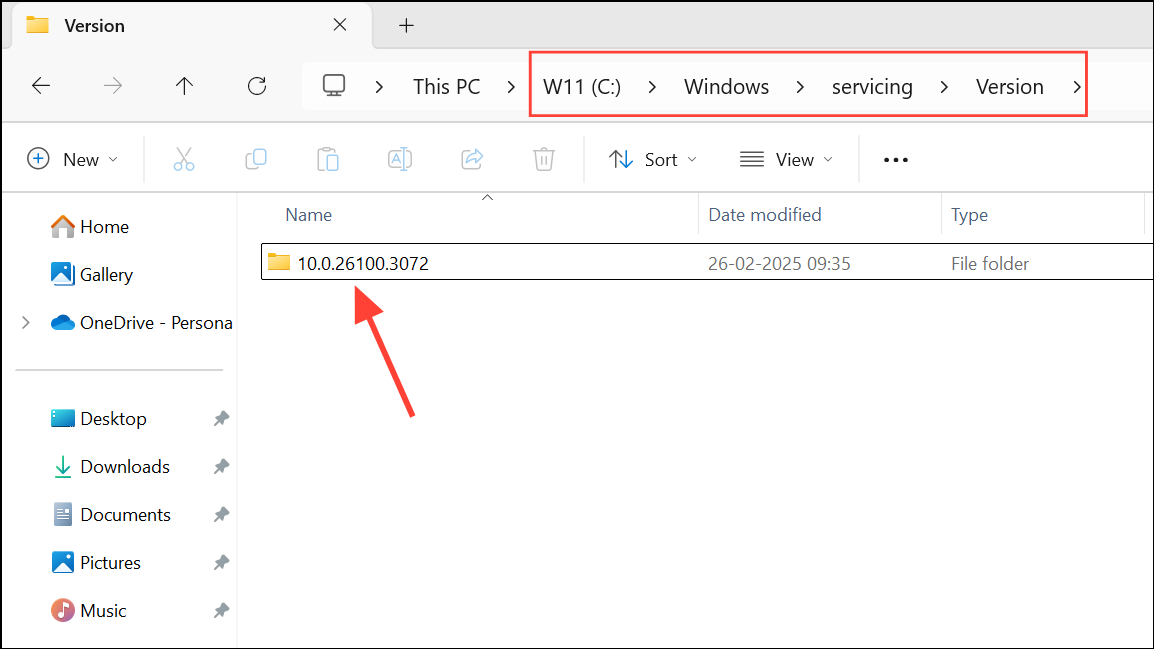
Step 1: Open File Explorer and navigate to C:\Windows\Servicing\Version. Identify the folder matching your TrustedInstaller ID (e.g., 10.0.219XX.X) and copy its name.
Step 2: Go to C:\Windows\WinSxS and find the servicing stack folder that matches your architecture and TrustedInstaller ID, such as amd64_microsoft-windows-servicingstack_31bf3856ad364e35_{TrustedInstaller ID}. Copy the full path for use in the next step.
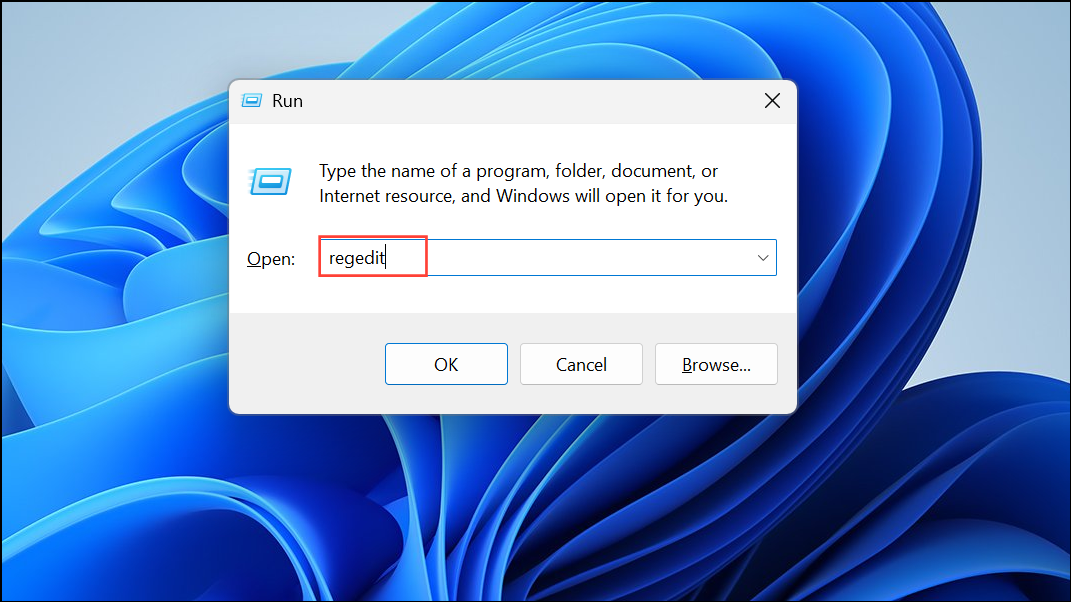
Step 3: Open the Registry Editor by pressing Windows + R, typing regedit, and pressing Enter.
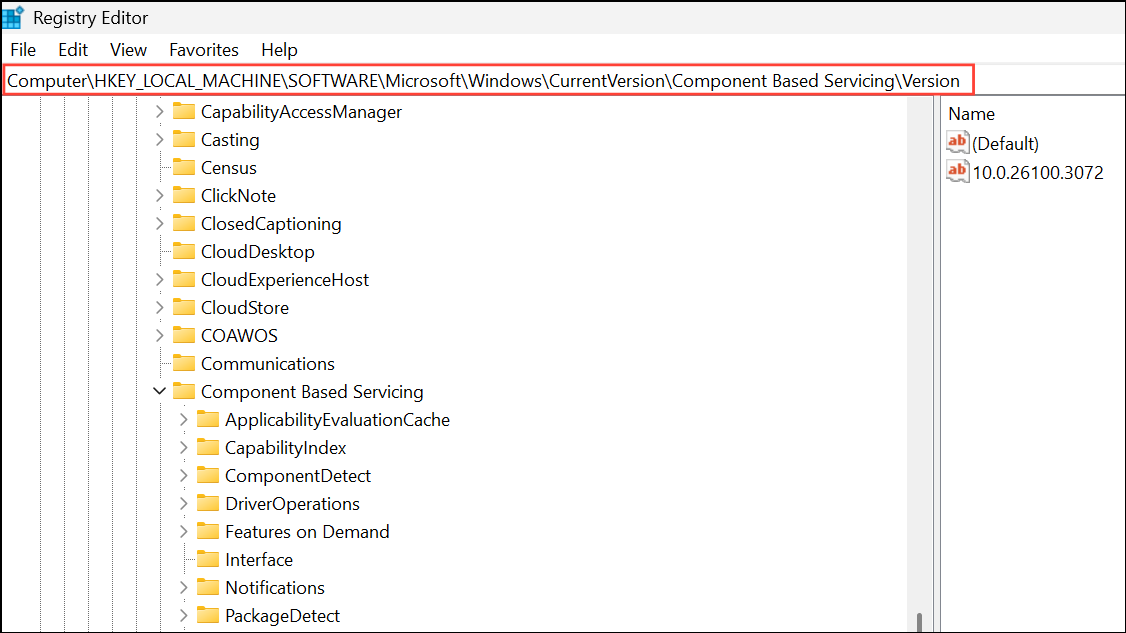
Step 4: Navigate to HKEY_LOCAL_MACHINE\SOFTWARE\Microsoft\Windows\CurrentVersion\Component Based Servicing\Version.
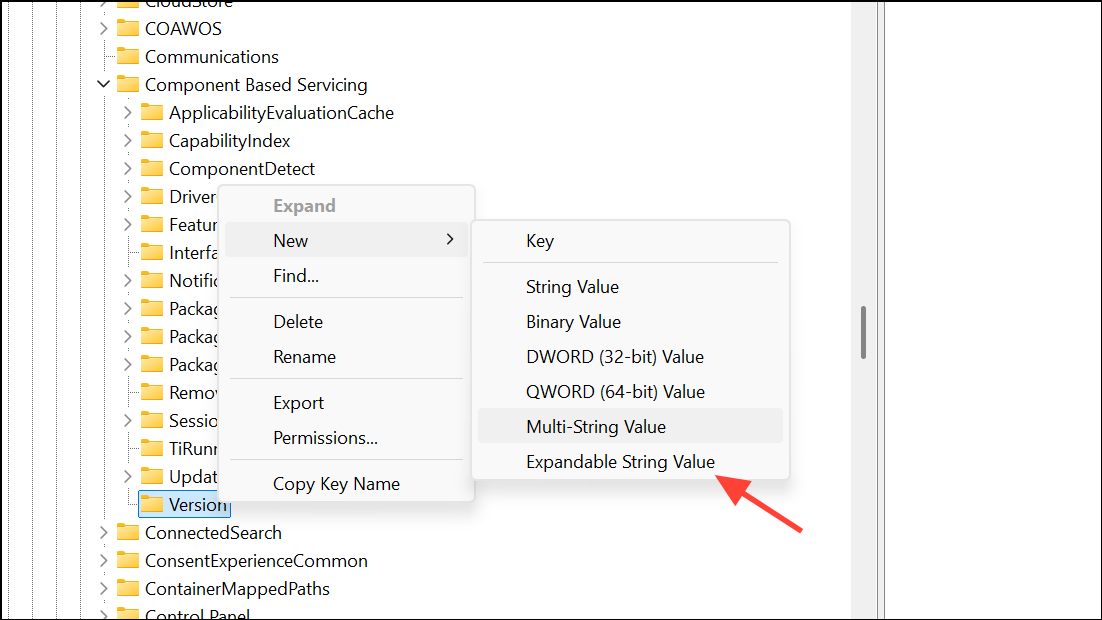
Step 5: Right-click the Version key, select New > Expandable String Value, and name it with your TrustedInstaller ID. Double-click the new value and enter the folder path using %SystemRoot% instead of C:\Windows (for example, %SystemRoot%\winsxs\amd64_microsoft-windows-servicingstack_31bf3856ad364e35_10.0.219XX.X_none_7e3d47227c694b34).
Step 6: Click OK to save, close the Registry Editor, and reboot the PC. After restarting, try running SFC again.
Additional Recovery Options
If none of the above steps restore SFC functionality, consider performing an in-place upgrade repair using the latest Windows 11 ISO. Mount the ISO, run setup.exe, and choose to keep personal files and apps. This process reinstalls Windows system files without affecting user data or installed programs, resolving most deep-seated corruption issues.
For systems unable to update or reset due to persistent errors, backup your data and perform a clean installation of Windows 11 as a last resort. This guarantees a fresh system state but requires reinstalling all applications.
Restoring TrustedInstaller and ensuring Windows Modules Installer is active allows SFC to repair protected files, preventing future update failures and system instability. Running these fixes in order typically resolves the error and brings your PC back to a healthy state.