
Random black or white squares appearing on your Windows 11 screen can disrupt daily work, cause visual distractions, and raise concerns about hardware reliability. These display glitches may show up as flickering blocks, static overlays, or persistent translucent boxes, and can be triggered by a range of software and hardware issues. Addressing the problem promptly can restore normal display performance and prevent further complications.
Run the Hardware and Devices Troubleshooter
Windows 11 includes a built-in troubleshooter that checks for hardware-related issues and can automatically apply fixes for common display errors.
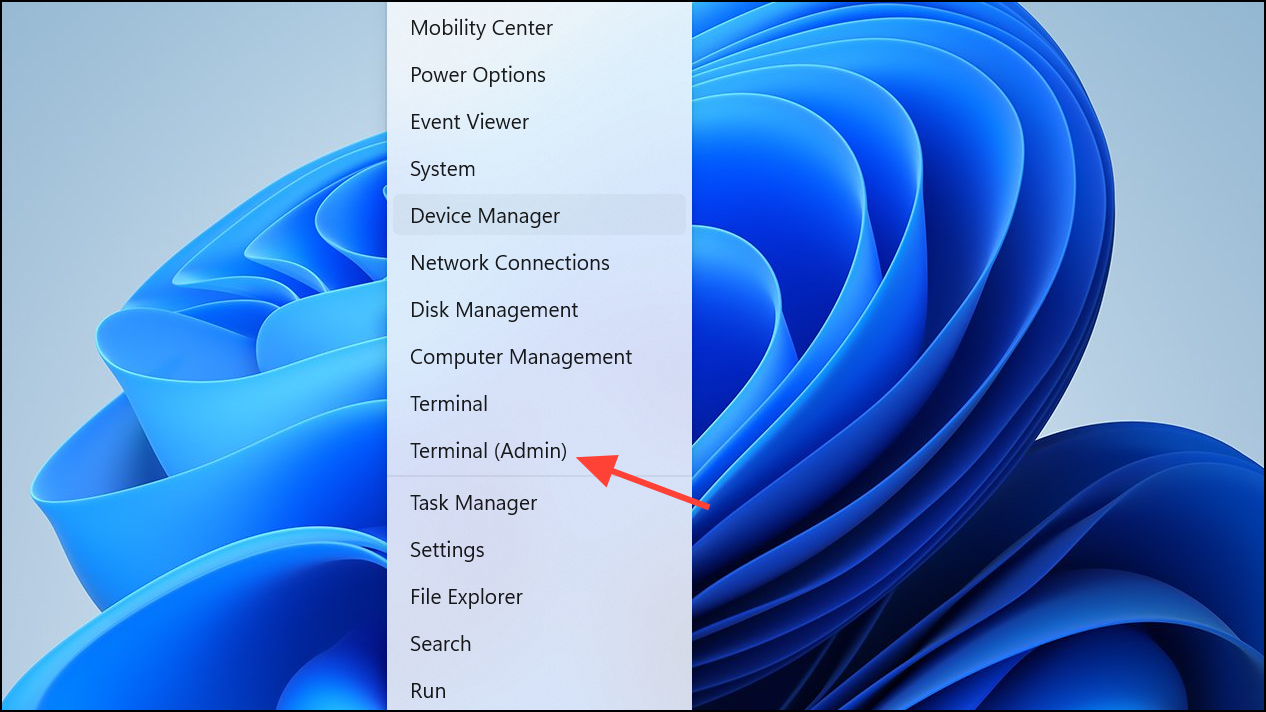
Step 1: Right-click the Windows icon to open the Start menu.
Step 2: Select Terminal (Admin) to launch an elevated command window.
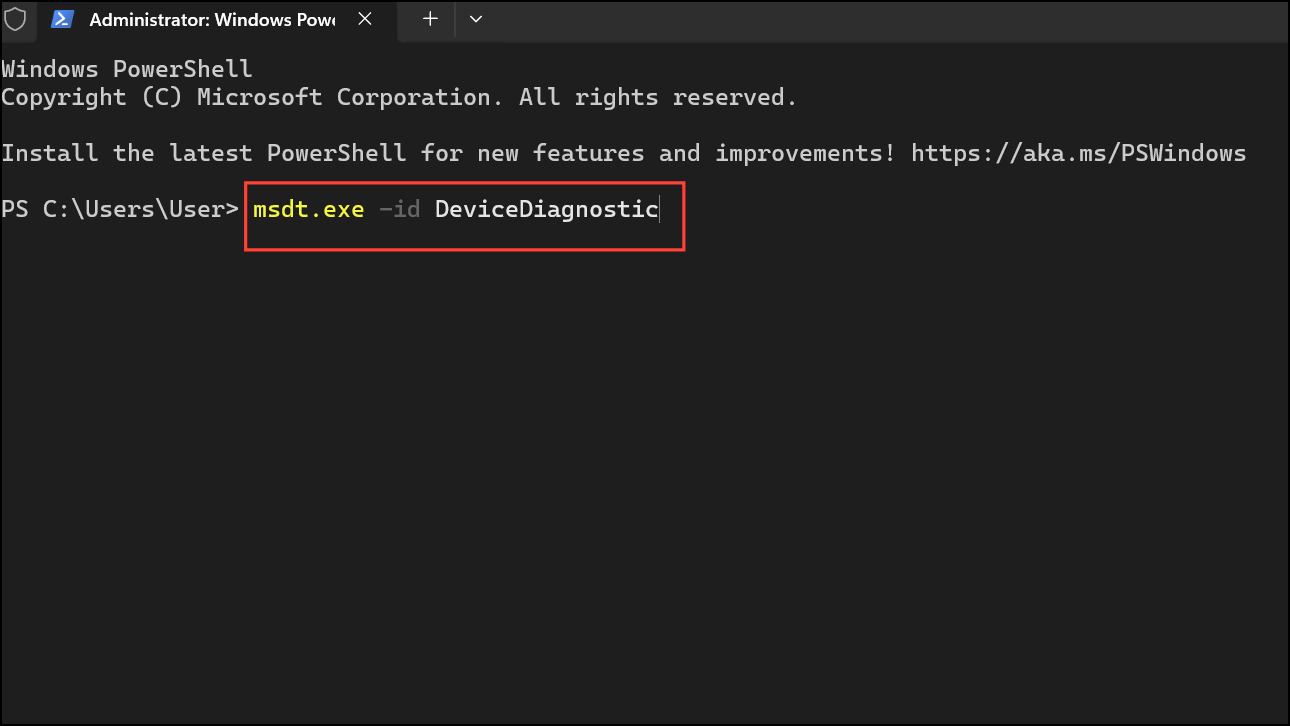
Step 3: Type msdt.exe -id DeviceDiagnostic and press Enter to start the Hardware and Devices Troubleshooter.
Step 4: In the troubleshooter window, click Advanced and check Apply repairs automatically, then click Next.
Step 5: Follow the on-screen instructions to complete the scan and apply any recommended fixes.
Update or Reinstall Graphics Drivers
Outdated or corrupted graphics drivers are a leading cause of display artifacts, including black or white squares. Updating to the latest drivers can resolve many visual glitches.
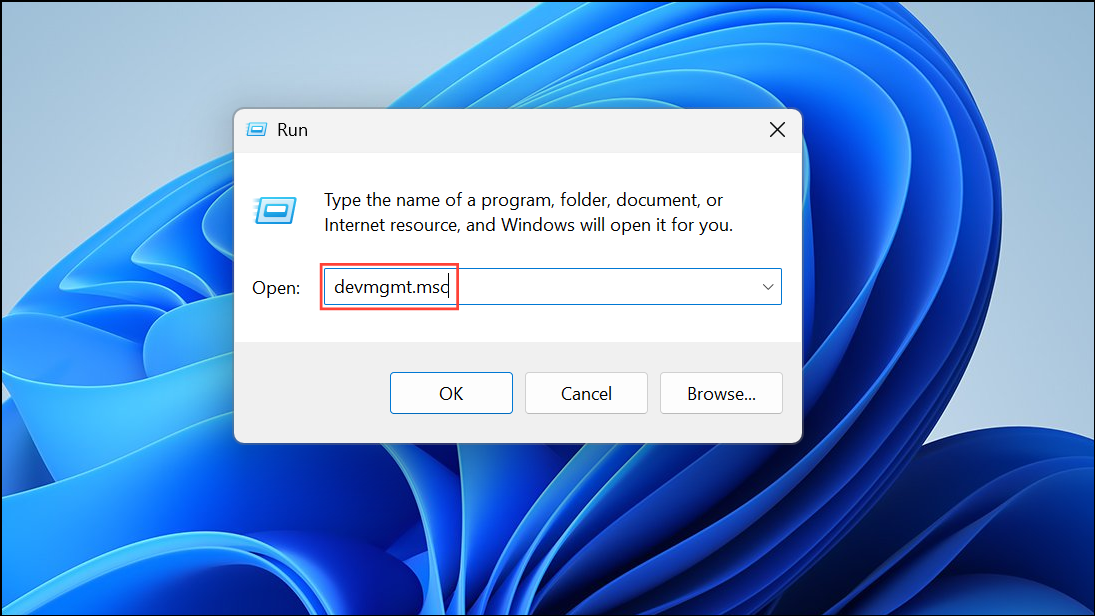
Step 1: Press Windows + R to open the Run dialog, type devmgmt.msc, and press Enter to launch Device Manager.
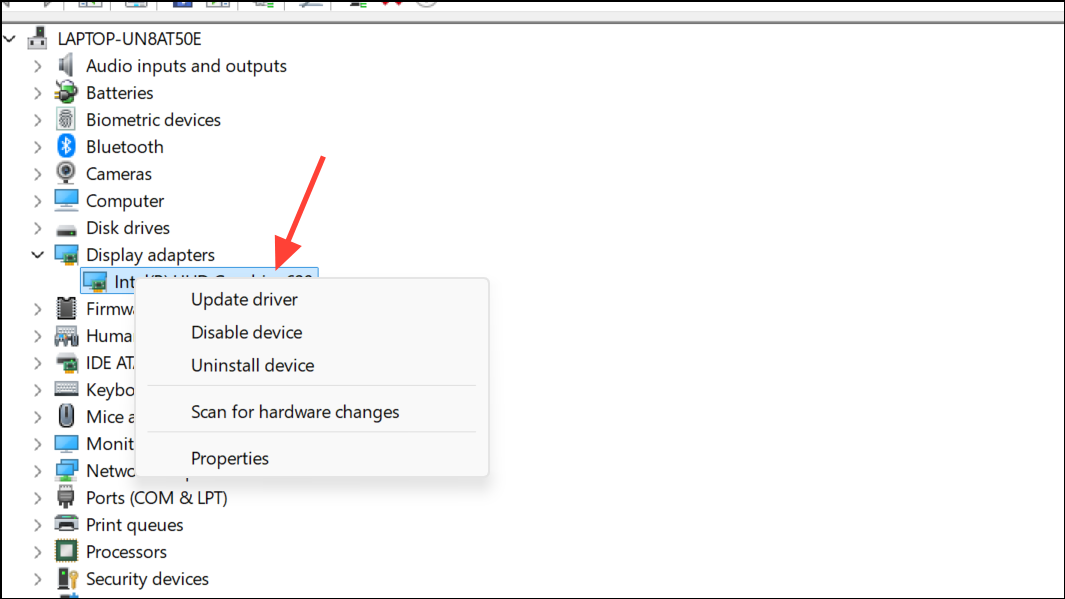
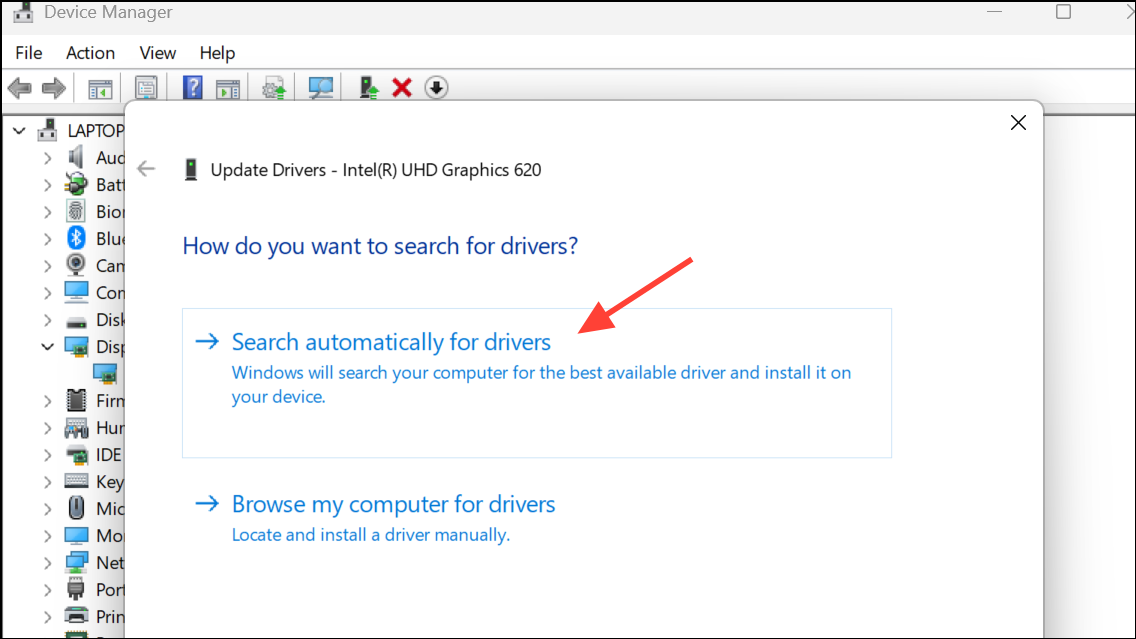
Step 2: Expand the Display adapters section, right-click your graphics card, and select Update driver.
Step 3: Choose Search automatically for drivers to let Windows find and install the latest version. If you have a driver package from the manufacturer, select Browse my computer for drivers and follow the prompts.
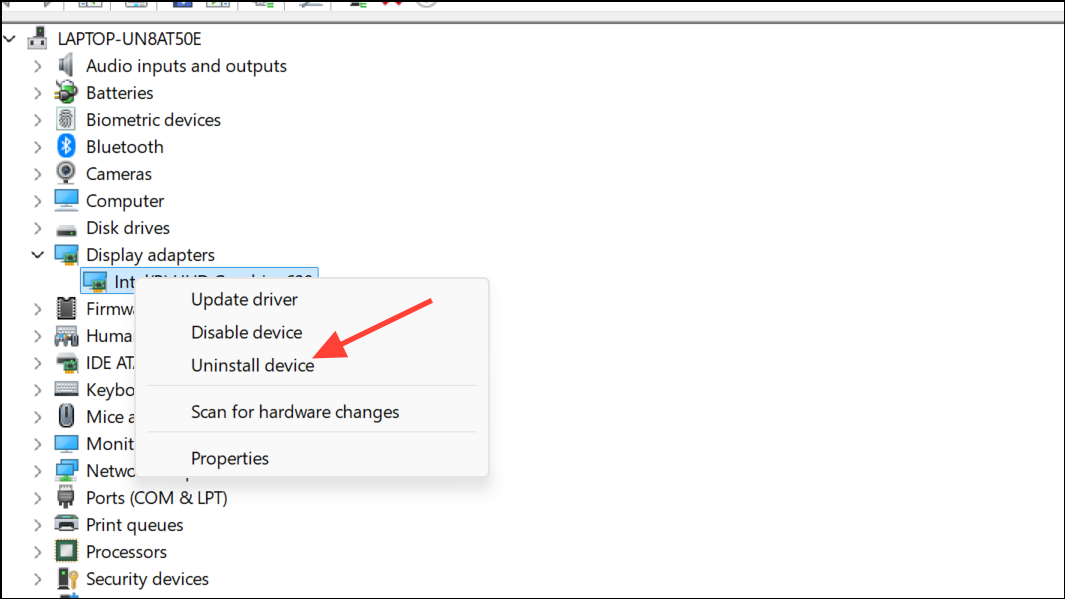
Step 4: If updating does not resolve the issue, right-click the graphics card again and select Uninstall device. Check Attempt to remove the driver for this device, confirm, and restart your PC. Windows will reinstall a compatible driver automatically.
For NVIDIA or AMD users, downloading the latest drivers directly from the manufacturer's website can also help resolve persistent display problems.
Change Display Resolution Settings
Incorrect or unsupported display resolutions can cause graphical artifacts and glitches.
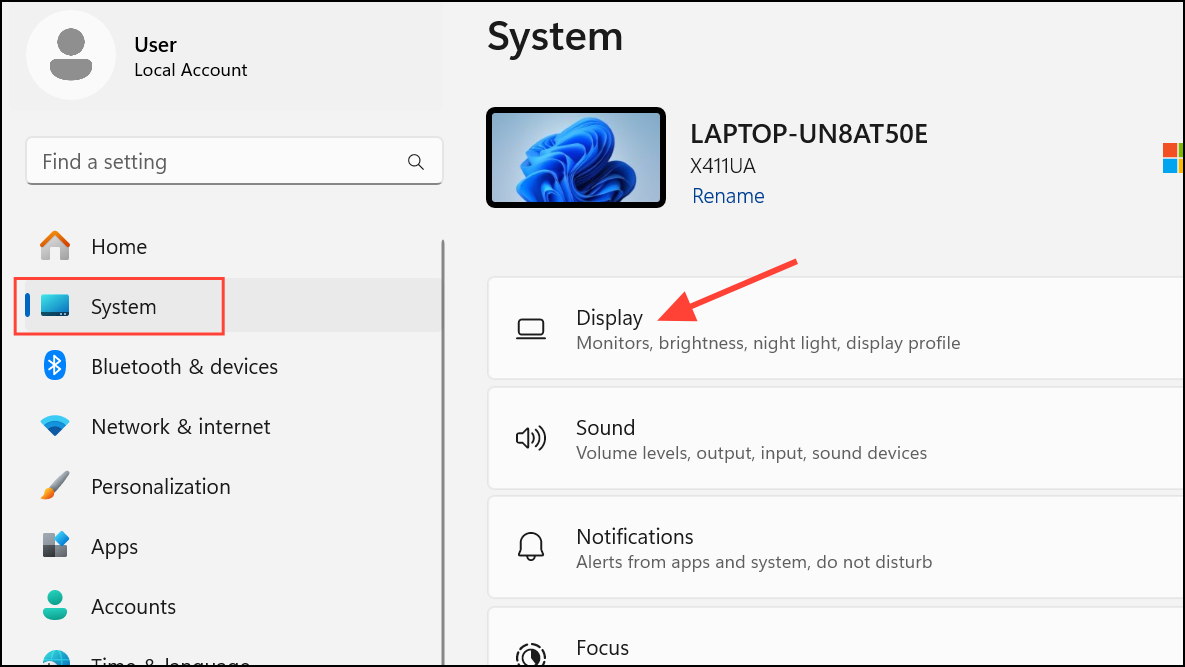
Step 1: Open Settings by pressing Windows + I.
Step 2: Go to System > Display.
Step 3: Under Scale & layout, locate Display resolution and select the Recommended option from the drop-down menu. This ensures optimal compatibility with your monitor and graphics card.
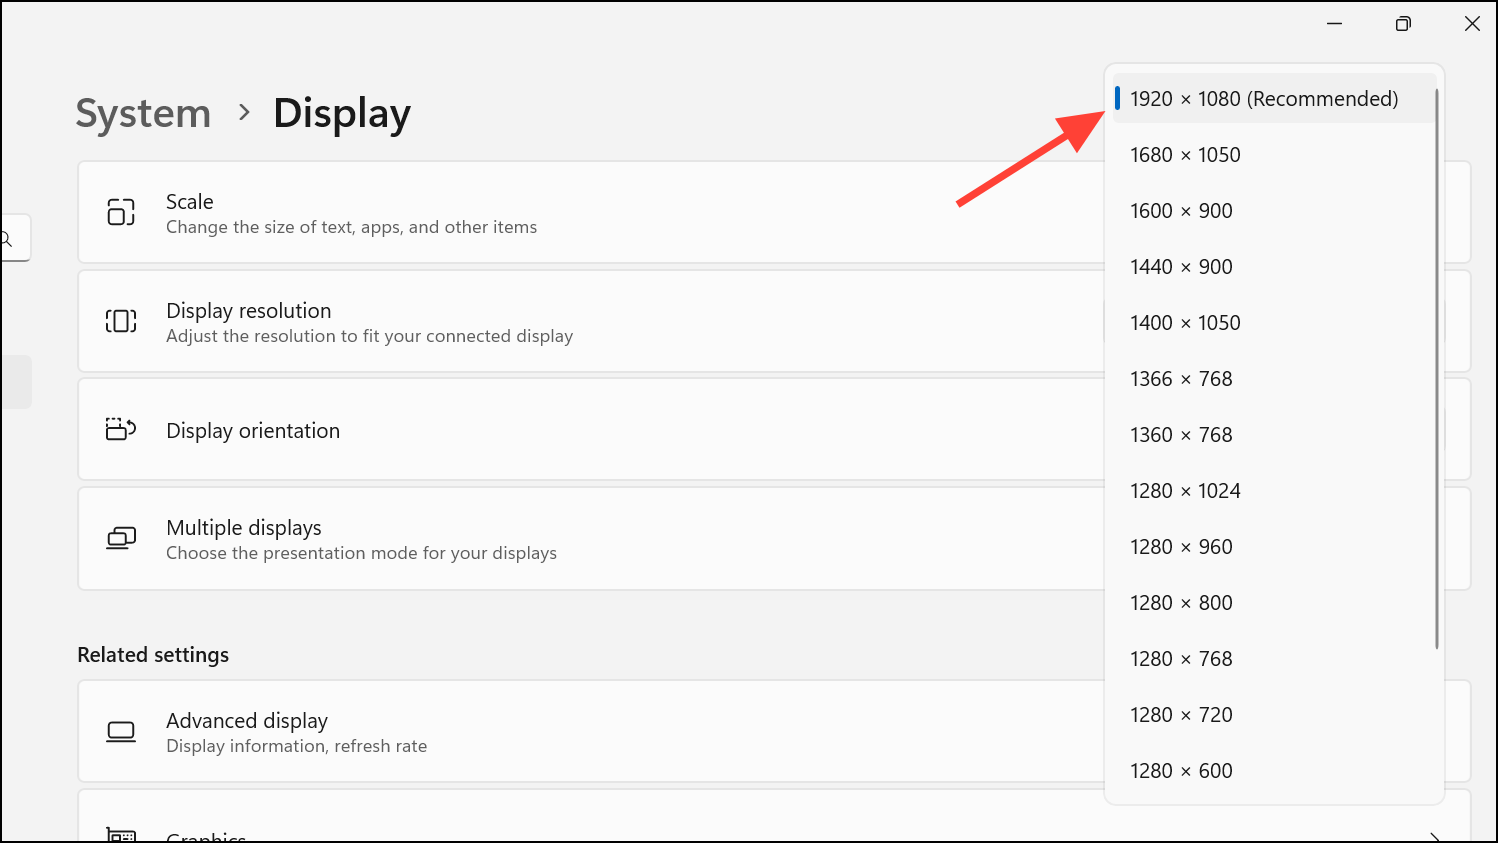
Changing to the recommended resolution can eliminate flickering blocks and persistent squares caused by mismatched settings.
Disable Color Filters and Visual Effects
Some users report that color filters or accessibility features can trigger unwanted overlays or graphical glitches, especially after system updates.
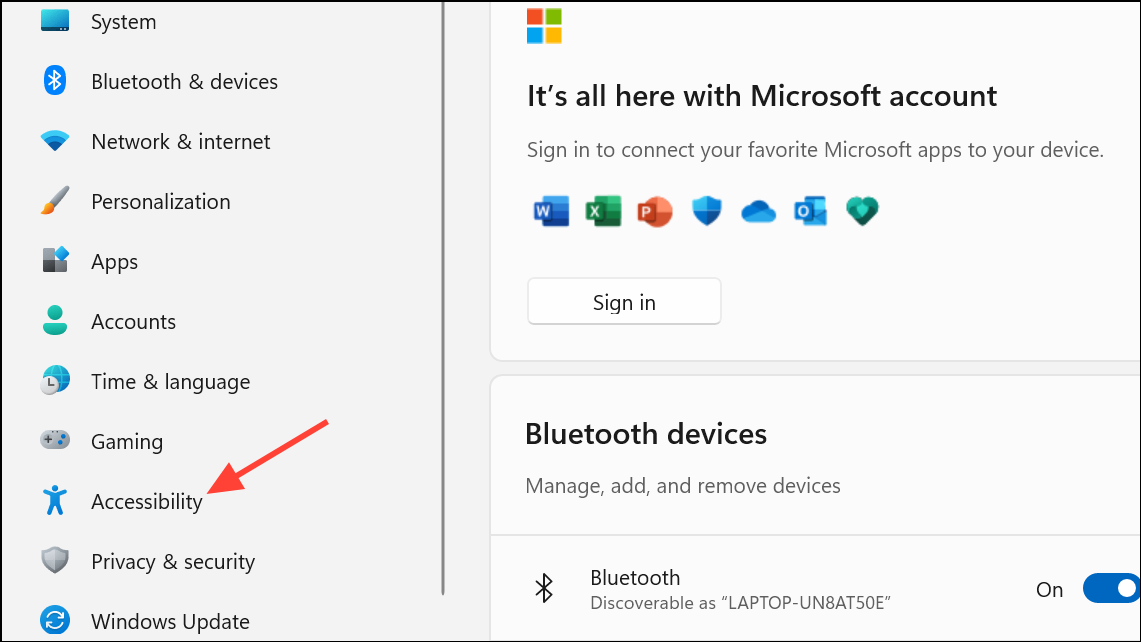
Step 1: Open the Settings app and navigate to Accessibility.
Step 2: Find the Color filters section and toggle it off.
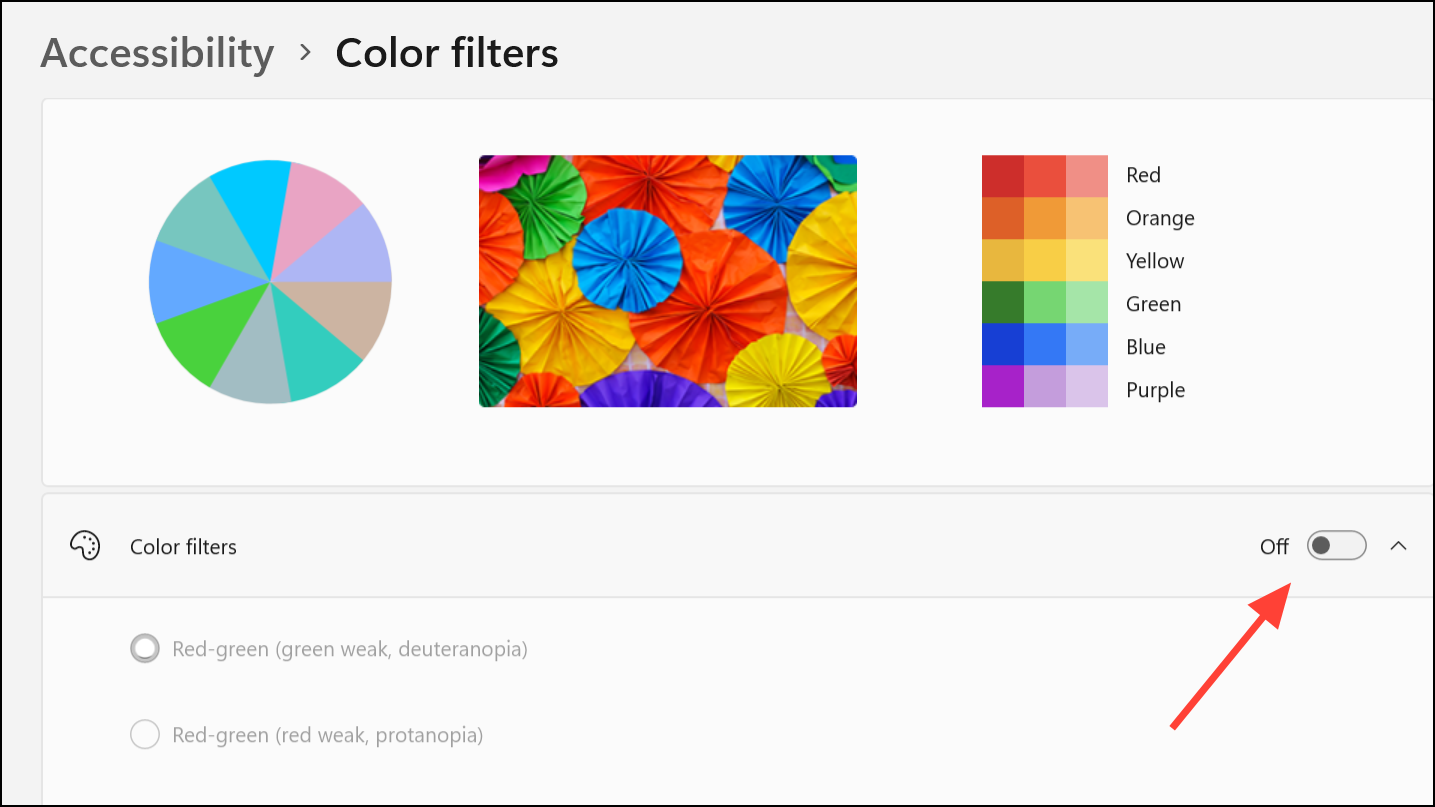
Step 3: Scroll to Keyboard shortcut for color filter and disable it to prevent accidental activation.

Disabling these settings removes additional processing layers that may interfere with normal display rendering.
Reset the Graphics Driver
Windows provides a quick keyboard shortcut to refresh the graphics driver, which can clear transient glitches without restarting the PC.
Step 1: Press Windows + Ctrl + Shift + B. The screen will briefly flicker and you may hear a notification sound. This resets the graphics subsystem and can immediately remove display artifacts.
This method is especially useful for flickering blocks or transient black/white squares that appear after sleep, hibernation, or display mode changes.
Check Hardware Connections and Clean Components
Physical issues, such as loose cables or dust buildup, can also cause display artifacts.
- Ensure all video cables (HDMI, DisplayPort, VGA) are securely connected to both the monitor and the PC.
- If using a desktop with a removable graphics card, power down, unplug, and carefully reseat the card in its slot.
- Inspect for dust accumulation around the CPU panel and graphics card, and clean gently if needed.
- Test with a different monitor or cable to rule out hardware-specific faults.
- If the laptop or monitor feels unusually hot, shut down and allow it to cool before further troubleshooting.
Address Application-Specific Issues
Some users notice black or white squares only in specific applications, such as Chrome, Steam, or YouTube. Adjusting app settings or disabling hardware acceleration can resolve these cases.
- In Google Chrome, enter
chrome://flags/#use-anglein the address bar and set the option to OpenGL or D3D11on12 to change the graphics backend. - Disable hardware acceleration in Chrome: Go to Settings > System > toggle off Use hardware acceleration when available.
- For persistent overlays in other programs, check for updates or reinstall the affected app.
Disabling conflicting browser extensions, such as ad blockers or script blockers, has also resolved this issue for some users.
Resolving black and white squares on a Windows 11 screen usually involves updating drivers, adjusting settings, or checking hardware connections. Applying these targeted fixes restores normal display output and prevents further interruptions.