If you are using an iPhone, you know there are a specific set of ringtones available and you can’t add a custom one from the settings. For those who want to add a custom ringtone, you have two options, either to purchase one from iTunes or create one using the iTunes desktop app.
The simple and quick way to get a custom ringtone is by purchasing one from the iTunes Store. However, there are many who wouldn’t prefer spending money on a ringtone. They can opt for the slightly longer and intricate method where you require both a computer and your iPhone, but the best part, it’s free.
Purchasing Ringtones from iTunes Store
The process is quick and you can set a custom ringtone within a minute using this method. If you have a song in mind, you can purchase it from the iTunes Store and set it as the iPhone ringtone.
Setting a Custom Ringtone from the iTunes Store
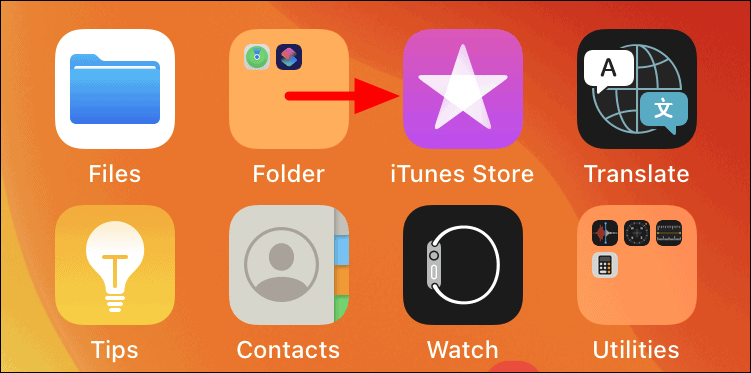
To purchase and set a ringtone from the iTunes Store, tap on the ‘iTunes Store’ icon on the screen to launch the app.
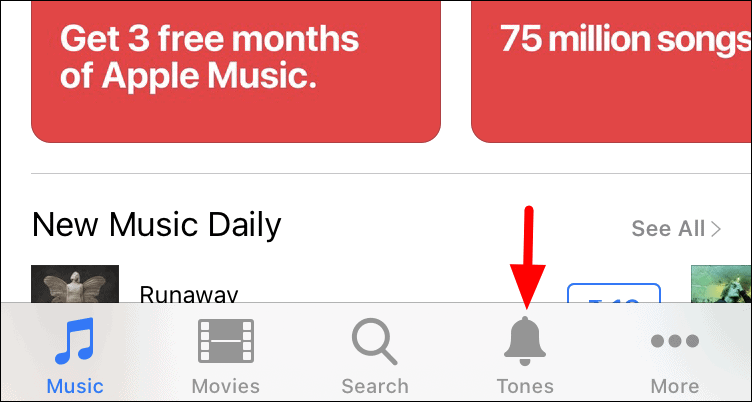
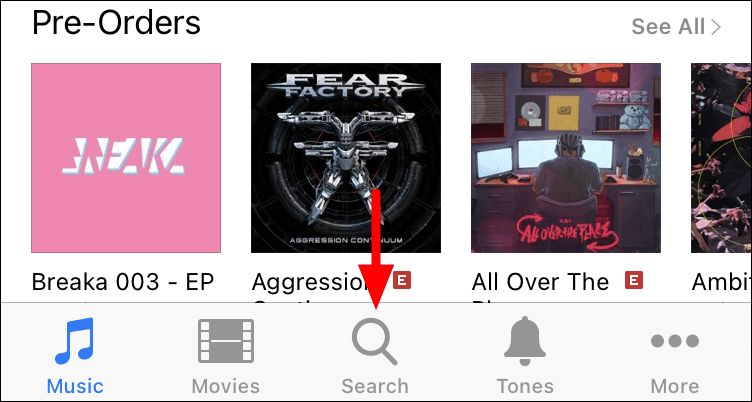
You will now see various options at the bottom of the screen. Tap on ‘Tones’ to view the various available ringtones.
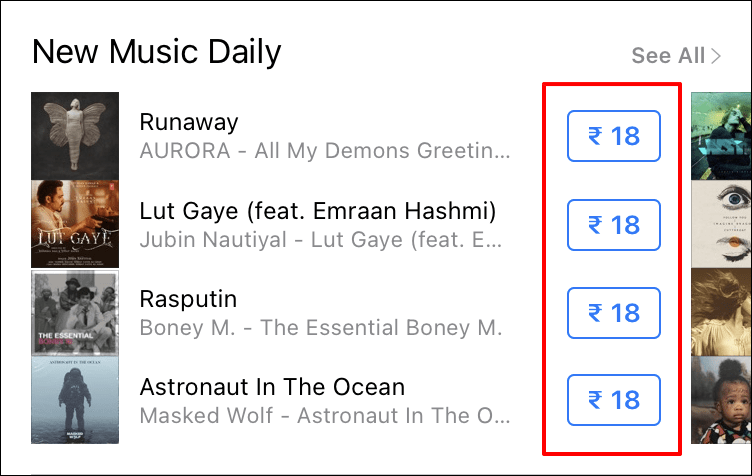
You will now find various tones displayed in this section. Tap on the price mentioned next to a particular ringtone to set it as your custom ringtone. You will find four options when you tap on the price, which are discussed in detail later.
Many users who have a particular ringtone in mind can search for it on the iTunes store as well. Tap on the ‘Search’ option at the bottom.
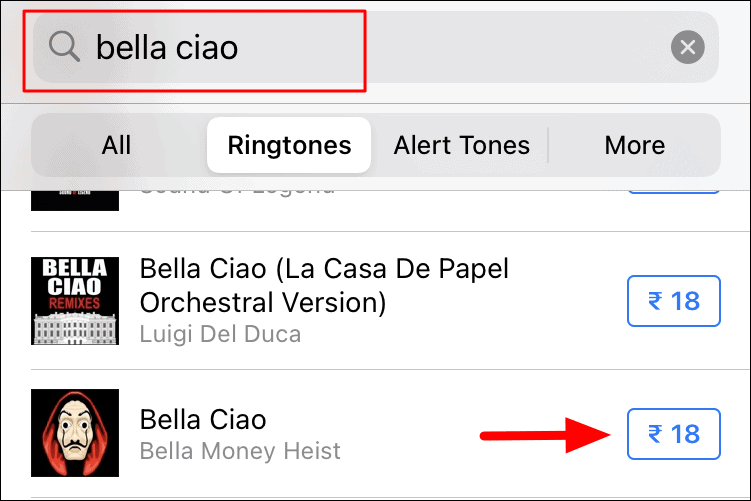
Now, enter the name of the tone in the text box at the top and select the ‘Ringtones’ option under it to narrow down the search. You can listen to a ringtone by tapping on it. Once you have chosen the ringtone you want to set, tap on the ‘Price’ option mentioned next to it.
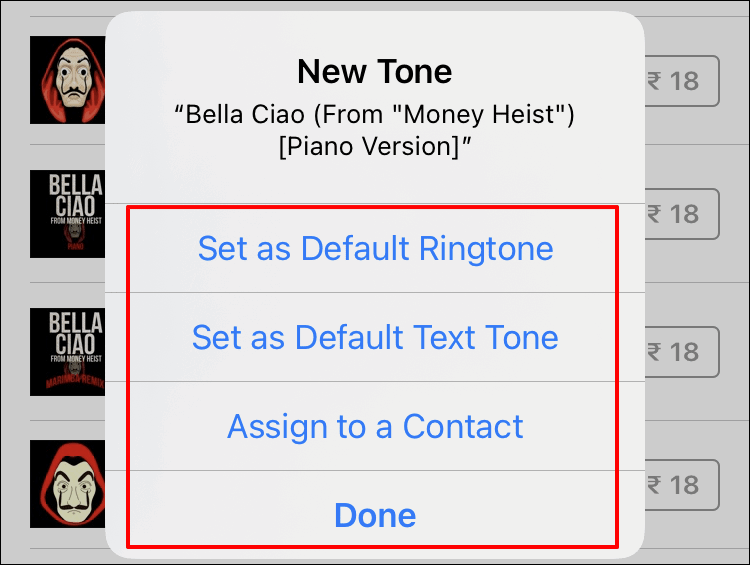
You will now find four options in the pop up that appears.
- Set as Default Ringtone: If you want to set the tone as your default ringtone, select the first option.
- Set as Default Text Tone: If you want to set the tone as an alert for text messages, select the second option.
- Assign to a Contact: To assign this particular tone to a specific contact, select the third option.
- Done: If you are not sure about the top three options, you can still purchase the tone and set it as a ringtone or alert tone later from the settings, the process for which is described in the next section.
After you have selected an option from above, you will be asked to provide the payment information in case you haven’t set it up earlier. Therefore you can either add a payment method beforehand or set up one when prompted. Follow the on-screen instruction to add a payment method when prompted.
If you have selected ‘Set as Default Ringtone’ earlier, the tone will set as a ringtone as soon as the payment is made. However, if you have selected ‘Done’, you will be required to set it as a ringtone from the ‘Settings’.
Setting a Custom Ringtone from iPhone Settings
Those, who selected ‘Done’ from the list of options that popped up earlier, will be required to set the ringtone from the iPhone settings.
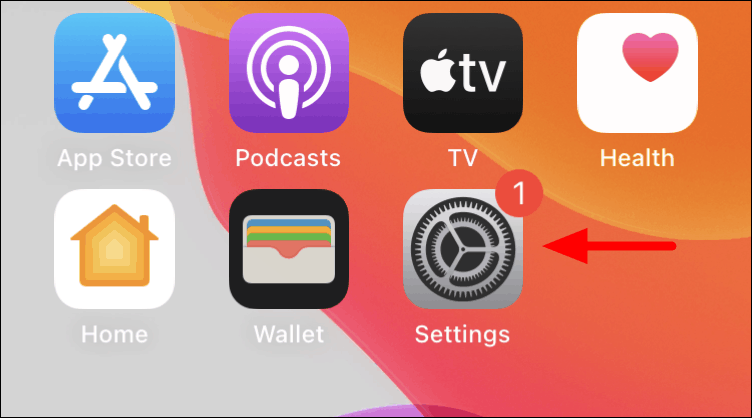
To set a ringtone that has been purchased earlier, tap on the ‘Settings’ icon on the home screen to launch it.
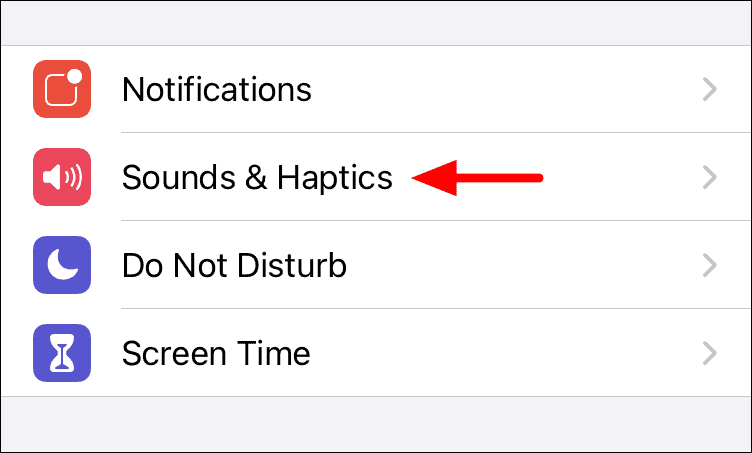
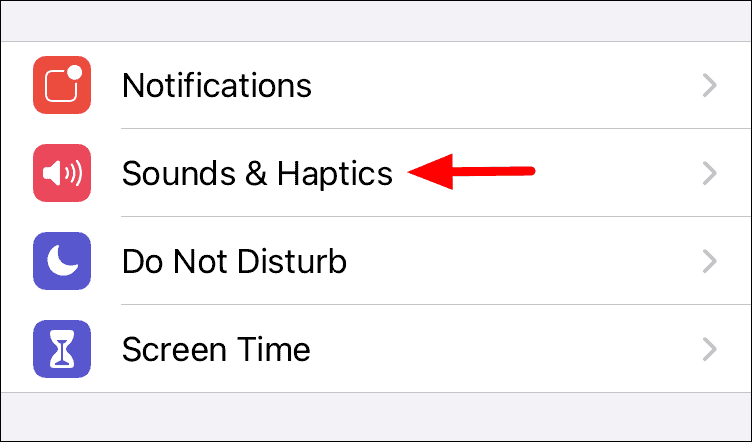
Next, tap on the ‘Sounds & Haptics’ option in the list of settings.
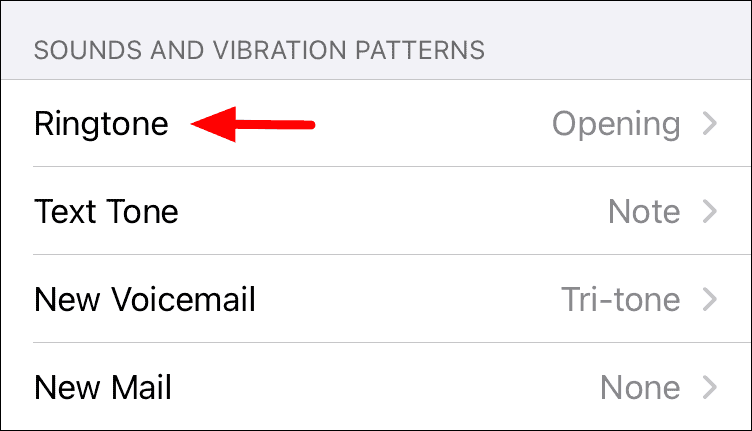
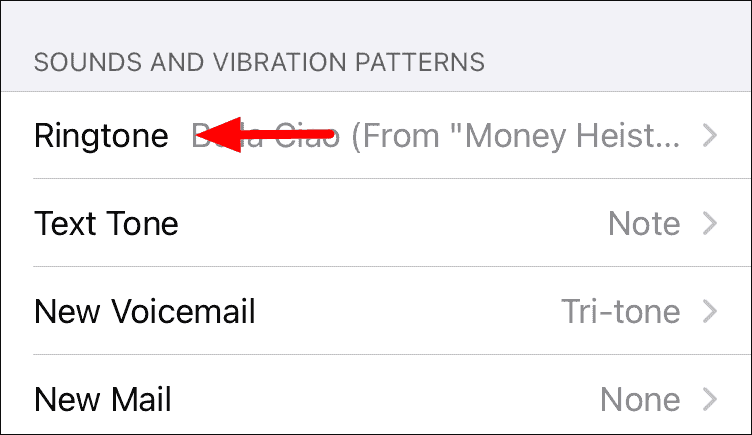
Scroll to the ‘SOUNDS AND VIBRATION PATTERNS’ section and select the ‘Ringtone’ option.
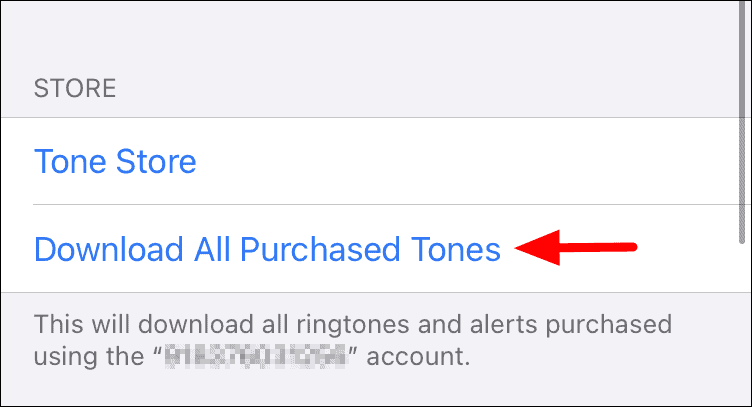
Next, tap on ‘Download All Purchased Tones’ under the ‘STORE’ section to save download the ringtone that you purchased earlier.
It will take a while for the purchased tone to be downloaded and listed under ringtones. But once it is, you can tap on it and set it as your custom ringtone.
Creating a Ringtone on iTunes
There is another way you can set a custom ringtone creating a ringtone on the desktop app for iTunes. Before you install the app, download the song that you want to set as your iPhone ringtone on the computer. Also, decide the part that you want to use since you can only have a maximum 30-sec long ringtone.
Installing and Launching iTunes
First, install the latest version of the iTunes app from support.apple.com and install the app on your computer by following the on-screen instructions.
After you are done with the installation, search for ‘iTunes’ in the start menu and then click on it to launch the app.

Adding and Editing the Sound File
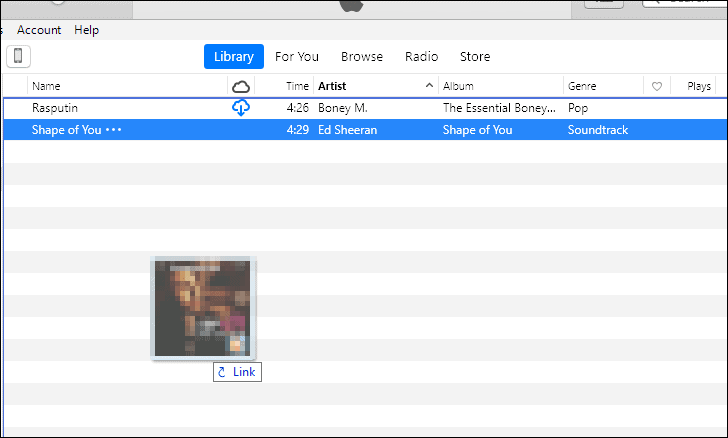
After you have launched the iTunes app, drag and drop the sound file that you want to set as your ringtone in the songs library.
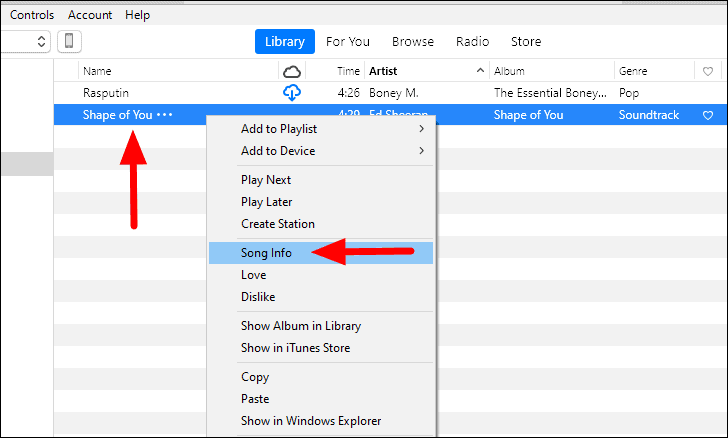
After the file is added to the library, right-click on it and select ‘Songs Info’ from the context menu.
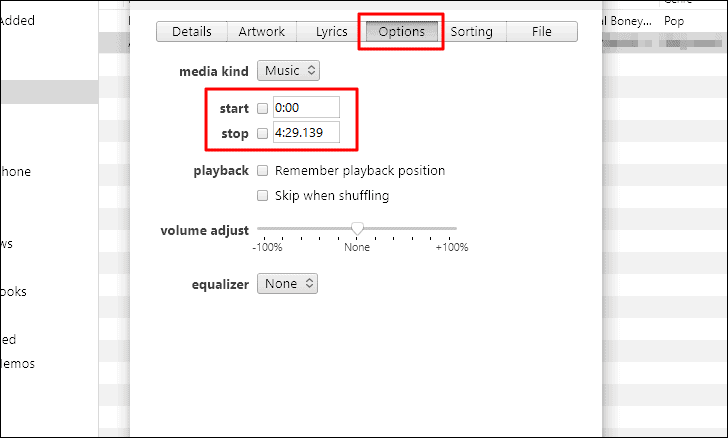
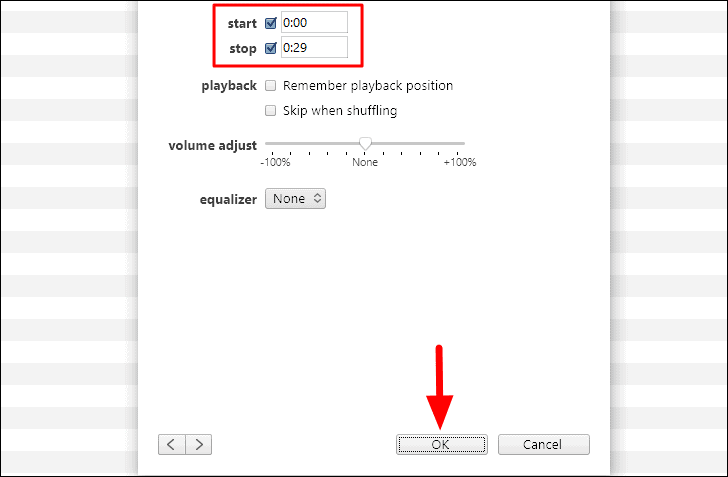
In the song info box that appears, move to the ‘Options’ tab. Next, enter the start and end time of the part of the file that you want to set as the iPhone ringtone and tick the checkboxes for both ‘Start’ and ‘Stop’ as well. Also, you cannot create a custom ringtone longer than 30 seconds, so be precise with the part of the sound file that you select. If the file is any longer, you wouldn’t be able to copy it to iTunes.
After you have entered the start and end time for the file, click on ‘OK’ at the bottom to save the changes.
Changing the Sound File Format
If the sound file is in ‘MP3’ format, you will have to change it to ‘AAC’ format before you can set it as your ringtone. If your file is in the ‘AAC’ format, skip to the next step.
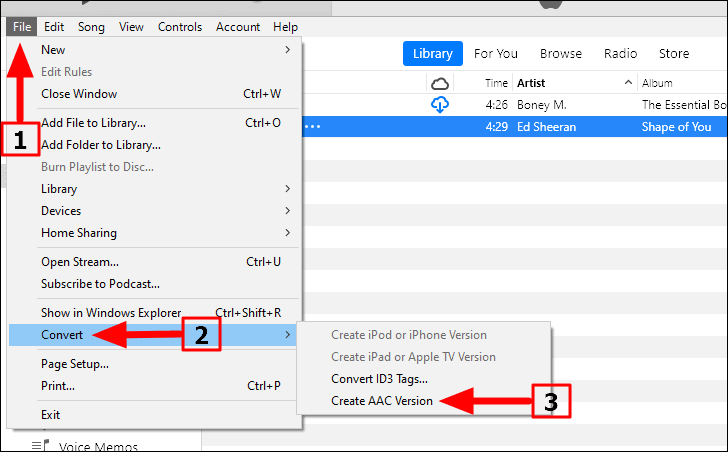
To change the format of the sound file, select it and then click on the ‘File’ menu at the top-left corner. Next, select ‘Convert’ from the drop-down menu and then click on ‘Create AAC Version’ to change the format to AAC.
You will now have another file in the AAC format of the duration that you set earlier. You can identify the file that you created for the ringtone from the duration, however, you can also enable the ‘Kind’ column that will display the file type for enhanced clarity.
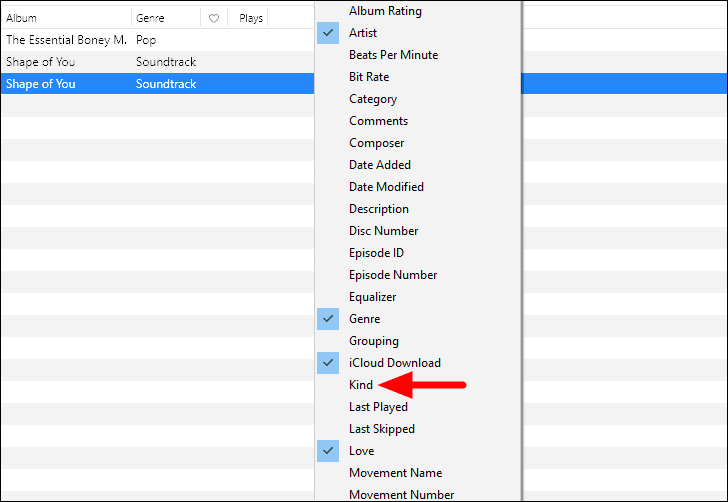
To enable the ‘Kind’ column, right-click on the heading and then select ‘Kind’ from the context menu.
You will now see the file format as well to help you easily distinguish between the two files.
Changing the File Extension
The AAC file that you have created has a ‘.m4a’ extension which has to be changed to ‘.m4r’ before you can use it as a ringtone. Before you do, you will first have to locate the file in the ‘iTunes’ folder on your computer. You can either navigate your way through or use the shortcut which is discussed below.
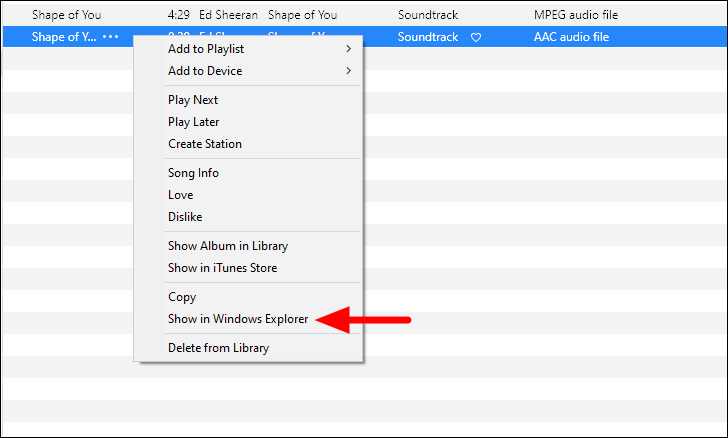
To view the file in file explorer, right-click on it and then select ‘Show in Windows Explorer’ from the context menu.
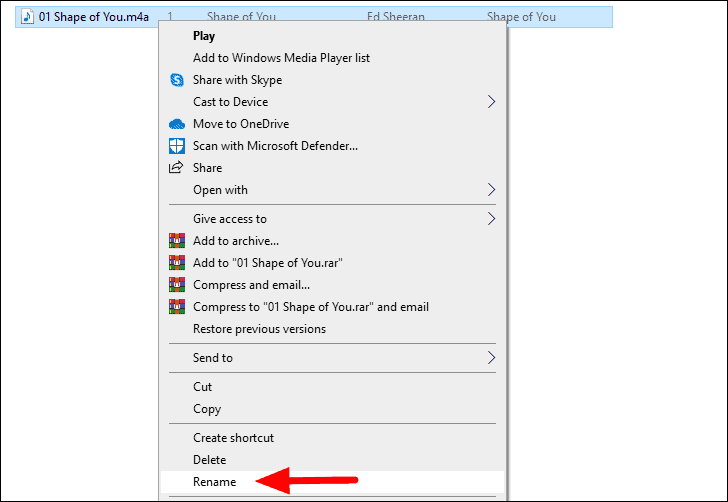
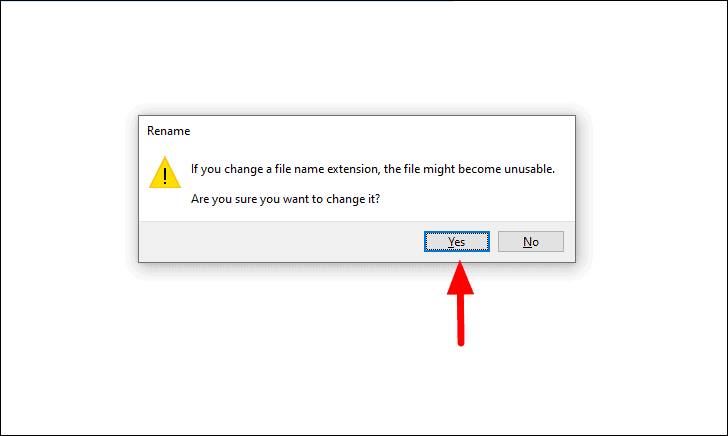
The file explorer window will launch with the ringtone. Now, right-click on the file and select ‘Rename’ from the menu and then replace the ‘.m4a’ extension with the ‘.m4r’ extension at the end of the file name.
When you try to change the extension, you will receive a warning that the file might become unusable after changing the extension. Click on ‘OK’ in the warning box.
Unable to View the File Extension
Some users might not be able to view the file extension in the name itself. In that case, they wouldn’t be able to change the extension as well. Don’t worry, this problem can be resolved from the ‘Control Panel’.
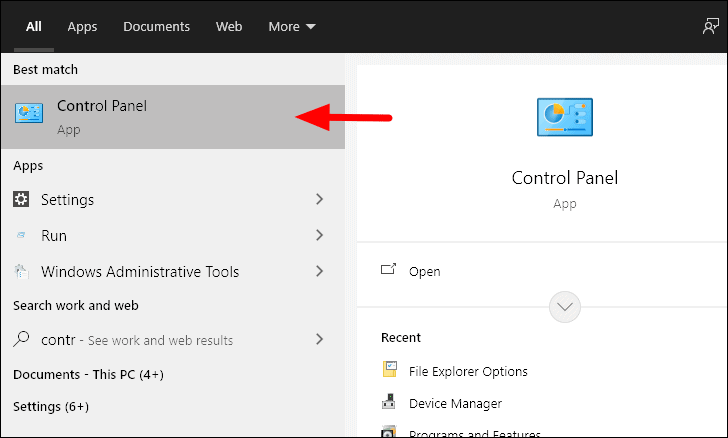
Search for the ‘Control Panel’ in the ‘Start Menu’ and then launch the app by clicking on the search results.
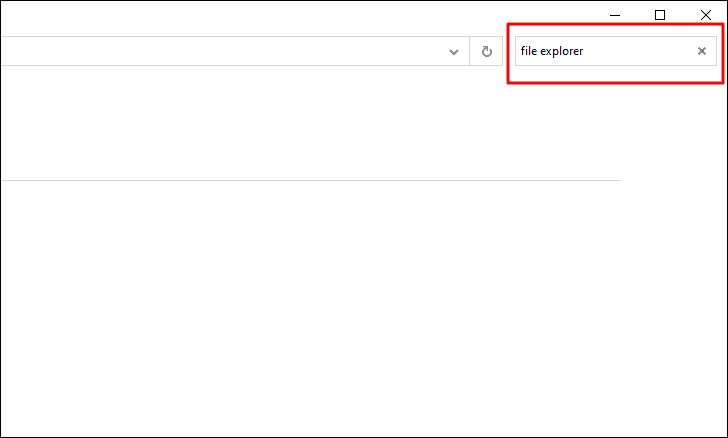
In the ‘Control Panel’ window, enter ‘File Explorer’ in the search box at the top-right.
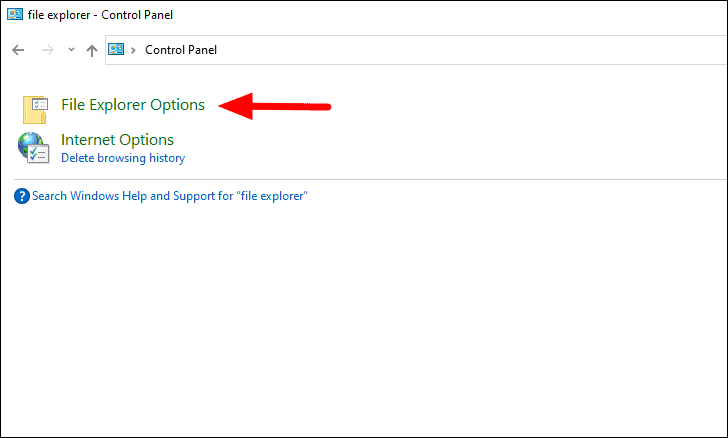
Now, you will find the ‘File Explorer Options’ mentioned in the search results. Click on it to launch the options.
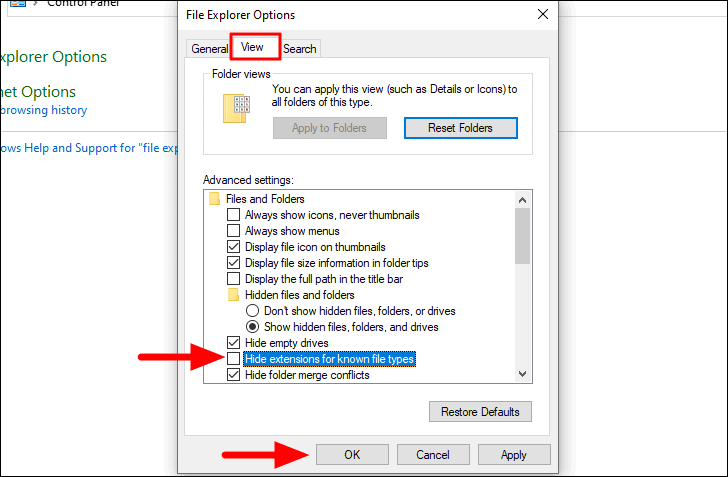
In the ‘File Explorer Options’, select the ‘View’ tab from the top, untick the checkbox for ‘Hide extensions for unknown file types’, and then click on ‘OK’ at the bottom to save the changes.
The extensions will now appear for the ringtone in case they were not earlier in the file explorer.
Transferring the Ringtone to your iPhone
Connect your iPhone to the computer using the cable, the one that you must have received with your iPhone and use for charging it. If you are connecting them for the first time, you will receive a pop-up on your iPhone asking if you trust this computer. Tap on ‘Trust’ and then enter the iPhone passcode on the next screen.
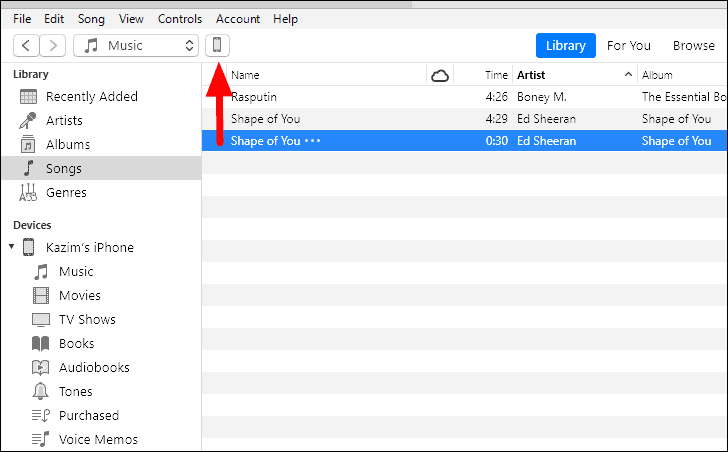
After you have connected the iPhone, click on the ‘Phone’ icon in the songs library.
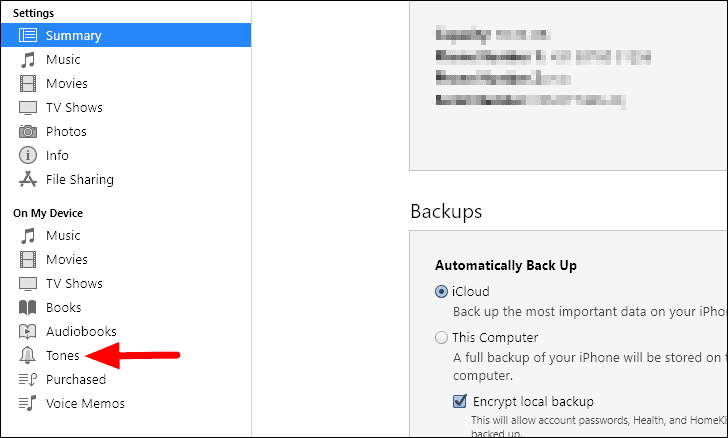
Your iPhone details will be mentioned on the right while you will see various sections on the left. Click on ‘Tones’ under ‘Open My Device’ section.
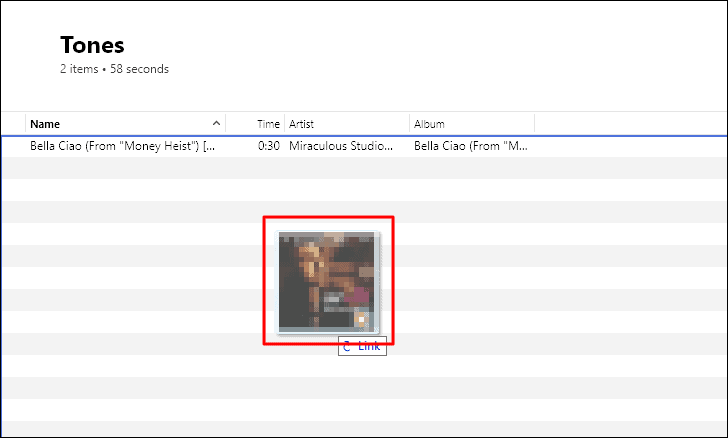
Drag and drop the custom ringtone that we earlier created in the ‘.m4a’ format in this section. Also, make sure that you drop the file in the area with alternate grey bars.
Setting the Ringtone on Your iPhone
The edited sound file has now been added to the iPhone and can be set as the iPhone ringtone through the settings.
To set it as the ringtone, tap on the ‘Settings’ icon on the iPhone home screen.

In the iPhone settings, select the ‘Sounds & Haptics’ option from the list.
Next, select ‘Ringtone’ option under ‘SOUNDS AND VIBRATION PATTERNS’ section.
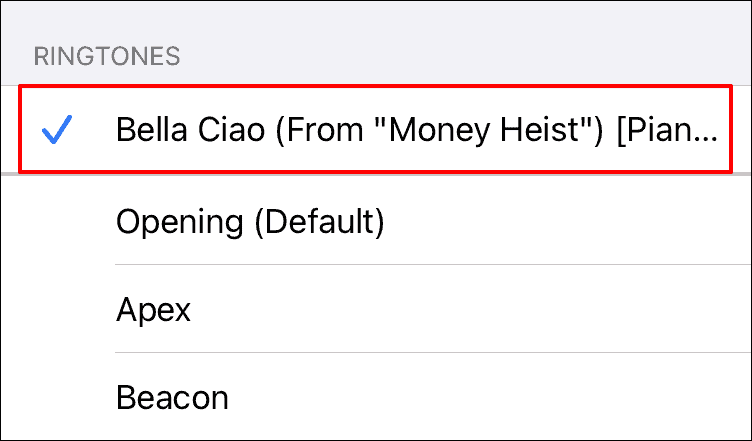
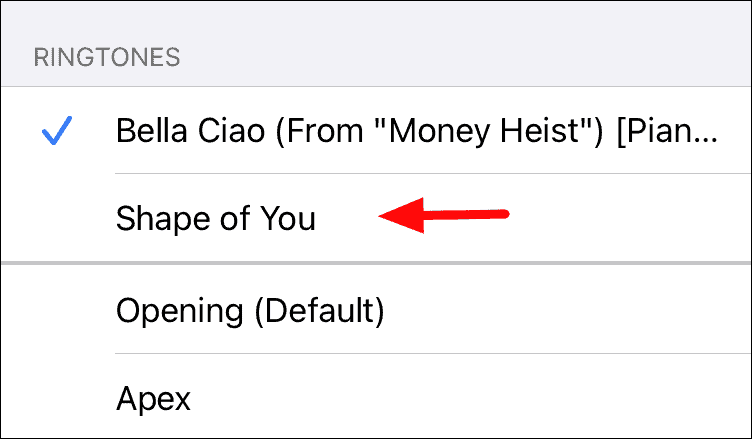
You will now find the ringtone that you earlier added listed under ‘RINGTONES’. Tap on the ringtone to set it as the iPhone ringtone.
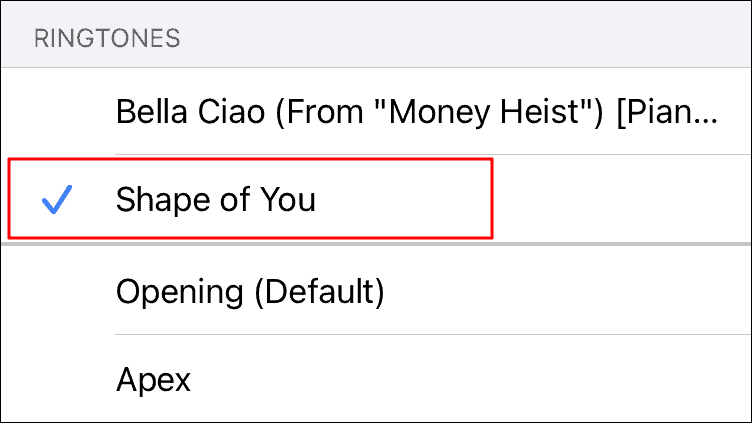
Once the blue tick appears next to the desired ringtone, it has been set and you can close the settings.
The next time you receive a call, you would hear the ringtone of your choice and not one that came preloaded on your iPhone. Also, when you use the second method to create a custom one, try creating a couple of your favorite ringtones since you wouldn’t want to go through the hassle all over again.


