
Arranging multiple images or overlaying text boxes in Google Docs often requires more than just inserting pictures on a page. Google Docs provides a few different ways to group and layer images, with the Drawing tool offering the most robust control over positioning, grouping, and stacking elements. Understanding these methods can save time and prevent frustration when designing visually organized documents.
Method 1: Using the Drawing Tool to Group and Layer Images
The Drawing tool in Google Docs allows you to insert, stack, and group images and text boxes with precision. This method is the most effective for complex arrangements, such as combining pictures with arrows, shapes, or overlaying text.
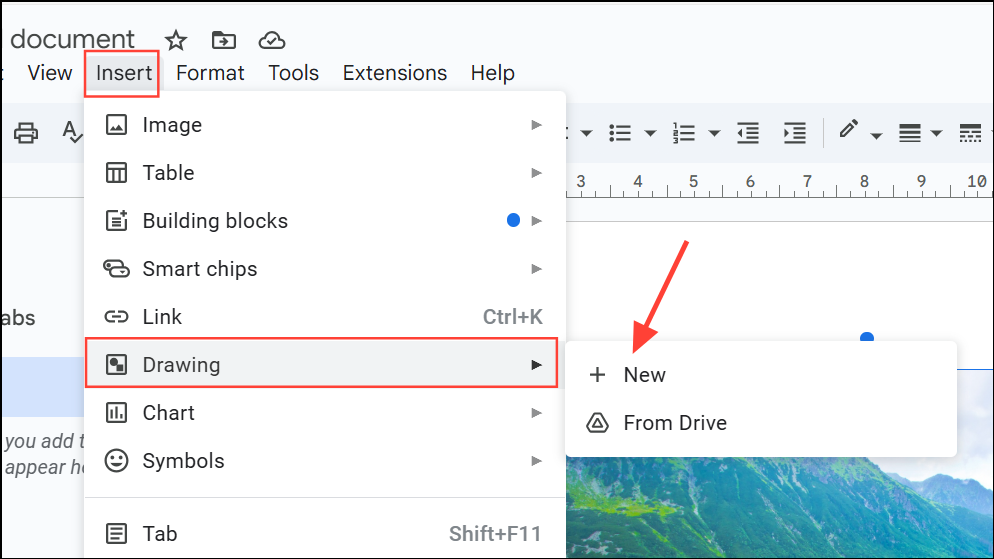
Step 1: Open your Google Doc and select Insert from the top menu, then choose Drawing > New. This opens a drawing canvas where you can add and layer objects.
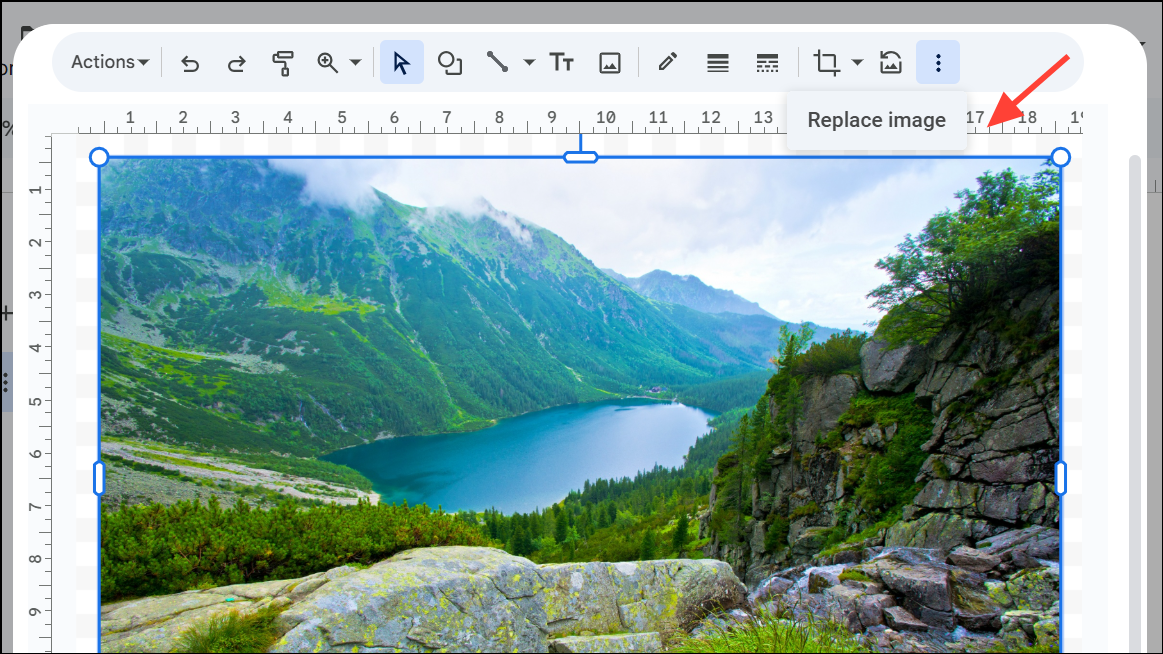
Step 2: Click the Image icon in the drawing toolbar to upload or select images from your Google Drive or device. Add as many images as needed for your layout.
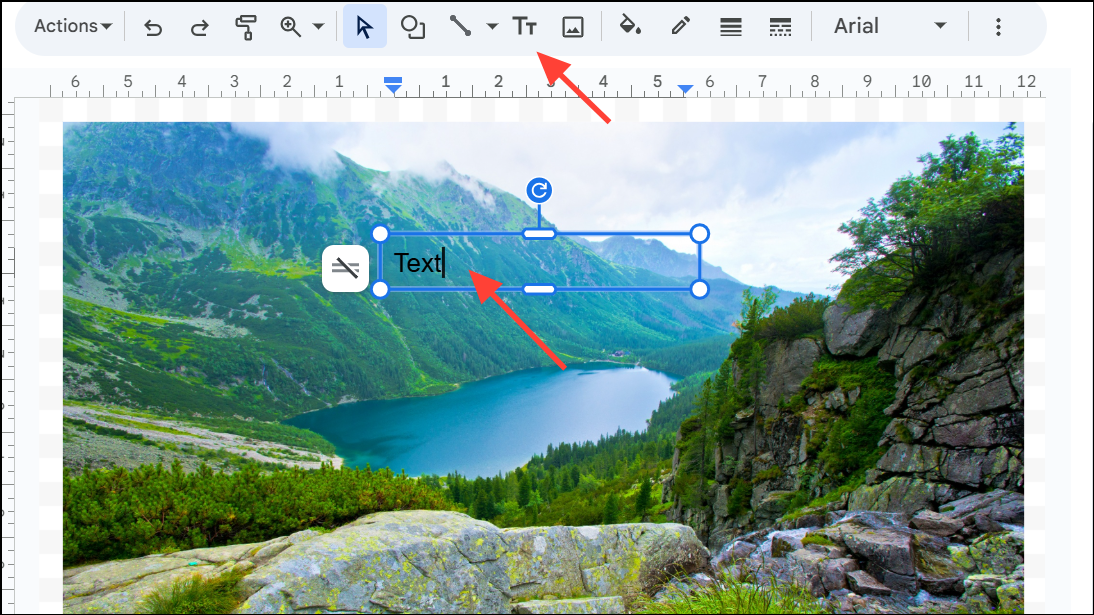
Step 3: To add a text box, click the Text box icon in the toolbar, then click and drag on the canvas to create the box. Enter your desired text.
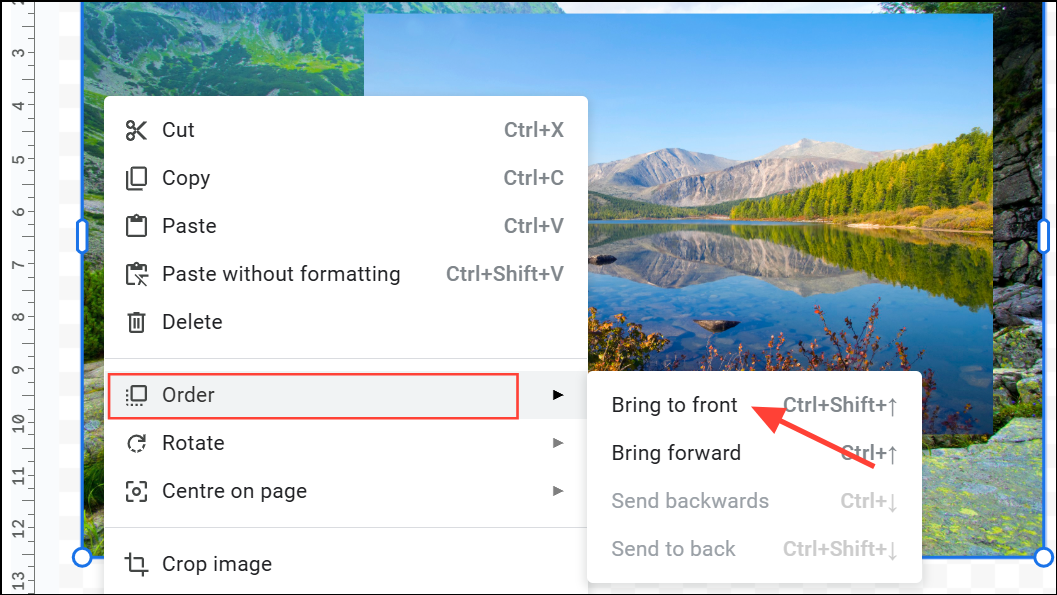
Step 4: Arrange your images and text boxes by clicking and dragging them. To layer one object over another, simply select and drag it so that it overlaps the other object. Right-click on an object and use the Order menu to bring it to the front or send it to the back as needed.
Step 5: To group multiple objects (such as two images or an image and a text box), hold Shift and click each object to select them. Then, click Actions > Group. Grouping lets you move and resize the objects as a single unit.

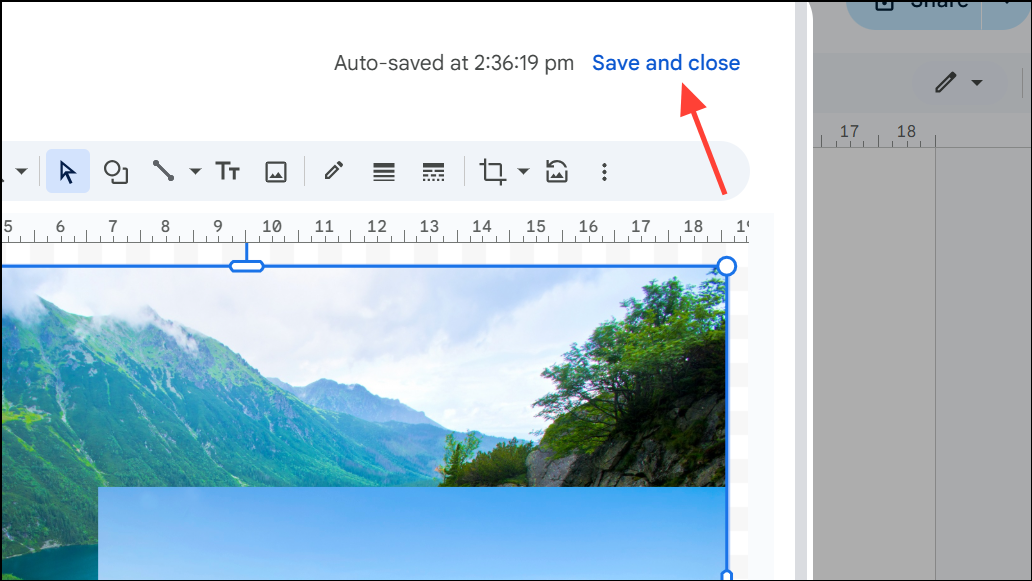
Step 6: When your arrangement is complete, click Save & Close. The grouped and layered image will now appear in your document as a single embedded object.
This approach is ideal for creating custom diagrams, annotations, or invitations where precise placement of images and text is required.
Method 2: Layering Images Directly in the Document
Recent updates to Google Docs allow some basic layering by adjusting image text wrapping, but this method is less flexible than the Drawing tool and does not support grouping multiple images as a single object.
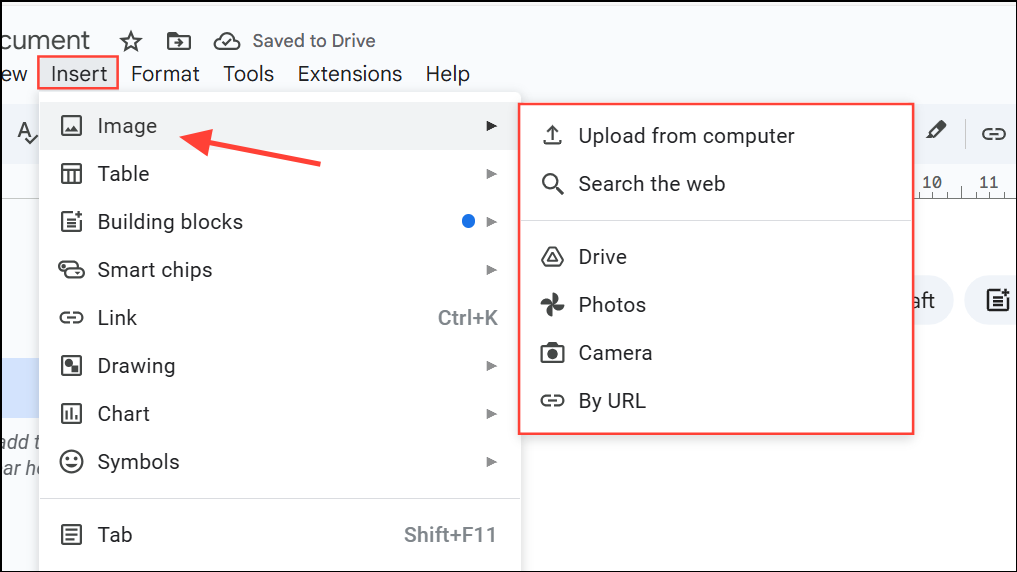
Step 1: Insert your images directly into the document using Insert > Image. Select images from your device, Drive, or web search.
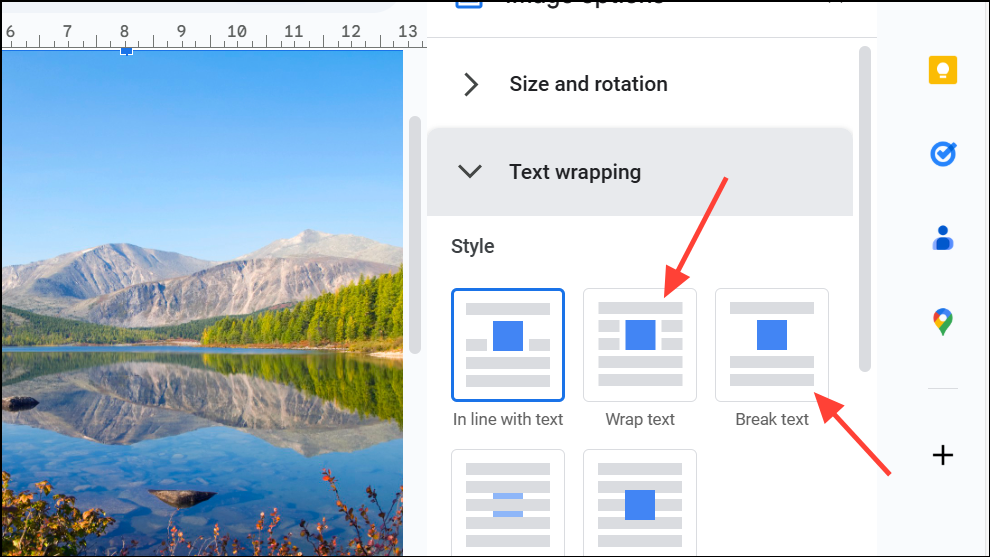
Step 2: Click on an image and select Wrap text or Break text from the menu that appears below the image. This allows you to move images more freely on the page and layer them over text.
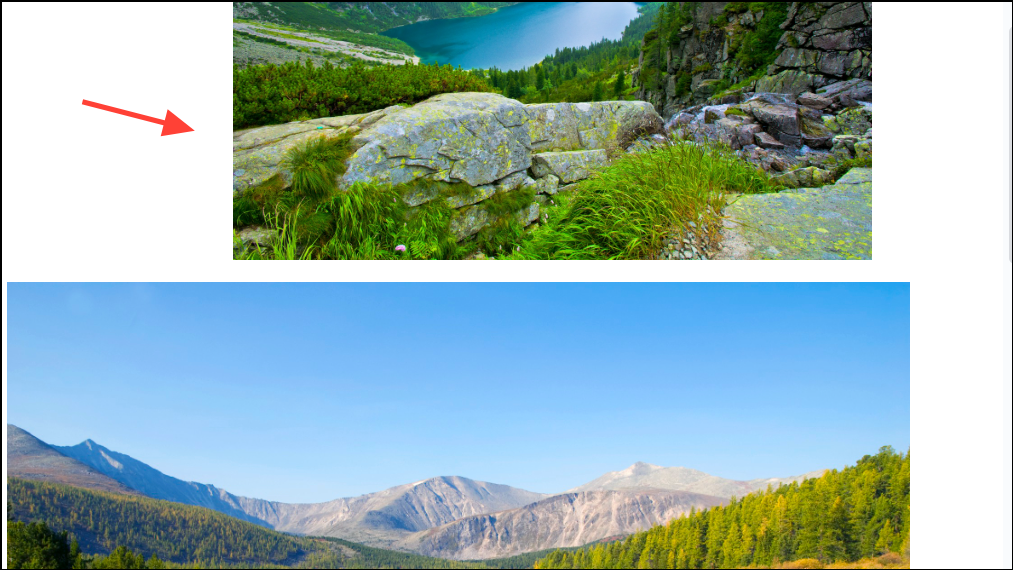
Step 3: Drag the images to position them as desired. To layer one image over another, drag the image you want on top last. The most recently moved image will appear above others in the stacking order.
Step 4: Use the arrow keys for fine-tuned adjustments. Hold Shift while pressing the arrow keys to move images in smaller increments for precise alignment.
This method is suitable for simple layouts but does not allow for true grouping of multiple images or advanced layering beyond basic stacking.
Method 3: Using Keyboard Shortcuts for Layering
Some users report limited success using keyboard shortcuts to change the stacking order of images, though this may not work consistently across all browsers or operating systems.
Step 1: Select the image you want to move forward or backward in the stacking order.
Step 2: Press Ctrl + ↑ to bring the image forward, or Ctrl + ↓ to send it backward. On Mac, use Command instead of Ctrl.
This shortcut can help with quick adjustments but does not provide grouping or advanced layering options.
Using the Drawing tool gives you the most control for grouping and layering images in Google Docs, especially for complex layouts. For simpler needs, direct layering and keyboard shortcuts may be sufficient, but grouping is only possible through the Drawing module. Regularly saving your work in the Drawing panel prevents loss of complex arrangements.