
Horizontal lines in Microsoft Word help to organize content by separating sections and enhancing visual appeal. You can insert these lines quickly using AutoFormat shortcuts or by drawing them manually.
Insert a Line Using AutoFormat
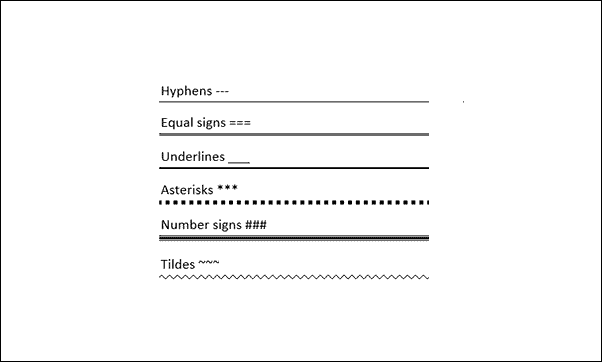
Type three consecutive hyphens (
---) and press Enter. Word will automatically convert them into a horizontal line.Note: You can also use other character combinations for different line styles. Type any of the following three times and press Enter:
___ for a bold line.
*** for a dotted line.
=== for a double line.
### for a thick line.
~~~ for a wavy line.
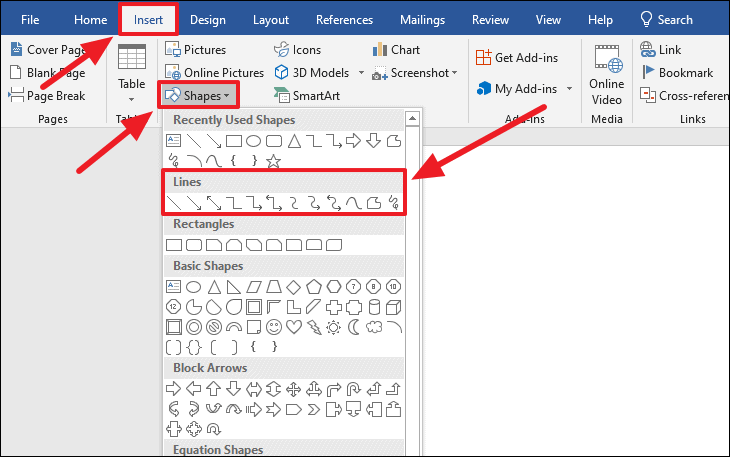
Draw a Line in a Word Document
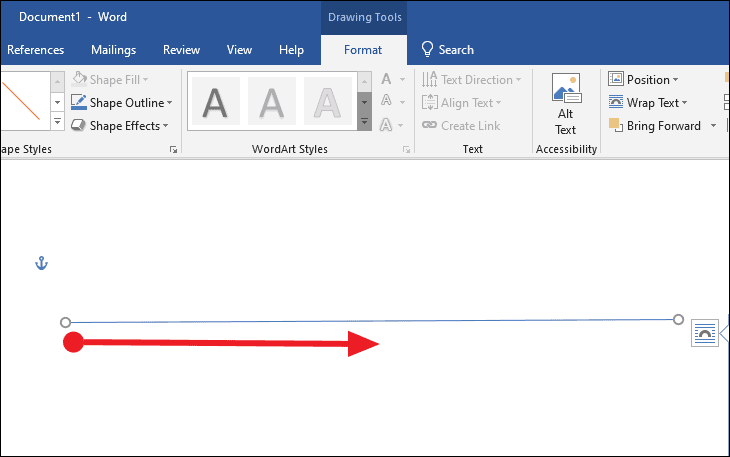
Click and hold your mouse at the starting point in your document, then drag it to draw the line. Release the mouse button when the line reaches the desired length and position.
By using these simple methods, you can easily insert horizontal lines in your Word documents to improve organization and readability.