
Embedding documents in presentations streamlines the viewing process and keeps all necessary materials in one place. Adding a PDF to your PowerPoint presentation can display important information directly on your slides, allow you to open supporting documents during a slideshow, or let you share multi-page content without switching between apps. The best approach depends on your presentation goals, the version of PowerPoint you use, and whether you want to show a single page, the entire PDF, or enable interactive access. Below, you’ll find several effective methods for inserting a PDF into PowerPoint, along with step-by-step instructions and tips for common scenarios.
Insert a PDF as an Embedded Object
Embedding a PDF as an object allows you to include the entire file in your presentation. This method is ideal when you want to keep the PDF accessible for reference or allow viewers to open it during your slideshow.
Step 1: Make sure the PDF file you want to insert is closed. Having it open can cause errors during the embedding process.
Step 2: Open your PowerPoint presentation and navigate to the slide where you want to add the PDF.
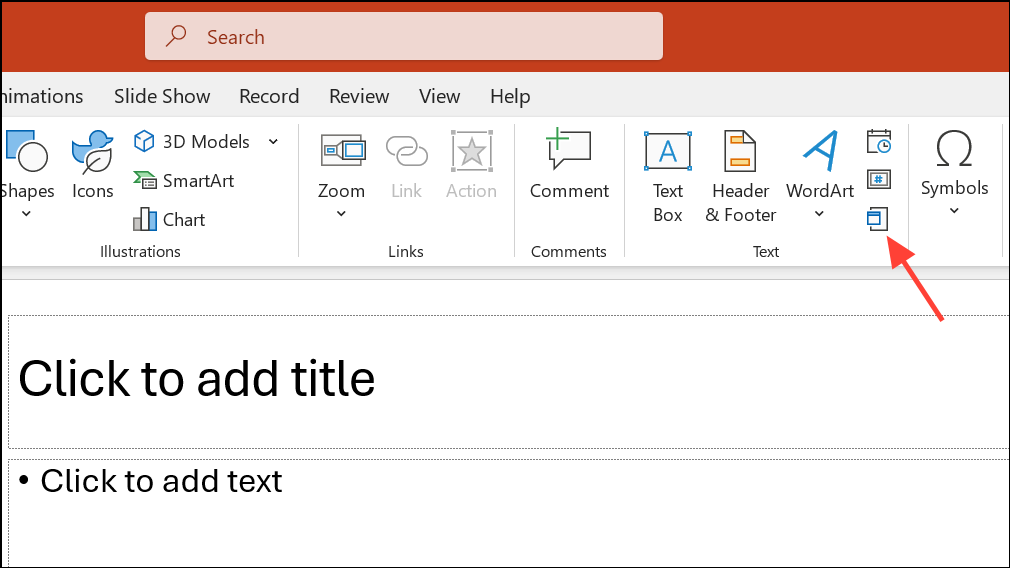
Step 3: Go to the Insert tab at the top of the PowerPoint window. In the Text section, select Object.
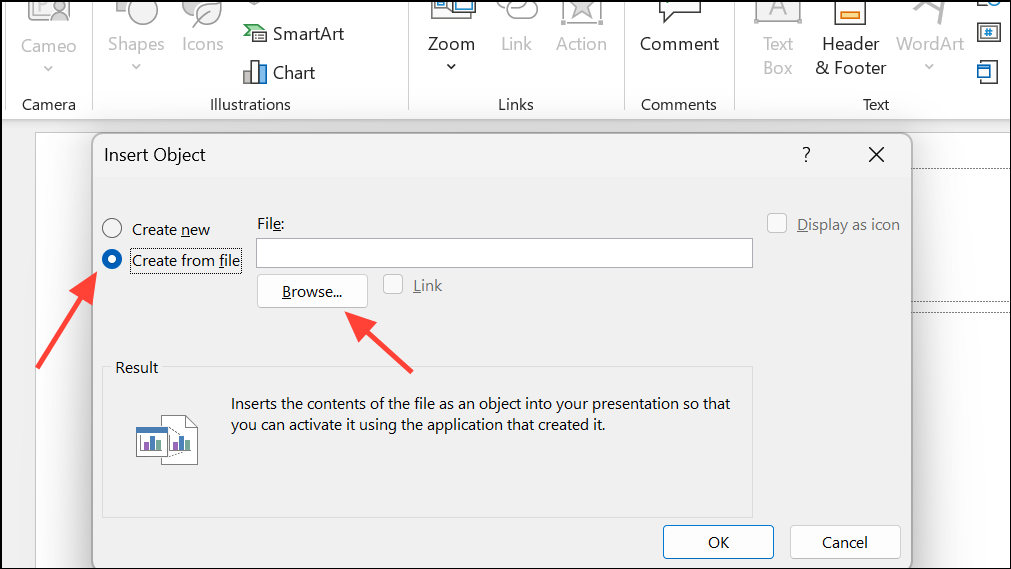
Step 4: In the dialog box that appears, choose Create from file. Click Browse and locate your PDF file.
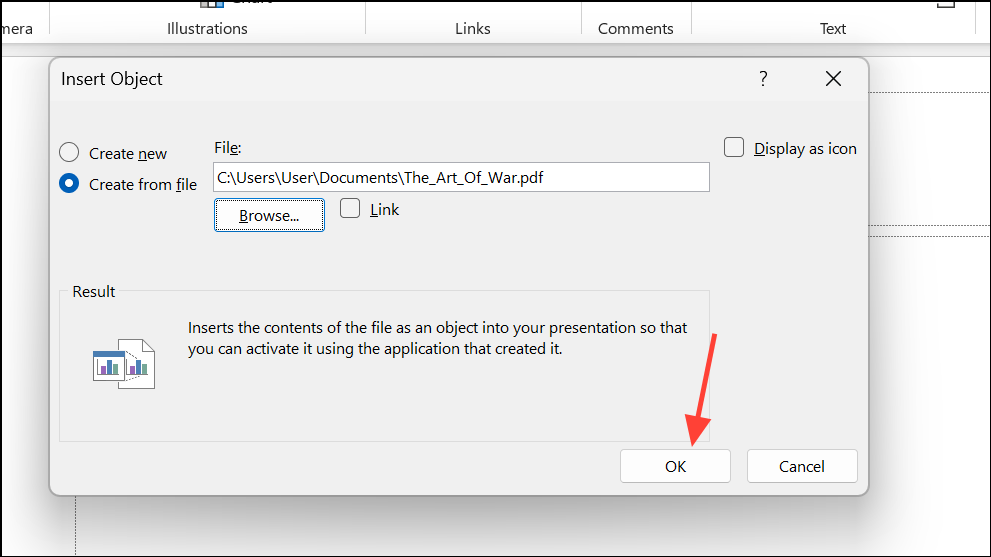
Step 5: Select your PDF and click OK. The PDF will appear as an icon or a preview of the first page on your slide. You can resize or reposition it as needed.
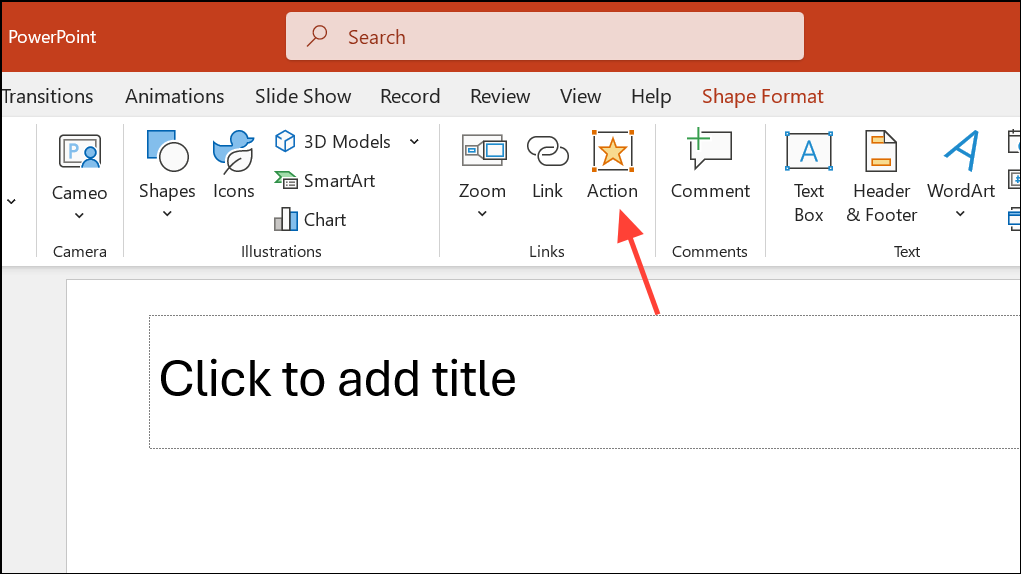
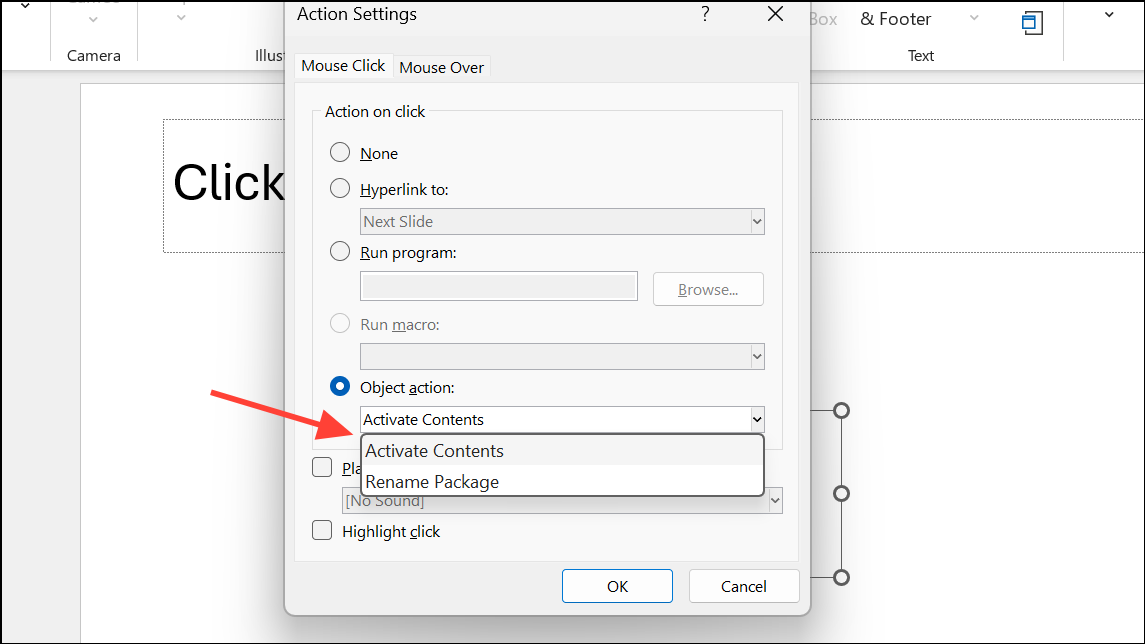
Step 6: To make the PDF open during your presentation, select the PDF object, then go to Insert > Links > Action.
Step 7: In the Action Settings window, choose Object Action and set it to Open or Activate Contents, whichever is available. Now, clicking the icon during your slideshow will launch the PDF in your default PDF reader.
This approach embeds the full PDF in your file, but only the first page is visible as a preview. Double-clicking or clicking the icon (with the action set) opens the entire PDF.
Insert a PDF as an Image or Screenshot
When you want to display a specific section or page from a PDF directly on a slide, inserting it as an image is efficient. This method is especially useful for highlighting charts, tables, or excerpts without requiring viewers to open the full document.
Step 1: Open the PDF and adjust the zoom level so the content you want to capture is fully visible on your screen.

Step 2: Switch to PowerPoint and select the slide where you want to insert the PDF content.
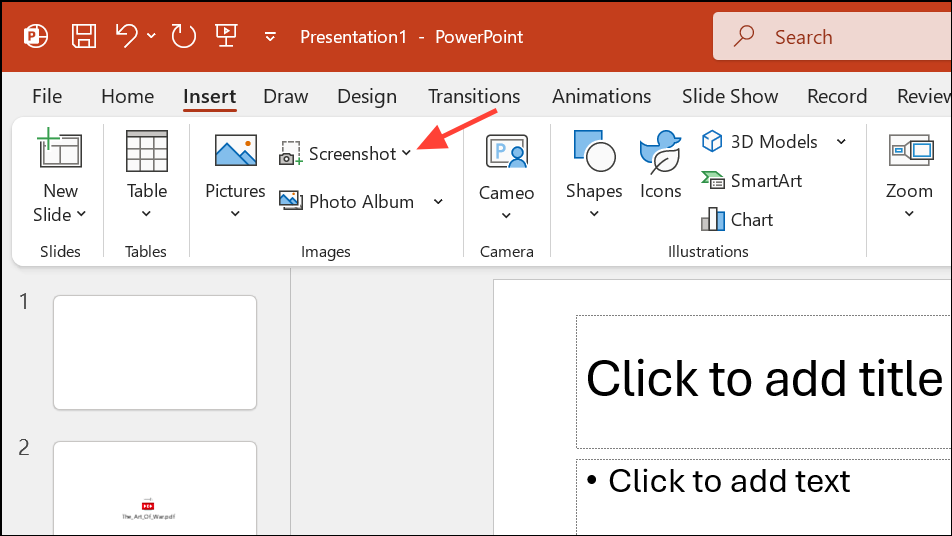
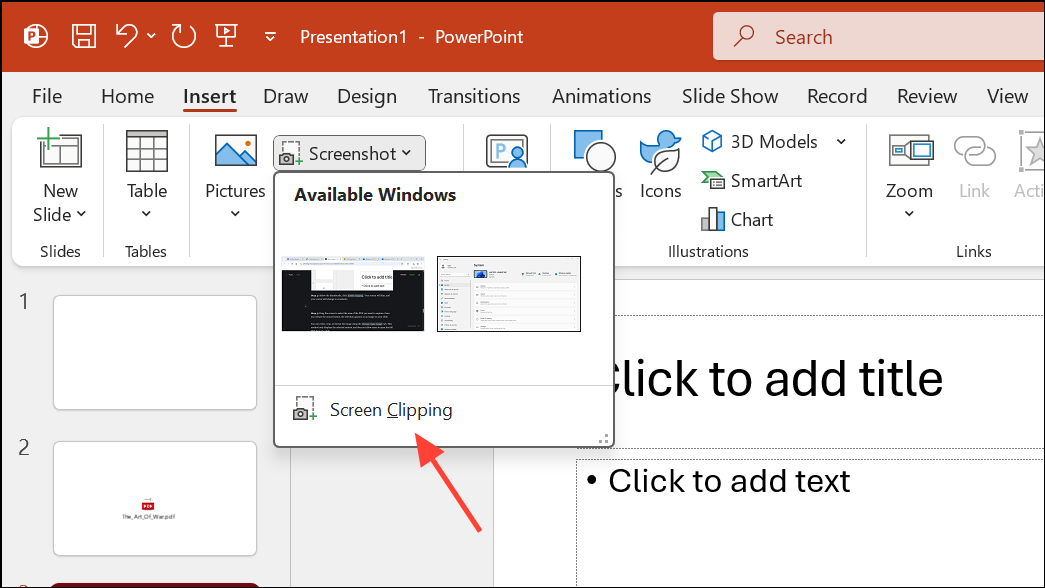
Step 3: Go to the Insert tab and click Screenshot. PowerPoint will display thumbnails of all open windows.
Step 4: Below the thumbnails, click Screen Clipping. Your screen will dim, and your cursor will change to crosshairs.
Step 5: Drag the cursor to select the area of the PDF you want to capture. Once you release the mouse button, the selection appears as an image on your slide.

You can resize, crop, or format the image using the Picture Tools Format tab. This method only displays the selected content and does not allow users to open the full PDF from the slide.
Convert PDF to PowerPoint Slides
For multi-page PDFs or when you need to integrate entire documents into your presentation, converting the PDF to PowerPoint format is practical. This approach creates editable slides from your PDF pages, allowing for more customization and seamless integration.
Step 1: Use an online PDF-to-PowerPoint converter, such as Adobe Acrobat’s online tool or third-party applications like PDFgear, Bitwar PDF Converter, or UPDF Converter. Upload your PDF and run the conversion.
Step 2: Download the resulting PowerPoint file. Open it in PowerPoint to review the slides and make any necessary edits.
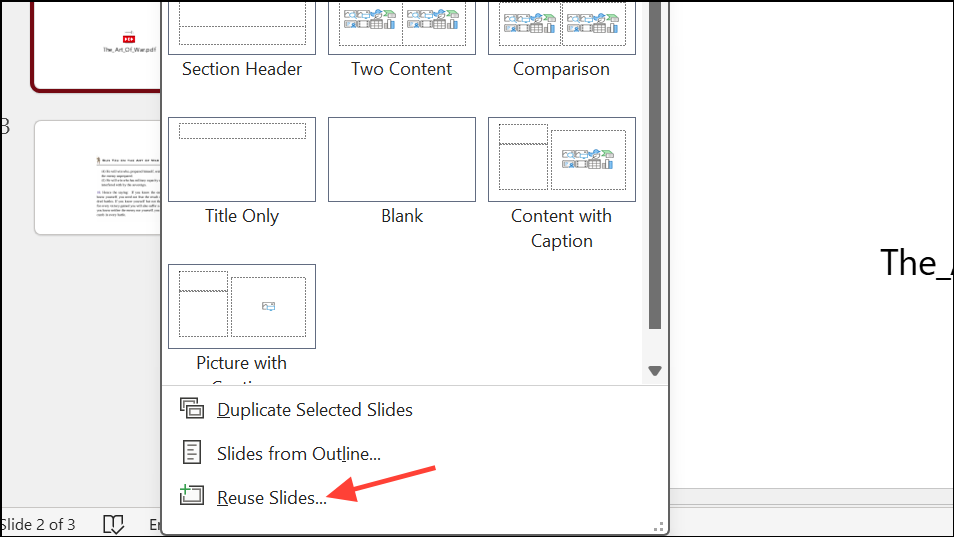
Step 3: To merge the converted slides into your existing presentation, open your main PowerPoint file, go to Home > New Slide > Reuse Slides, and select the converted file. Choose the slides you want to import.
This method is especially effective for multi-page PDFs, as it preserves each page as a separate slide and allows for further editing within PowerPoint.
Link to an External PDF File
When your goal is to provide access to a PDF without embedding it (to keep file sizes manageable or ensure compatibility across devices), linking to the file is a flexible solution. This can be a local file or a web-hosted PDF.
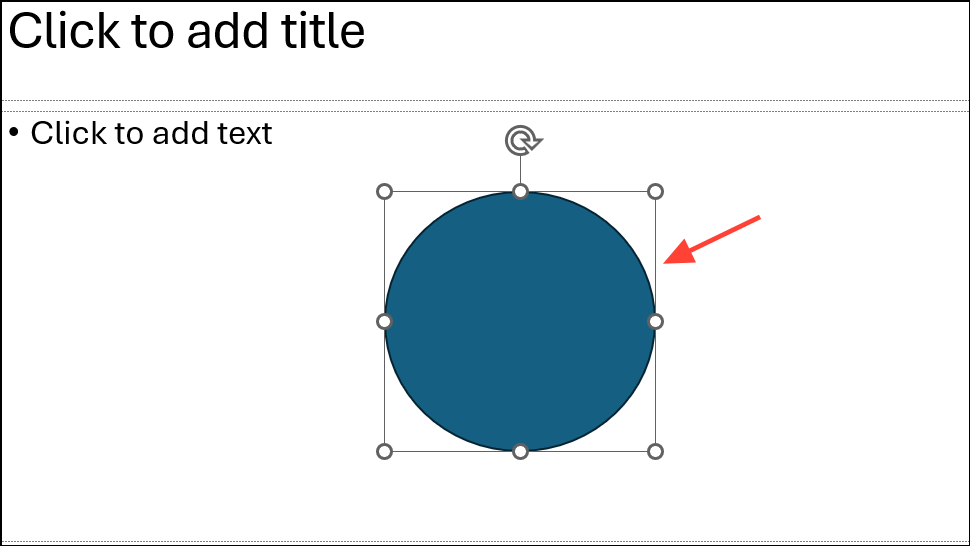
Step 1: Select the text, image, or shape you want to use as a link in your PowerPoint slide.
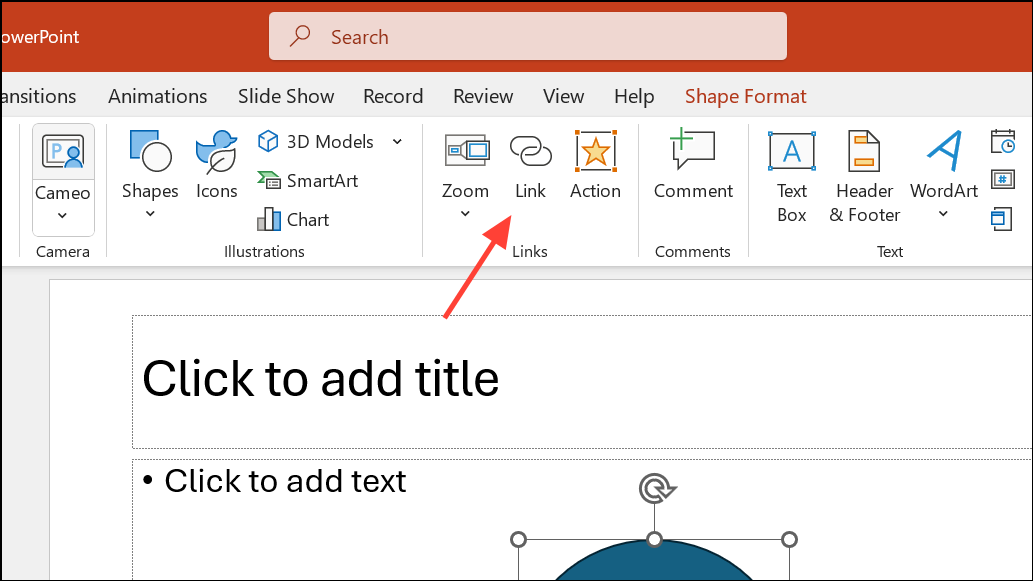
Step 2: Go to the Insert tab and click Link (sometimes labeled Hyperlink).
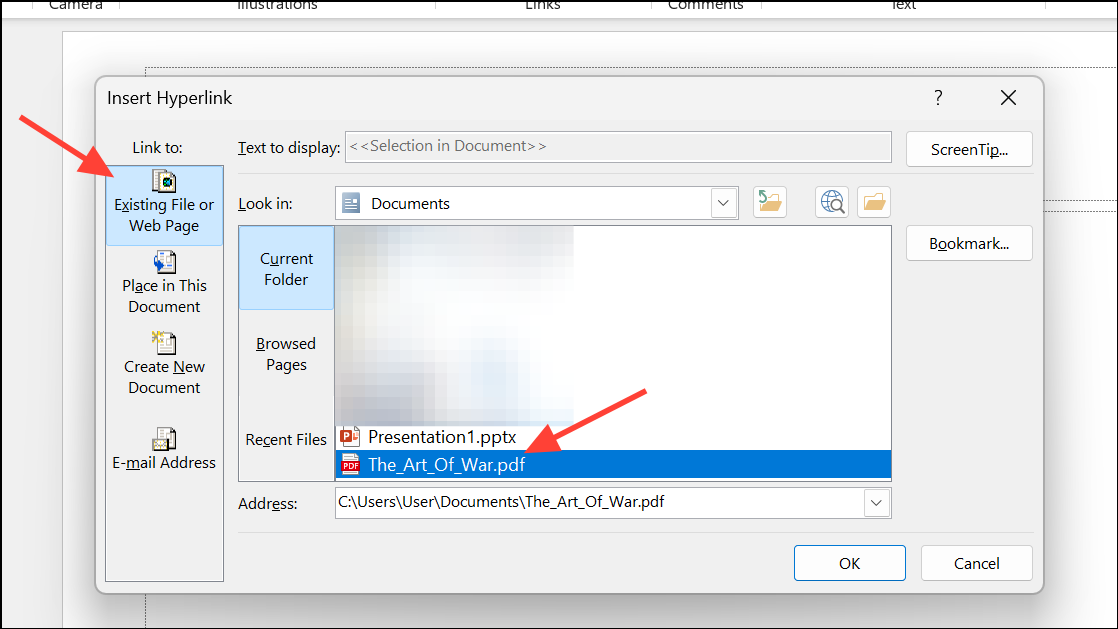
Step 3: In the dialog box, select Existing File or Web Page. Browse to your PDF file or paste the URL of the PDF if it’s hosted online (such as on OneDrive, Google Drive, Dropbox, or your company’s website).
Step 4: Click OK to create the link. When presenting, clicking the linked item will open the PDF in the default viewer or browser.
This method keeps your presentation file size smaller and is recommended when sharing presentations via email or when recipients may use different devices or platforms.
Handling Multi-Page PDFs and Platform Differences
PowerPoint’s built-in features typically display only the first page of a multi-page PDF when embedded as an object or image. To display multiple pages, convert the PDF to images (one per page) using a PDF tool, then insert each image onto separate slides. Alternatively, convert the PDF to a PowerPoint file as described above and import the resulting slides.
It’s important to note that embedding PDFs as objects with interactive features works best on Windows. On Mac, PowerPoint may restrict embedding to Word or Excel files, and embedded PDFs might not open as expected. In such cases, linking to the PDF or converting it to images or slides is more reliable.
Choosing the right method for inserting a PDF into PowerPoint depends on your specific needs—whether you want to display static content, offer interactive access, or integrate multi-page documents. Testing your chosen method on your device and version of PowerPoint ensures smooth results for your audience.