
GCC used to stand for GNU C Compiler back when it only had one compiler support, but since then it has grown into the set of compilers & libraries we know today. GCC now known as GNU Compiler Collection is a set of multiple compilers and libraries for programming languages such as C, C++, D, Objective-C, Fortran, Ada and as well as Golang.
The Linux kernel, GNU tools and many other open-source projects are compiled using the GCC. Therefore it is a really important part of Linux and open-source software toolset. The Free Software Foundation (FSF) distributes GCC under GNU General Public Licence that means you can run, study, share and modify the GCC freely as per your wishes.
Let’s look at how to install the build-essential package on Ubuntu 20.04 which includes the GCC compilers for C (gcc) and C++ (g++).
Installing GCC
On the Debian based distributions such as Ubuntu, GCC is bundled in a meta-package known as build-essential. It includes several other essential tools and libraries such as g++, make, dpkg-dev required for compiling software on Ubuntu.
To install the build-essential package, open the terminal using Ctrl+Alt+T keys and run the following commands:
sudo apt update
sudo apt install build-essential
You may also want to get the manual for development tools by installing the manpages-dev package, to do so run the following command:
sudo apt install manpages-devYou can now use the man command to display and read the user manual for any development tool. The syntax for the man command is very simple, as shown below. For example, to read the manual on GCC run the man gcc command. You can quit the manual by pressing ‘q‘ after you have finished reading.
Syntax:  man <command>
Example: man gcc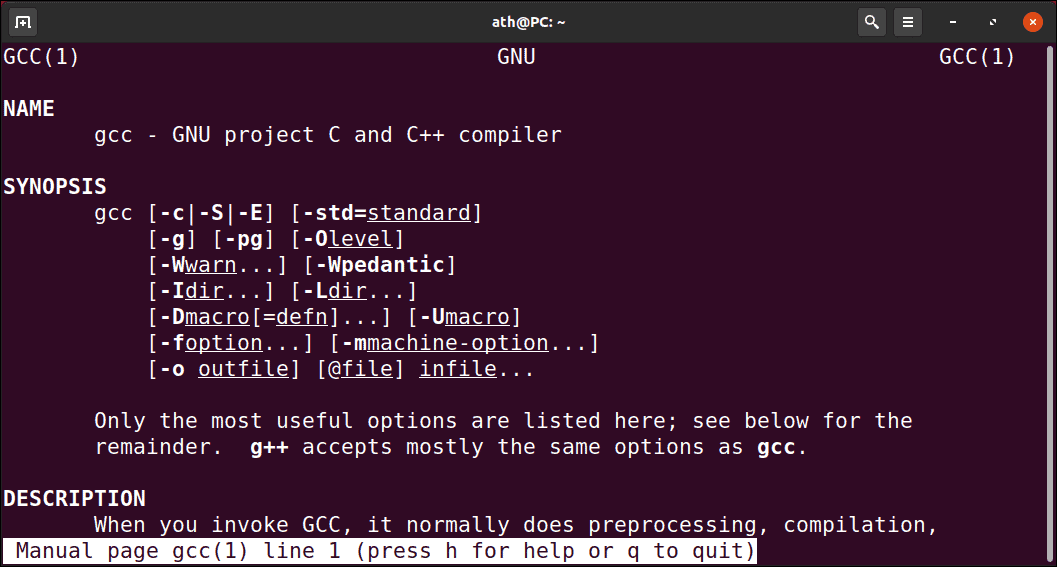
Verify if GCC has been successfully installed on your system by simply running:
gcc --version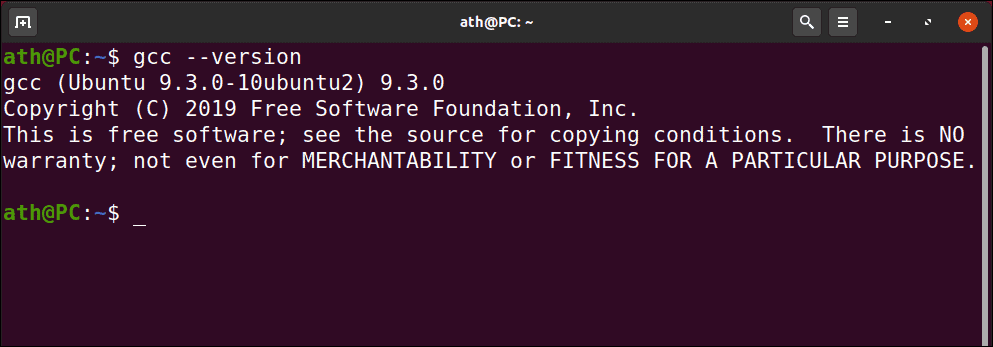
That’s it, the GCC and lot of other tools required for development are now installed on your Ubuntu 20.04 system.
Ubuntu 20.04’s build-essential ships with the GCC version 9.3.0, if you want to install multiple versions of GCC or maybe the latest version of GCC, check out for it in the section below.
Installing Multiple GCC Versions
If you find yourself in need of another version of GCC than what’s included in the build-essential package or if you want to install the latest version to test out the new features, in cases such as these being able to install multiple versions of GCC comes handy.
The latest versions of the GCC has better optimization, performance and new features. The Ubuntu 20.04 repositories include various GCC packages from version 7.xx to 10.xx.
To demonstrate, we will show how to install three versions of gcc and g++ and set them up to work properly on Ubuntu 20.04 system. To install version 8, 9 & the latest 10 of GCC, run the following command:
sudo apt install gcc-8 g++-8 gcc-9 g++-9 gcc-10 g++-10Then run the update-alternative command which is used to configure the symbolic links to determine default commands. In our case, run it to configure the symbolic link and priority of the gcc and g++ versions.
sudo update-alternatives --install /usr/bin/gcc gcc /usr/bin/gcc-10 100 --slave /usr/bin/g++ g++ /usr/bin/g++-10 --slave /usr/bin/gcov gcov /usr/bin/gcov-10
sudo update-alternatives --install /usr/bin/gcc gcc /usr/bin/gcc-9 90 --slave /usr/bin/g++ g++ /usr/bin/g++-9 --slave /usr/bin/gcov gcov /usr/bin/gcov-9
sudo update-alternatives --install /usr/bin/gcc gcc /usr/bin/gcc-8 80 --slave /usr/bin/g++ g++ /usr/bin/g++-8 --slave /usr/bin/gcov gcov /usr/bin/gcov-8
Later if you want to change the default version of GCC to use, run the update-alternative command with the following option:
sudo update-alternatives --config gcc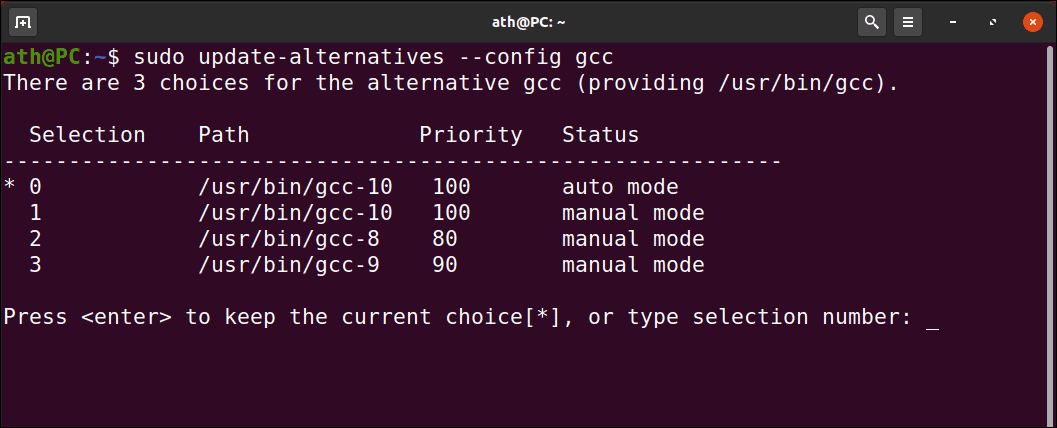
You will be presented with the list of all the GCC versions installed on your Ubuntu System. Change the default GCC version by typing in the number corresponding to it.
We have looked at how to install the build-essential package on ubuntu 20.04. To learn more about how to use the gcc and g++ compilers, visit the GCC online documentation here.