Installing WordPress on an Ubuntu server with Nginx provides a robust and efficient platform for your website. This guide will walk you through the process of setting up WordPress using the LEMP stack (Linux, Nginx, MySQL, PHP) on Ubuntu 20.04 LTS.
Installing the LEMP Stack and WordPress
sudo apt update
sudo apt install nginx mysql-server mysql-client php php-fpm php-mysql
Note: If you are using Ubuntu version 14.04 or earlier, replace apt with apt-get in the commands above.
The php-fpm package is optional but recommended, as it installs the PHP FastCGI Process Manager to improve backend performance. If you prefer MariaDB over MySQL, you can install it instead, following similar steps.
cd /var/www/html
sudo wget https://wordpress.org/latest.zip
sudo unzip latest.zip
cd wordpressConfigure Nginx for WordPress
For this setup, we’ll use the domain 127.0.0.1 (localhost). In a production environment, you should use your actual domain name or server IP address.
sudo vim /etc/nginx/sites-available/localhostInsert the following configuration into the file:
server {
    listen 80;
    listen [::]:80;
    root /var/www/html/wordpress;
    index index.php;
    server_name 127.0.0.1;
    location / {
        try_files $uri $uri/ =404;
    }
    location ~ \.php$ {
        fastcgi_pass unix:/run/php/php7.4-fpm.sock;
        fastcgi_index index.php;
        fastcgi_param SCRIPT_FILENAME $document_root$fastcgi_script_name;
        include fastcgi_params;
    }
}
Important: Make sure to modify the following in the configuration file:
server_name: Replace127.0.0.1with your domain name or server’s IP address.PHP-FPMversion: Update the linefastcgi_pass unix:/run/php/php7.4-fpm.sock;to match your installed PHP-FPM version. Check your PHP version withphp -v. If it’s version7.3, the line should befastcgi_pass unix:/run/php/php7.3-fpm.sock;
This configuration tells Nginx to serve the WordPress site from /var/www/html/wordpress, sets index.php as the default index file, and configures PHP processing. For more details on Nginx directives, refer to the Nginx Documentation.
After making the necessary changes, save and exit the editor. If you’re using vim, press Escape, type :wq, and press Enter.
sudo ln -s /etc/nginx/sites-available/localhost /etc/nginx/sites-enabledConfigure MySQL for WordPress
mysql -u root -pThe default root user in MySQL has administrative privileges. Enter the root password when prompted. If you have another user with sufficient privileges, you can use that instead.
CREATE DATABASE your_database_name;Note: Replace your_database_name with a name of your choosing.
GRANT ALL PRIVILEGES ON your_database_name.* TO 'your_username'@'localhost' IDENTIFIED BY 'your_password';Note: Replace your_username and your_password with a username and a strong password of your choice.
FLUSH PRIVILEGES;
EXIT;cd /var/www/html/wordpressCreate the main configuration file by copying the sample file:
sudo cp wp-config-sample.php wp-config.phpEdit the wp-config.php file:
sudo vim wp-config.phpUpdate the database connection details with the information you set earlier:
define( 'DB_NAME', 'your_database_name' );

/** MySQL database username */
define( 'DB_USER', 'your_username' );

/** MySQL database password */
define( 'DB_PASSWORD', 'your_password' );
After updating the file, save and close the editor. If using vim, press Escape, type :wq, and press Enter.
Final Setup
sudo chmod -R 755 .The 755 permission grants full access to the owner and read-execute permissions to group and others. For more information on permissions, refer to the chmod manual by running man chmod.
sudo service nginx restartserver_name directive of your Nginx configuration). You should see the WordPress setup page.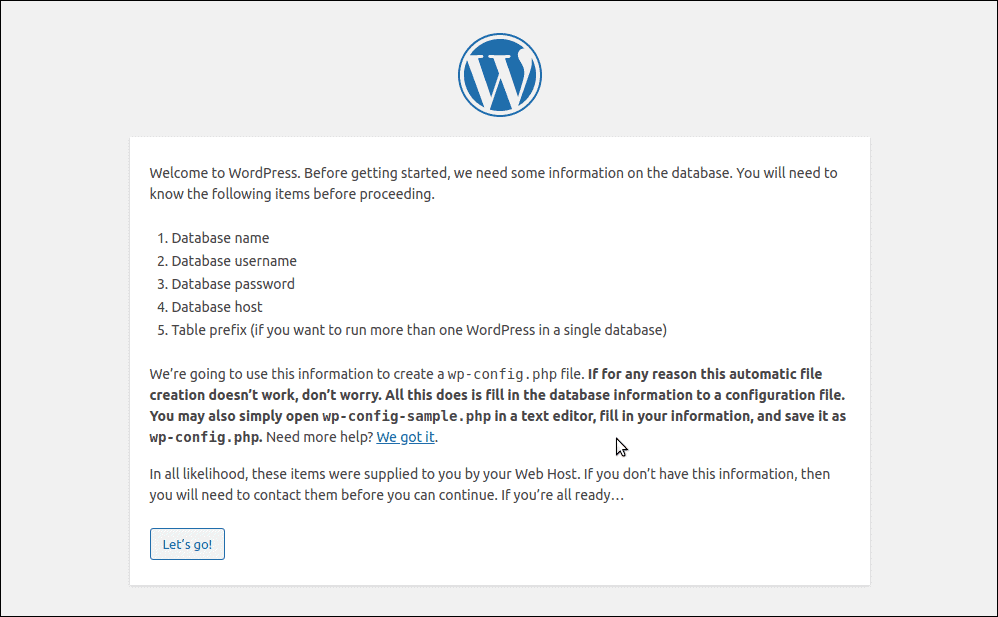
Complete the WordPress installation by following the on-screen instructions.
By following these steps, you have successfully installed WordPress with Nginx on your Ubuntu 20.04 LTS server. You can now start building your website using WordPress.