You’re working in the dark, and the light radiating from your Mac background is straining your sight. You want to be able to instantly switch between the light and dark mode on your laptop. It’s incredibly easy to toggle between these two modes with the new update, the Big Sur.
Night Shift too, is on the list. Read on to know how you can instantly enable dark mode and night shift, as per your mood.
Enabling Dark Mode
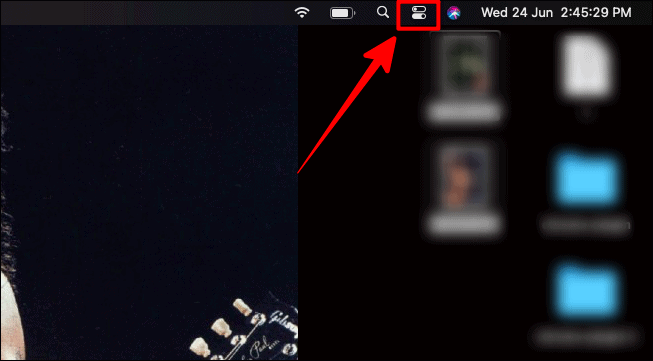
Pull down the top menu bar and click on the newly updated ‘Control Centre’ icon on the top right corner of the screen.
In the control’s drop-down, click on the ‘Display’ option. You can click on the option, the arrow, or even the icon, just not the slider, of course.
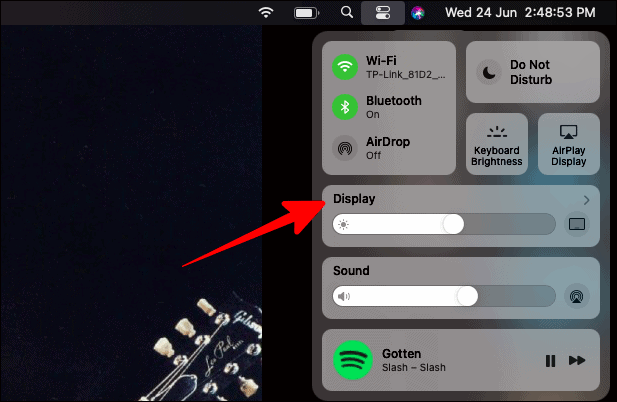
In the same ‘Display’ box, click on the ‘Dark Mode’ icon to instantly switch to dark mode.
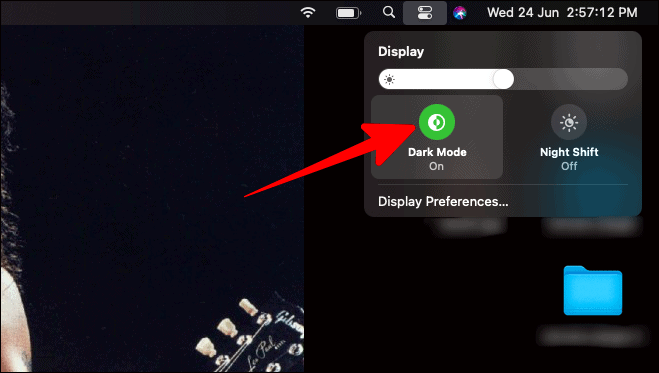
The dark mode would now darken the entire background of your Mac.
Enabling Night Shift
To enable night mode, or in Mac’s language, the ‘Night Shift’, just click on the ‘Night Shift’ icon right next to the ‘Dark Mode’ button.
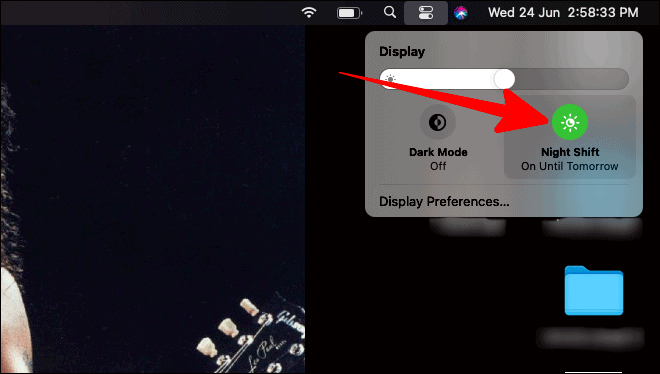
Night Shift is great if you’re working/reading/watching something right before going to bed or doing any of these to fall asleep in the first place. It is much more soothing on the eyes and not as awakening as the non-night-shift mode. You can also sleep better after using your Mac on night shift.
Customizing Night Shift
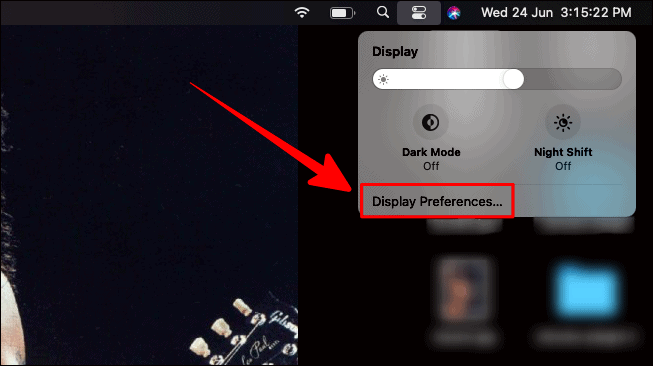
If you want to change the brightness and warmth of the ‘Night Shift’ you can customize the color temperature.
In the same ‘Display’ box where you chose dark mode and night shift, click on the ‘Display Preferences’ option at the bottom of this box.
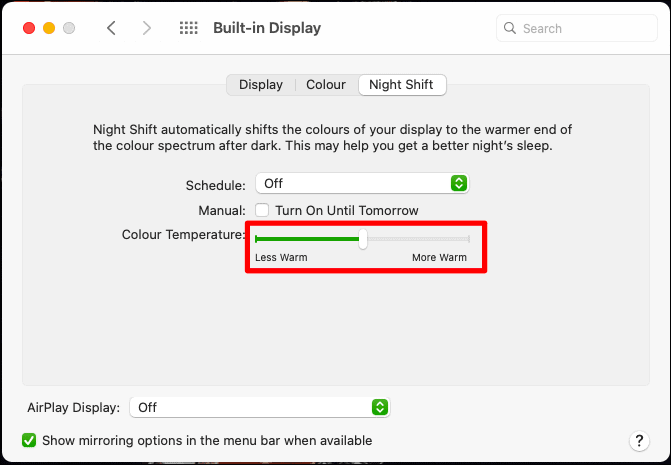
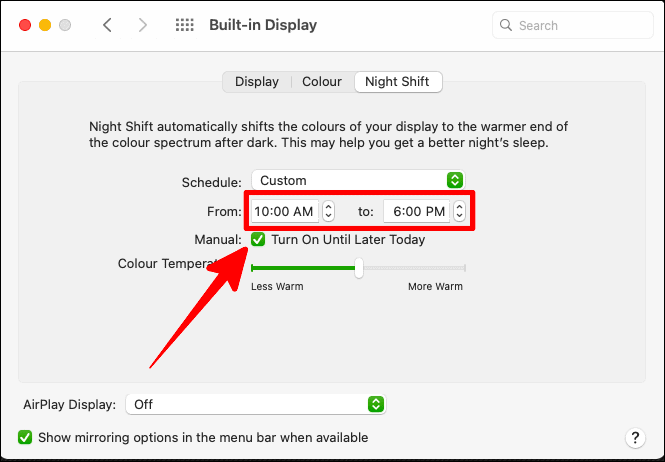
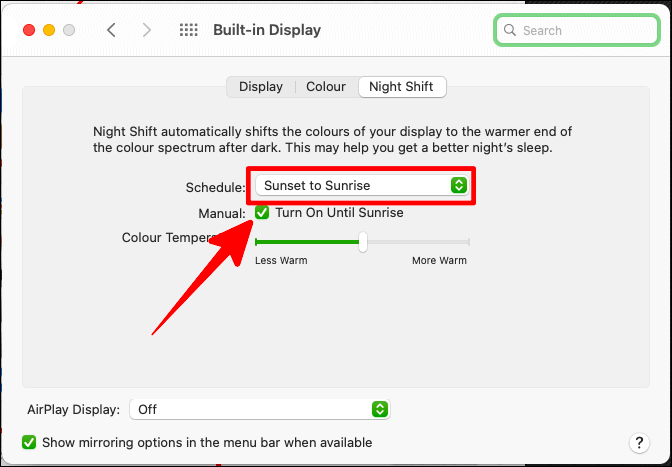
Now, a ‘Built-In Display’ window would appear. Click on the ‘Night Shift’ tab in there.
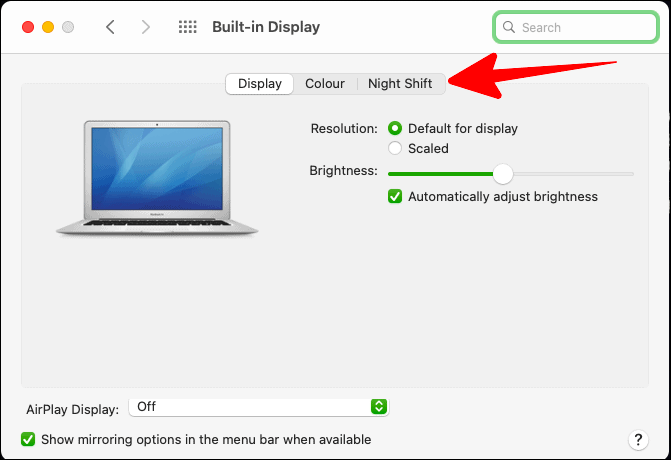
Within the ‘Night Shift’tab, you can customize the color warmth of the night shift between ‘Less Warm’ and ‘More Warm’ by moving the toggle towards the side of your choice.
Scheduling Night Shift
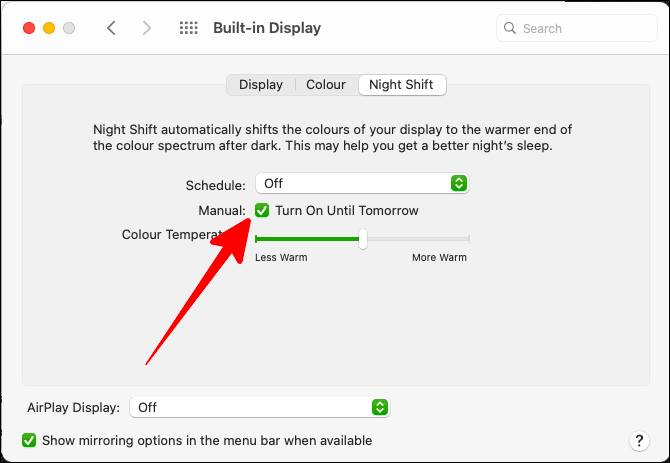
Default Scheduling: The default schedule is until the next day. To enable this, tick the box next to the ‘Manual’ option and before the statement ‘Turn On Until Tomorrow’.
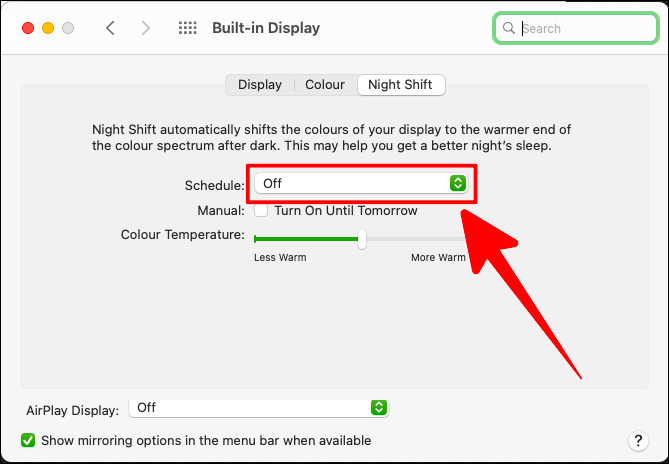
Custom Scheduling: If you want to custom schedule ‘Night Shift’ activation on your Mac, then click on the box next to ‘Schedule’.
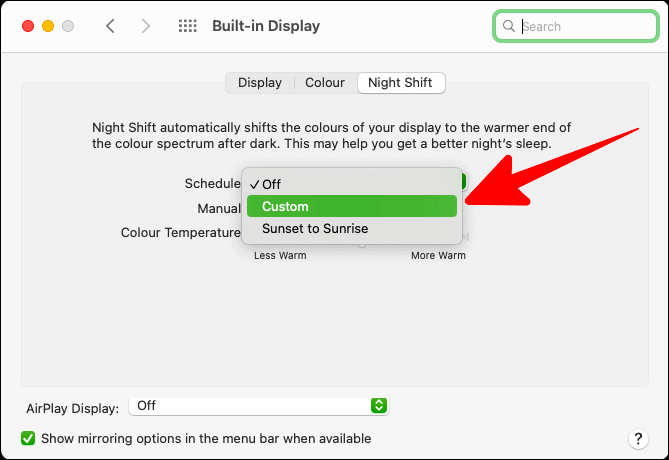
The ‘Schedule’ drop-down has three options; ‘Off’, ‘Custom’, and ‘Sunset to Sunrise’. Click on the ‘Custom’ option in the drop-down.
Set the time between which you want the Night Shift to be turned on. Depending on your custom scheduling info, the ‘Manual’ option below would tick itself automatically.
Sunset to Sunrise Schedule: If you have ungodly working hours, then sunset to sunrise schedule is for you. But for this, ensure your ‘Location Services’ settings are enabled.
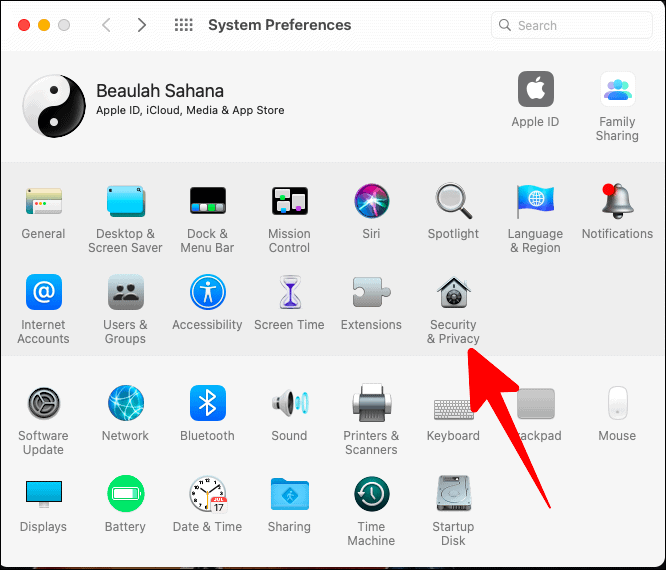
To enable ‘Location Services’, open ‘System Preferences’ and select ‘Security and Privacy’.
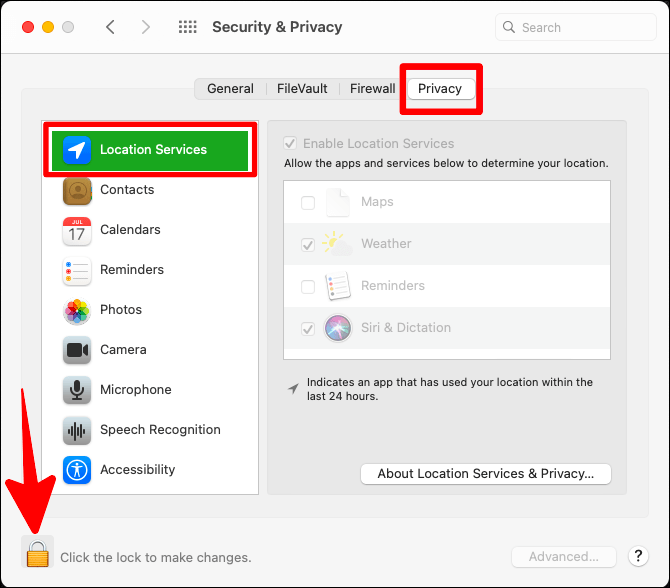
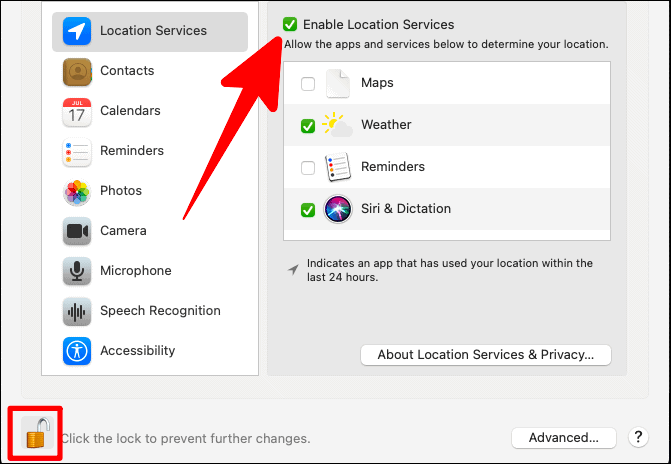
In the ‘Security and Privacy’ settings, select the ‘Privacy’ button. Now, click the ‘Location Services’ on the left side and then click the lock button on the bottom left of the window to unlock the location services changes.
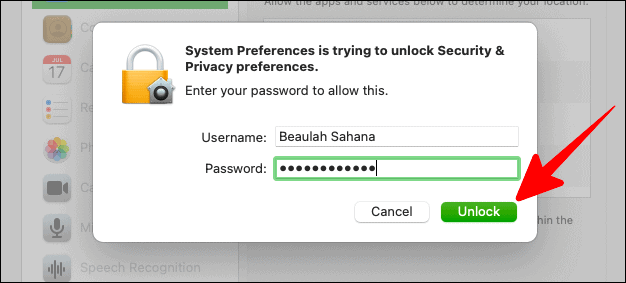
Enter your password in the next prompt box and click on ‘Unlock’ to make changes to your location services.
Now, tick the box next to ‘Enable Location Services’. You can tick the apps you want to enable location services for in the box below. Once all that is done, click on the lock icon again to secure your changes.
Now, you can easily select ‘Sunset to Sunrise’ as your night shift schedule. But after selecting that option from the drop-down, make sure you also tick the ‘Manual’ box below it to confirm the ‘Sunrise to Sunset’ night shift schedule (it’s not automated for sunset to sunrise scheduling).
Dark mode and night shift are great ways to visually ease yourself while constantly working on your Mac or just using it. Use these Big Sur features for a nurturing effect on your eyes.