
Windows 11 does not include a built-in feature to keep a window always on top, but you can still achieve this functionality easily. Keeping a window pinned above other windows helps you monitor important information, follow tutorials, or manage tasks without constant switching. Here are several practical ways to pin a window on top in Windows 11.
Method 1: Using Microsoft PowerToys
Microsoft PowerToys provides the most reliable and straightforward method for pinning windows on top. PowerToys is a free, official Microsoft utility that adds advanced features to Windows, including the "Always On Top" function.
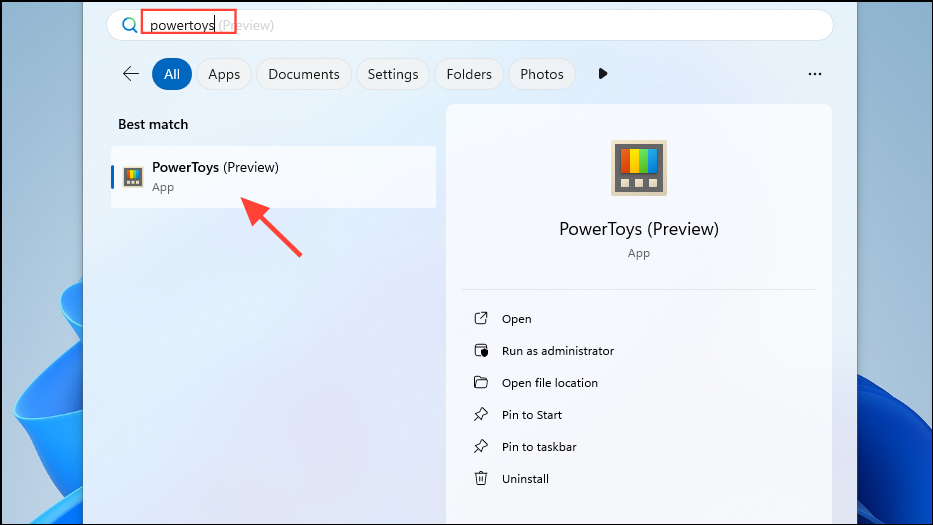
Step 1: Download and install Microsoft PowerToys from the official PowerToys GitHub repository. Once installed, open the PowerToys application from the Start menu.
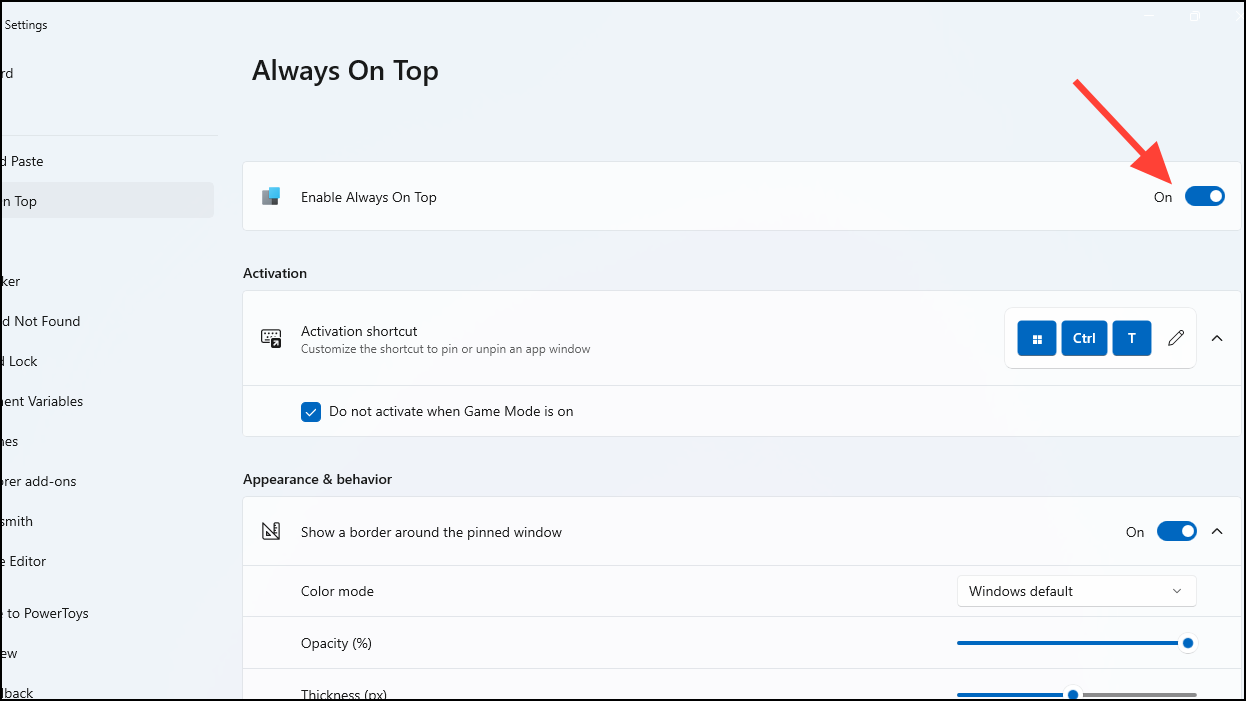
Step 2: In the PowerToys interface, click on the "Always On Top" option located in the left sidebar under the "Windowing & Layout" section. Activate the feature by toggling on the "Enable Always On Top" switch.
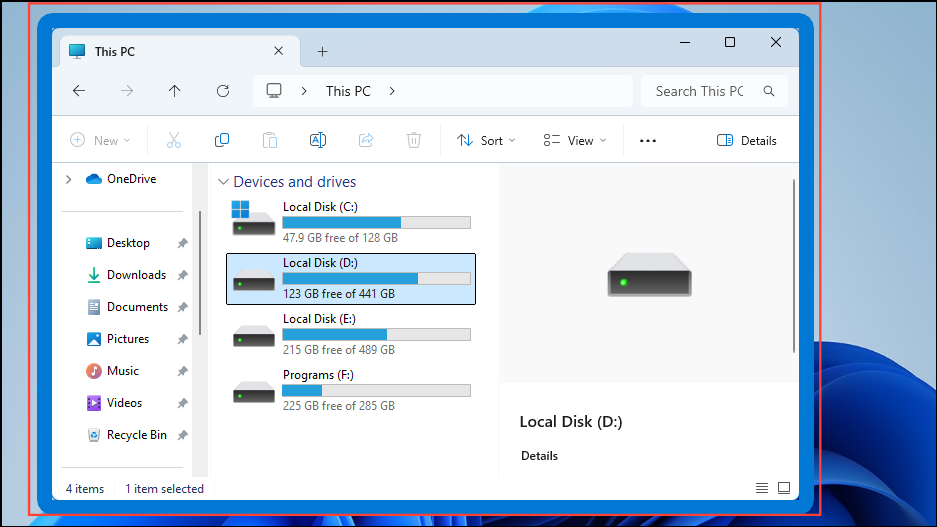
Step 3: To pin a window, select the window you want to keep on top and press the shortcut Win + Ctrl + T. You'll notice a border around the pinned window, indicating it will remain above all other windows. You can also customize the border appearance, color, opacity, and thickness within the PowerToys settings.
Additionally, PowerToys allows you to exclude certain applications from being pinned and disable the feature automatically during gaming sessions to avoid distractions.
Method 2: Using Built-in Application Options
Some applications offer built-in "always on top" settings, making it unnecessary to use external utilities. This option is typically found in media players, task managers, and messaging apps.
- VLC Media Player: Open VLC, click "View" on the top menu bar, then select "Always on top."
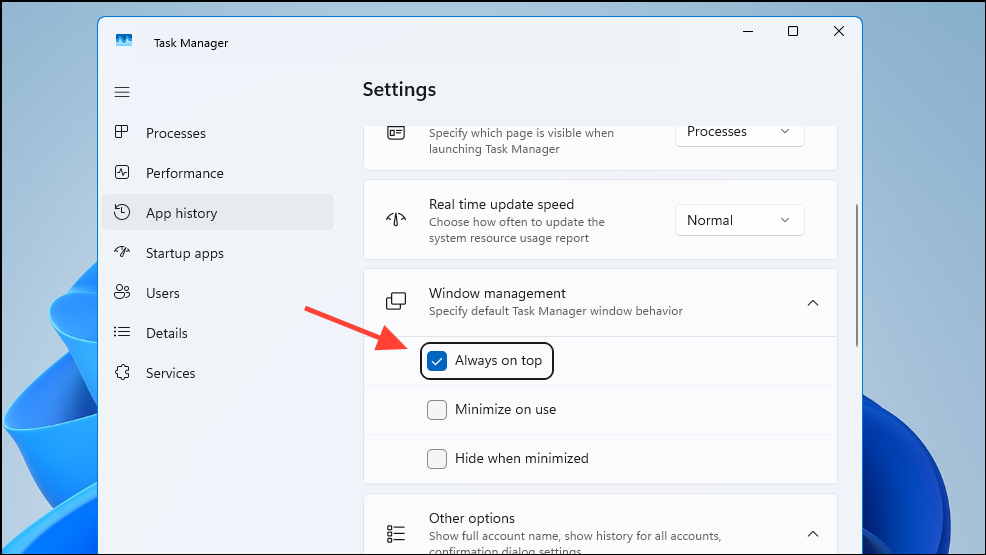
- Task Manager: Open Task Manager using the
Ctrl + Shift + Escshortcut, navigate to the "Settings" tab, expand "Window Management," and enable "Always on top."
Check your application's settings or menus to see if it has this built-in option, as it provides an instant and efficient solution without additional apps.
Method 3: Using DeskPins (Third-Party Utility)
If you prefer a lightweight, dedicated tool, DeskPins is a small third-party utility that allows you to quickly pin any window on top with minimal resource usage.
Step 1: Download and install DeskPins from its official website. After installation, DeskPins runs in your system tray, accessible from the "Show hidden icons" section.
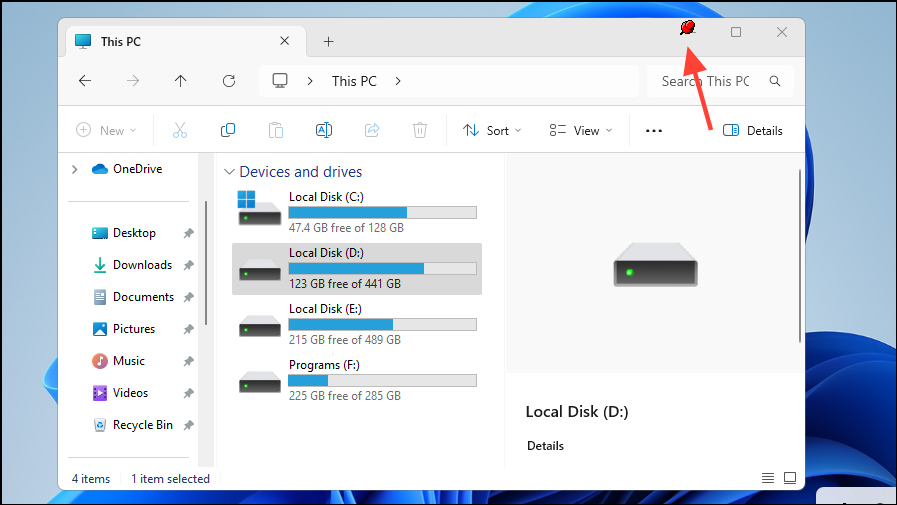
Step 2: To pin a window, click the DeskPins icon in the system tray, then click on the window you want to pin. A small red pin icon will appear at the top of the window, indicating that it is pinned above others.
DeskPins is ideal for users who need a simple, lightweight solution without extensive configuration options.
Method 4: Using AutoHotkey (Scripting Approach)
For advanced users comfortable with scripting, AutoHotkey provides a flexible way to pin windows on top through custom scripts.
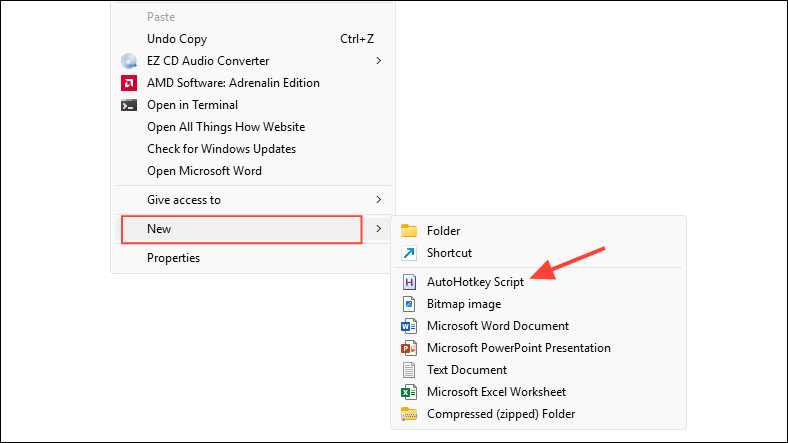
Step 1: Install AutoHotkey from its official site, then create a new script by right-clicking in a folder and selecting "New > AutoHotkey Script."
Step 2: Edit the newly created script file and paste the following code snippet:
^SPACE::
Winset, Alwaysontop, , A
return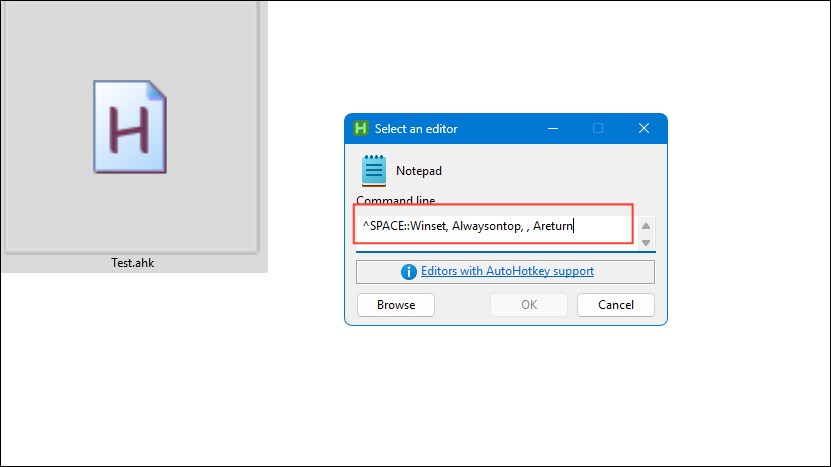
Step 3: Save the script and double-click it to run. Now, pressing Ctrl + Space will toggle the active window's "always on top" status.
AutoHotkey offers a powerful, customizable solution for users familiar with scripting, providing extensive flexibility and control.
These methods provide reliable and easy-to-use solutions to keep your important windows always visible, ensuring smoother multitasking and quicker access to essential information.