
Classic clothing on Roblox uses 2D image files you upload through the Creator Dashboard. T‑shirts are square images that show on the avatar’s torso; classic shirts and pants use templates that wrap around the body. Note that current user‑generated avatars on the Marketplace don’t support 2D classic clothing; focus on classic items for blocky characters as outlined in the Classic clothing docs at create.roblox.com/docs/art/classic-clothing.
Make a classic T‑shirt (front image)
Step 1: Create a square image in any editor. Use a canvas such as 512 × 512 px so it scales predictably on the torso.
Step 2: Keep key art centered to avoid cropping on the avatar. Leave some padding near edges so the graphic doesn’t appear cut off.
Step 3: Export the artwork as .png or .jpg. PNG preserves transparency if you need it.
Step 4: Open your Creator Dashboard at create.roblox.com/dashboard/creations in a web browser.
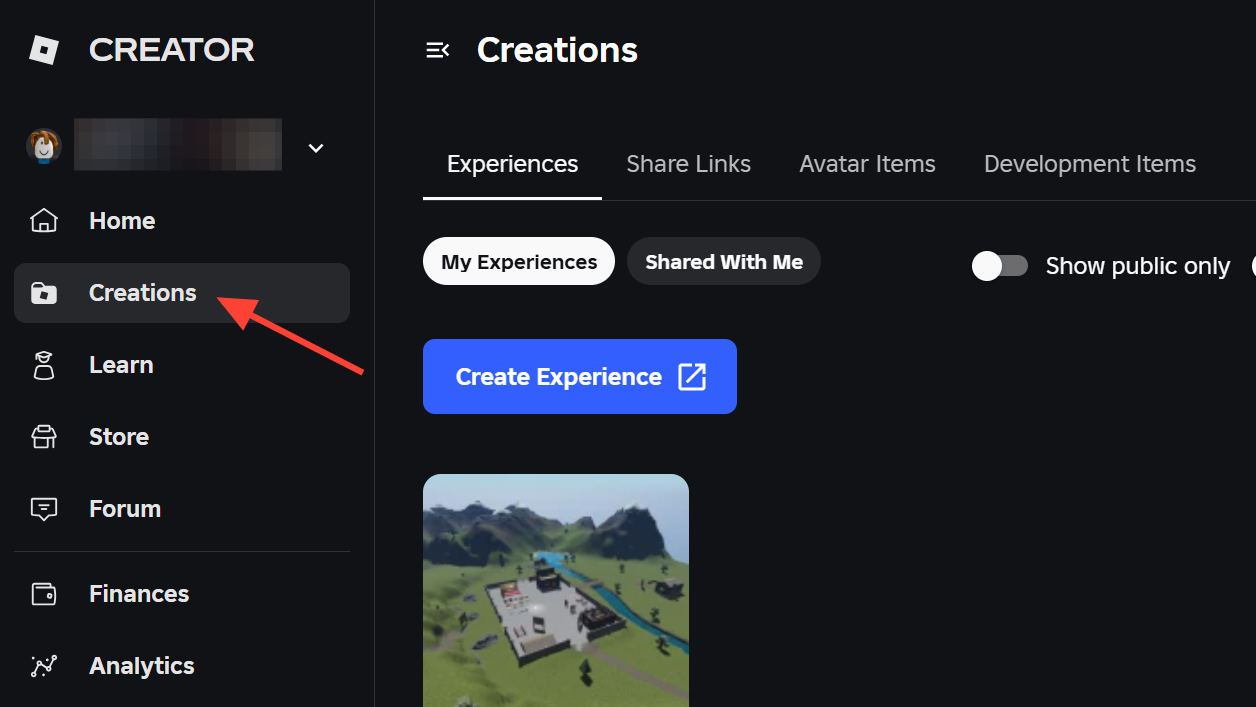
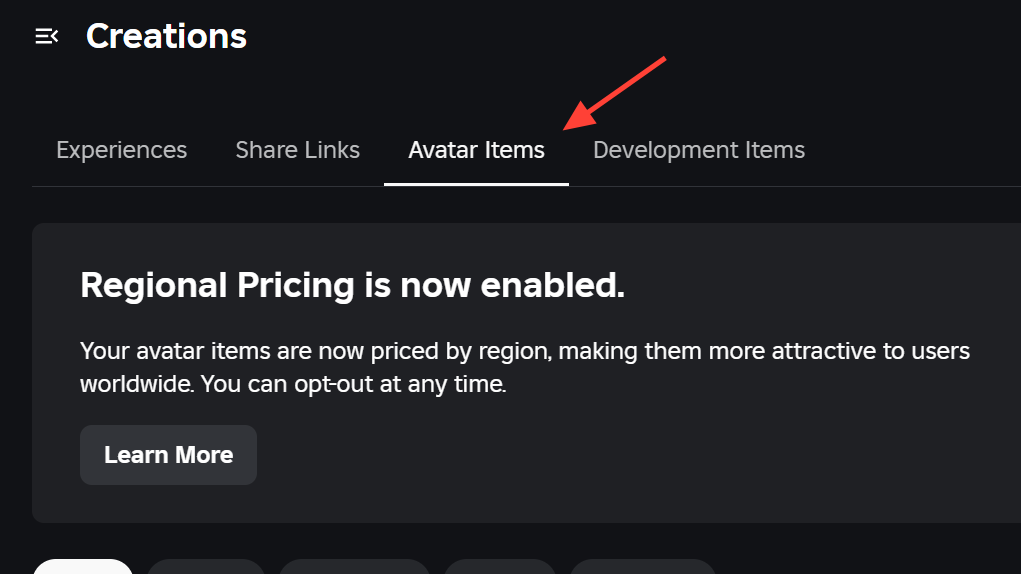
Step 5: Go to Avatar Items. This is where classic clothing is managed and uploaded.
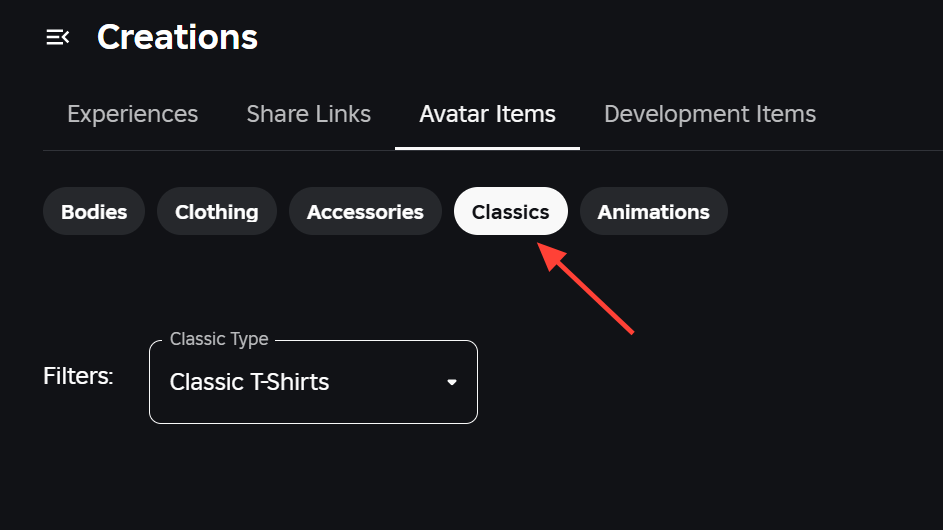
Step 6: Select the Classics tab. Classic T‑shirts, shirts, and pants live under this tab.
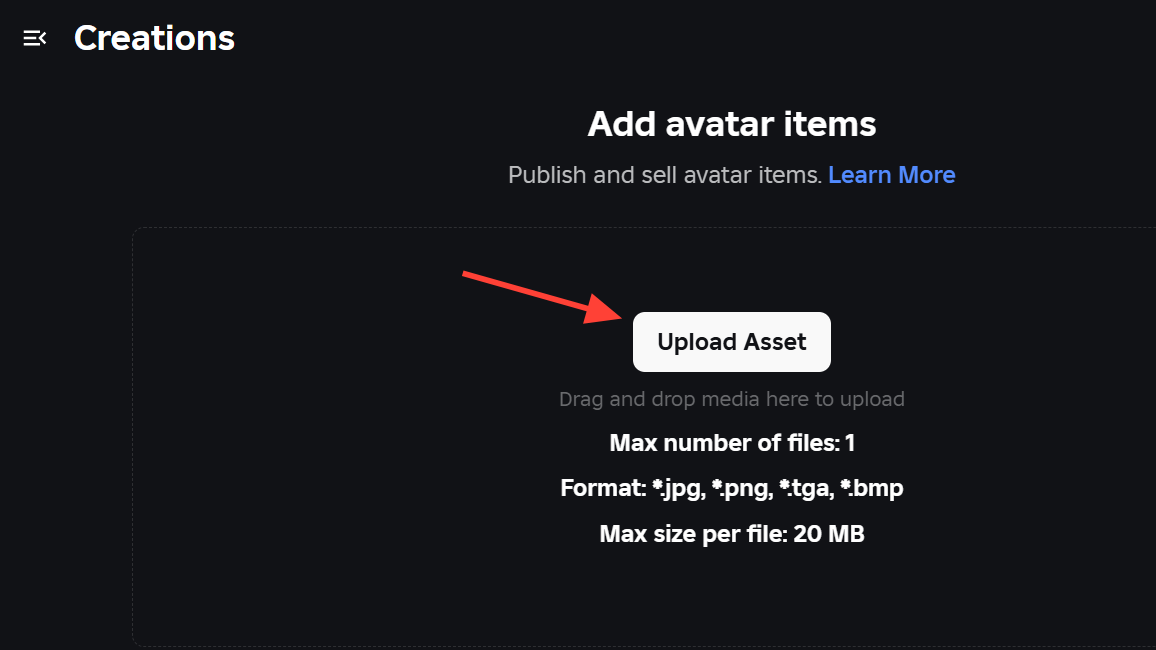
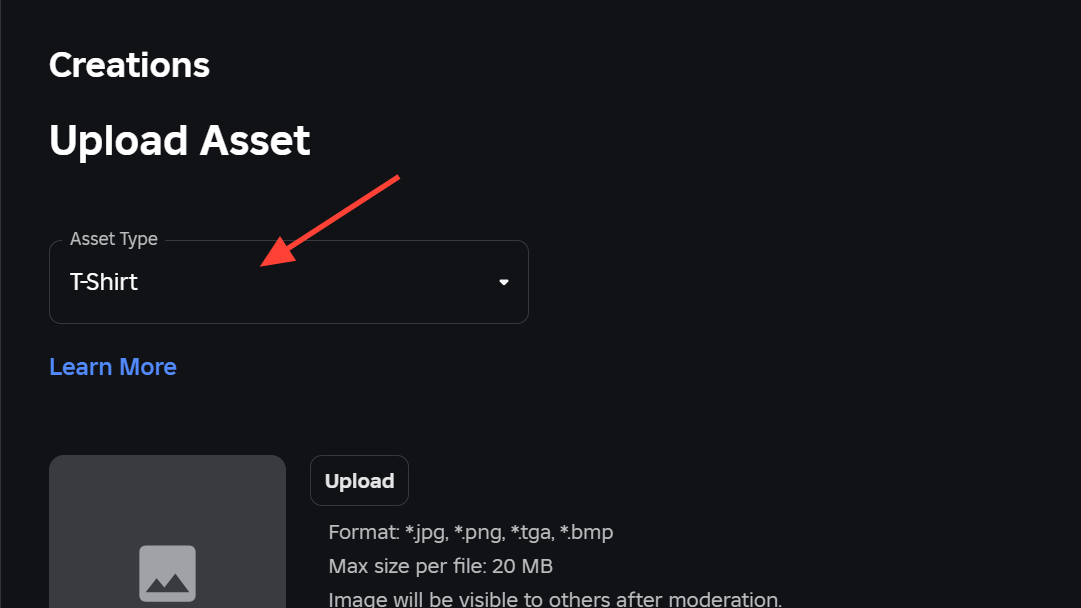
Step 7: Drag your image into the upload area, or choose Upload Asset. On the next page, set Asset Type to T‑shirt.
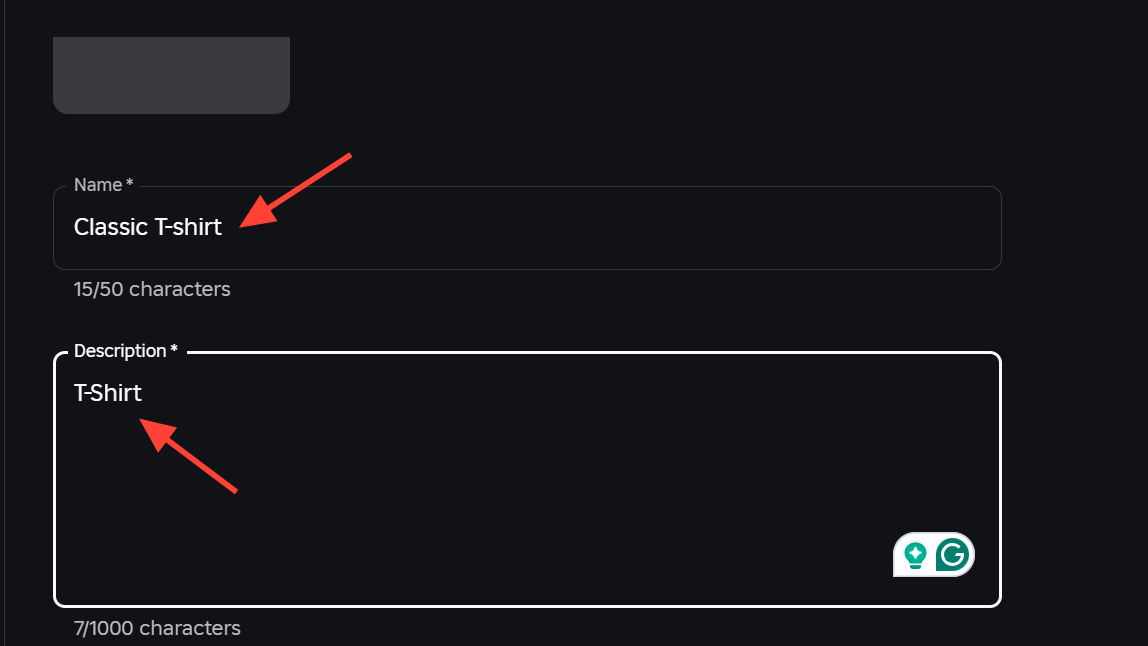
Step 8: Enter a clear name and description. These help users find your item and keep your library organized.
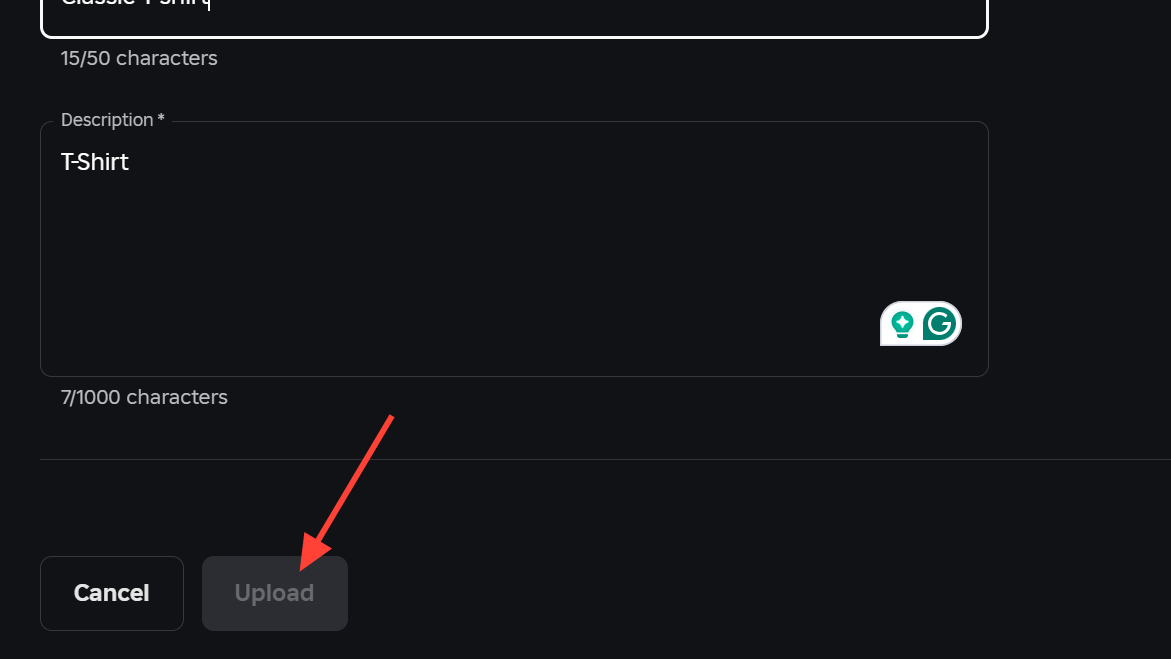
Step 9: Click Upload. After moderation passes, a copy is added to your inventory so you can wear or configure it.
Make a classic shirt or pants (template‑based)
Step 1: Download the official shirt or pants templates from the Classic clothing page. Templates define how art wraps the torso, arms, and legs.
Step 2: Open the template in your image editor. Place graphics within the labeled regions so seams align correctly in 3D.
Step 3: Keep joint areas clean. For example, don’t extend shoe designs too far up the leg regions or they’ll look like part of the pants.
Step 4: Export your file as .png or .jpg. Use PNG if you need transparent edges.
Step 5: In the Creator Dashboard, open Avatar Items, then the Classics tab. Upload your file and set Asset Type to Shirt or Pants.
Step 6: Name and describe the item, then upload. Test on an avatar in Studio and iterate if any seams or proportions look off.
Upload and sell classic clothing on Roblox
Step 1: Upload your item through Avatar Items → Classics as described above. Wait for moderation to complete.
Step 2: Open Avatar Items → Classics and select your approved asset to configure it. This opens the asset’s settings.
Step 3: Enable On Sale and set a price in Robux. Listing classic clothing in the Marketplace involves a Robux fee; see fees and commissions under Classic Clothing at create.roblox.com/docs/.../marketplace-fees-and-commissions#classic-clothing.
Step 4: Save your changes. The item becomes available for purchase on the Marketplace once the listing updates.
Classic clothing types at a glance
| Type | Format/size | Where it appears | Template needed |
|---|---|---|---|
| T‑shirt. | Square image (e.g., 512 × 512 px). | Front torso on a blocky character. | No. |
| Shirt. | Image wraps torso and arms. | Entire upper body (with sleeves). | Yes, use the official shirt template. |
| Pants. | Image wraps torso and legs. | Waist through legs (includes waistline). | Yes, use the official pants template. |
Fix: T‑shirt upload shows 3D items instead of image upload
Step 1: Open Create → Avatar Items in a web browser. This ensures you’re in the right area for clothing uploads.
Step 2: Switch to the Classics tab. The 3D upload screens are separate; classic T‑shirts and templates live under Classics.
Step 3: Choose Upload Asset and set Asset Type to T‑shirt. Then select your square .png or .jpg file and upload.
Step 4: If the item shows as under review, wait for moderation to finish. You’ll see it in your inventory when it’s approved.
Once you’ve uploaded a few designs, iterate based on how they look in Studio and on avatars. Small template adjustments—especially around seams and joints—make a big difference in how polished your clothing appears.