With the inception of digital technology, emerged the need for digital security. We moved from phones having no option to set a passphrase to access it to now have at the minimum, 3 ways to protect the home screen of your smartphone.
Since in this age of the Internet, everything is moving online and our devices being connected 24×7, without appropriate protective measures we are just sitting ducks ready to be taken out.
Though we have been moving forward from having the same passwords to multiple websites to having special characters induced alpha-numeric passwords unique to every website, and then to enable software-based 2-factor authentication along with the passwords.
The situation is not grim by any means, and the majority of our online data is pretty safe. But that does not mean we are not vulnerable. Security is only as strong as its weakest link and in the race of securing the most complex of attacks. We often forget to address the most basic of things.
Security Beyond Password
USB security keys are here to up the ante of security in a whole new different way. These physical security keys eliminate a variety of issues out of hand.
They can make a key logger look like an idiot when there is no password to enter, brute force attacks can take a long holiday since even if they can crack the password the attacker would still need a physical key to log in, in the end, you don’t need to memorize or keep track of those complicated passwords with a password manager. Wouldn’t that be something?
Well don’t get excited just yet, there are downsides too. For starters, not all websites support a physical U2F token option for authentication. Secondly, you could still lose access to your devices and accounts if your physical key gets lost or is damaged.
Nonetheless, let’s not sway off the course. Allow us to show you how to make your own USB security key for unparalleled security.
Make a Security key For Windows
You will need to download a suite to configure your USB security key. There are plenty of options to do that. However, we will be using a USB Raptor for this guide.
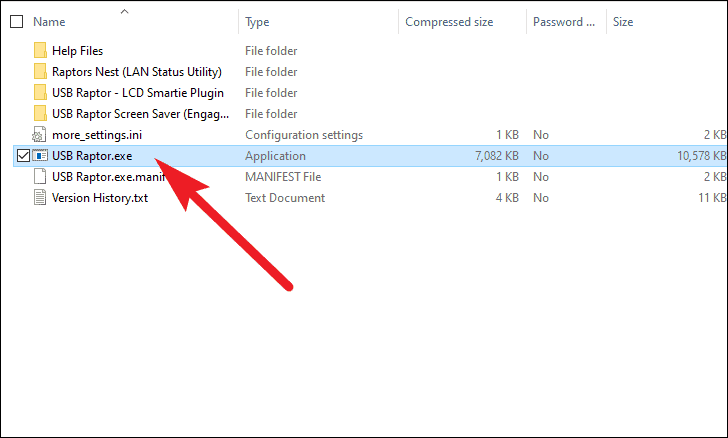
After downloading, run the ‘USB Raptor.exe’ from the downloaded folder.
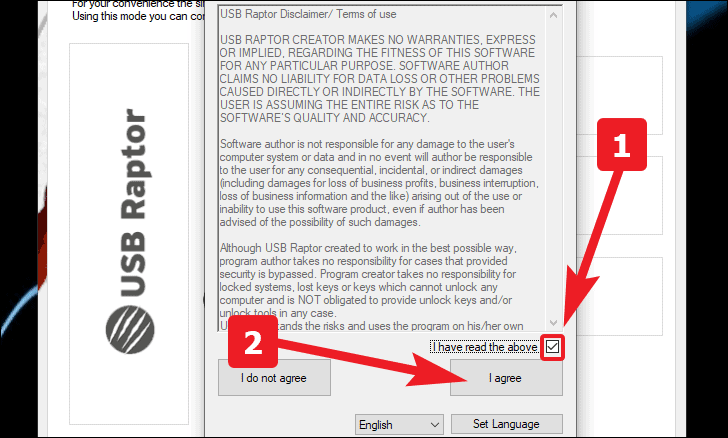
First, check on the ‘I have read the above from the bottom right corner of the USB Raptor disclaimer window. Now, click on the ‘I Agree’ option.
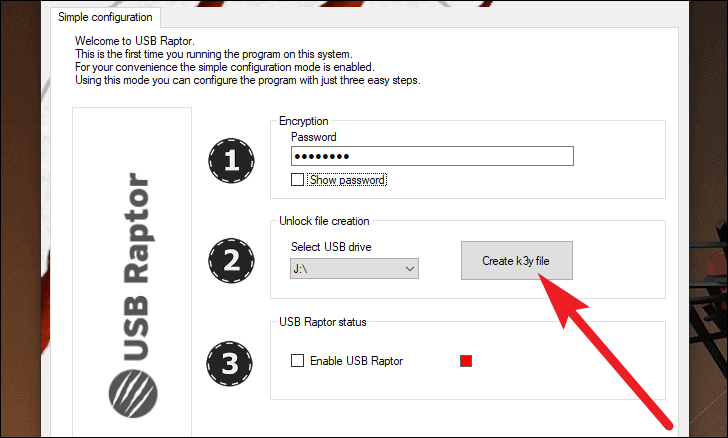
Since USB Raptor is plug and play does not need to be installed. It is ready to create a key. First, enter the password of your choice.
Note: Do remember and safeguard your password. Though USB Raptor is made to lock and unlock your system automatically. You still might require it in the future.
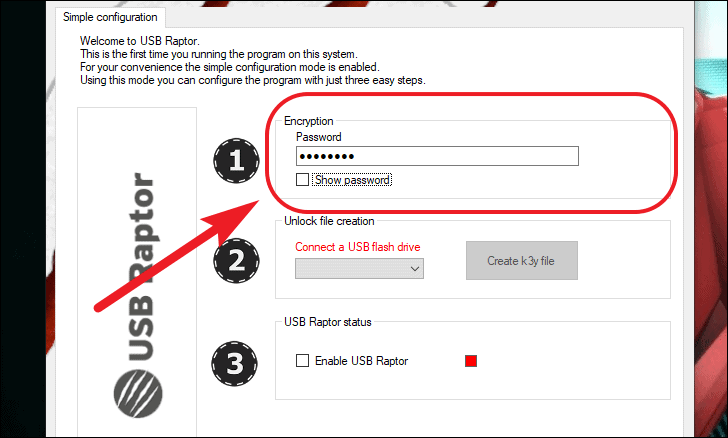
Now, connect a USB drive and USB Raptor will automatically detect it. Then, click on the ‘Create k3y file’ button.
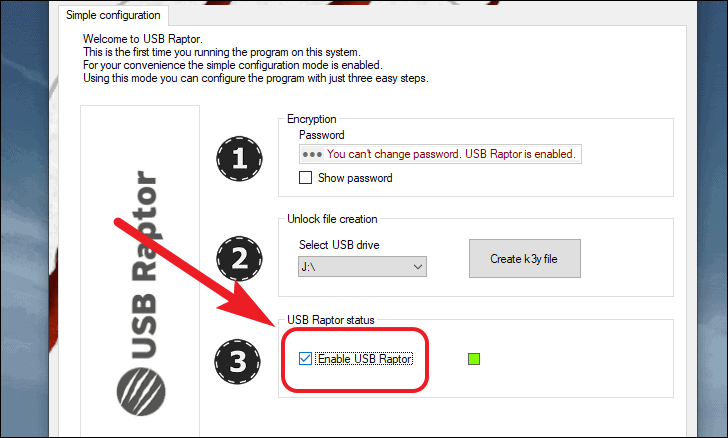
Next, click on the checkbox preceding the ‘Enable USB Raptor’ option. Your key is now enabled. However, to enable USB Raptor automatically at every startup. Go to the next step.
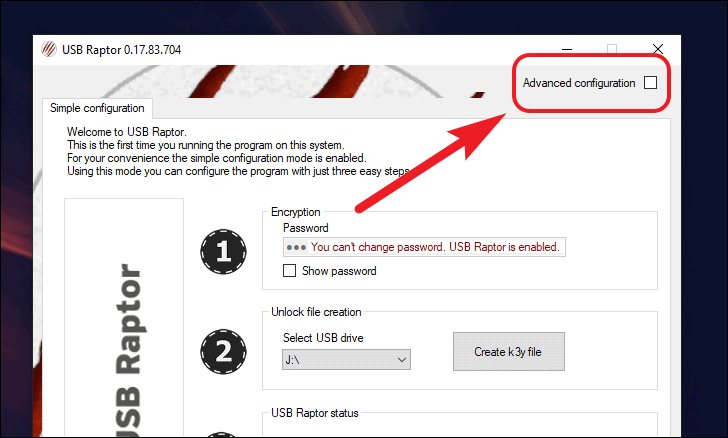
Now, click on the ‘Advanced Configuration’ check box from the upper right corner of the window.
Note: If you remove the USB key at this stage, the system will lock itself till you again insert the USB drive again.
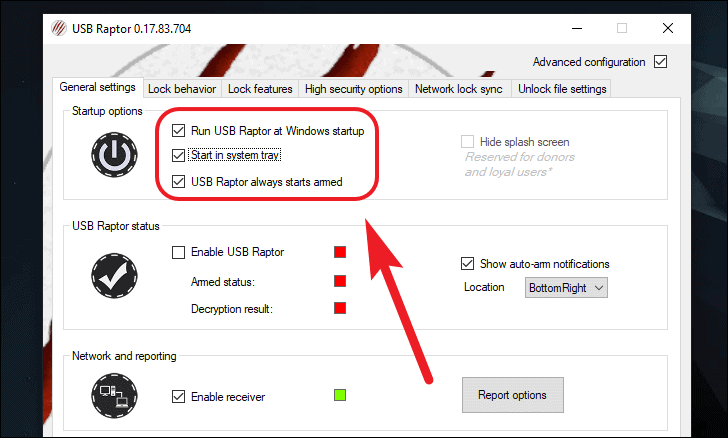
After that, click on the ‘Run USB Raptor at Windows Start up’ checkbox along with the ‘Start in system tray option’. To always start your system in the locked state, click on the ‘USB Raptor always starts armed’ option. Now every time you start your system, you will need your USB key to log in.
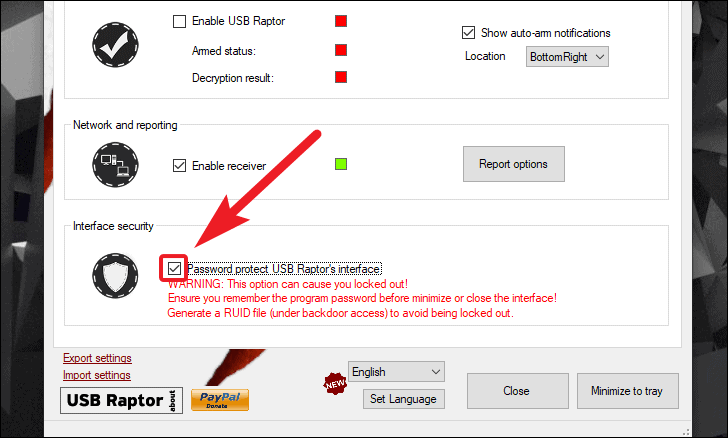
You can also lock the interface, to prevent any unauthorized personnel from making changes to the system. To enable the option, check the ‘Password protect USB Raptor’s interface’ option.
There are tons and tons of options in the advanced configuration mode for the USB Raptor to personalize the security as per the user’s requirement. In actual fact, it would require a whole other guide to cover them.
One of the very unique features provided to paid USB Raptor users is the option to change the master code. This basically means you will be able to change the encryption format known only to you if you want to further notch up your security.
Make a Security key For Mac
Unlike Windows, macOS does not have any free USB security key suites available. Though many of them provide a free trial if you would want to get familiar with the software before buying. For this guide, we will be using Rohos Logon Key software.
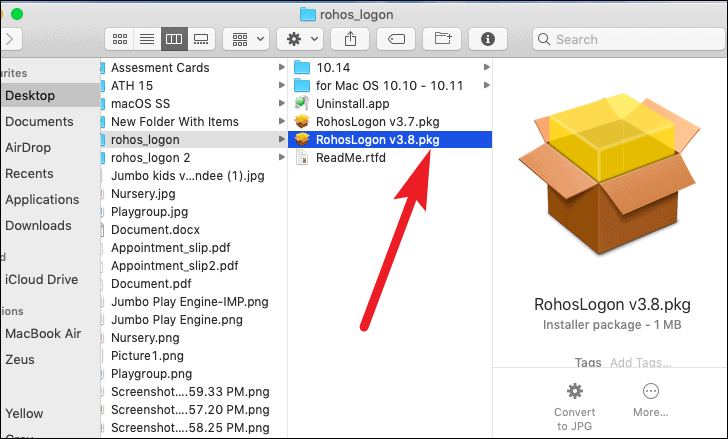
After downloading, open the folder in the ‘Finder’ and choose the appropriate package according to your macOS version.
Installing Rohos Logon key is pretty much straightforward. Once installed, launch the ‘Rohos Logon Key’ from the launchpad.

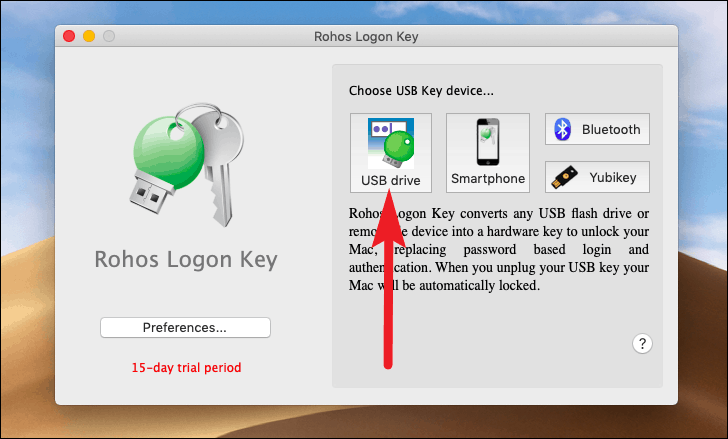
After that, Click on the ‘USB drive’ option from the window.
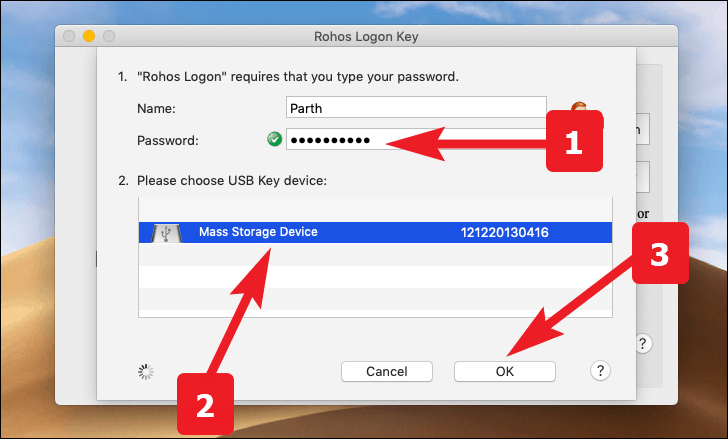
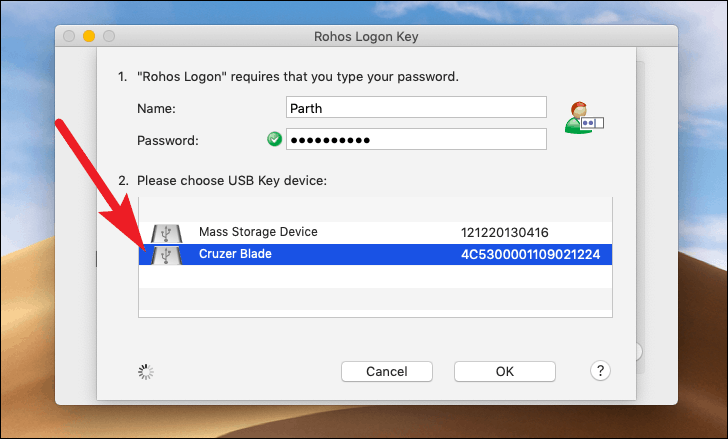
Now, enter your password and choose the USB drive you want to use as a security key from the list available below. Then click the ‘OK’ option.
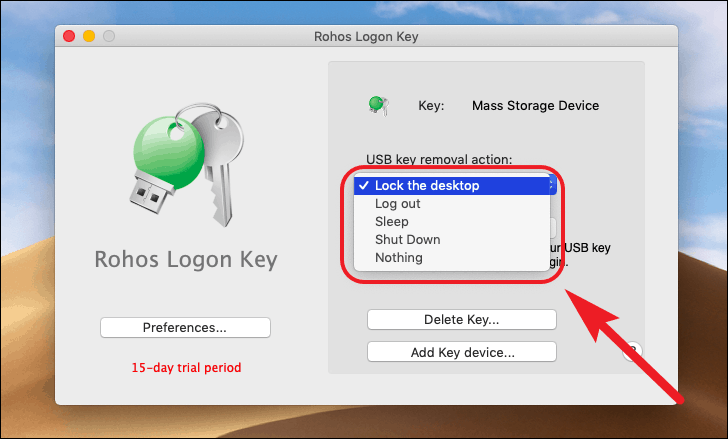
Now, select the action you want your Mac to perform, when you disconnect the security key.
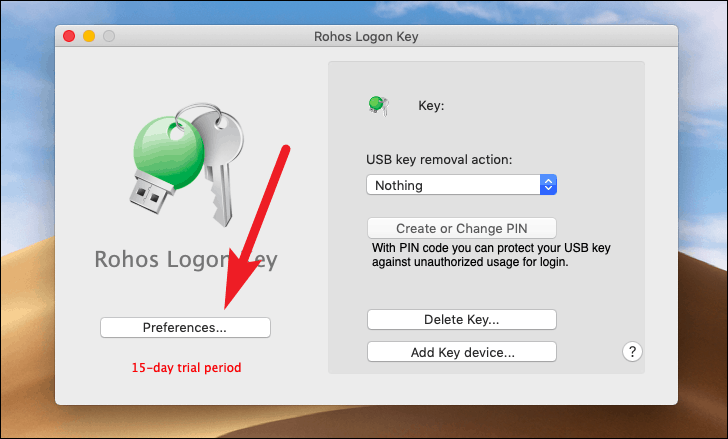
You can also choose to allow logging in only through USB. To enable that, click on the ‘Preferences’ option from the main window.
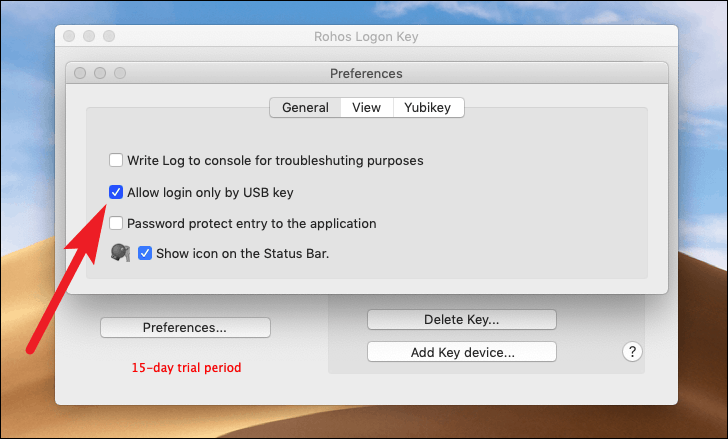
Now, click the ‘Allow login only by USB’ option from the general tab of the preferences.
One more feature unique to Rohos Logon Key is to have multiple security keys to unlock a device. To add more than one security key, select the ‘USB Drive’ option from the ‘Add key device…’ dropdown.
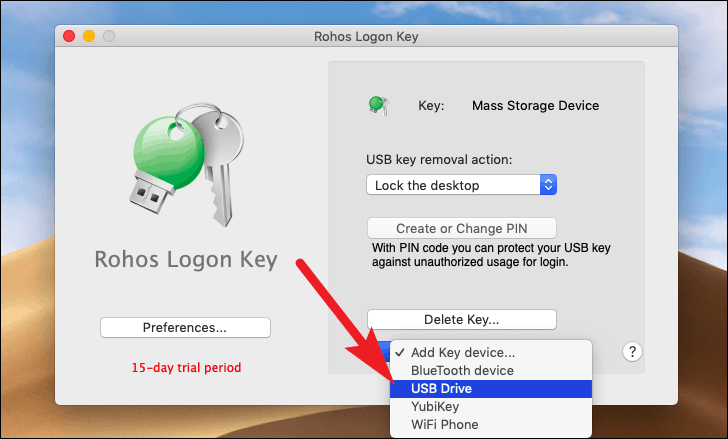
Now, choose another USB security key and repeat the procedure above to add another security key to unlock your system.
There you go, now you can have peace of mind that there’s isn’t going to be any unauthorized access to your system, since now you have a physical to unlock it!