With Windows 10 support nearing its end, many users are seeking alternatives that offer better privacy and performance. Transitioning to Linux not only revitalizes older hardware but also provides a stable, secure, and customizable environment that respects user privacy. Here's how to smoothly switch from Windows to Linux.
Select and download a Linux distribution
Linux comes in various distributions (distros), each with its own desktop environments, features, and applications. Before installing Linux, it's essential to choose a distro that fits your needs. Popular options include Fedora, Debian, Arch, Ubuntu, and more.
Selecting a distro
To learn about a specific distro like Linux Mint, visit its official website for comprehensive information. You'll find system requirements, features, included software, and installation instructions. Watching online videos can also give you a glimpse of how different distros look and function.
For this guide, we'll use Linux Mint, but most distros offer similar options. Linux Mint is an excellent choice for both beginners and advanced users due to its ease of use and high customizability. It's completely free and runs efficiently, even on older hardware.
Based on renowned distributions like Ubuntu and Debian, Linux Mint is known for its exceptional stability, minimizing crashes and freezes. Installation and daily use are straightforward and effortless.
Downloading Linux Mint
Linux Mint is relatively compact, so downloading it won't consume much time or bandwidth.
Step 1: Go to the official Linux Mint website.
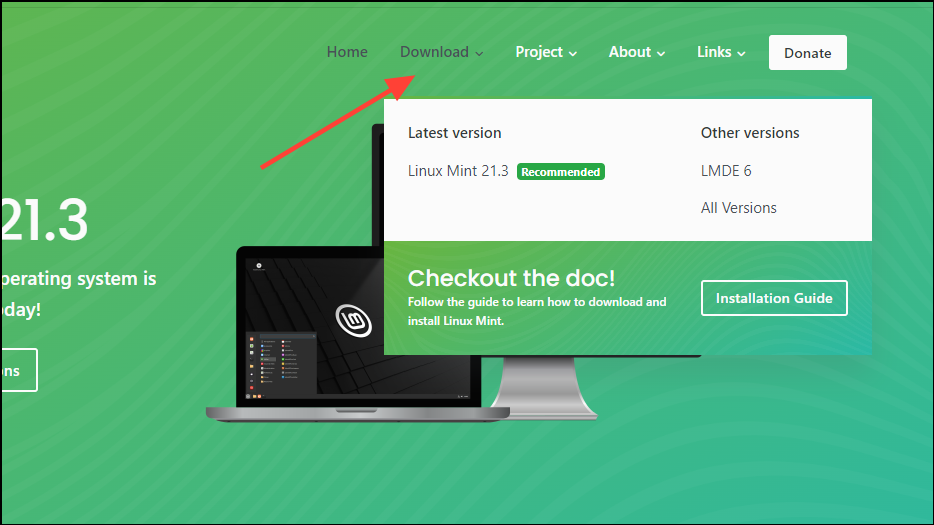
Step 2: On the homepage, locate and click on the download link to access the available download options.

Step 3: Next, select the 'Linux Mint 21.3' option to continue.
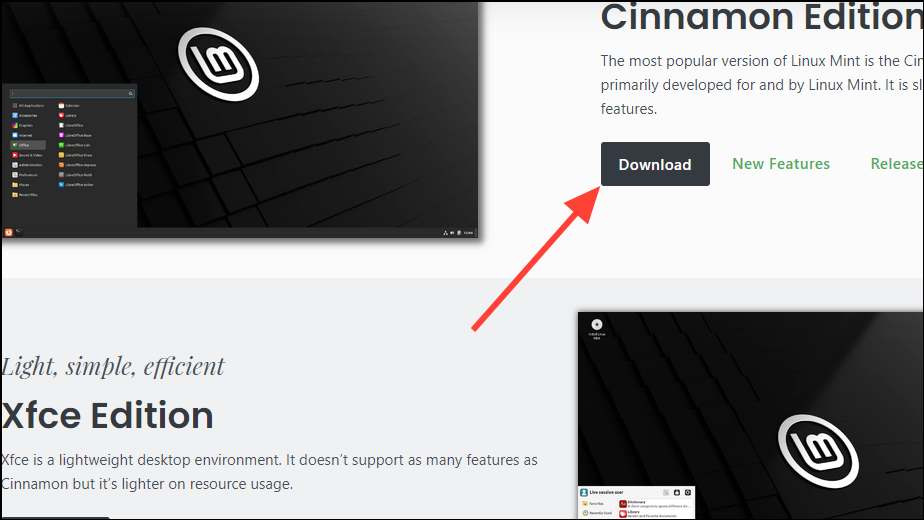
Step 4: On the following page, choose your preferred desktop environment. Linux Mint offers Cinnamon, Xfce, Mate, and Cinnamon Edge. Click on the download button corresponding to the desktop environment you want.

Step 5: You will arrive at the download page where you can obtain the ISO file either directly or via torrent. To download using a torrent, click on the 'Torrent Download' link.
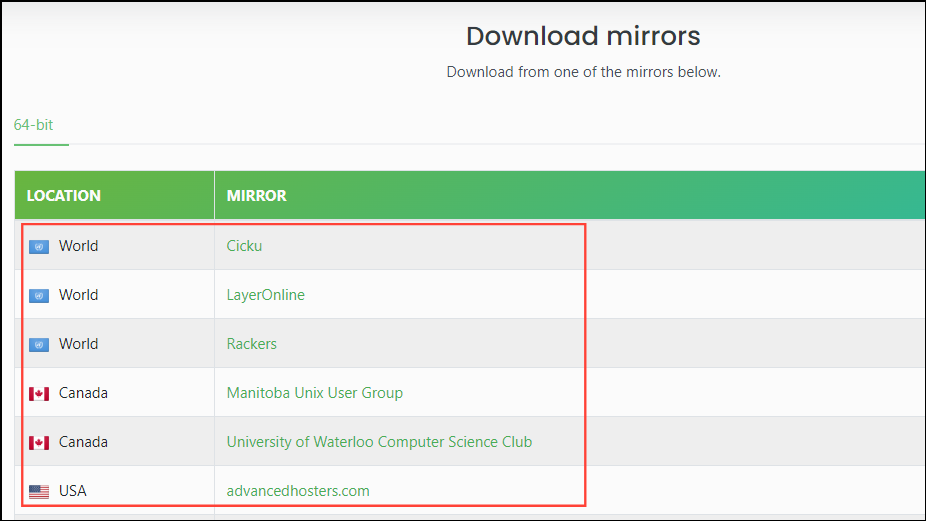
Step 6: Download the torrent file, then use your torrent client to download the distro. Alternatively, you can download the ISO directly by selecting one of the mirror links provided on the page.
Verify your downloaded ISO
After downloading the ISO file, it's crucial to verify its authenticity and integrity. This ensures the file you have matches the one provided online, preventing potential issues during installation due to file corruption.
Step 1: To verify the Linux Mint ISO, scroll down the download page until you find the 'Integrity and Authenticity' section.
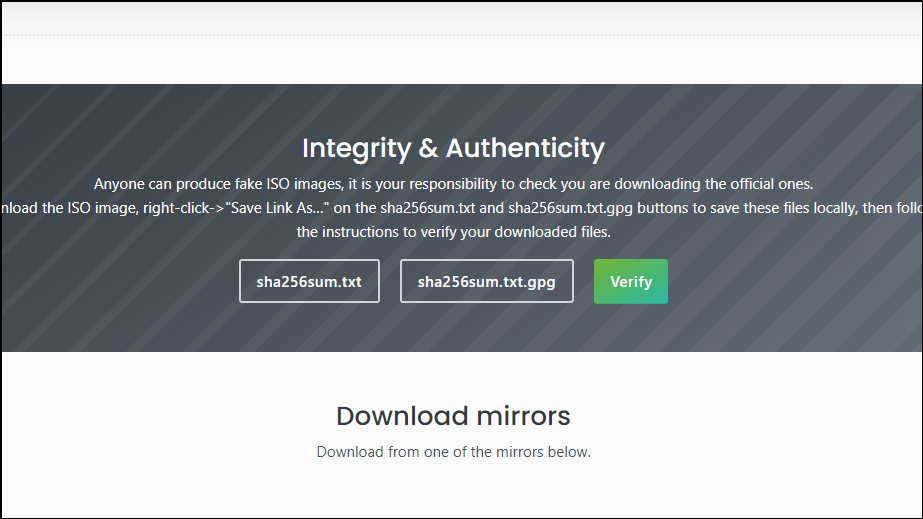
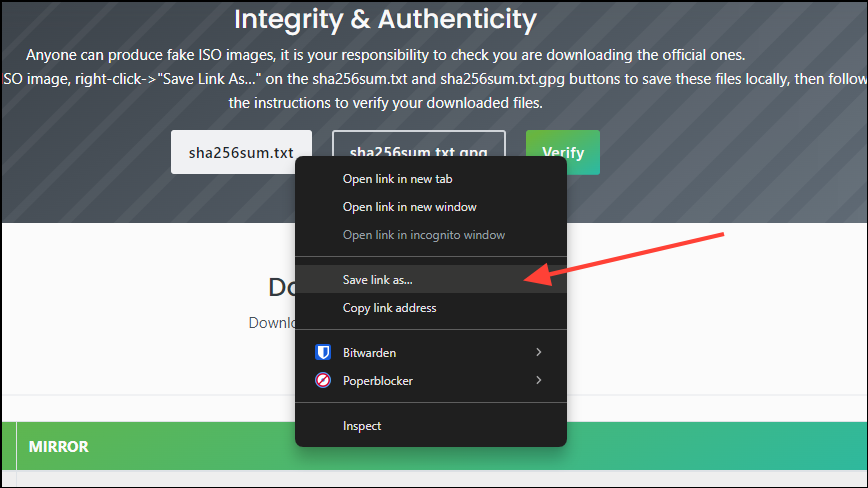
Step 2: Right-click on the 'Sha256sum.txt' link, choose 'Save Link As', and save the file to your computer.
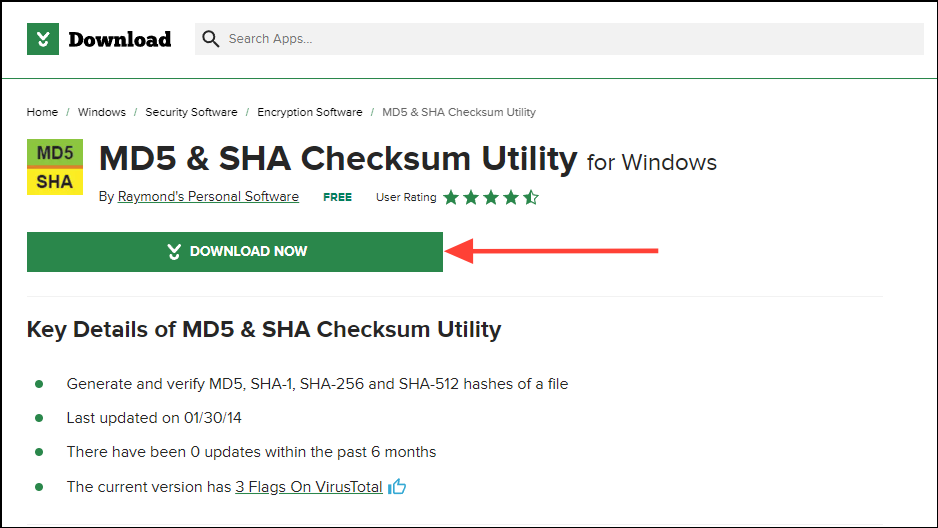
Step 3: To verify the ISO file, you can use the MD5 and SHA Checksum Utility. Download it from this page by clicking the 'Download Now' button.
Step 4: After downloading the utility, double-click it to open.

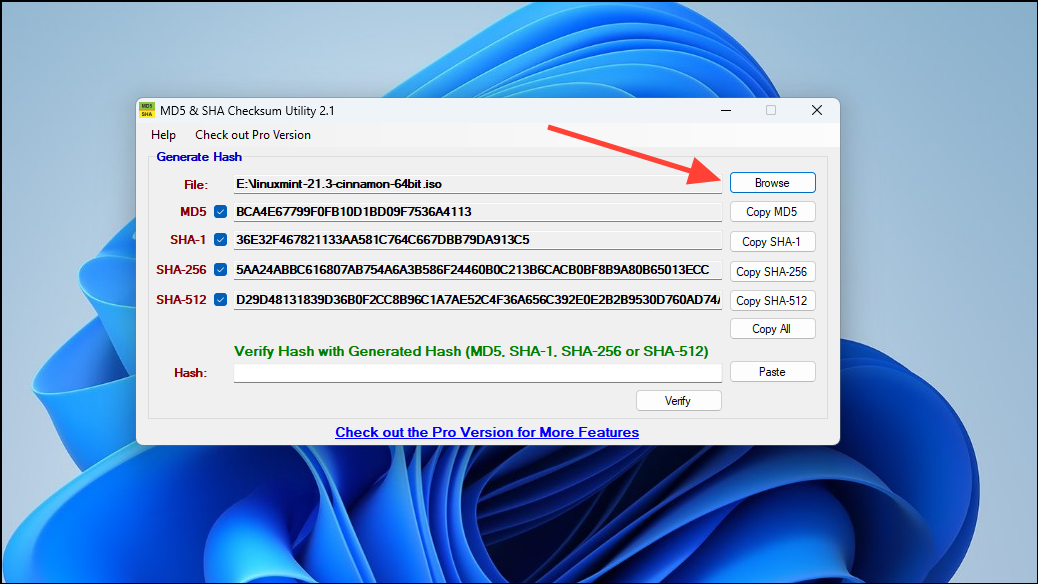
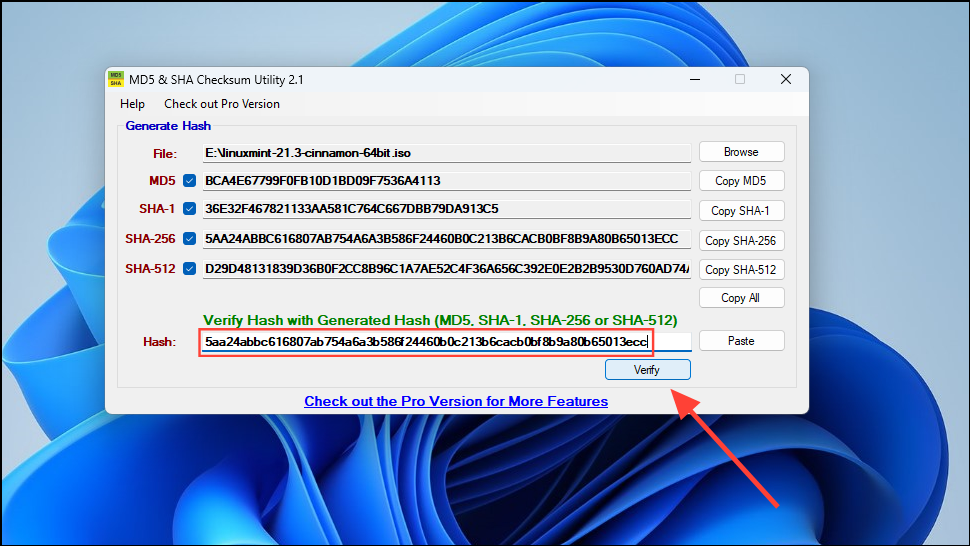
Step 5: Click the 'Browse' button, navigate to the downloaded ISO file, and select it. The application will automatically generate the SHA-1, SHA-256, and SHA-512 hashes.
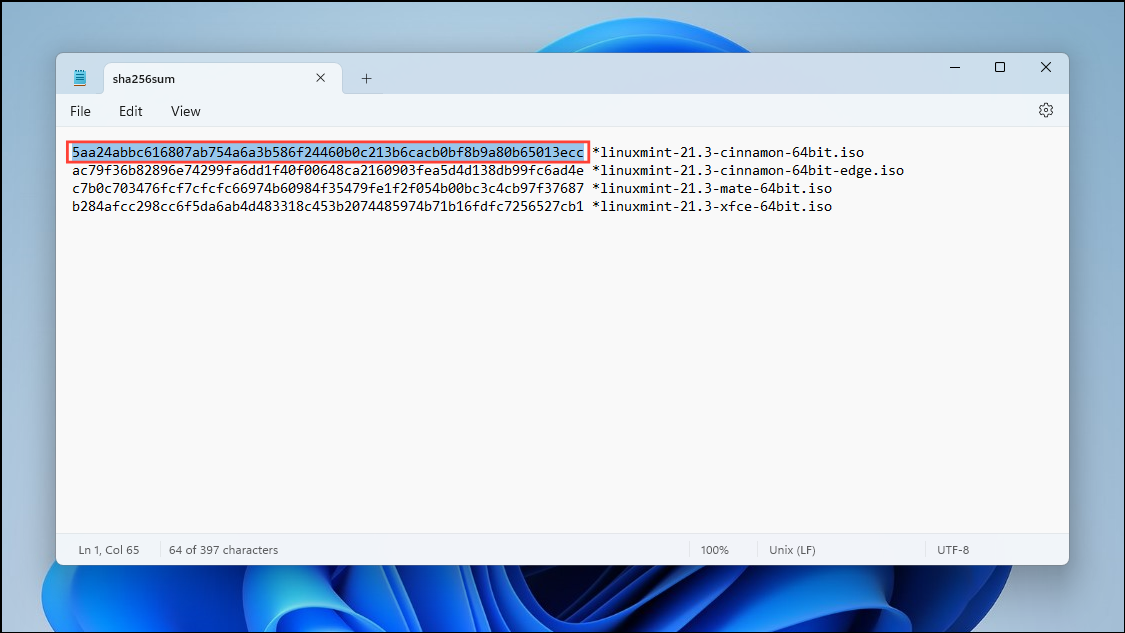
Step 6: Open the 'Sha256sum.txt' file you saved earlier. It contains the hashes for all available versions. Copy the hash corresponding to the version you downloaded.
Step 7: Paste the copied hash into the MD5 and SHA Checksum Utility, then click the 'Verify' button.
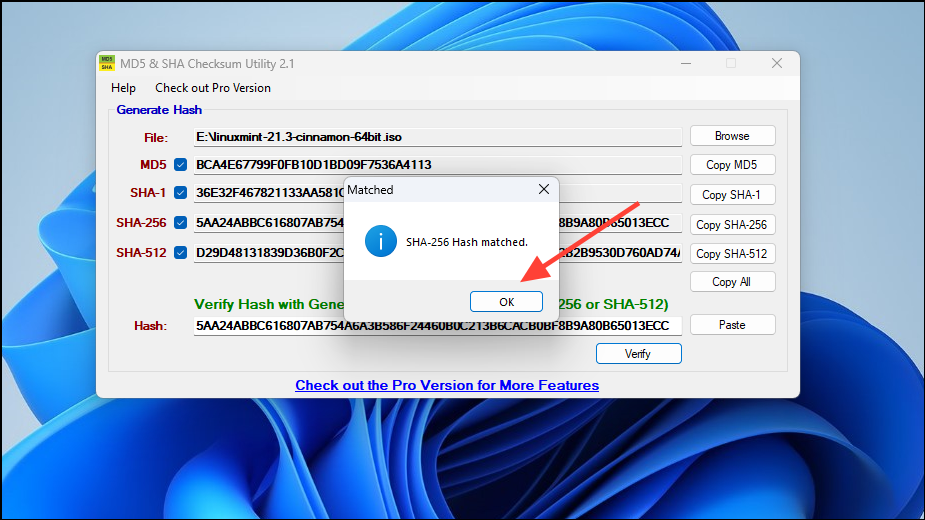
Step 8: If the hash matches, a message will confirm the match, indicating your ISO is authentic and error-free. Click 'OK' and close the application.
Create a bootable USB
After confirming the ISO file is intact, the next step is to create a bootable USB. Windows users can utilize third-party applications like Etcher for this purpose.
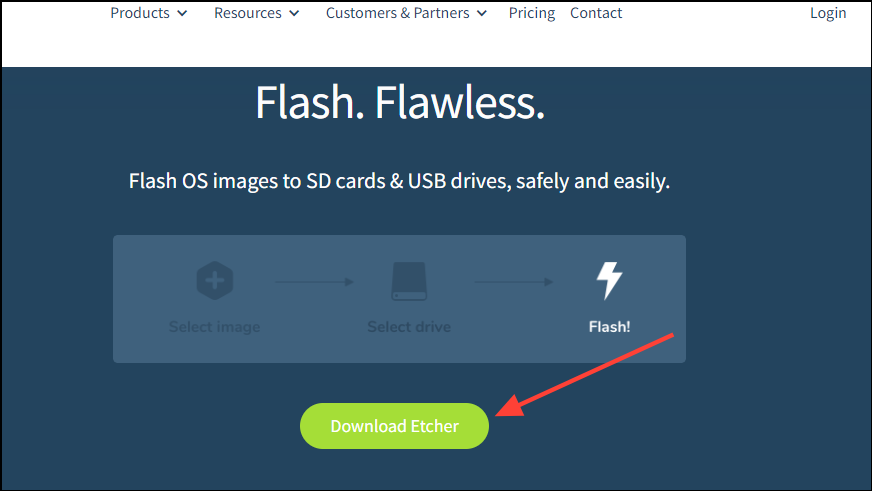
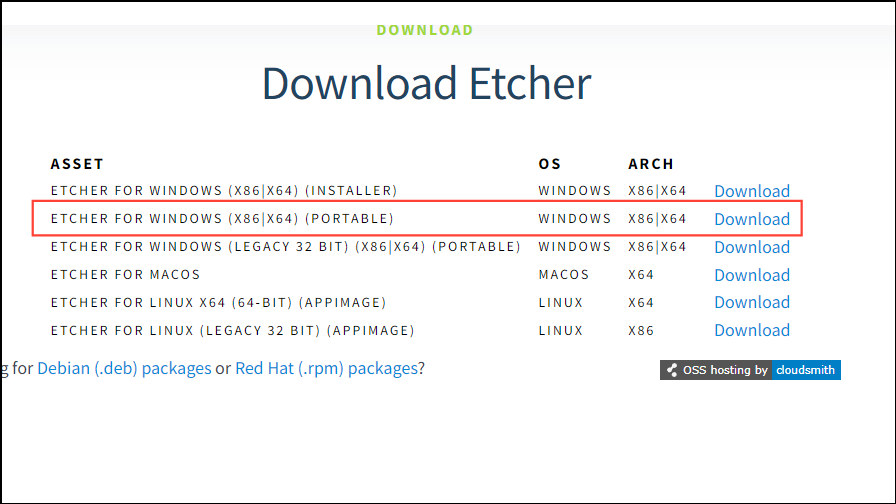
Step 1: Navigate to etcher.balena.io and click the 'Download Etcher' button to get the software.
Step 2: After clicking the button, select the 'Portable' version to use Etcher without installation.
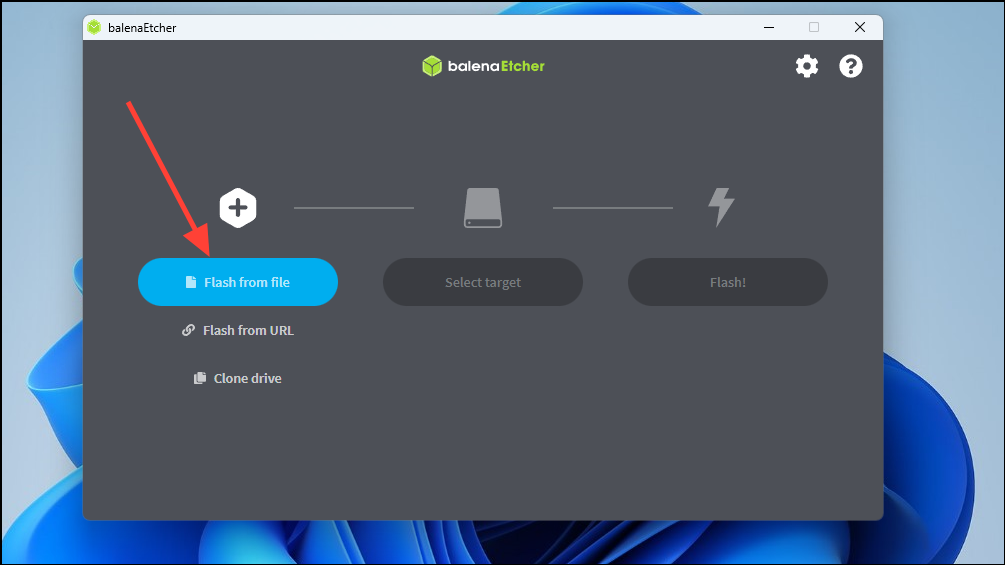
Step 3: Open Etcher and click on 'Flash From File' to begin creating your bootable USB.
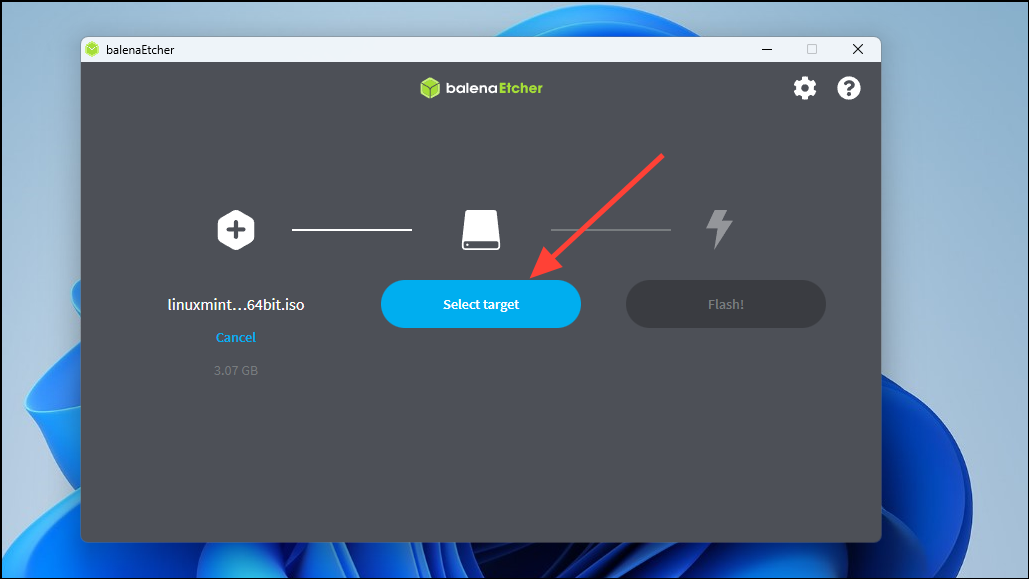
Step 4: Browse to the location of your Linux Mint ISO file and select it.

Step 5: Insert your USB drive (minimum 4GB) into your PC and click 'Select Target' in Etcher.
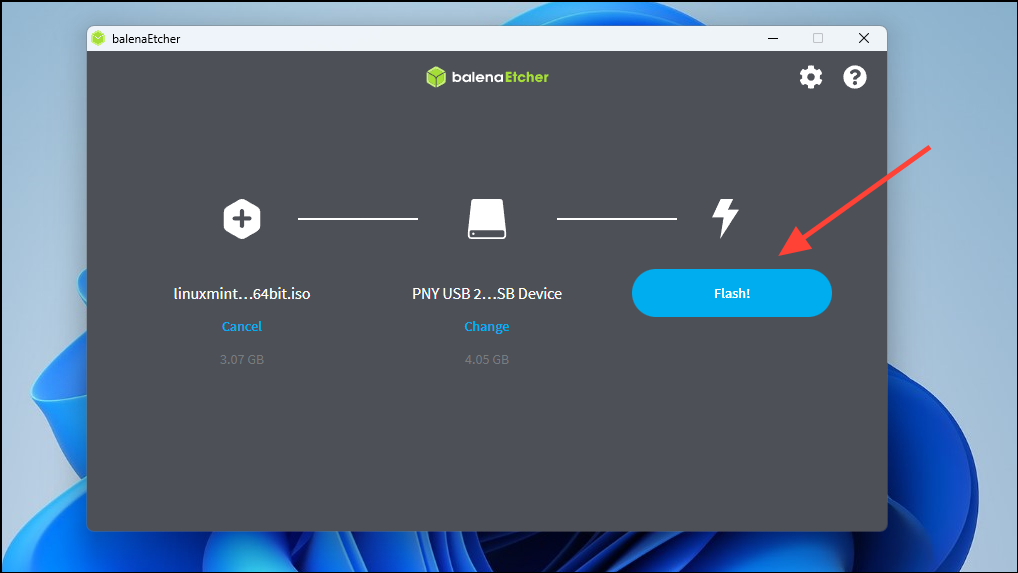
Step 6: In the list of available drives, check the box next to your USB drive and click 'Select'.

Step 7: Click the 'Flash' button to begin the process of creating the bootable USB.
Step 8: After the flashing is complete, restart your computer with the USB drive still connected.
Boot the Linux Mint USB
One significant difference between Windows and Linux is the ability to test Linux features before installing it, or even during the installation process.
Step 1: Upon restarting your PC, access the boot menu and select the USB device to boot from it.
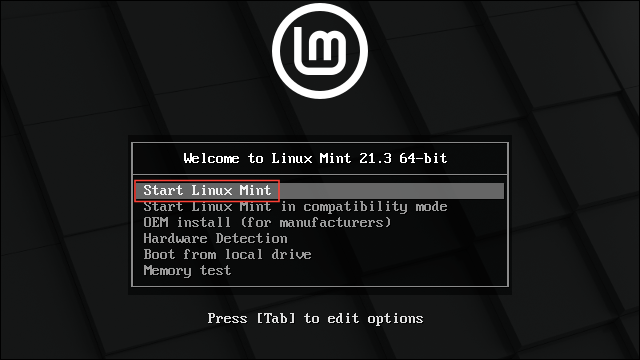
Fn, Del, Esc, F11, and F12.Step 2: The Linux Mint boot menu will appear. The default option 'Start Linux Mint' will be highlighted. Press the 'Enter' key to proceed.
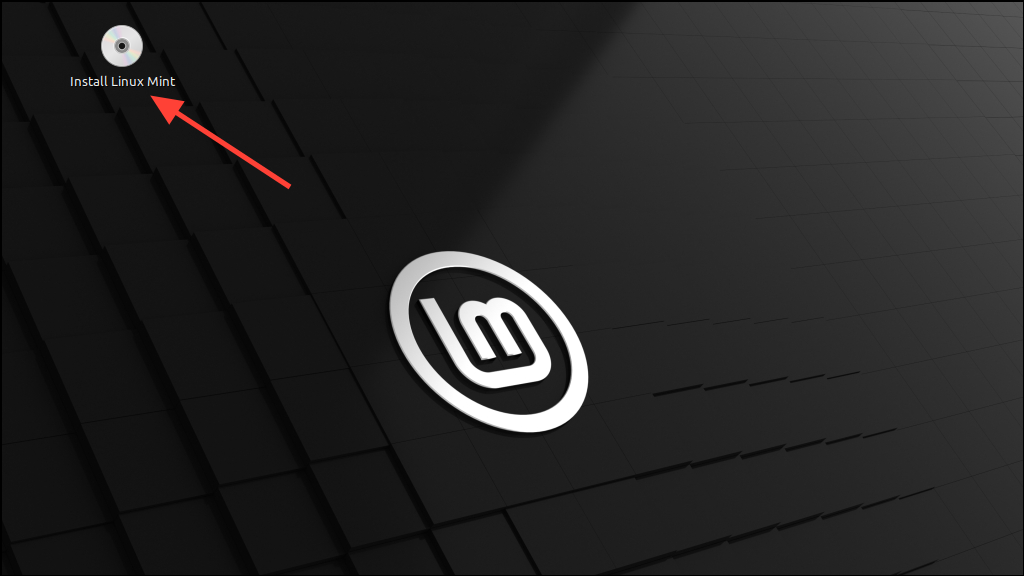
Step 3: The Linux Mint desktop will load. You can explore its features or begin the installation. To install, double-click the 'Install Linux Mint' icon located on the top-left corner of the desktop.
Install Linux Mint
There are two methods to install Linux Mint. The first involves completely erasing your disk, so backing up your data is essential to prevent data loss. If you prefer to retain your data, the second method allows you to create a separate partition for Mint.
Regardless of your choice, double-clicking the 'Install Linux Mint' icon initiates the installation process.
Method One: Begin fresh
Step 1: Choose your preferred language for the installation by selecting it and clicking the 'Continue' button.

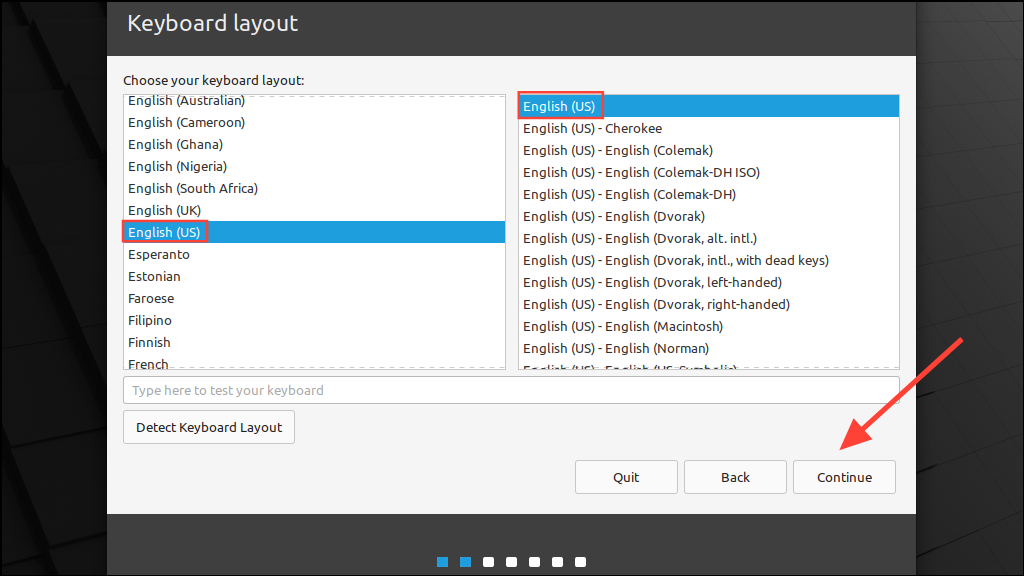
Step 2: Select your keyboard layout by choosing the appropriate options, then click 'Continue'.
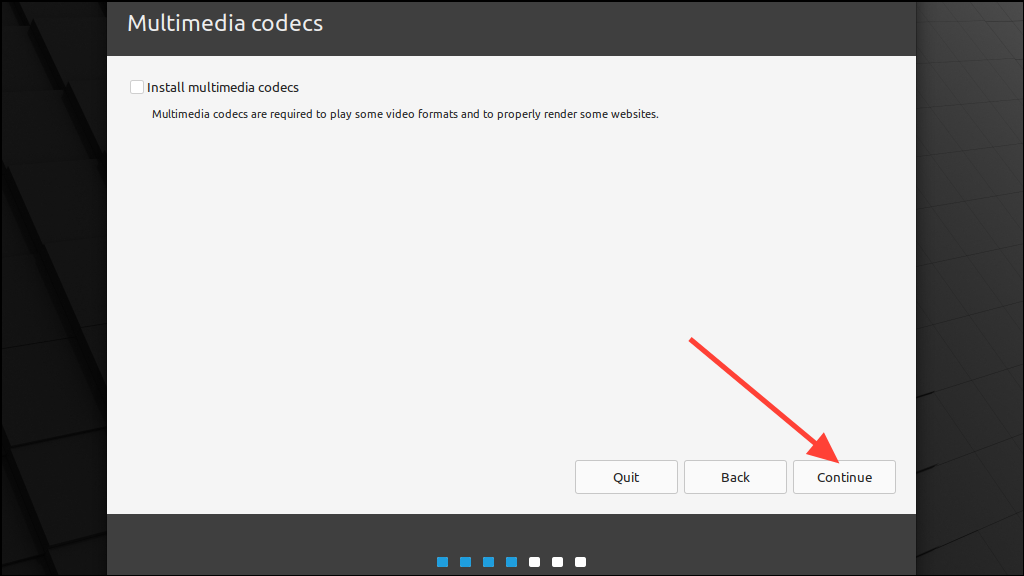
Step 3: Decide whether to install multimedia codecs for playing various audio and video files now or later. Click 'Continue'.
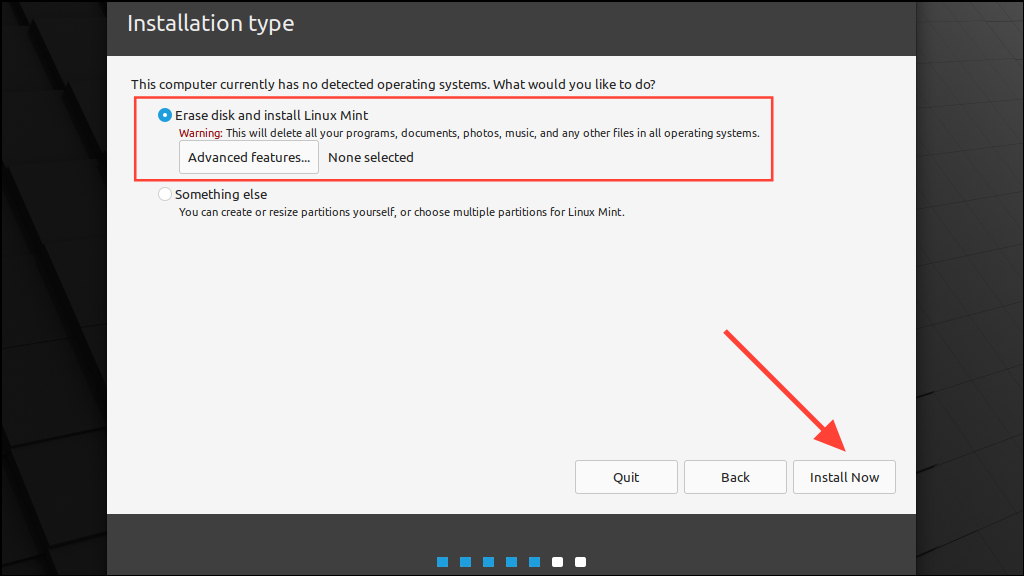
Step 4: Choose 'Erase disk and install Linux Mint' to install it on your entire disk. Click 'Install Now' to proceed.
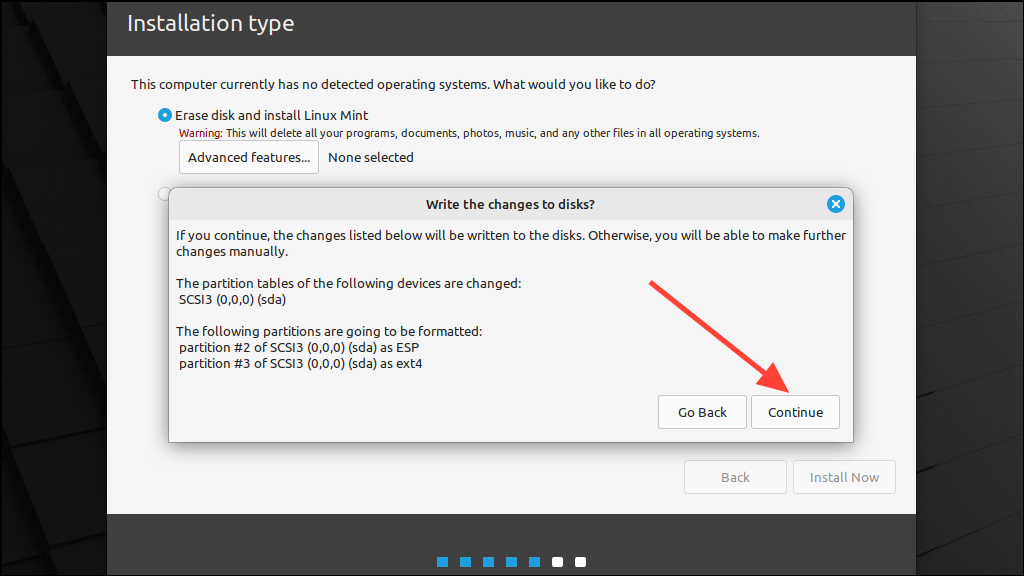
Step 5: A message will display the partitions that will be formatted. Click 'Continue' to start the installation.
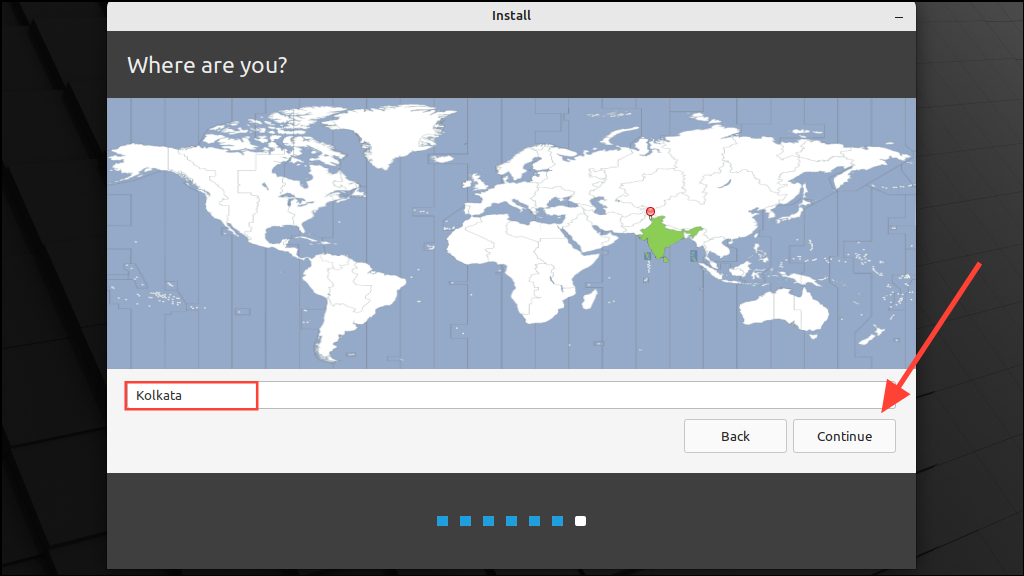
Step 6: Select your location by clicking on the map or typing it into the text box. Click 'Continue'.
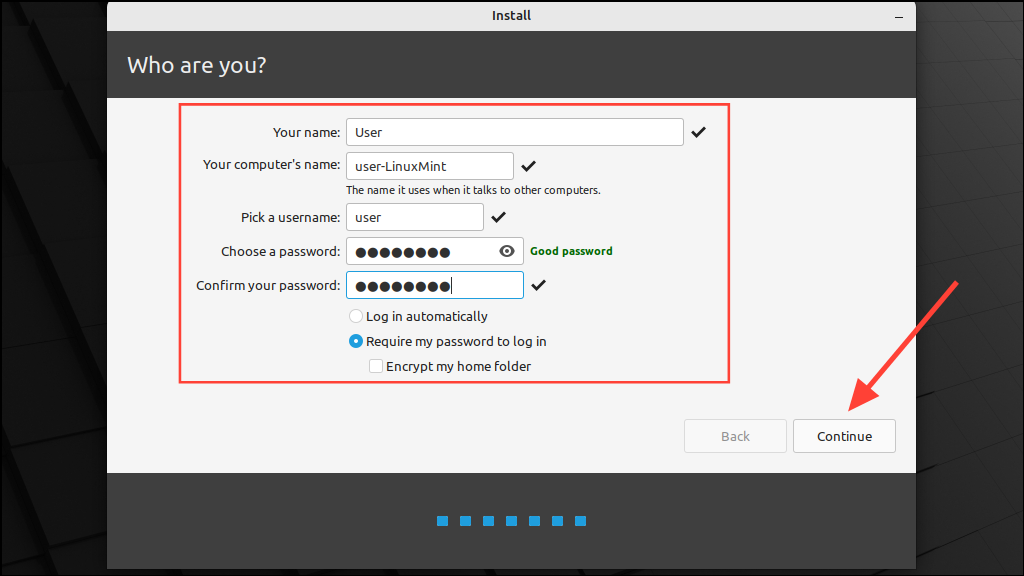
Step 7: Enter your name, the name of your computer, and create a password. Ensure the 'Require my password to log in' option is selected, then click 'Continue'.
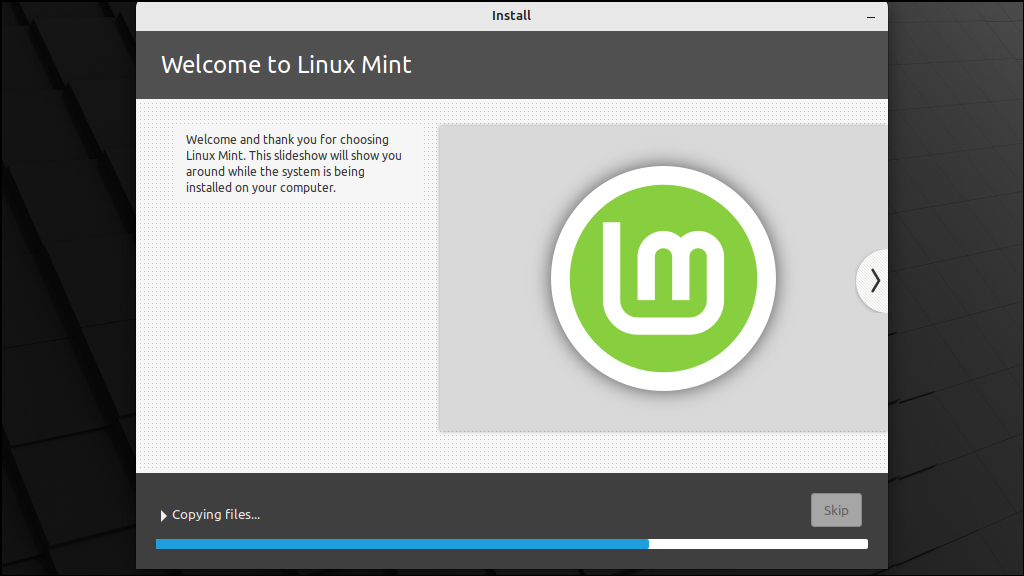
Step 8: The installation process will begin. Wait a few minutes for it to complete.
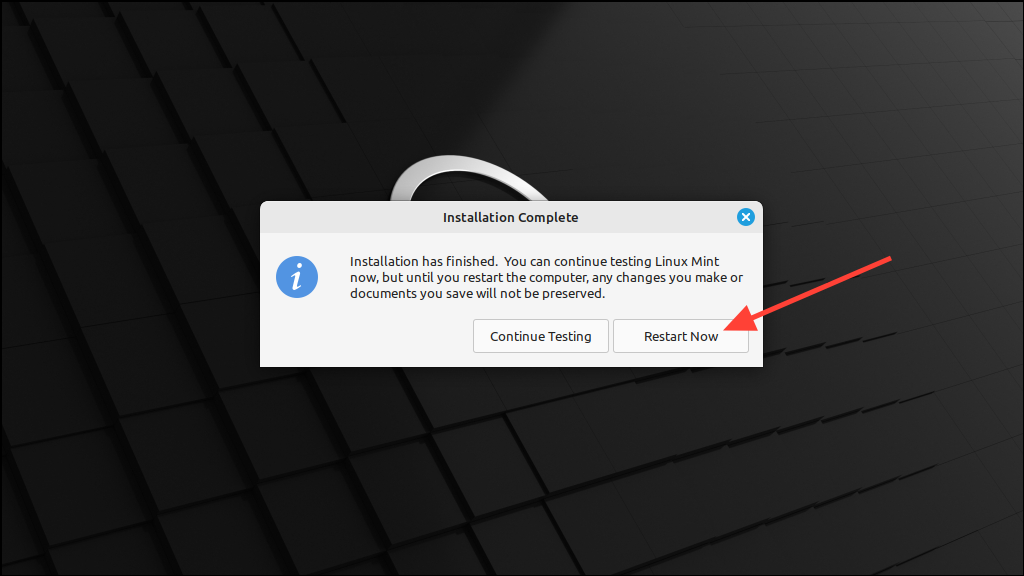
Step 9: Once the installation is complete, you'll be prompted to restart your PC or continue testing. Click 'Restart Now'.
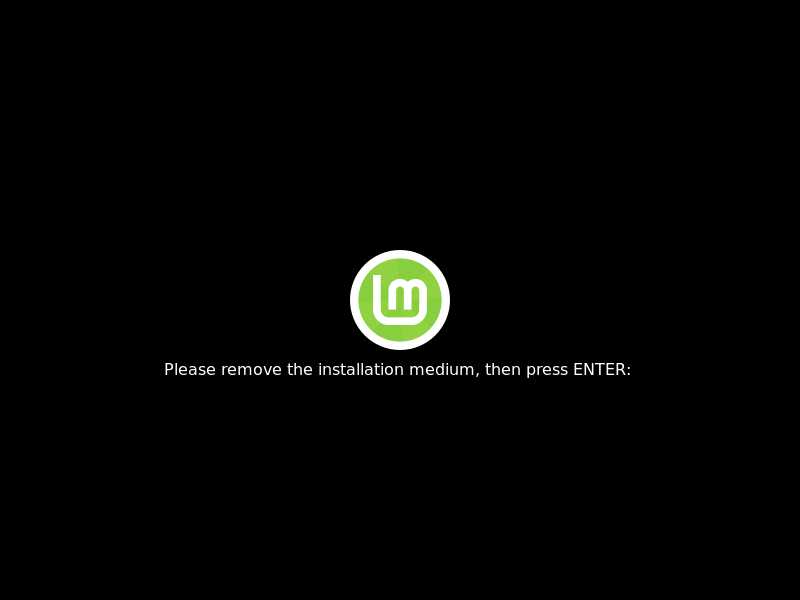
Step 10: A message will ask you to remove the installation medium. Remove the USB drive and press the 'Enter' key.
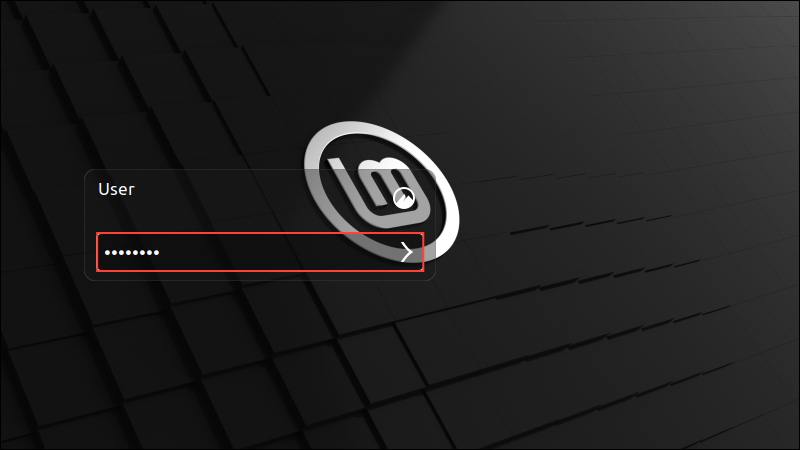
Step 11: Your computer will reboot, and the Linux Mint login screen will appear. Enter the password you created earlier and press 'Enter'.
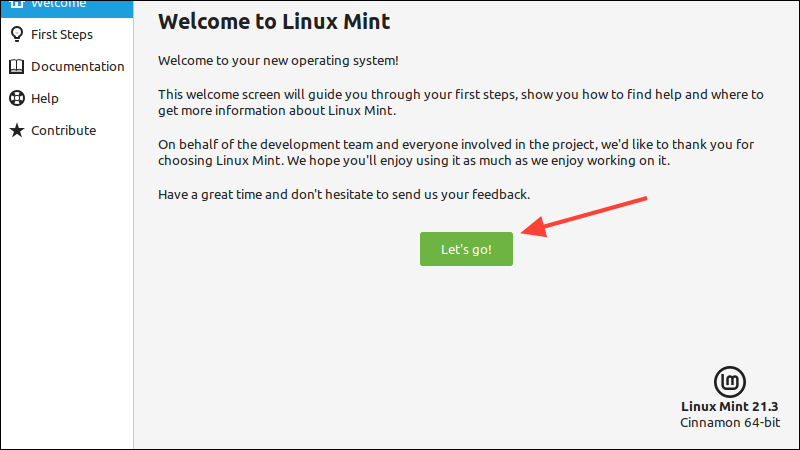
Step 12: You'll be greeted by the Mint Welcome Screen. Click 'Let's Go' to start customizing your desktop, installing apps, and using Linux Mint.
Method Two: Retain your data
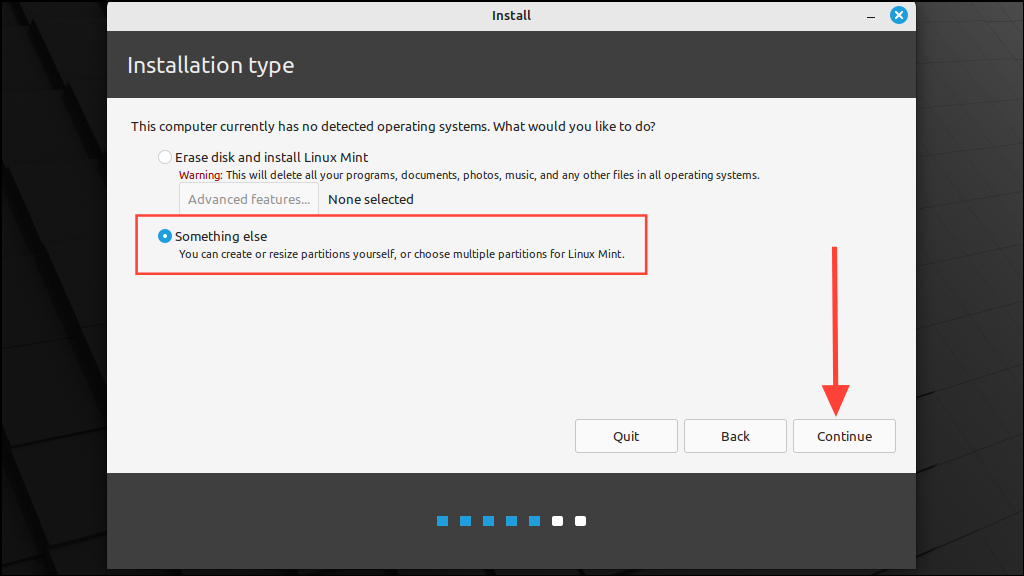
The second method allows you to install Linux Mint without deleting existing data by creating a new partition. Start by booting from the USB and following the initial steps as before. When you reach the 'Installation Type' screen, proceed with the following steps.
Step 1: Select the 'Something else' option and click 'Continue'.
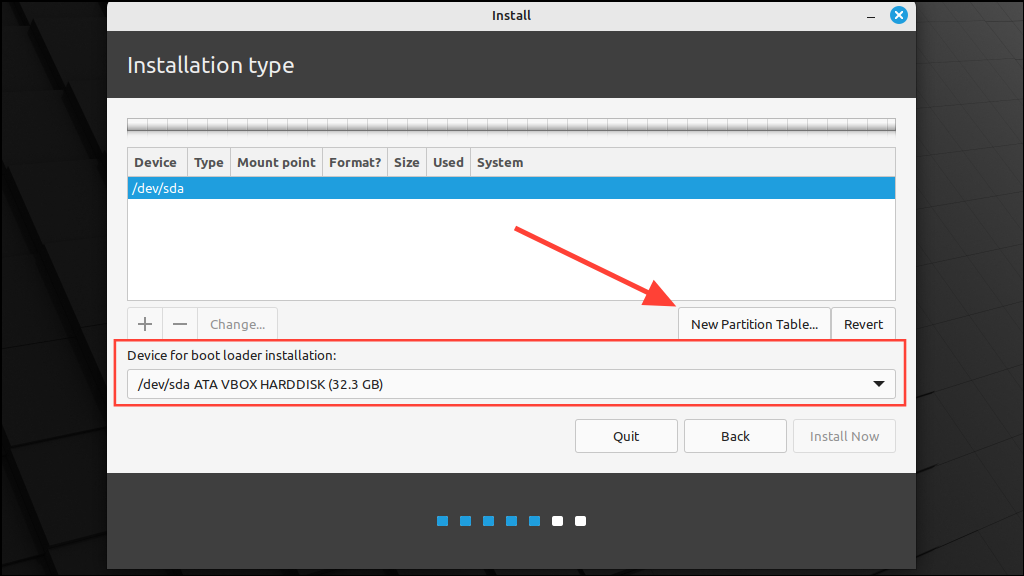
Step 2: Click on the 'New Partition Table' button to create a partition table for your disk. If you have multiple disks, choose the one where you want to install Mint.
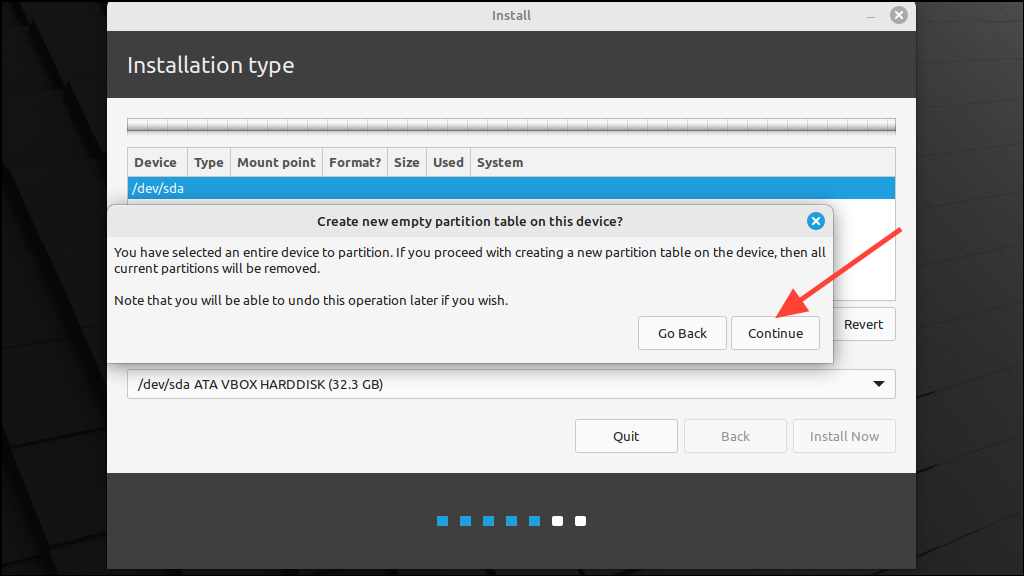
Step 3: A prompt will ask if you want to create a new partition table. Click 'Continue' to proceed.
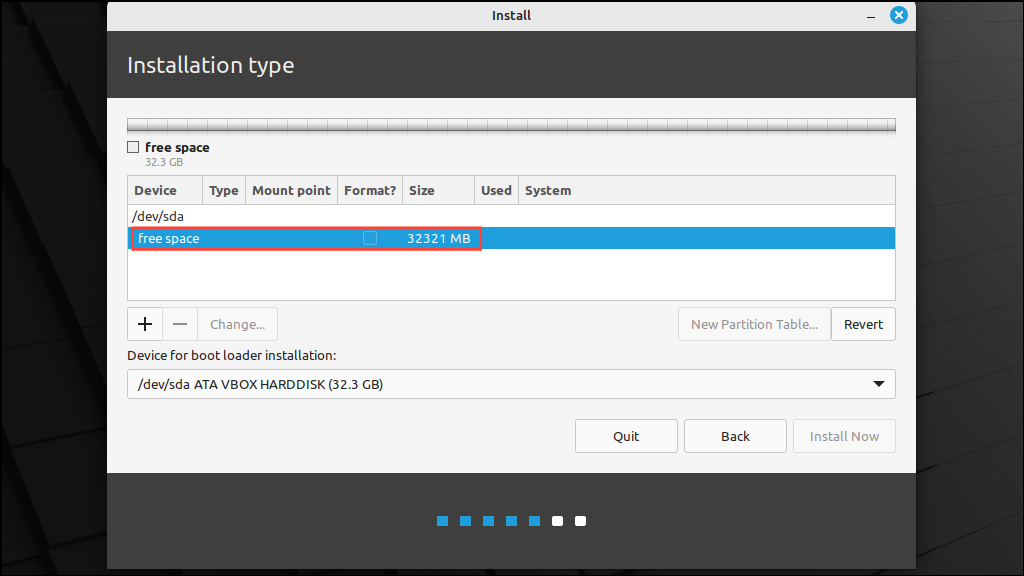
Step 4: After creating the partition table, you'll see the available free space. Double-click on 'Free space' to begin creating partitions.
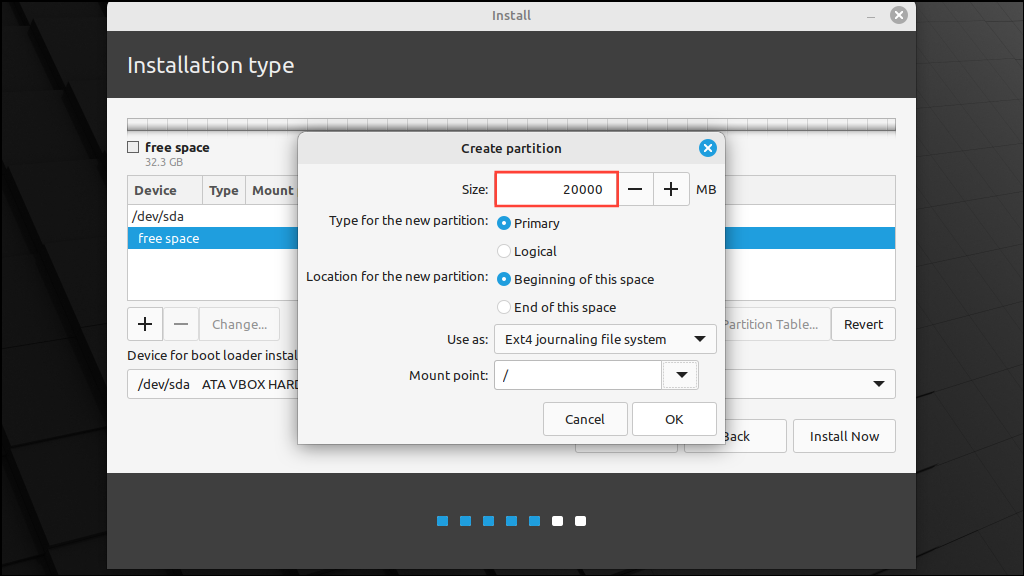
Step 5: Create a partition for Linux Mint. Allocate at least 20GB of space, but more is recommended if possible.
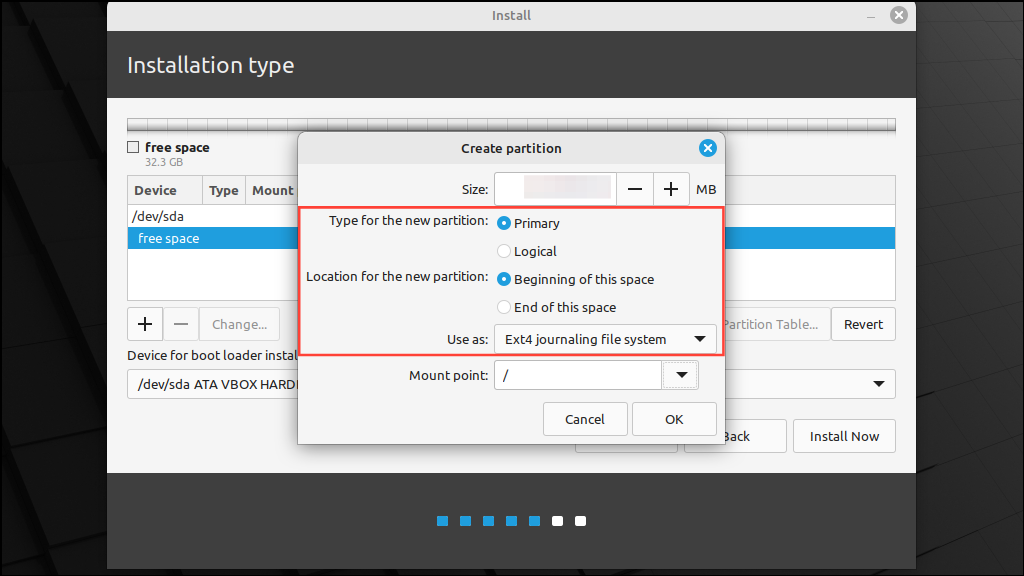
Step 6: Keep the partition type as 'Primary' and the location as 'Beginning of this space'. The file system type should be 'Ext4 journaling file system'.
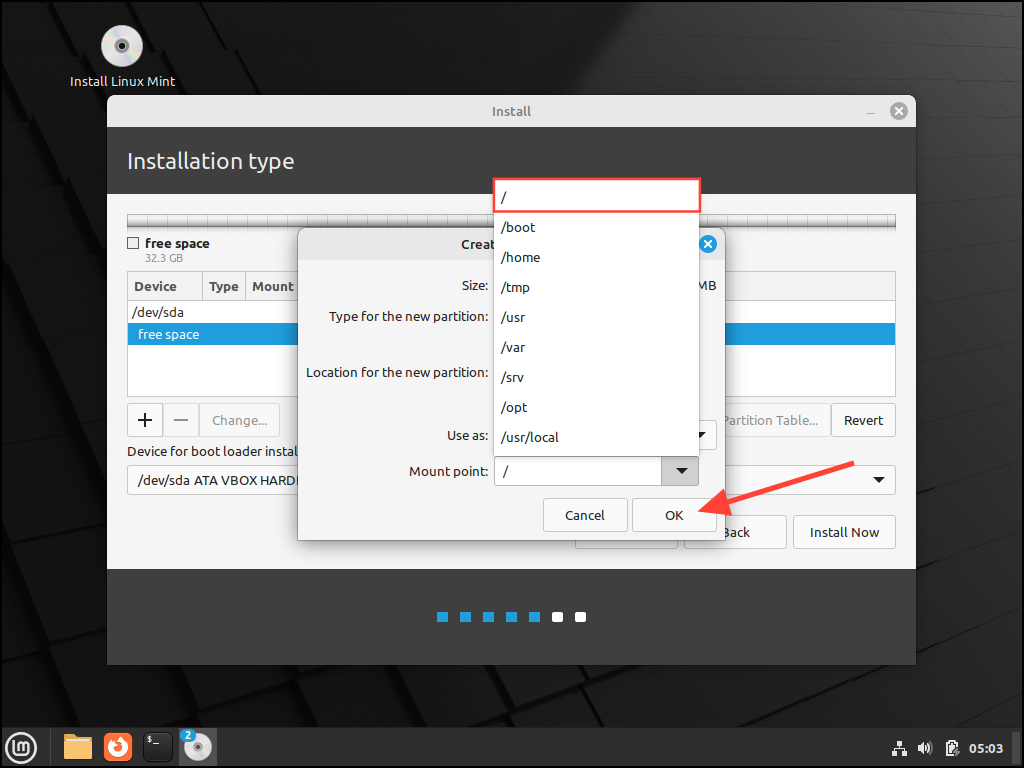
Step 7: For the 'Mount point' option, select '/' from the drop-down menu, then click 'OK'.
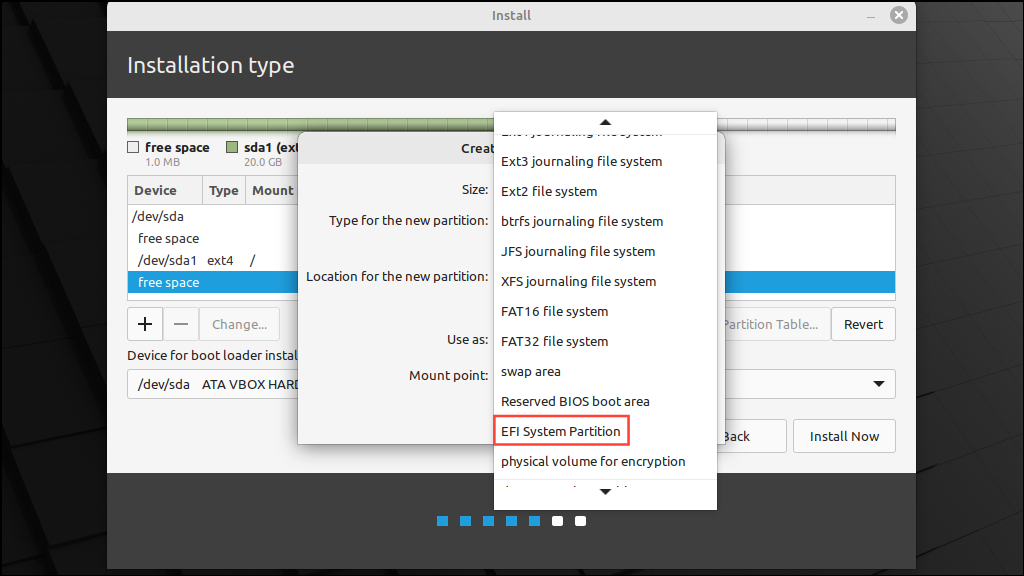
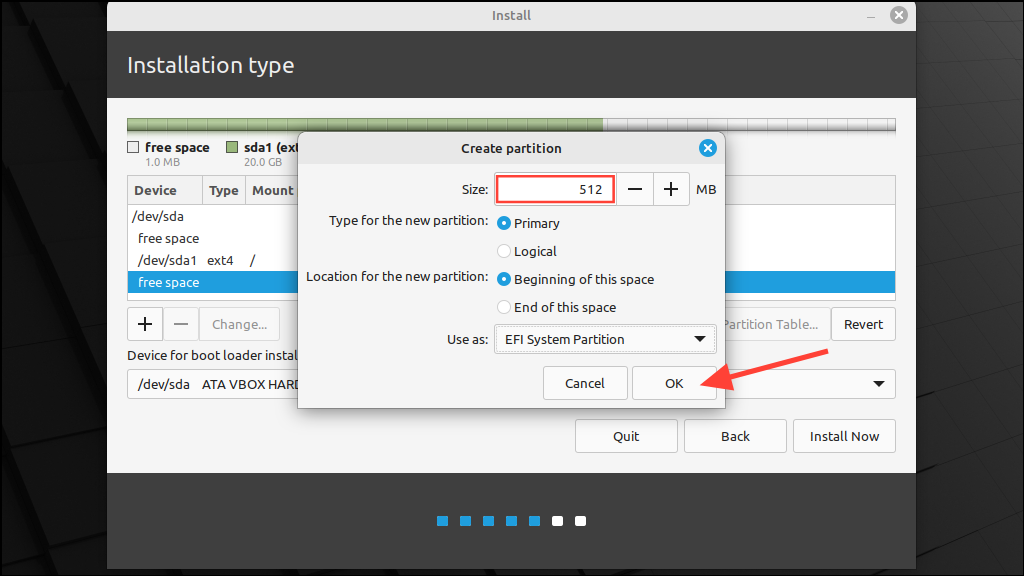
Step 8: Double-click on the remaining free space to create an EFI partition for booting. Allocate around 512MB and select 'EFI System Partition' as the type.
Step 9: Create another partition by double-clicking on free space. Set its size to 1MB and choose 'Reserved BIOS boot area' as the type.
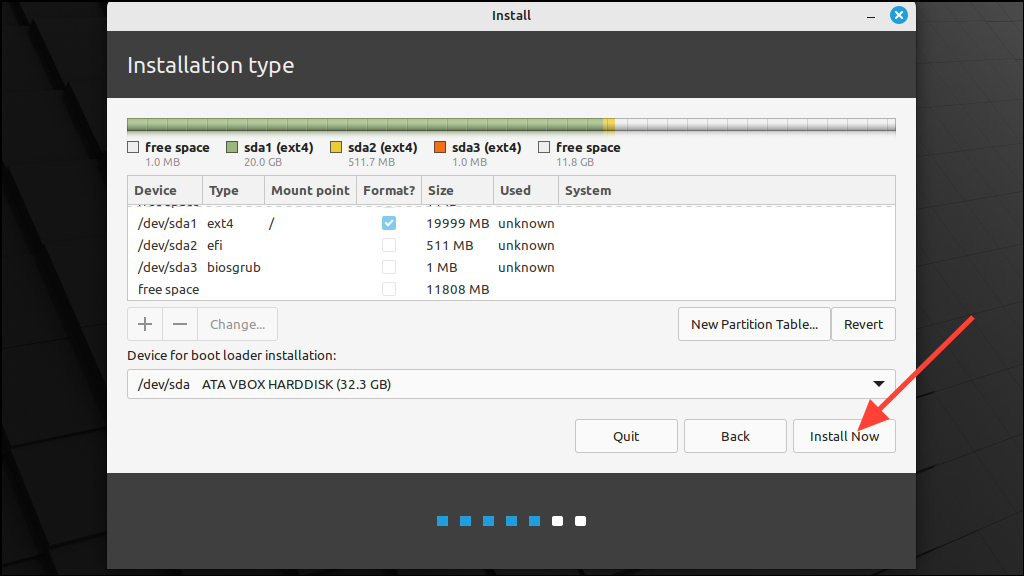
Step 10: After creating the necessary partitions, click 'Install Now' to begin the installation.
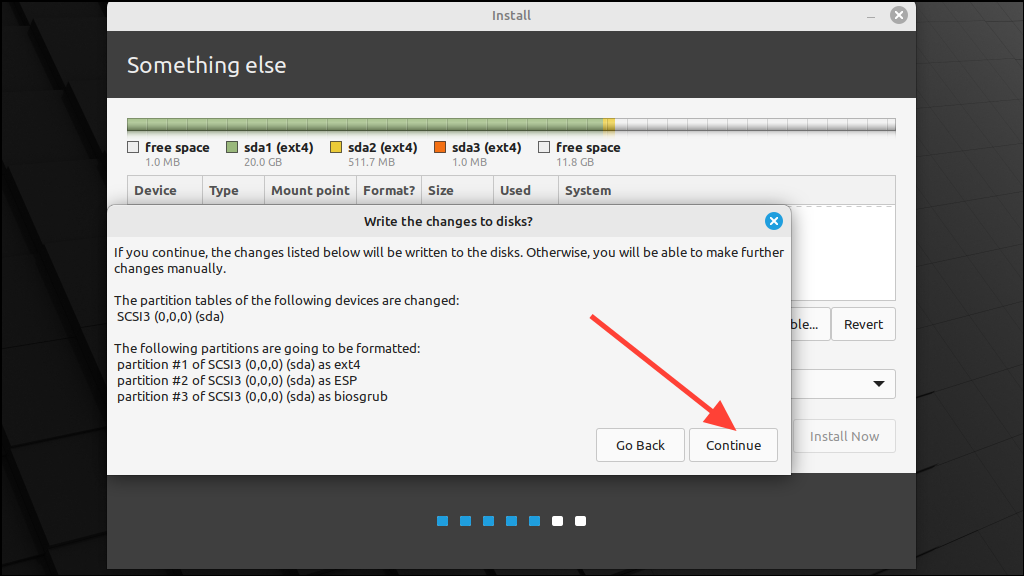
Step 11: Review the partitions that will be formatted. If everything looks correct, click 'Continue'.
Step 12: Proceed with the installation by selecting your location, entering your user details, and waiting for the process to complete, as in the previous method.
Switching from Windows to Linux is a great way to enhance performance, privacy, and control over your computing experience. Linux Mint is one of the most user-friendly and stable distros available, making it an excellent choice for both new and experienced users.
Once you've installed Linux Mint, you can learn how to install and update apps from the guide below.