Reasons for wanting a transparent background on your photo are too many. When you want to use layers, transparent backgrounds make the process seamless and the result professional. And any graphic designer worth their salt will always use layers.
But even if you aren’t a professional graphic designer, you’d require transparent backgrounds too. Whether you want to print T-shirts, add a logo or watermark to your photos, create print material for your business, or graphics for social media, transparent background is what you’ll be looking for.
Making Background Transparent
Canva offers super simple ways to make the background transparent for images, but there’s a catch. The feature is only available with Canva Pro that costs around $12.99 a month or $9.99/month when you bill yearly, or Canva for Enterprise that costs around $30 per person. You can get a one-time 30-day free trial for Canva Pro, though.
Now, if you do have a Canva Pro account, there are 2 different circumstances where you need to make the background of an image transparent. Either you’re designing something, and you’d like it to have a transparent background. Or you are layering an image over your design, and you need to make the background for the image being layered transparent for smooth blending. With Canva, you can do both.
Making an Image with a Transparent Background
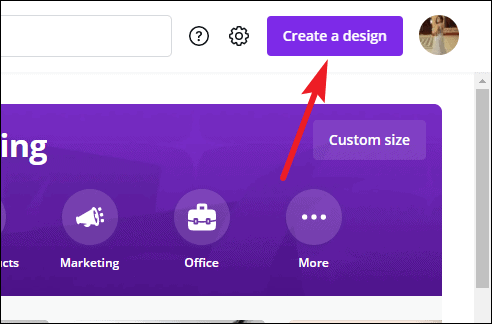
To make an image with a transparent background, start creating your design as you normally do. Go to canva.com and click on ‘Create a Design’ in the top-right corner. Then, select any size from the available templates or select a custom size. Transparent backgrounds will work with all post types.
Now, while designing your project, it’s important to remember something. Don’t use any elements or photos as the background for the image. All other elements of your project will be visible in the finished image, apart from the background. It’s best to keep the background white as it’ll be turned to transparent at the end anyway.
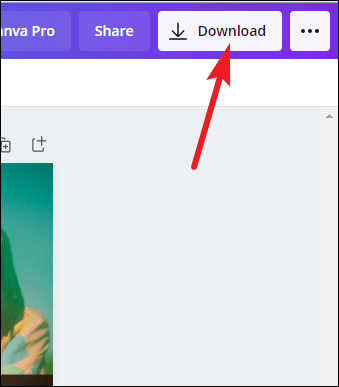
After your design is complete, click the ‘Download’ button at the top-right corner.
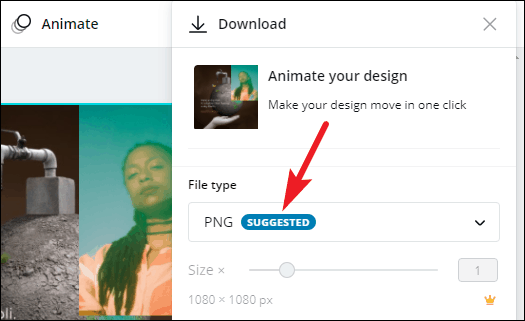
The Download pulldown menu will appear. Under ‘File Type’, select ‘PNG’. PNG is the file format you need when making images with transparent backgrounds.
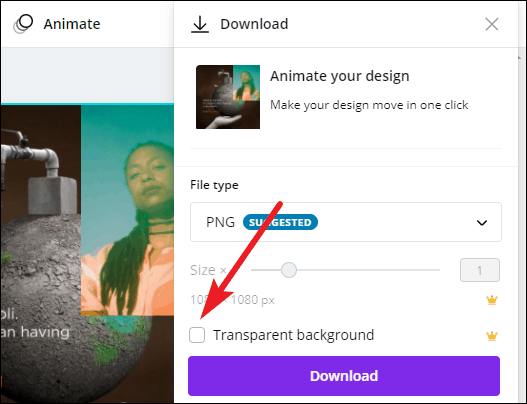
Now, select the checkbox next to ‘Transparent Background’ and click the Download button.
The image will download with a transparent background. You can layer it over any other image or print it over T-shirts, banners, etc., with complete ease now.
Making the Background Transparent while Layering
Now, on to the second scenario. You’re designing a project and want to layer another photo over your current design. The only problem? It has a solid background and won’t blend with your photo. When the background of the photo isn’t transparent while layering, it’ll just sit there over like a foreign object. To make it feel like a seamless part of the project, a transparent background is necessary.
With Canva, you can convert the background of this photo to transparent in a couple of clicks.
First, add a photo to your design, either from your computer or from the stock photos Canva offers.
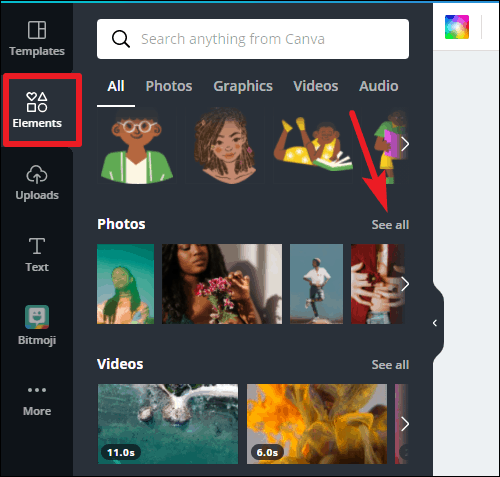
To use a photo from Canva, go to ‘Elements’ and click on ‘See all’ next to Photos. Then, click the photo you want to use.
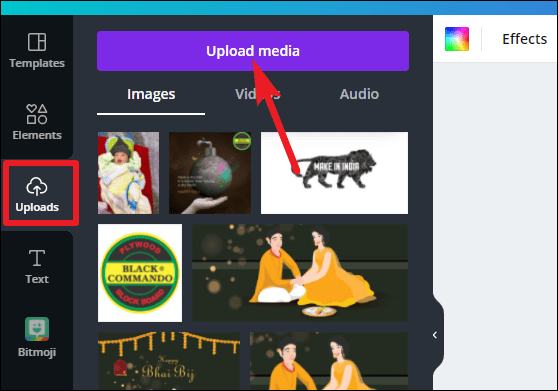
To use your own pic, go to ‘Uploads’. It’ll show all the previous photos you uploaded too. To upload a new photo, click ‘Upload media’. Then, click the photo to add it to the design.
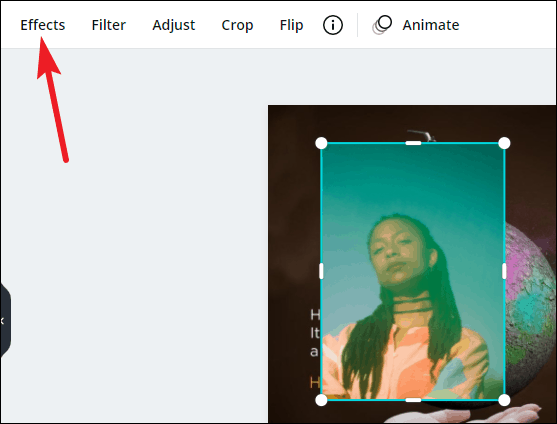
Once you’ve added the photo to your design, go to the design page and click on the image. The element will be selected, and editing options specific to the element will appear above the page. Click on ‘Effects’ from these options.
The effects panel will appear on the left. Click on ‘Background Remover’ to make the background transparent.
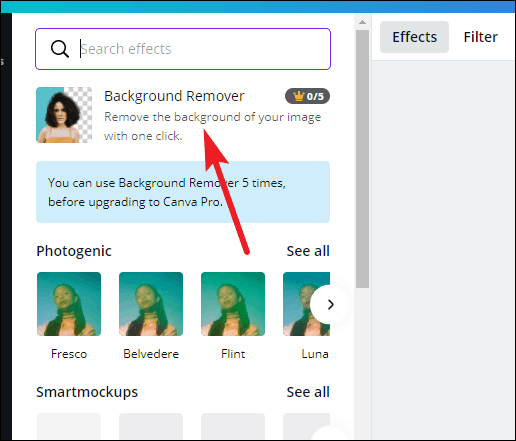
Note: Although this feature is also only for Canva Pro users, free users can use it up to 5 times before having to convert to a Pro membership.
Making a Transparent Background for Free
If you want to make the background of an image transparent while using Canva Free, your only option is to use some other software that offers the feature for free.
And as luck would have it, there are plenty of free options available, like remove.bg or lunapic.com, to name a couple. For this guide, let’s demonstrate with remove.bg as it is completely automatic.
If you want to remove the background of the image you have designed in Canva, download it onto your computer after finishing the design. Preferably use a white or some other solid color as background while designing and not any other design element as it’ll be removed.
If you want to remove the background of an image you want to layer over another image, download that image to your computer too.
Now, go to remove.bg from your browser and click on ‘Upload Image’ button.
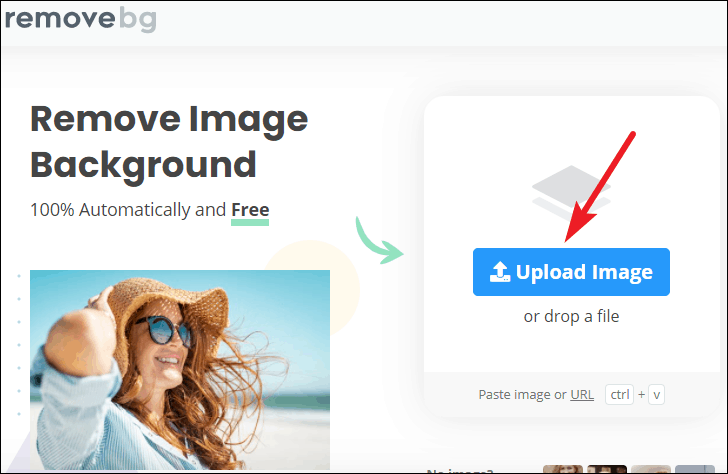
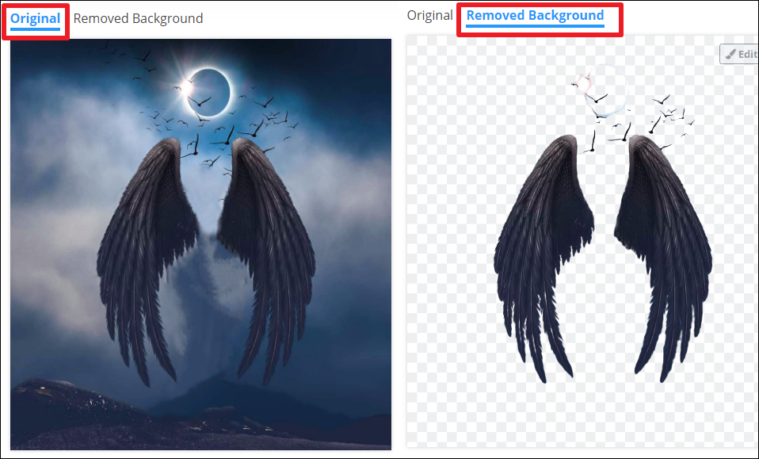
As soon as you upload the image, the process will start automatically, and the background will be removed in a few seconds. You can also see the processed image and compare it with the original.
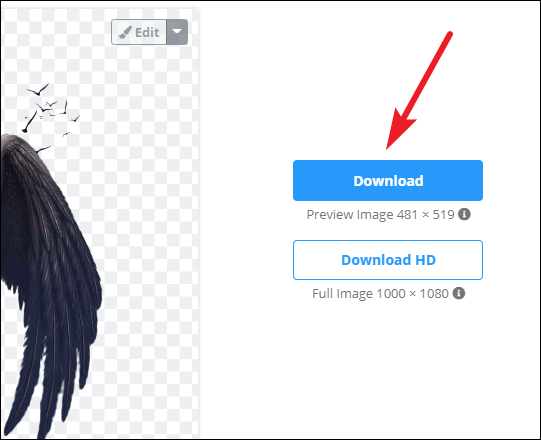
If you’re satisfied, which you’ll most likely be, click the ‘Download’ button. You can download the image in the preview quality or HD. The size of the Preview image will be less than 0.25 MB, whereas the HD image can go as large as 25 MB. You can download the image as per your requirements.
Once you’ve downloaded the image, you can further use it in Canva to layer over your design or use it as it is on your prints.
You might have thought that making the background transparent for an image would be a complicated task, but with Canva, it’s as easy as pie. You can turn the backgrounds transparent in just a couple of clicks. But even if you don’t have Canva Pro, the feature isn’t out of reach for you.

