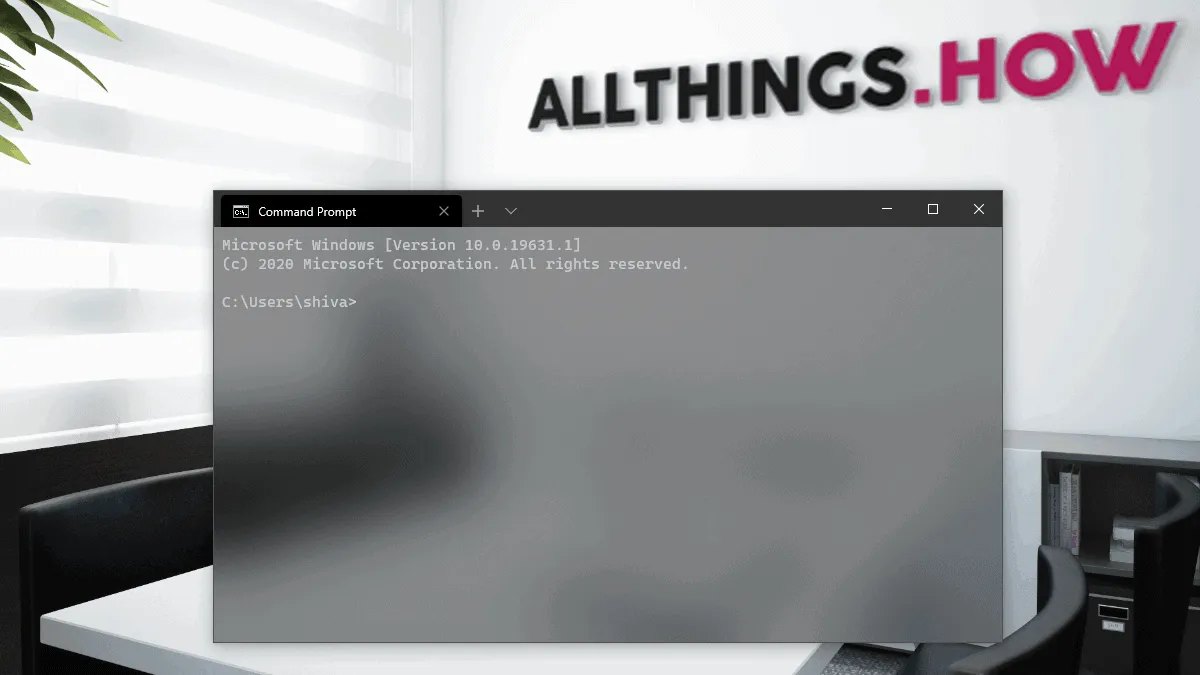
Windows Terminal is a modern and feature-rich terminal application by Microsoft for command-line users on Windows 10. It supports all the available Windows shells such as Cmd, PowerShell, Linux and many others.
Additionally, Windows Terminal includes many features such as support for tabs, rich text, theming and styling. The ability to customize the terminal is one of the most fun feature, as it allows users to add a lot of personality to their Terminal. So, having custom background or even making your terminal transparent is possible.
In this guide, you will learn how to make your Windows Terminal transparent by enabling the Acrylic background effect.
Enable Acrylic Background Effect in Windows Terminal
Acrylic background setting adds a translucent background effect to an application window in Windows 10. To make Windows Terminal transparent, we need to force enable Acrylic background in the app.
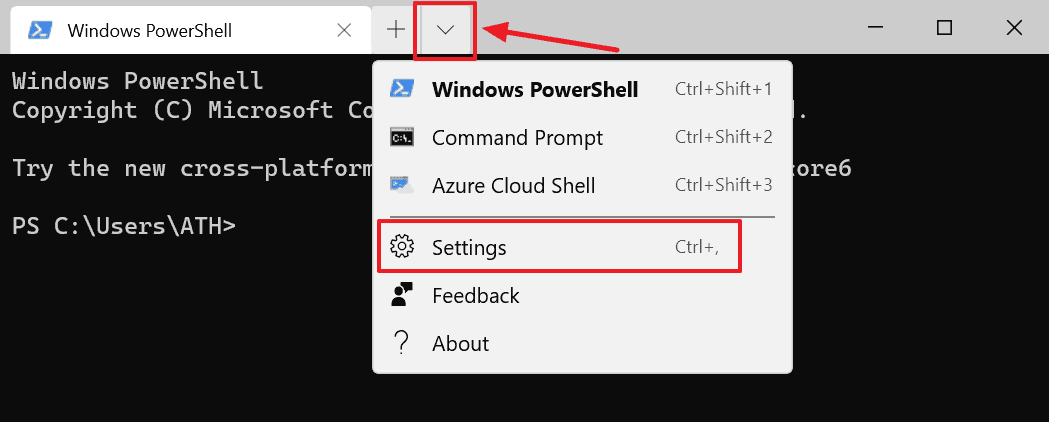
Open Windows Terminal on your computer, and click on the down arrow located next to a Terminal tab and select ‘Settings’ from the available options. You could also use the Ctrl + , keyboard shortcut to do the same.

This will open the Windows Terminal configuration file (settings.json). You can make many numbers of customizations to the Terminal through this file. We’ll use it to force enable the Acrylic background effect.
💡 Tip: We suggest using a source code editor like Notepad++ or Visual Studio Code to open and edit the settings.json file.
Make all Shells Transparent in Windows Terminal
To make all the available shells transparent, look for the defaults section in profiles block in settings.json file (as shown in the code below).
        "defaults":
        {
            // Put settings here that you want to apply to all profiles.
        },
Then, paste the following commands/code snippet below the //Put settings here that you want to apply to all profiles. comment.
        "useAcrylic": true,
        "acrylicOpacity": 0.4
Your defaults section would look like this after you are done inserting the above-mentioned code.
        "defaults":
        {
            // Put settings here that you want to apply to all profiles.
		"useAcrylic": true,
		"acrylicOpacity": 0.4
        },
The value 0.4 in "acrylicOpacity": 0.4 represents how opaque your window is, 0 being nearly transparent while 1 being opaque. Choose the value based on how transparent you want your terminal to be.
After making the above changes, save the file to apply the changes. Now all your shells running in the Windows Terminal will be transparent.
Make a Specific Shell Transparent
If you only want to make a specific shell such as PowerShell transparent, you can do that by editing the PowerShell profile in settings.json file.
All your installed shells are listed in list section in profiles block. Look for the PowerShell profile in settings.json to make changes. See the highlighted text in the code below.
    "profiles":
    {
        "defaults":
        {
            // Put settings here that you want to apply to all profiles.
        },
        "list":
        [
            {
                // Make changes here to the powershell.exe profile.
                "guid": "{00000000-0000-0000-0000-000000000000}",
                "name": "Windows PowerShell",
                "commandline": "powershell.exe",
                "hidden": false
            },
To make the PowerShell transparent, we are going to use the same commands we used in defaults section. Type a comma , after "hidden": false command, then paste the following commands:
"useAcrylic": true,
"acrylicOpacity": 0.4
Your settings.json file after all the changes should look like this now.
    "profiles":
    {
        "defaults":
        {
            // Put settings here that you want to apply to all profiles.
        },
        "list":
        [
            {
                // Make changes here to the powershell.exe profile.
                "guid": "{00000000-0000-0000-0000-000000000000}",
                "name": "Windows PowerShell",
                "commandline": "powershell.exe",
                "hidden": false,
                "useAcrylic": true,
                "acrylicOpacity": 0.4
            },
Save the file to apply the changes. You can edit the profile of other shells similarly to make them transparent.
Mostly, the changes will appear in the terminal without restarting it, but in case it doesn’t, close and restart the Windows Terminal window to get the translucent effect.

