Virtual Private Networks (VPNs) enhance your online privacy and security by encrypting your internet connection and hiding your IP address. They enable you to browse the web anonymously and access content that might be restricted in your region. While many VPN providers offer dedicated applications, you might prefer to set up a VPN manually on your Windows 11 PC to avoid installing additional software. This guide will walk you through various methods to manually configure, connect, and manage a VPN on Windows 11.
Set up a VPN connection on Windows 11 via settings
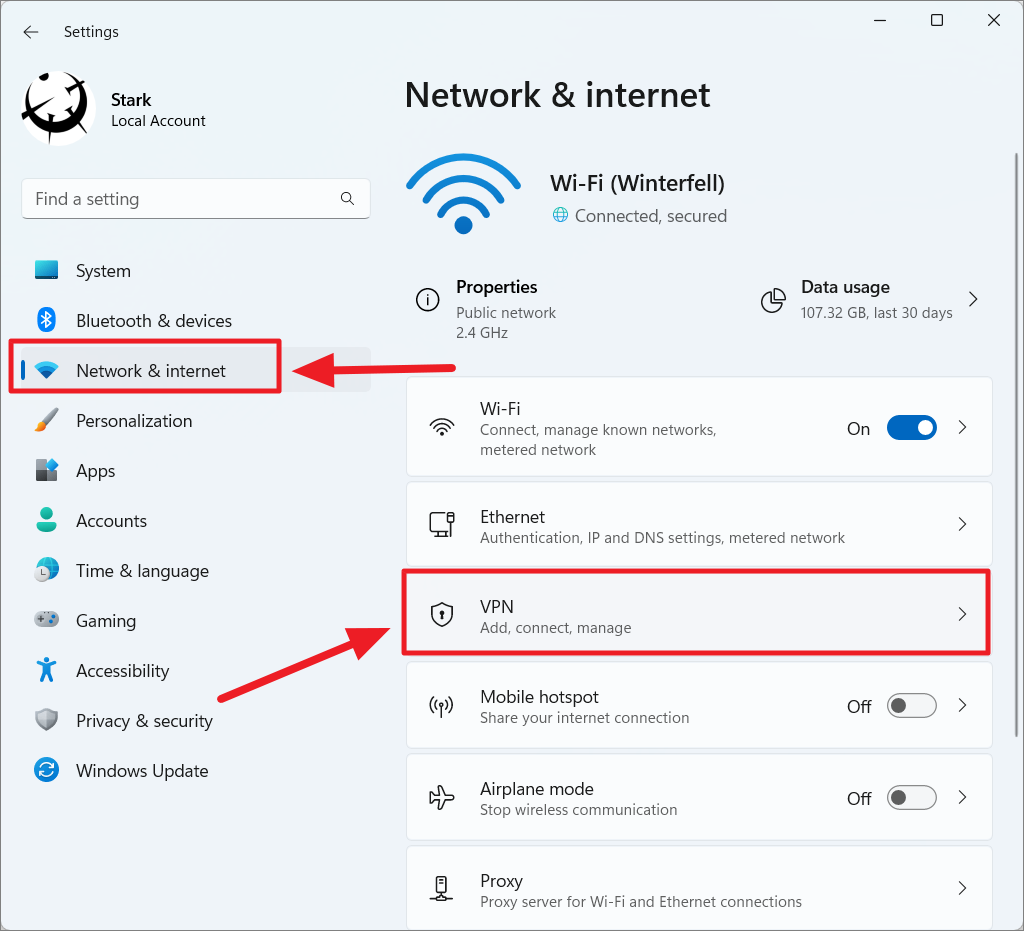
You can manually configure a VPN connection directly through Windows 11 Settings without using any third-party applications. Follow these steps to set up a VPN connection:
Settings, or by pressing Win+I on your keyboard.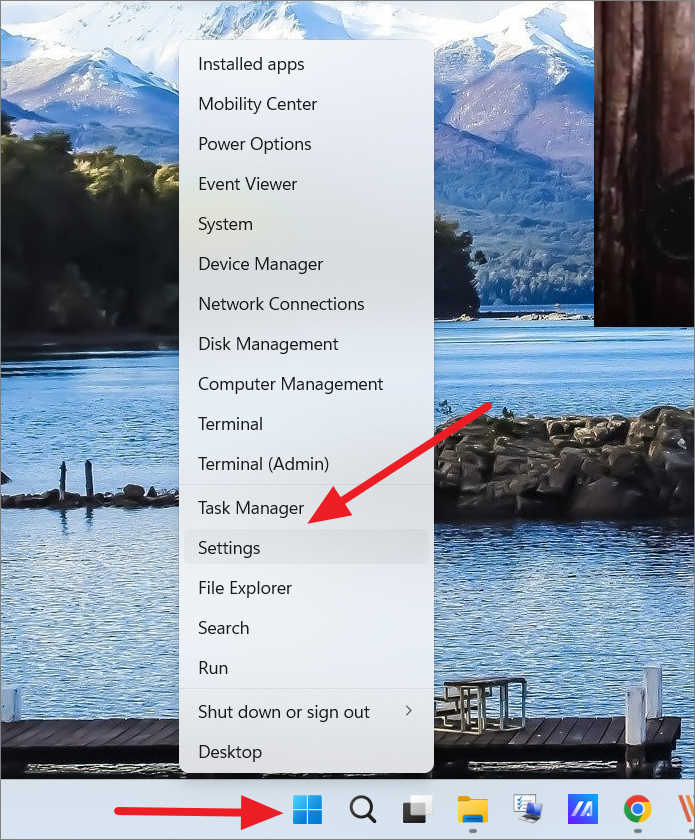
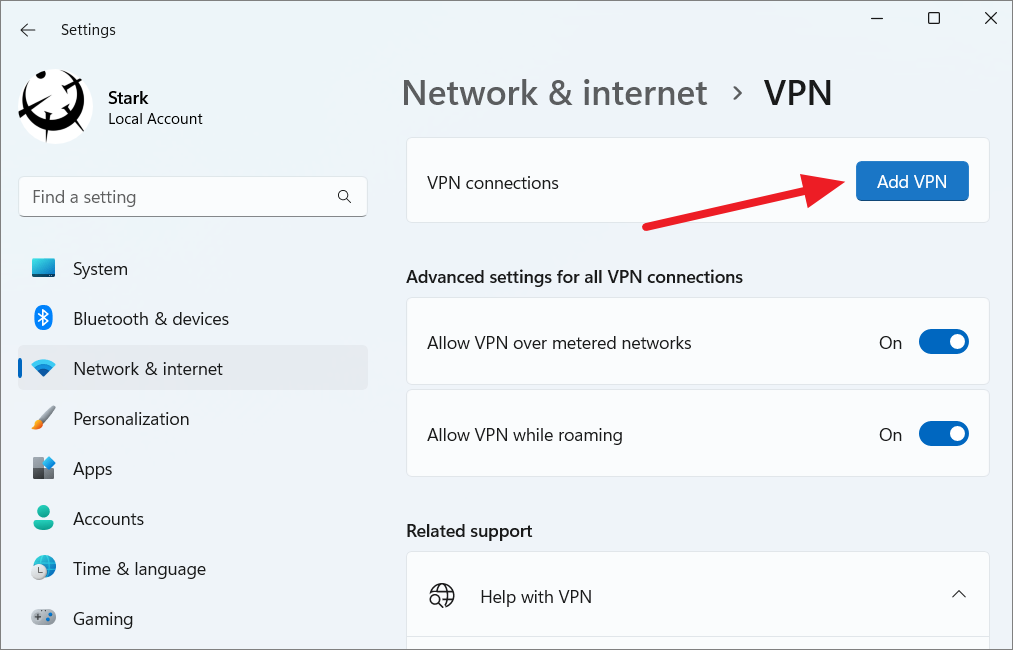
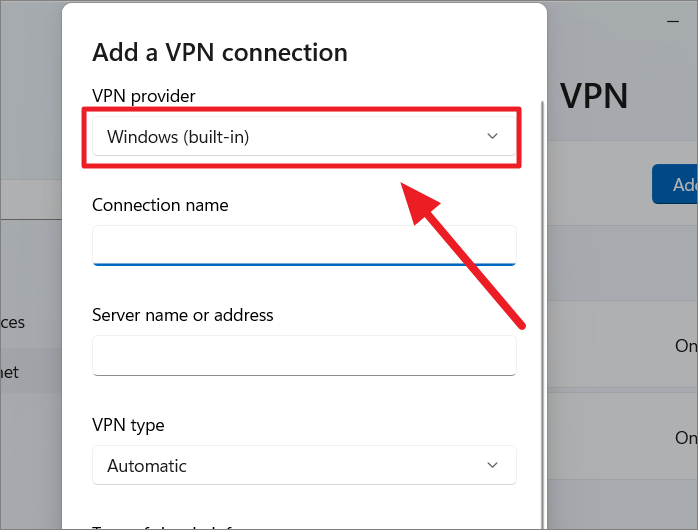
VPN provider: Ensure that Windows (built-in) is selected from the drop-down menu.
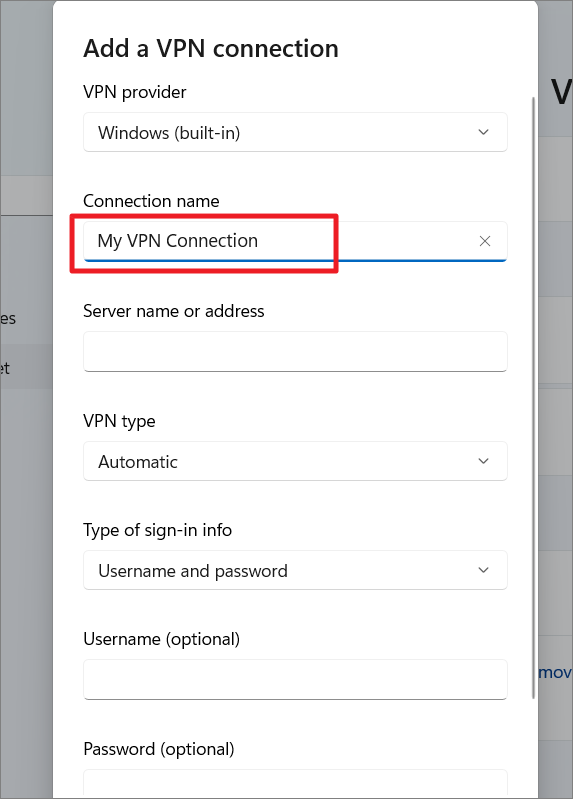
Connection name: Enter a name for the VPN connection. This can be any identifier that helps you recognize the connection.
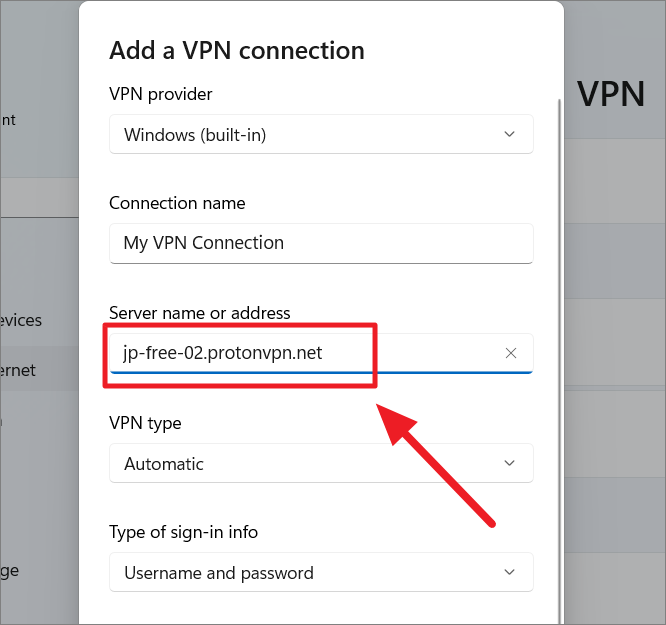
Server name or address: Input the server name or IP address provided by your VPN service. This may look like uk1234.vpnprovider.com or an IP address such as 123.456.78.90.
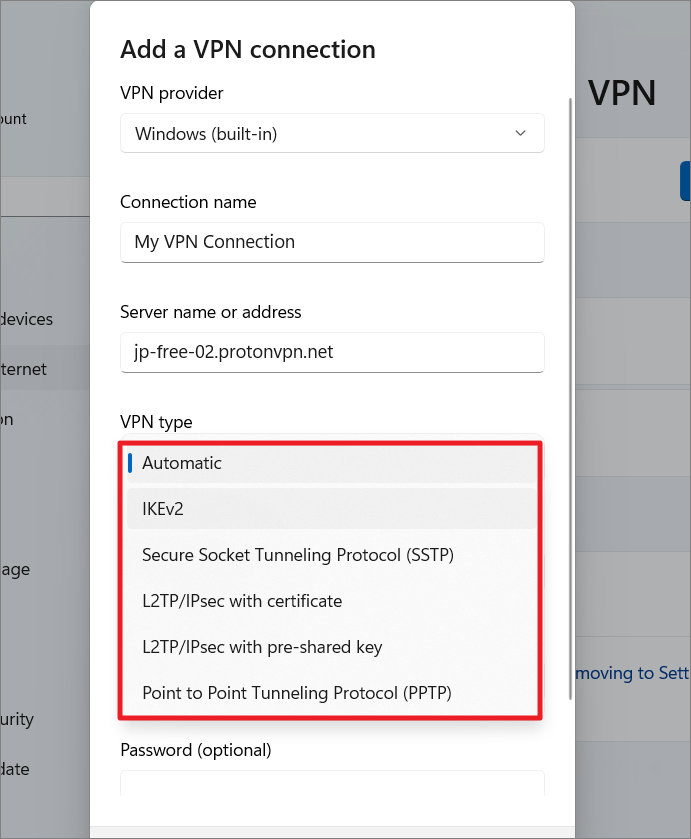
VPN type: Choose the VPN protocol required by your VPN provider from the drop-down menu. If you’re unsure, you can select Automatic. Common protocols include IKEv2, SSTP, L2TP/IPsec with a pre-shared key, and PPTP.
If you select a protocol like L2TP/IPsec with pre-shared key, an additional field will appear where you need to enter the pre-shared key provided by your VPN service.
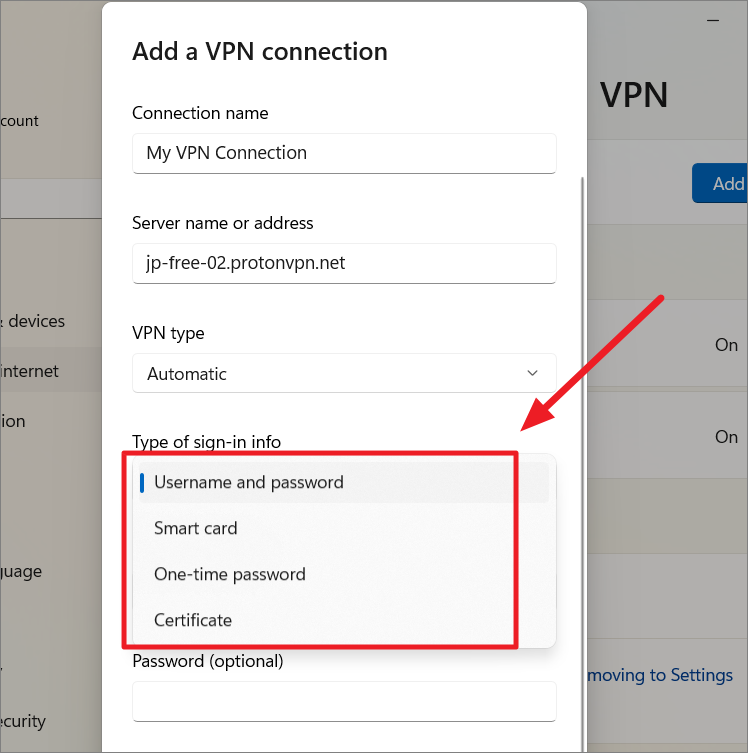
Type of sign-in info: Select the authentication method from the drop-down menu. Most VPNs use User name and password, but your provider might specify a certificate, smart card, or other method.
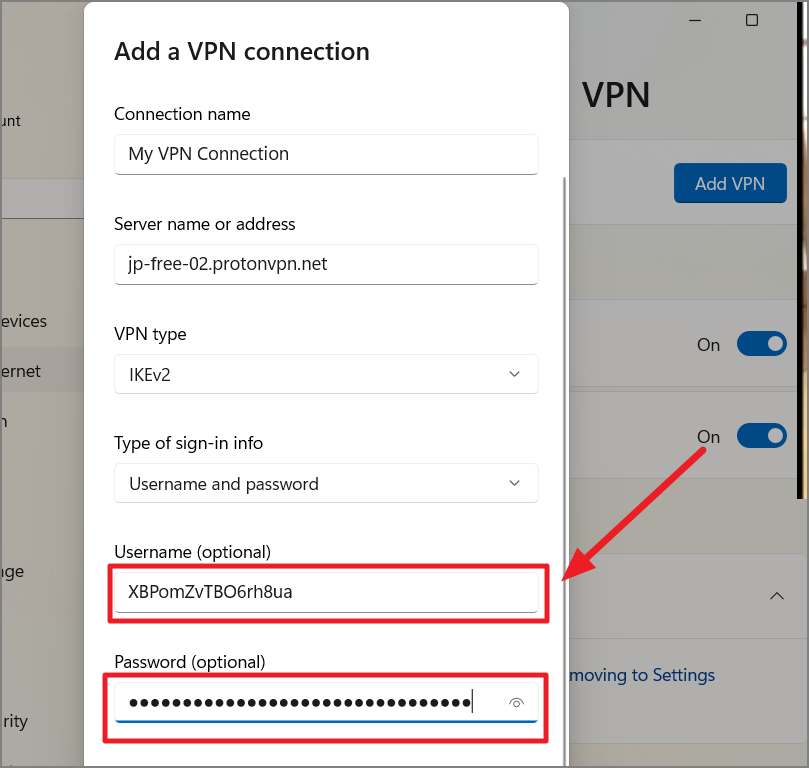
User name and password: If your VPN requires credentials, enter the user name and password provided by your VPN service. If you prefer to enter these details each time you connect, you can leave these fields blank.

Your new VPN connection is now set up and ready to use.
Connect to the VPN server on Windows 11
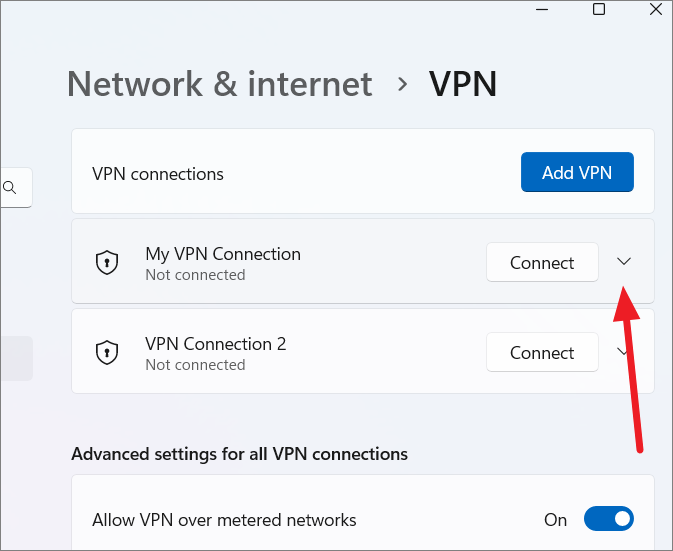
After setting up the VPN, you can connect to it through the Settings app or directly from the taskbar.


Your PC will establish a connection to the VPN server, and you’ll now be connected securely.
Edit the VPN connection:
If you need to modify the VPN settings, click the down arrow next to the Connect or Connected button, then select Advanced options.
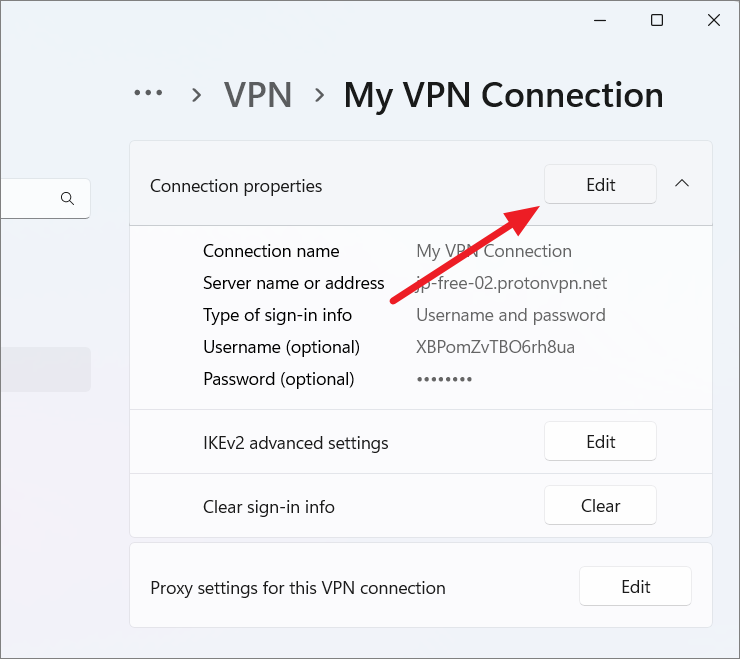
From there, you can click the Edit button to adjust the VPN configuration.
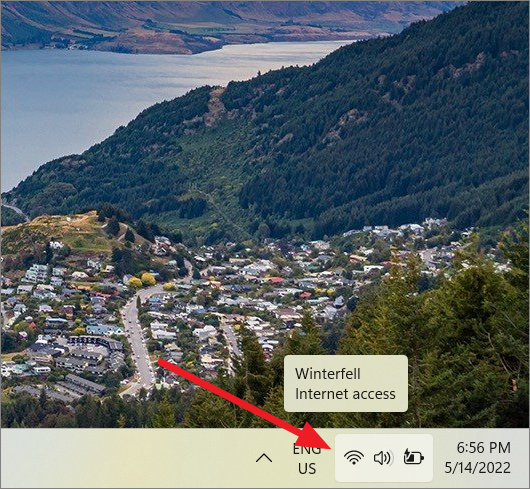
Connect from Taskbar/Quick Settings
You can also connect to your VPN directly from the taskbar for quick access.
Win+A.