
Mounting a raw .VHDX file into Windows Subsystem for Linux 2 (WSL2) allows you to directly access and manage virtual disk files from within Linux. This capability simplifies working with virtual machines, backups, or disk images without needing to boot into a virtual machine or use third-party tools. Follow these precise steps to mount your .VHDX file directly into your WSL2 instance.
Prerequisites
Before you begin, ensure that:
- You have WSL2 installed and running on Windows 10 or Windows 11.
- You have administrative privileges on your Windows machine.
- The .VHDX file you want to mount is accessible and not in use by another application.
Method 1: Mount the .VHDX File Using Windows PowerShell and WSL2
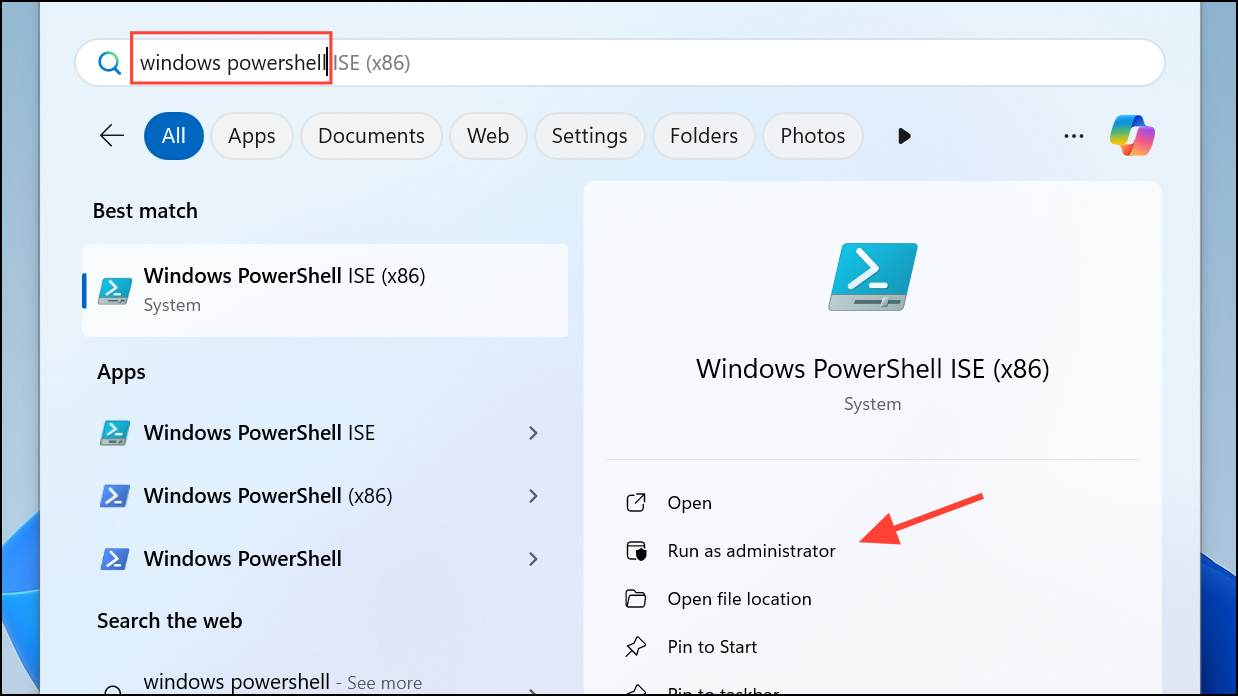
Step 1: First, open Windows PowerShell as an administrator. To do this, right-click the Start menu and select "Windows PowerShell (Admin)".
Step 2: Attach your .VHDX file as a virtual disk in Windows by running the following command. Replace C:\path\to\your\file.vhdx with the actual path to your .VHDX file:
Mount-VHD -Path "C:\path\to\your\file.vhdx" -ReadOnly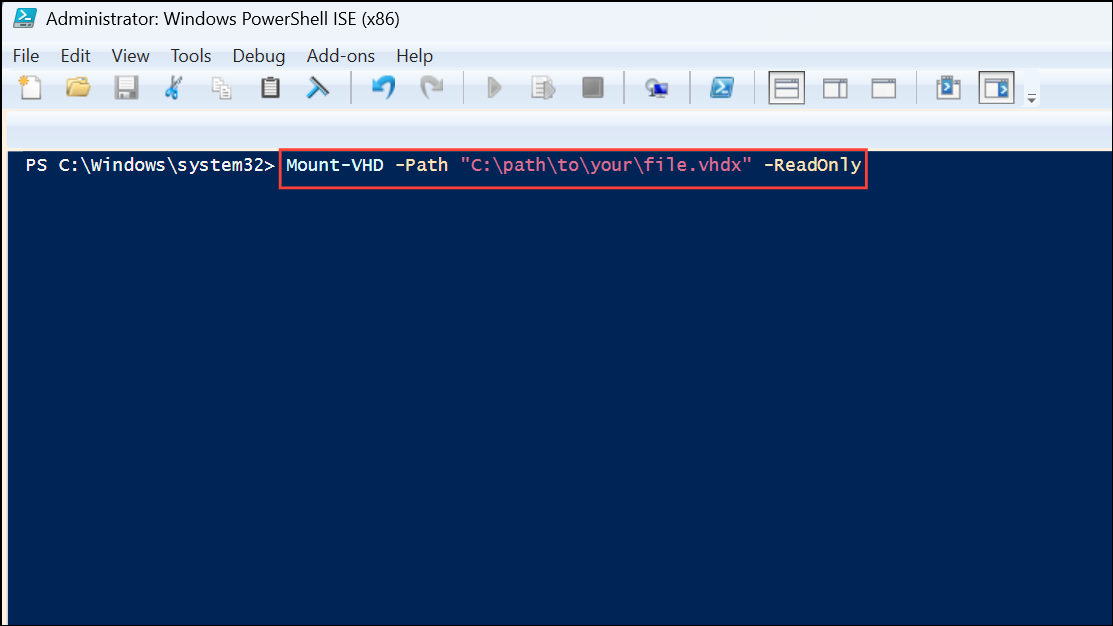
The -ReadOnly parameter ensures that the disk is mounted safely without risk of data alteration. If you need write access, omit the -ReadOnly flag.
Step 3: After mounting, find out which drive letter Windows assigned to your mounted .VHDX file. Use the following command in PowerShell to list attached virtual disks and their drive letters:
Get-Disk | Where-Object IsOffline -Eq $False | Get-Partition | Get-Volume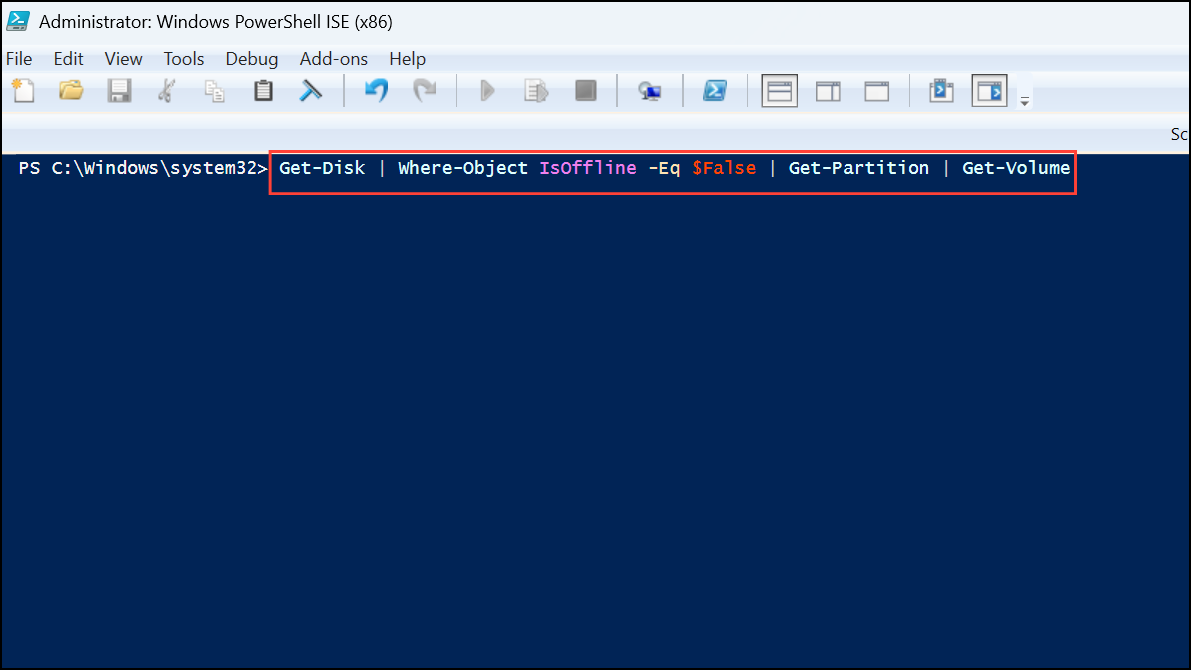
Note down the drive letter assigned to your newly mounted VHDX.
Step 4: Next, launch your WSL2 terminal. You can do this by typing wsl in your PowerShell window or opening your preferred Linux distribution from the Start menu.
Step 5: Inside WSL2, you can access the mounted virtual disk through the /mnt/ directory. For example, if your mounted drive letter is E:, you can access it with the following command:
cd /mnt/e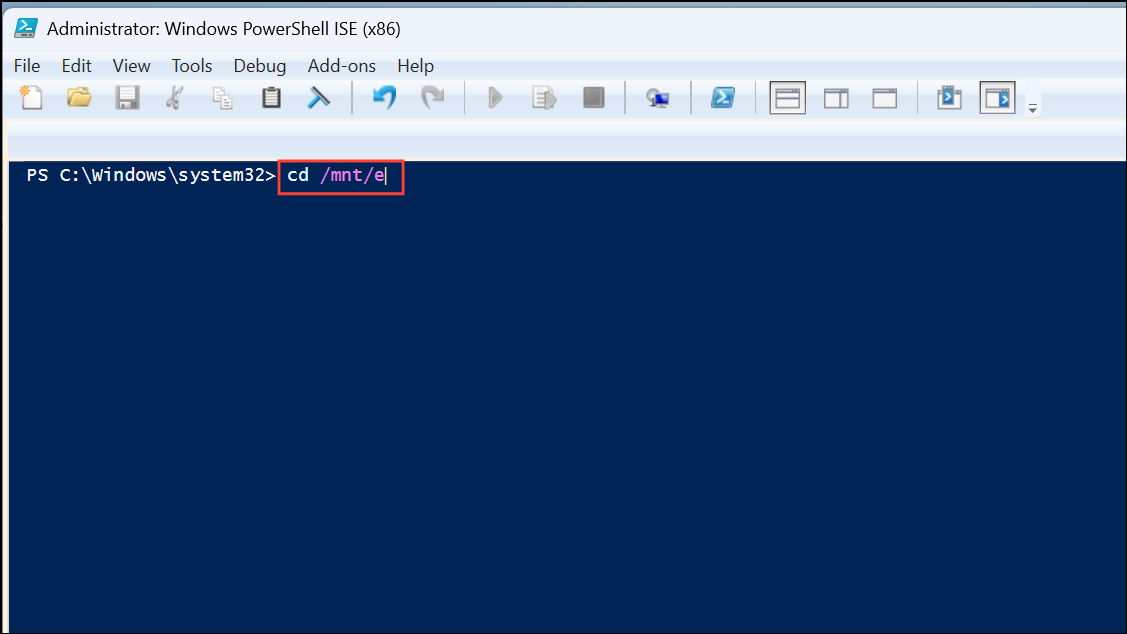
You can now navigate, read, or copy files from the mounted.VHDX directly from your WSL2 Linux environment.
Step 6: When you are finished, unmount the .VHDX file safely. First, exit WSL2, then detach the virtual disk from PowerShell using:
Dismount-VHD -Path "C:\path\to\your\file.vhdx"
This ensures safe detachment of the disk image without data corruption.
Method 2: Mounting the .VHDX File Using Disk Management (GUI)
If you prefer a graphical interface, you can mount your .VHDX using Windows Disk Management:
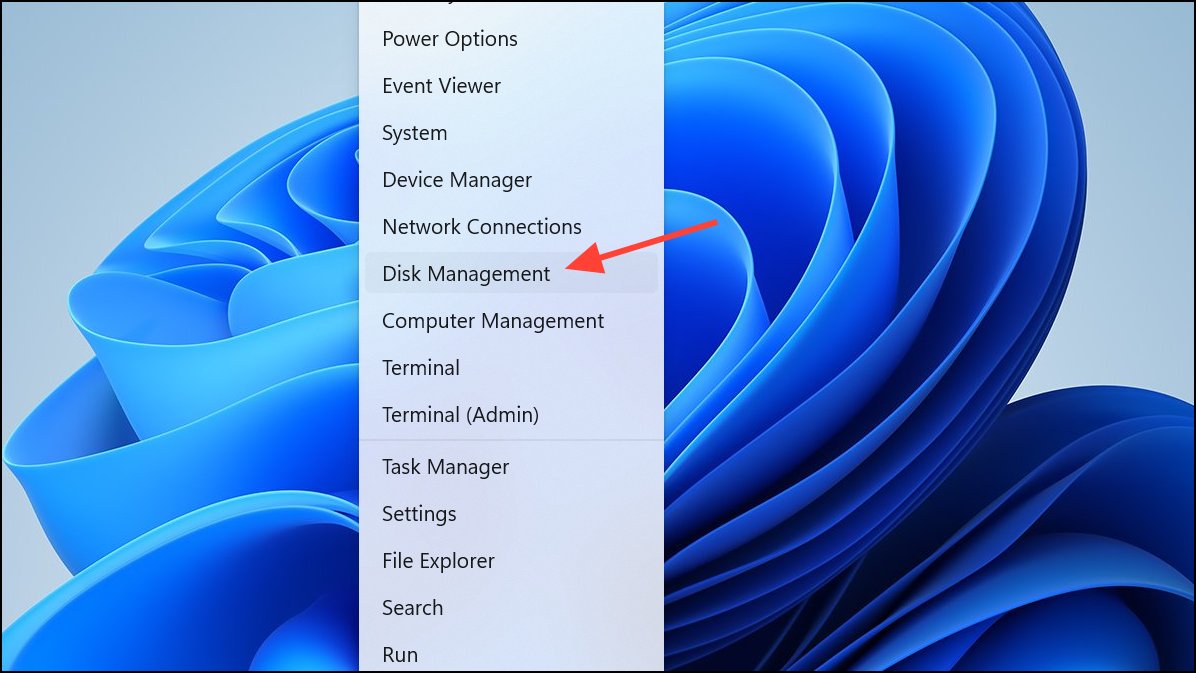
Step 1: Right-click the Start button and select "Disk Management" from the context menu.
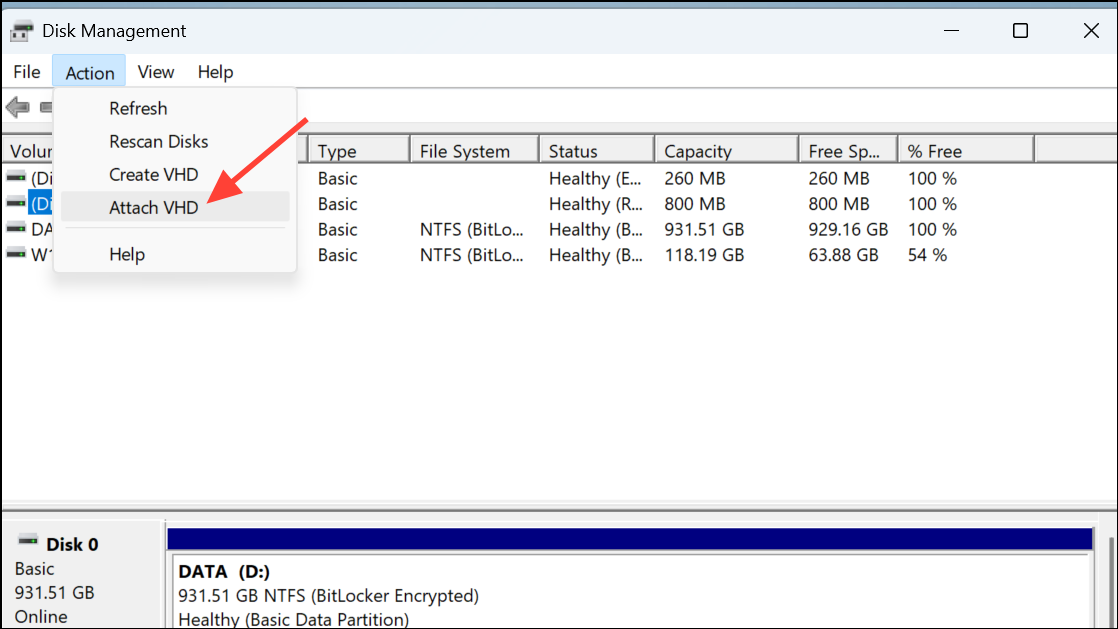
Step 2: In Disk Management, click on "Action" from the top menu and select "Attach VHD".
Step 3: Browse to your .VHDX file, select it, and click "OK". You can select "Read-only" if you want to prevent accidental modification.
Step 4: Windows will mount the virtual disk and assign it a drive letter automatically. Note this drive letter.
Step 5: Open your WSL2 terminal and access the mounted disk via the /mnt/ directory, using the drive letter assigned in Disk Management, for example:
cd /mnt/fStep 6: After completing your tasks, detach the virtual disk safely from Disk Management by right-clicking the disk and selecting "Detach VHD". Confirm by clicking "OK".
Important Cautions and Tips
- Always unmount or detach the .VHDX file properly after use to avoid data loss or corruption.
- Mounting a .VHDX file as read-only is recommended if you do not intend to modify it.
- Ensure no other applications or processes are actively using the .VHDX file when you attempt to mount or detach it.
Now you're ready to easily access virtual disk files directly from WSL2, simplifying your workflow and saving valuable time.