
Games can hog a ton of storage, with some hitting a whopping 200 GB. With sizes like that, especially if your internet is limited, you wouldn’t want to spend time and data re-downloading a game.
When you download games on Steam, you can pick from different library folders and decide where you want to install them. Plus, a recent update to Steam has made it easy to shift a game to a new spot without going through the hassle of downloading the whole thing again.
In this guide, we’ll show you how to move individual games as well as multiple games to another drive in Steam.
Moving a Steam Game to Another Drive/Partition
Steam makes it easy to move your games by letting you add multiple library folders. This lets you choose where you want to store your games, so you can spread them out across multiple drives.
Creating a Steam Library Folder
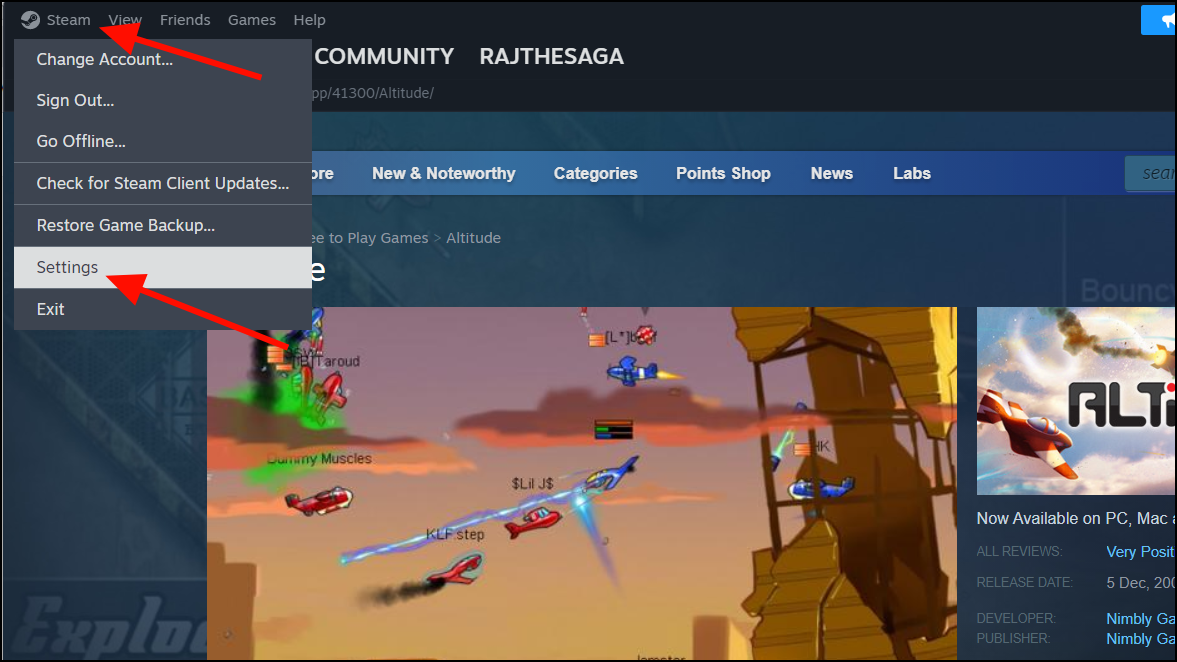
- To move your Steam game to a different drive, first, you’ll need to make a new Steam Library folder on that drive. To do that, click the ‘Steam’ menu and select ‘Settings’.
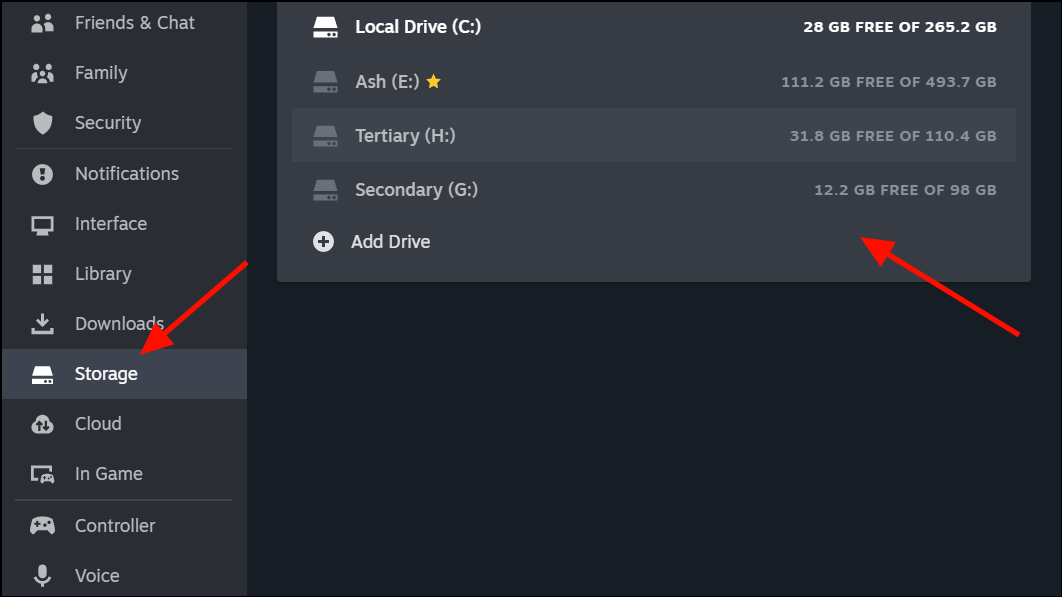
- In the Settings menu, go to the ‘Storage’ section and click the drop-down below (Local Storage (C:) Storage.
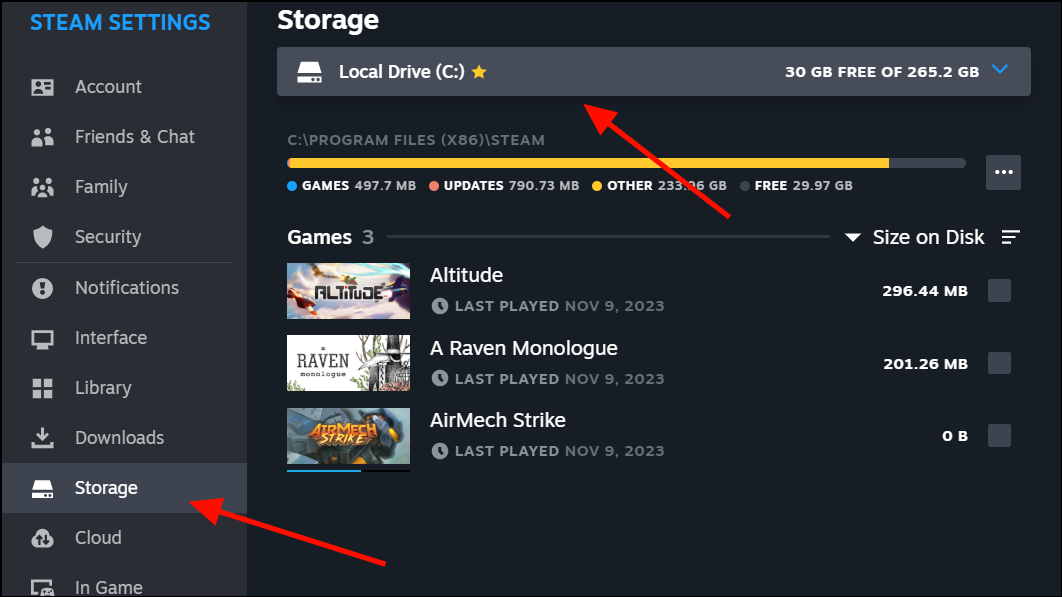
- From the drop-down menu, select ‘Add Drive’.

- In the Add a new Steam library folder window, choose the drive where you want to create a new library.
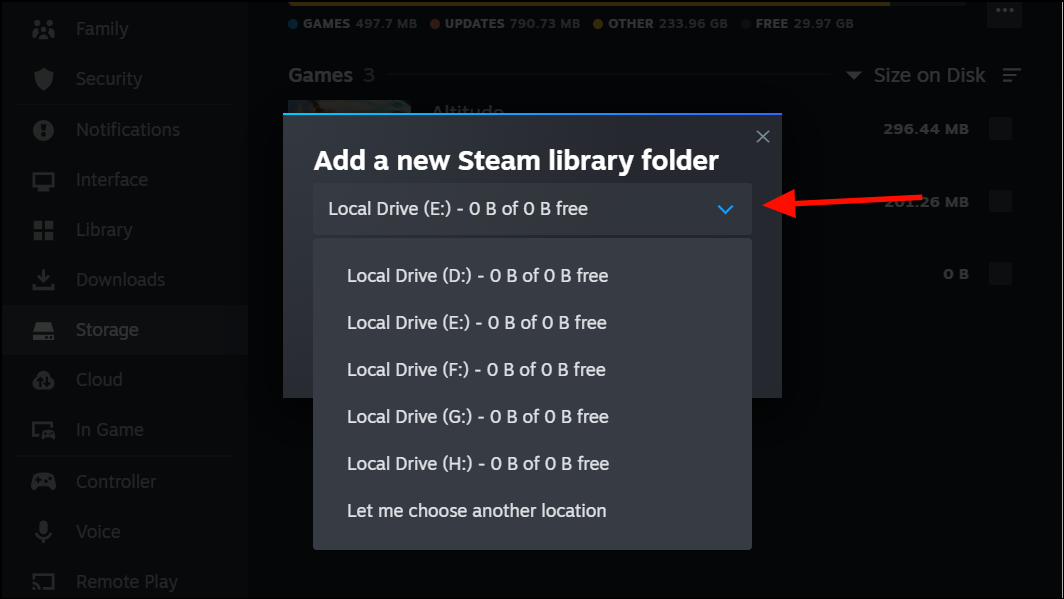
- When you choose a new drive, Steam automatically generates a folder named ‘SteamLibrary’ in the selected drive to house the game files. However, if you prefer storing or moving the games to a particular folder on the drive, select the ‘Let me choose another location’ option.

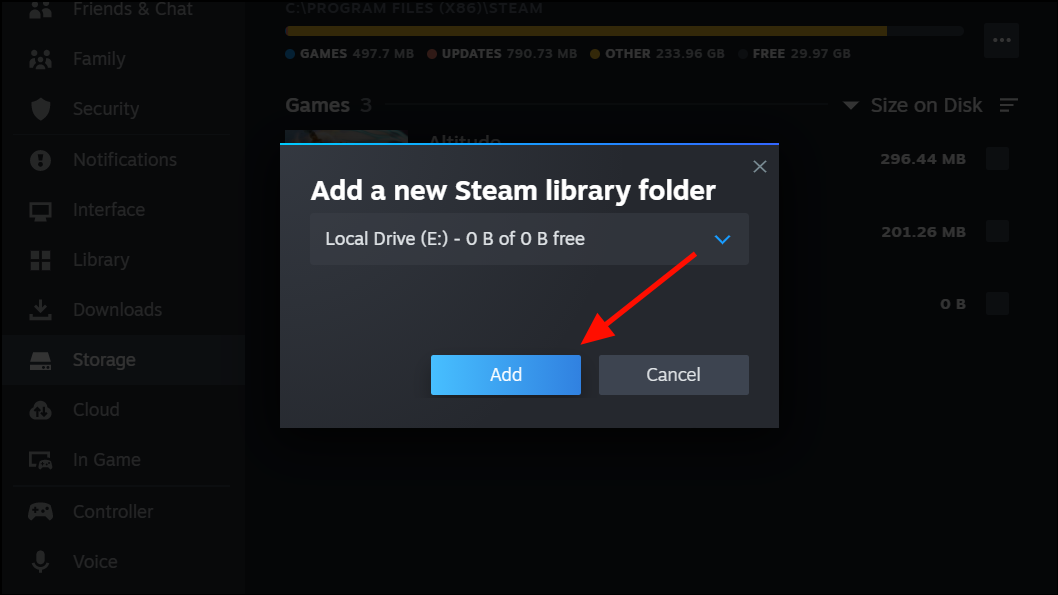
- Then, click ‘Add’.
- If you choose the ‘Let me choose another location’ option, you’ll need to navigate to the folder and select it.
Moving the Game to a Different Steam Library on Another Drive
Once the secondary library folder is created on another drive, there are two ways to move an installed game to that library folder.
Moving the Game using Storage Settings in Steam
The first method is using the Storage settings, where we just created a new Steam library folder.
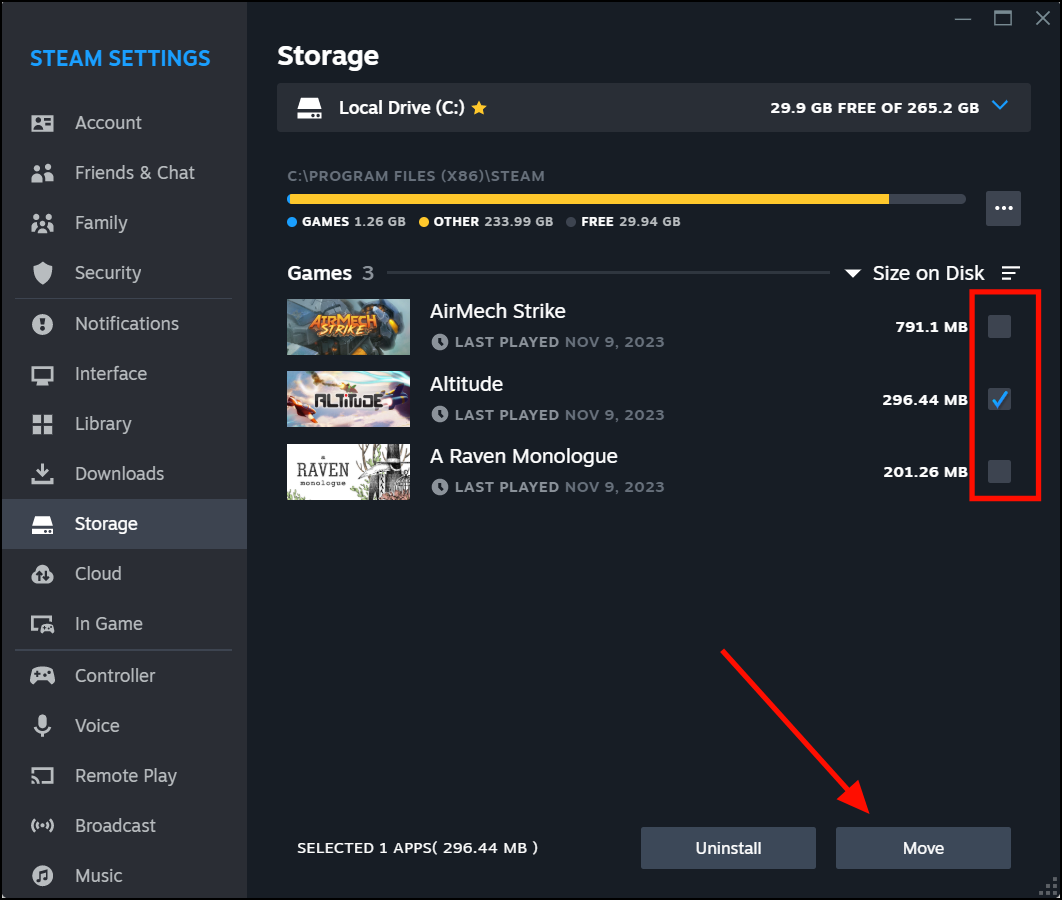
- Open the Steam app and go to the Storage settings by navigating to ‘Steam’ > ‘Settings’ > ‘Storage’.
- Now, select the drive that has the game installed from the drop-down menu.
- Then, check the box next to the game you want to move, and click the ‘Move’ button below.
- To move multiple games, check all the games you want to move and click ‘Move’.
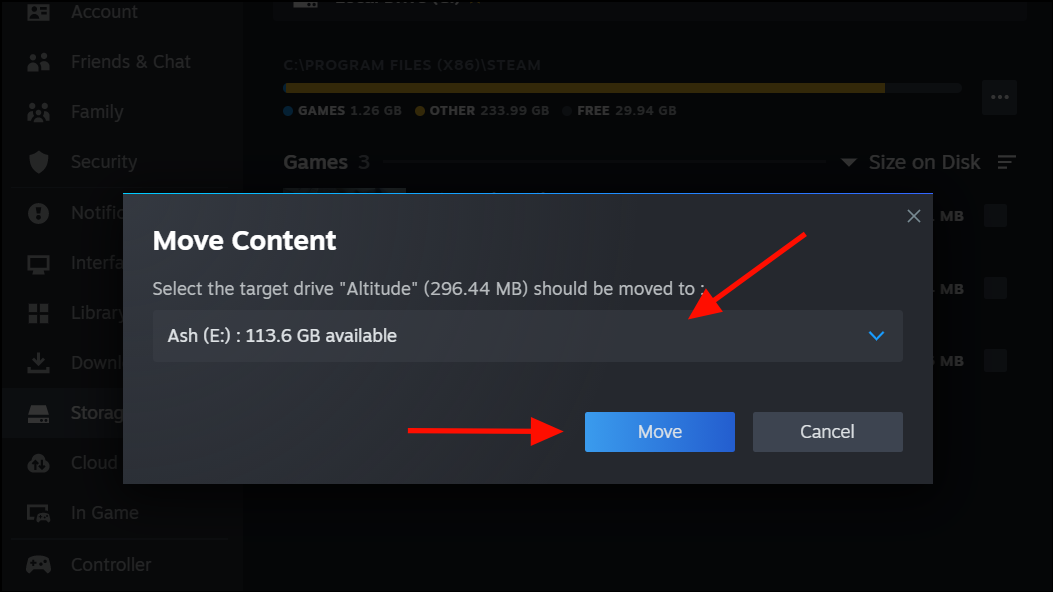
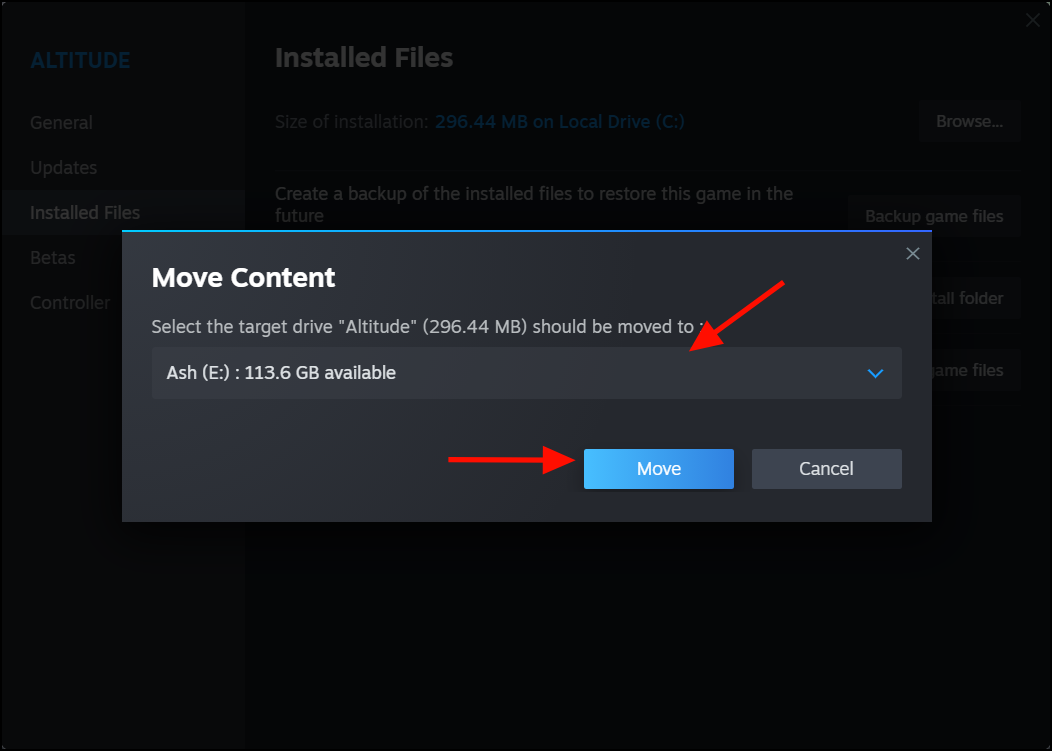
- On the Move Content that appears, choose the drive (library folder) and click ‘Move’.
Moving large games can take a long time, so be patient until it’s done.
Moving Games From the Steam Library
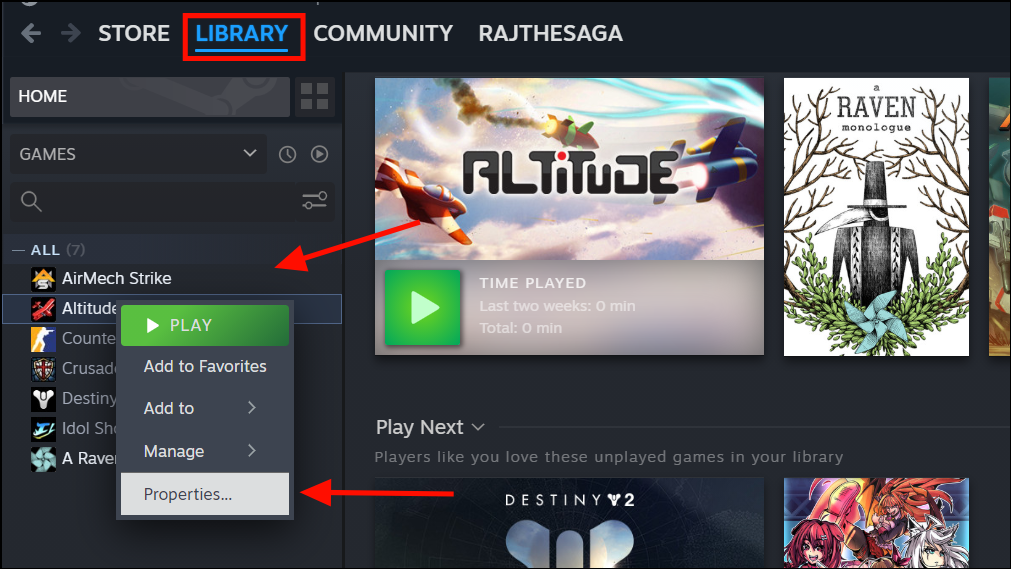
- To move a game from your Steam library, head to the ‘Library’ tab, right-click the game in the left-hand sidebar, and select ‘Properties’.
- In the game properties, go to the ‘Installed Files’ section and click the ‘Move install folder’ button.
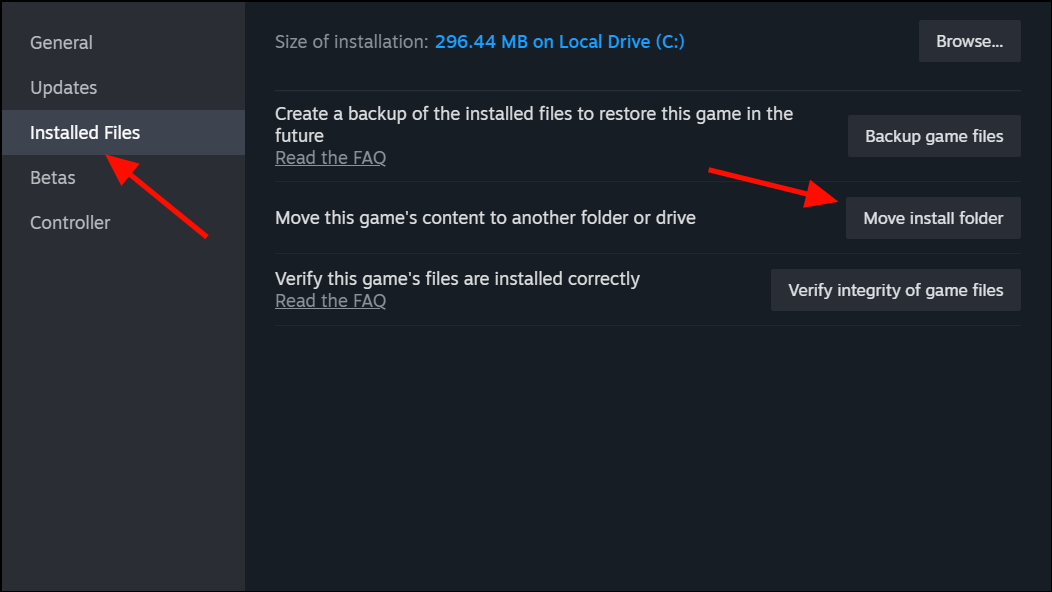
- Next, choose the drive where you want to move the game and click ‘Move’.
That’s it. Steam will transfer the game’s files to the new library location. To move more games, just repeat the steps.
In the future, when installing a game, Steam will ask about the library you want to use to install it. But remember, you can move your games whenever you want.
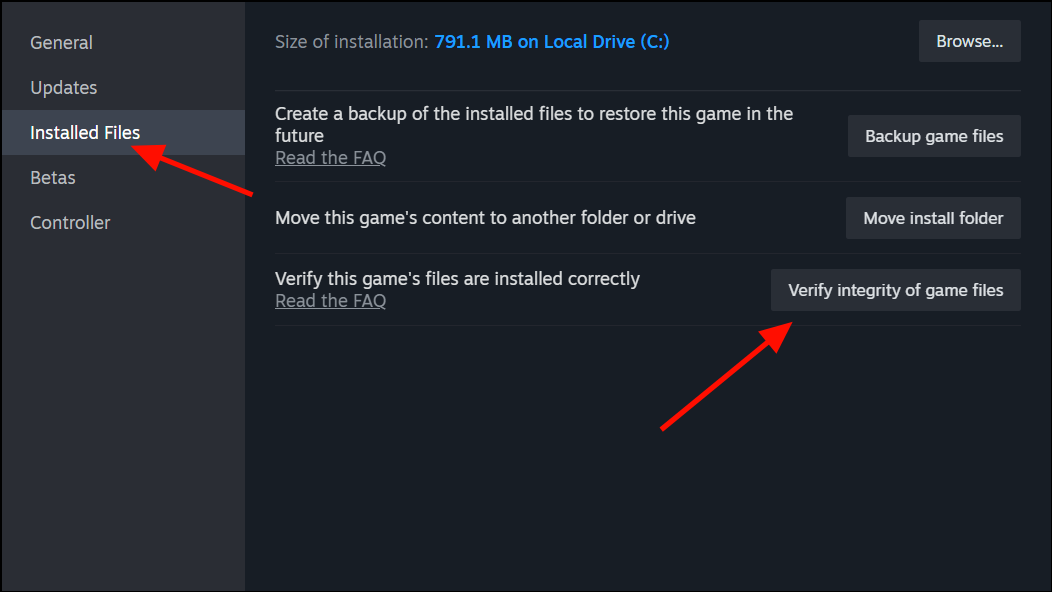
Once the game is moved to another drive, it’s better to verify the integrity of the game files to make sure the game files are intact. To do this, right-click the game and select ‘Properties’.
Then, move to the ‘Installed Files’ section and click the ‘Verify integrity of game files’ button.
Manually Moving Steam Games to Another Drive
Moving a few Steam games using the instructions above is easy, but if you just bought a new, massive storage drive and want to move all your installed Steam games, it might take several hours. So, the easiest way is to manually move the entire Steam folder using Windows File Explorer.
- First, you need to create a Steam Library folder in the drive where you want to move the games using the steps above. If the Library folder is already created, you can skip this step.
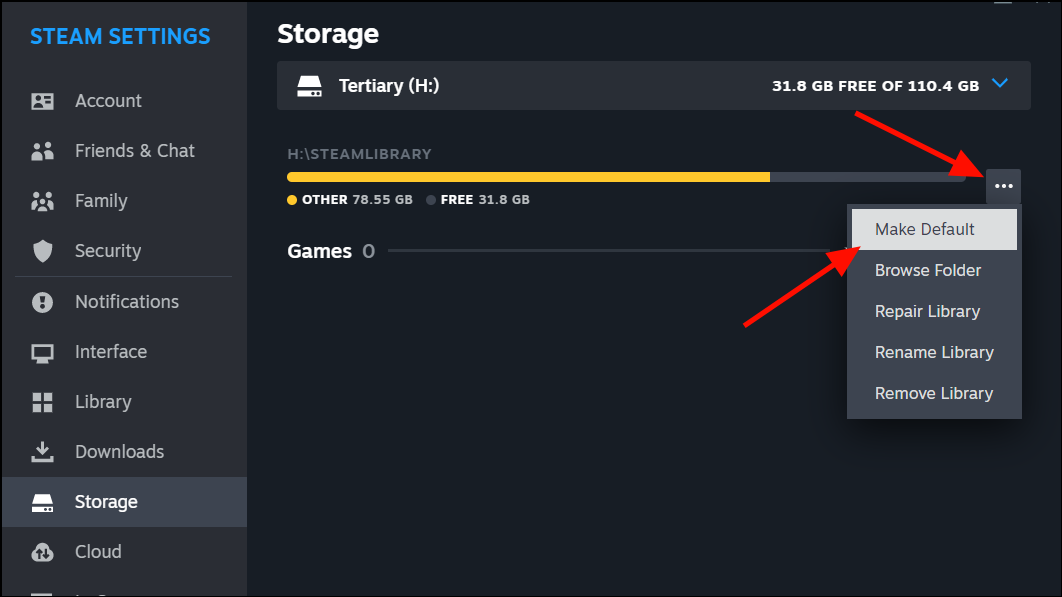
- Next, go to ‘Steam’ > ‘Settings’ > ‘Storage’. Then, select the drive from the drop-down menu.
- Then, click the three dots button next to the drive and select ‘Make Default’.
- After that, use File Explorer to browse to the original Steam library location (usually C:\Program Files (x86)\Steam\steamapps\common) and then Copy the game folders you want to move to the new drive.
- Go to the new library location (H:\SteamLibrary) and copy the game folders into the path ‘H:\SteamLibrary\steamapps\common’. If the folders haven’t been created, create them manually.
- After that, launch the Steam app. In your Library, right-click the games you moved to the new location and select ‘Manage’ > ‘Uninstall’.

- After uninstalling the games, go to ‘Library’ and select your moved game. Then, click ‘Install’.
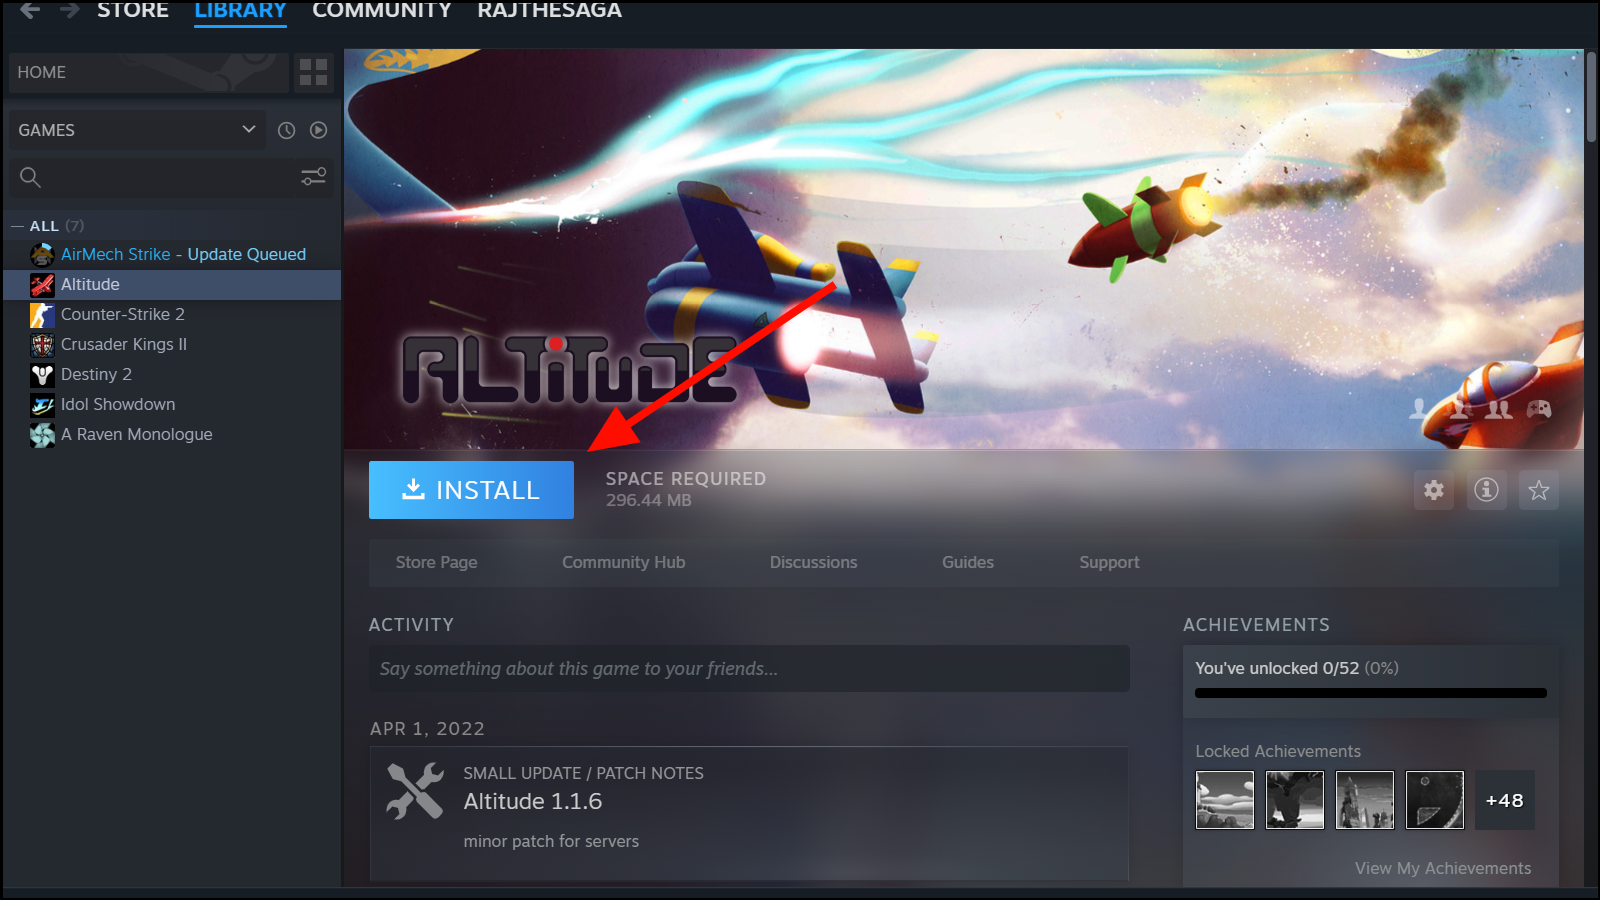
- In the Install window, select the drive where you moved the game and click ‘Install’.
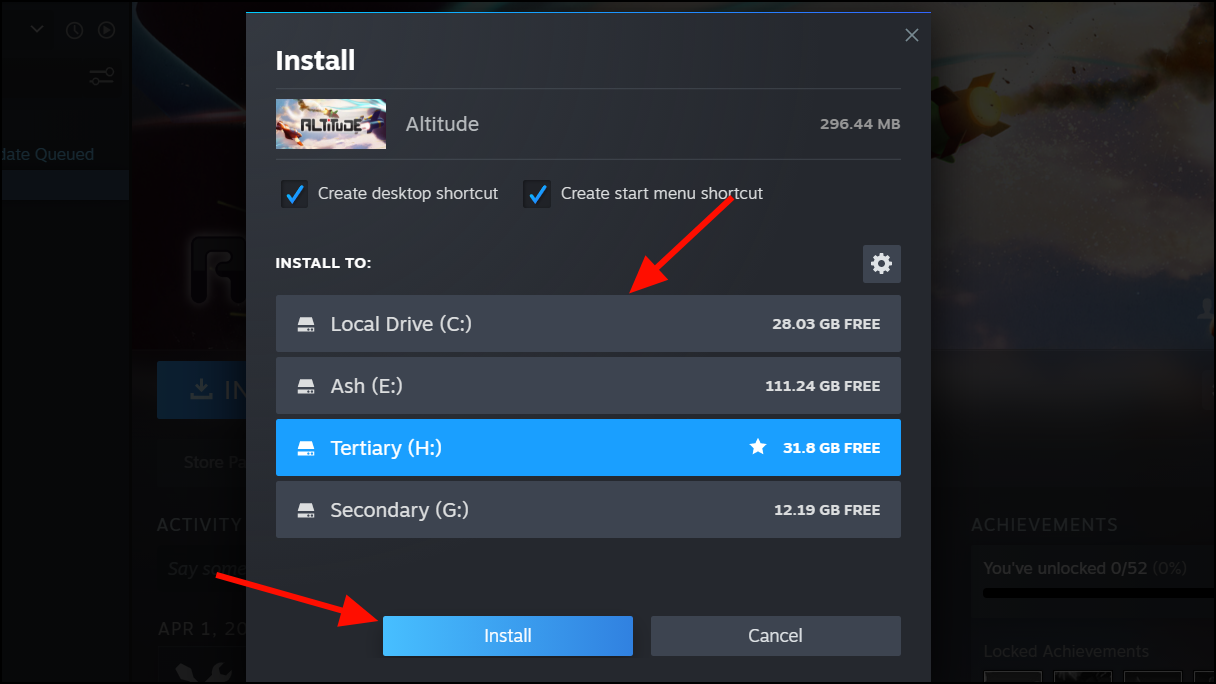
Steam will try to download to the new library location, where the files are already there. After some verification, all your Steam games will work as usual from the new drive.
Moving Steam Games Between Computers Using an External Drive
If you wish to play games on multiple computers, such as a computer in your college dorm and one at home, you can store your entire Steam library on an external drive and carry it with you.
If you plan to keep your Steam library on an external drive, choose a solid-state drive (SSD) for faster load times. Here’s how you do this:
- Open the Steam app and go to ‘Steam’ > ‘Settings’ > ‘Storage’.
- Create a new Steam library on the external drive as we showed you above.
- Then, copy your Steam games to the external drive.
- To use the drive on a new PC with the Steam Library, install Steam on that PC and log into Steam with the same account.
- Then, set the default folder to the external drive. To do this, follow the steps for creating a new folder, but instead of creating one, choose the existing external drive Library folder.
It may take a few minutes for all the necessary files to load, but once the game is up and running, you should be able to play with little to no latency.