How to Move and Change the Default Location of Downloads Folder in Windows 11
Change the default downloads location globally, for a browser, or Microsoft Apps on your Windows 11 computer.
Change the default downloads location globally, for a browser, or Microsoft Apps on your Windows 11 computer.
by Parth Sawhney
By default, Windows 11 stores all your downloaded files in the Downloads folder on the C drive. Over time, this folder can consume a significant amount of space on your primary drive, potentially slowing down your system and risking data loss if the OS needs to be reinstalled. To better manage your storage and keep your files safe, you can change the default download location to a different drive or folder. Here are several methods to do so.
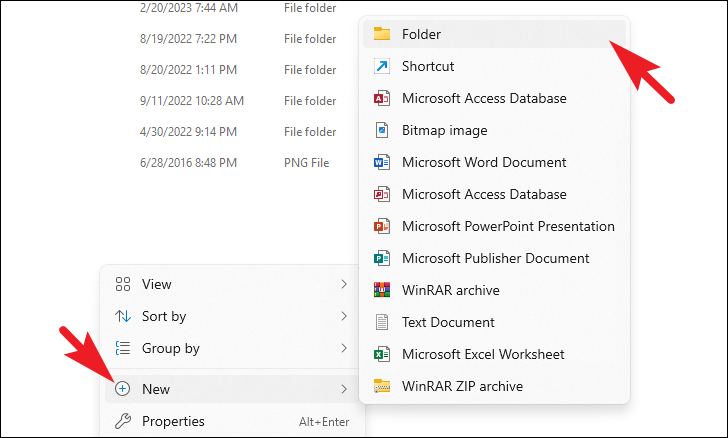
Navigate to the drive or directory where you want to relocate your Downloads folder. Right-click on an empty space within that directory, hover over ‘New’, and select ‘Folder’. Name this new folder ‘Downloads’.
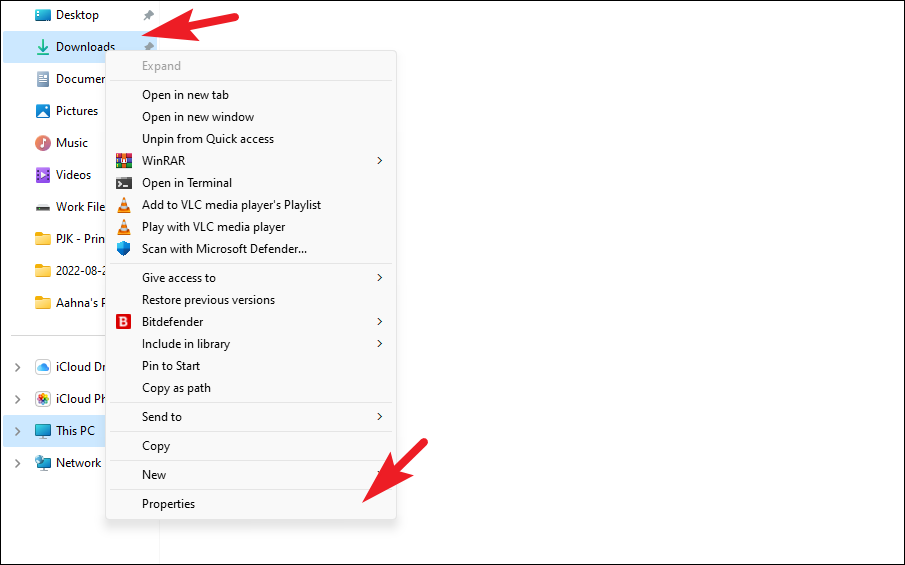
Go back to the main File Explorer window. Right-click on the original ‘Downloads’ folder (usually found under ‘This PC’) and select ‘Properties’ from the context menu.
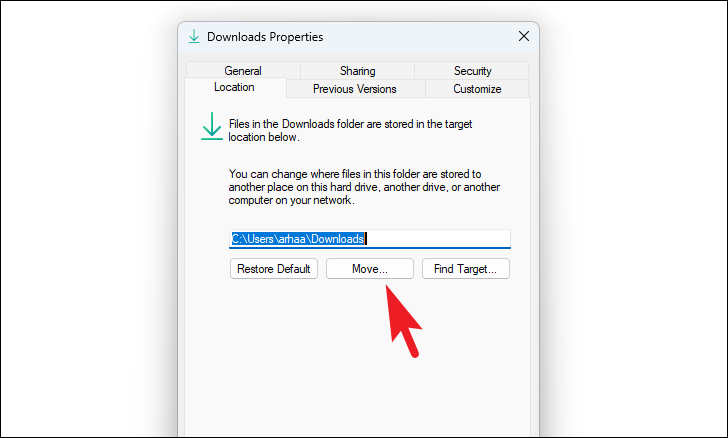
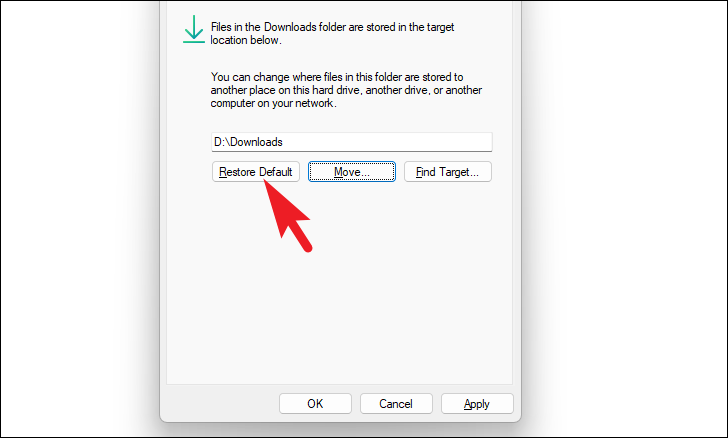
Back in the ‘Downloads Properties’ window, click ‘Apply’ and then ‘OK’ to save the changes. This will set the new folder as your default Downloads location.
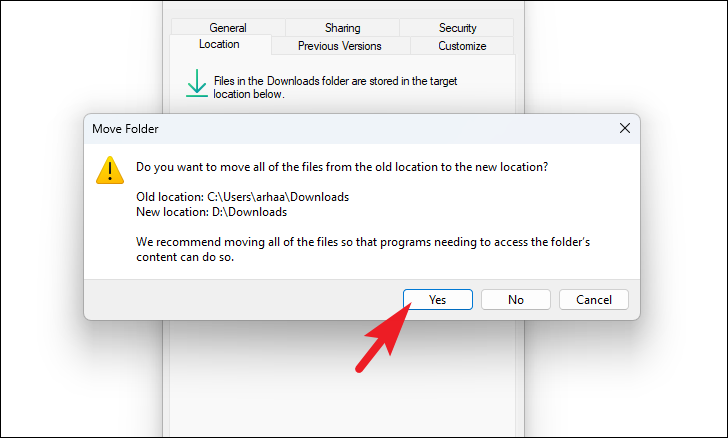
You may be prompted to move all existing files from the old Downloads folder to the new location. Click ‘Yes’ if you wish to transfer them, or ‘No’ to leave them in their original place.
Note: If you want to revert to the default Downloads location in the future, open the ‘Downloads Properties’ window again, go to the ‘Location’ tab, and click ‘Restore Default’.
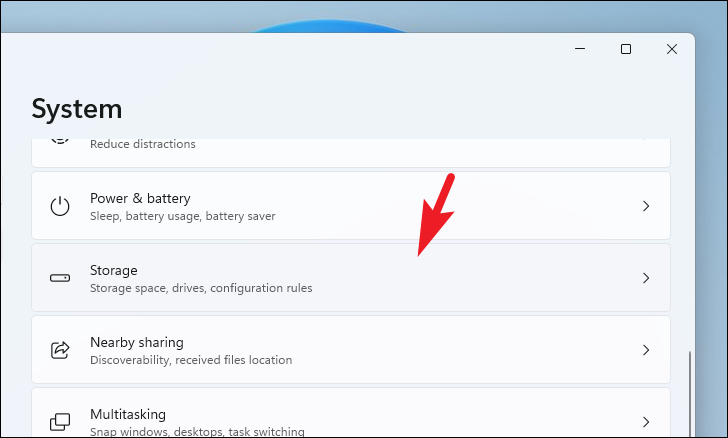
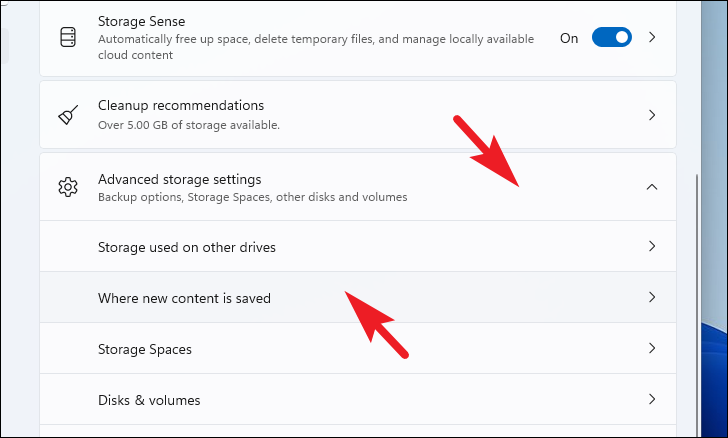
Change the default downloads location for Microsoft apps
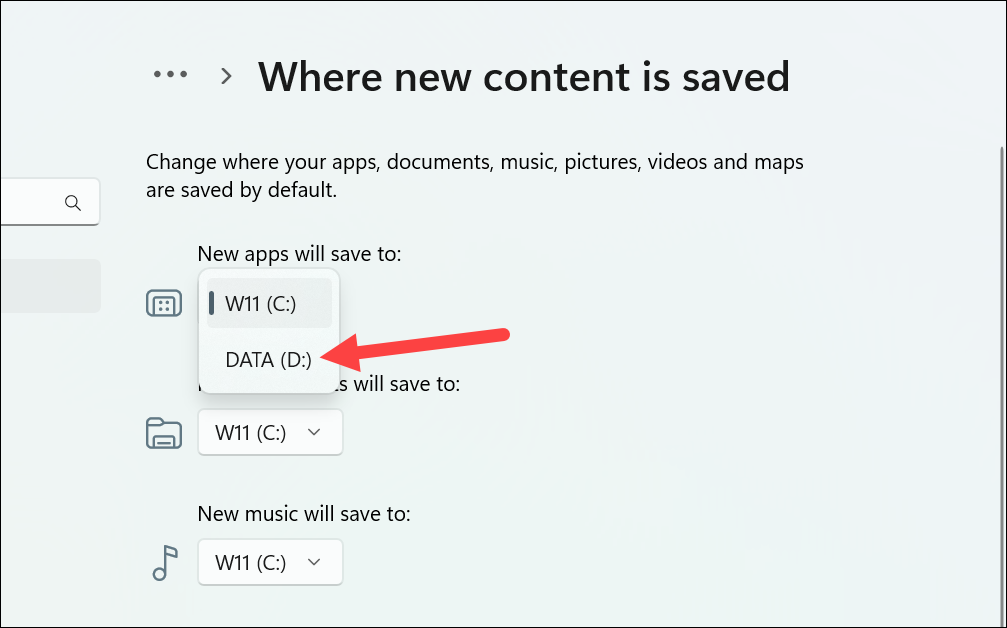
Microsoft Store apps download to a different default location, but you can change this setting to save space on your primary drive.
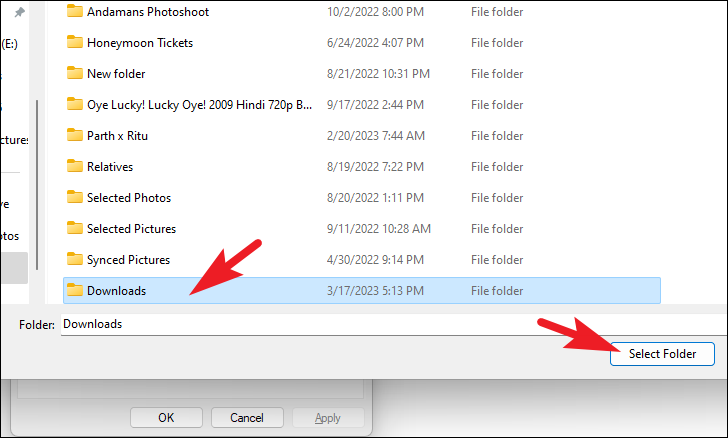
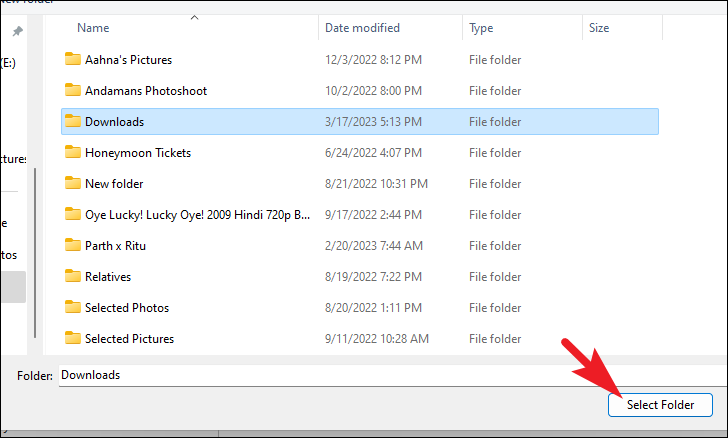
Navigate to your desired download directory, select it, and click ‘Select Folder’.
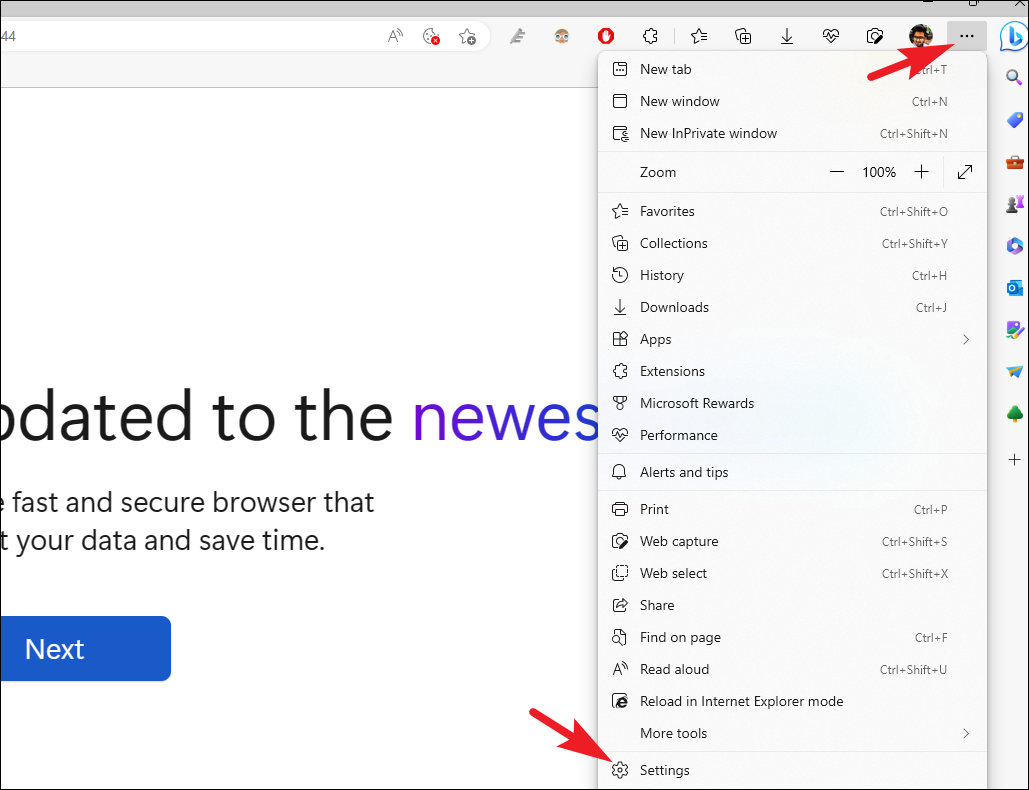
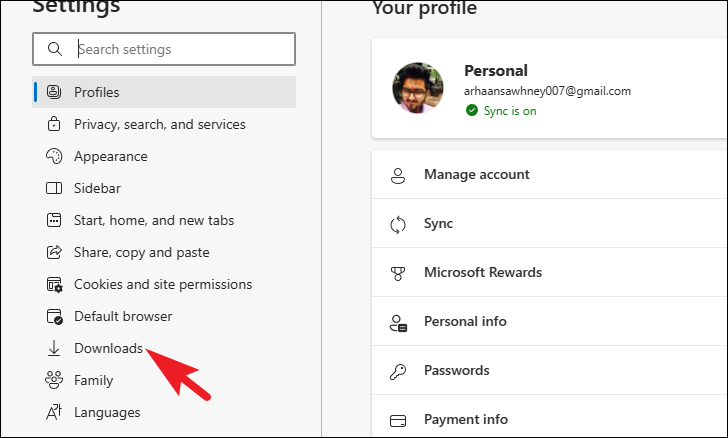
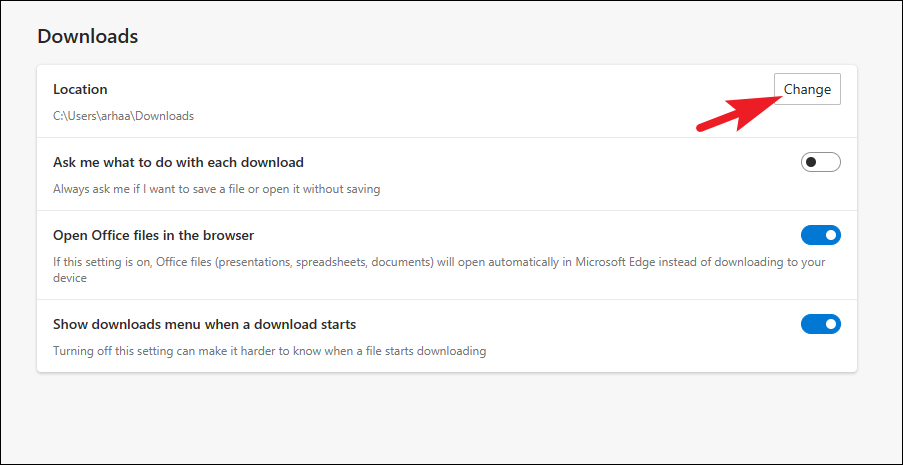
Now, downloads from Microsoft Edge will be saved to the new location. You can follow similar steps in other browsers like Google Chrome, Mozilla Firefox, or Brave to change their default download directories.
Changing the default download location in Windows 11 helps manage storage more effectively and keeps your important files organized on your preferred drive.