
Used first in 1999, 7z files went public in December 2008. 7z files are basically 7-zip compressed archive files that can store various files and directories by compressing them together. This helps the users in saving a lot of space. 7z files also make it easier to transfer or send files over email.
You also get encryption functionality with 7z files, which doesn’t come with many other compressed file formats, along with the freedom to manage your large files more easily. Another big advantage of these kinds of files that often gets unnoticed is the fact that they reduce the download times drastically. Not many people know this but a 7z file can theoretically store up to 16 billion GB!
You might have come across a 7z file (file with a .7z extension) when downloading something from the internet. Many people get confused about how to extract these files. Extracting a file means decompressing a compressed file to access all the files and directories present in it.
7-zip, the maker of the 7z file format, is easily the best tool to extract 7z files. But sadly the tool is only available on Windows. If you too are someone who wants to decompress and open 7z files on their macOS device, then you are at the right place. We have simplified the whole process for you along with providing the right set of tools. After this, it won’t take you more than a minute to decompress or even create a 7z file.
Extracting a 7z File on macOS
You can decompress a 7z file on your macOS device without needing a third-party app. Your Mac has a not-so-popular utility, known as Archive Utility, that can easily handle compressed 7z files.
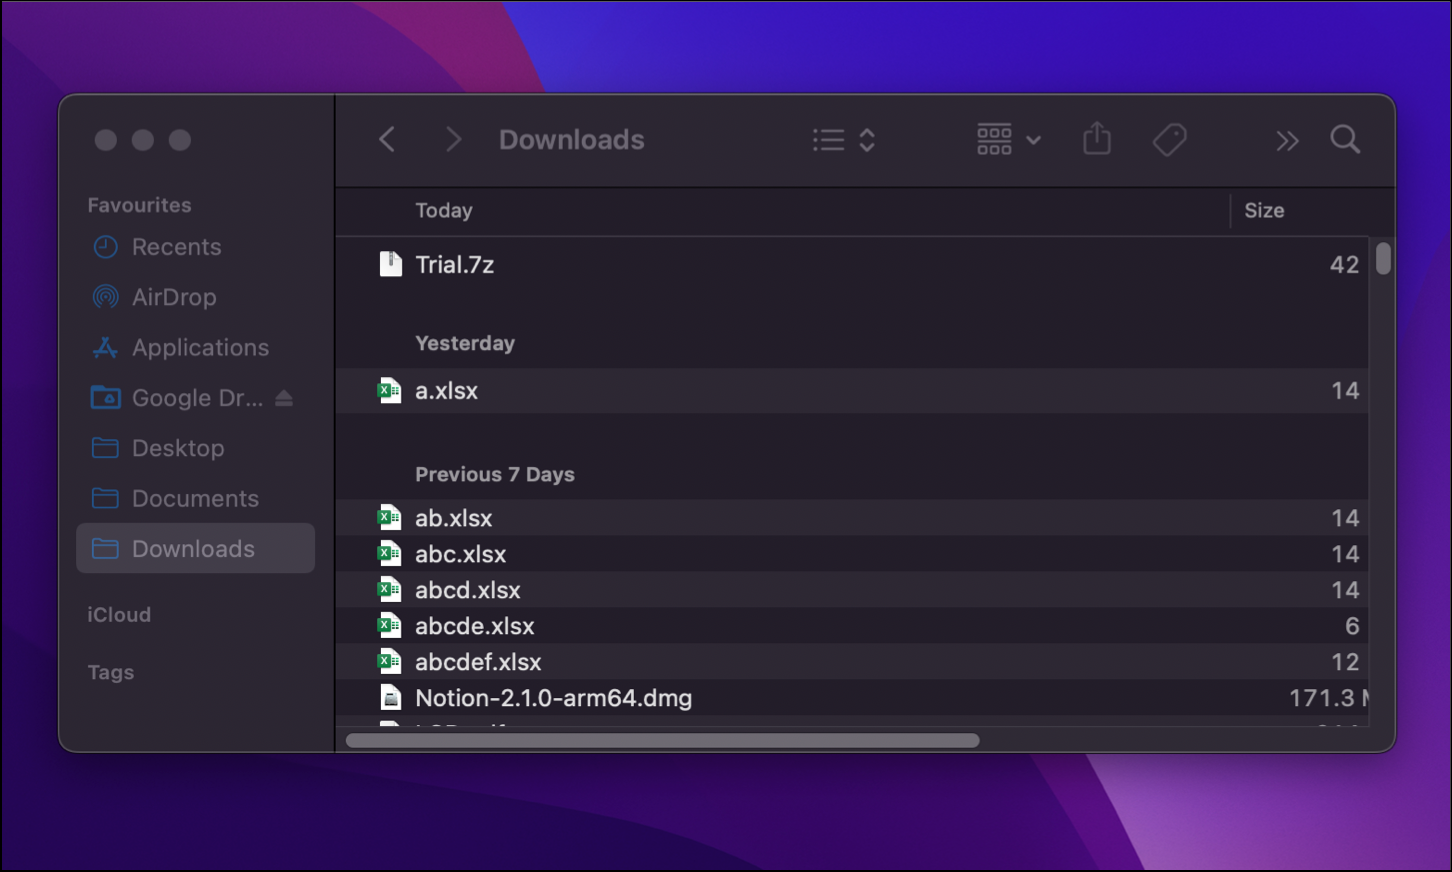
First, locate your 7z file and double-click the file. Archive Utility should automatically extract the contents for you.
If double-click doesn’t work, right-click on the file you wish to extract instead.
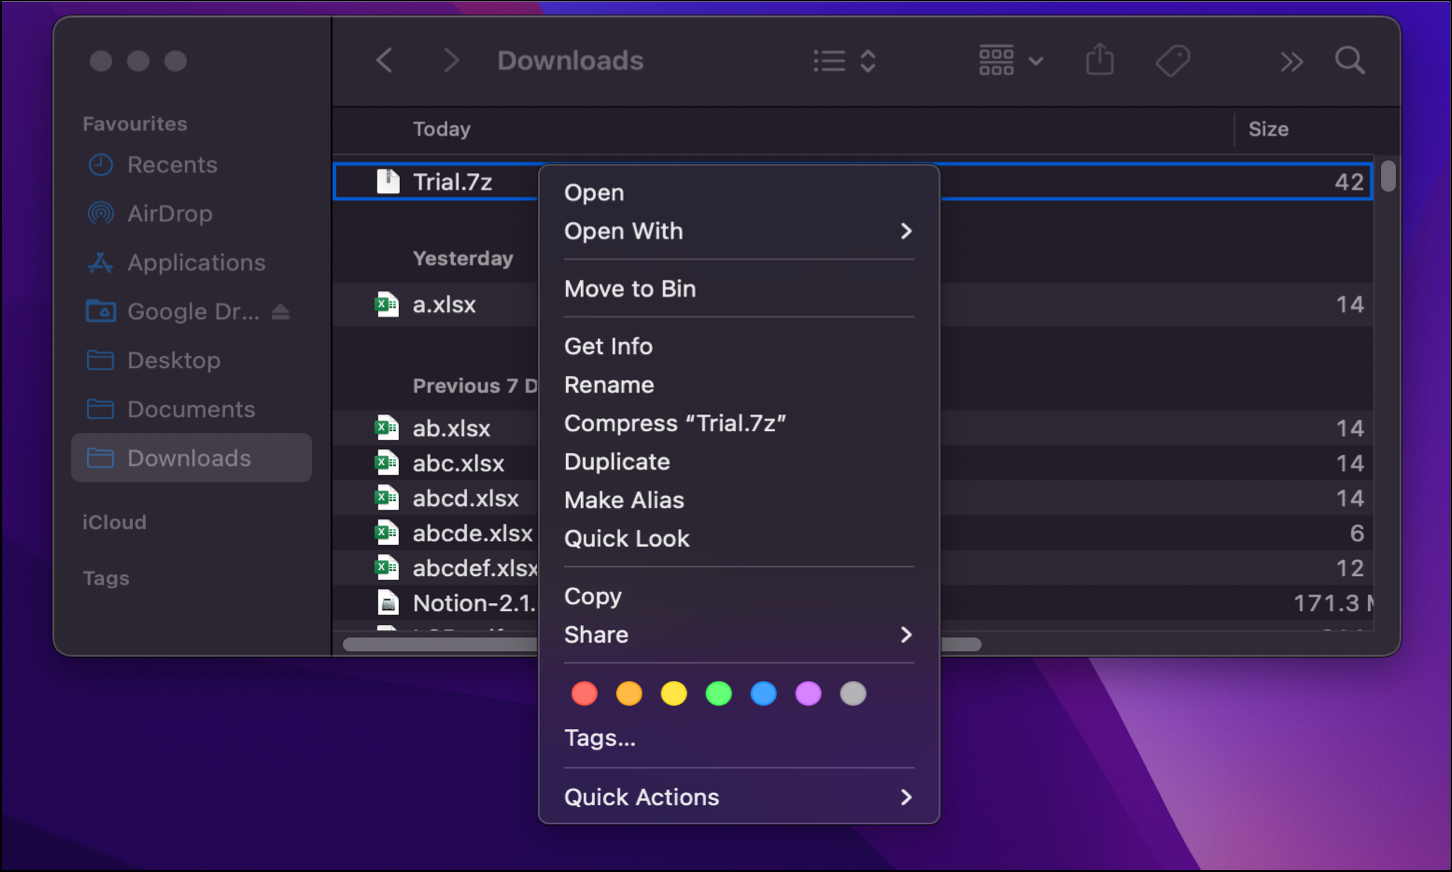
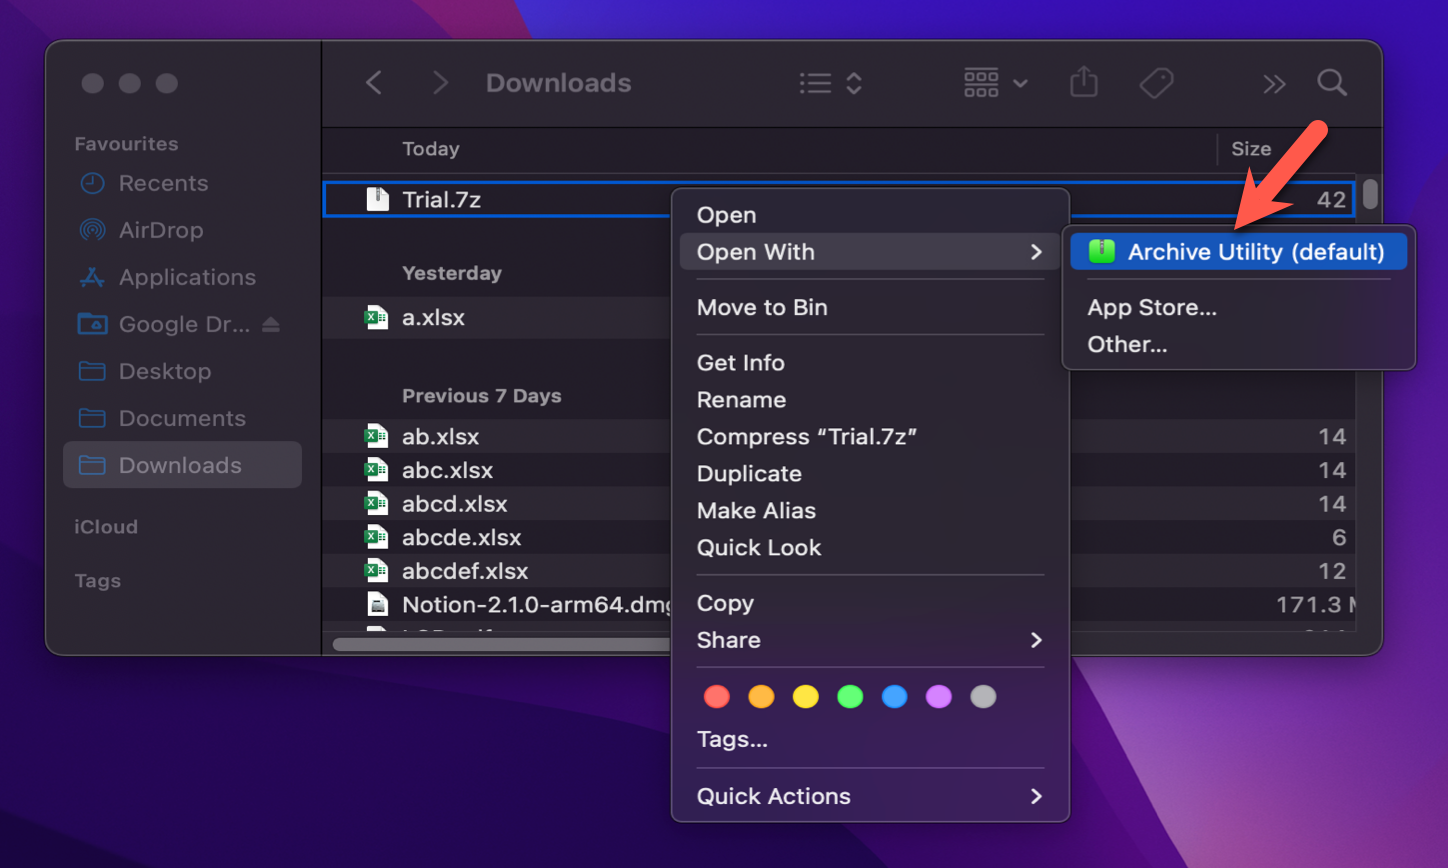
Now, hover over the ‘Open With’ option and click on ‘Archive Utility (default)’ from the context menu.
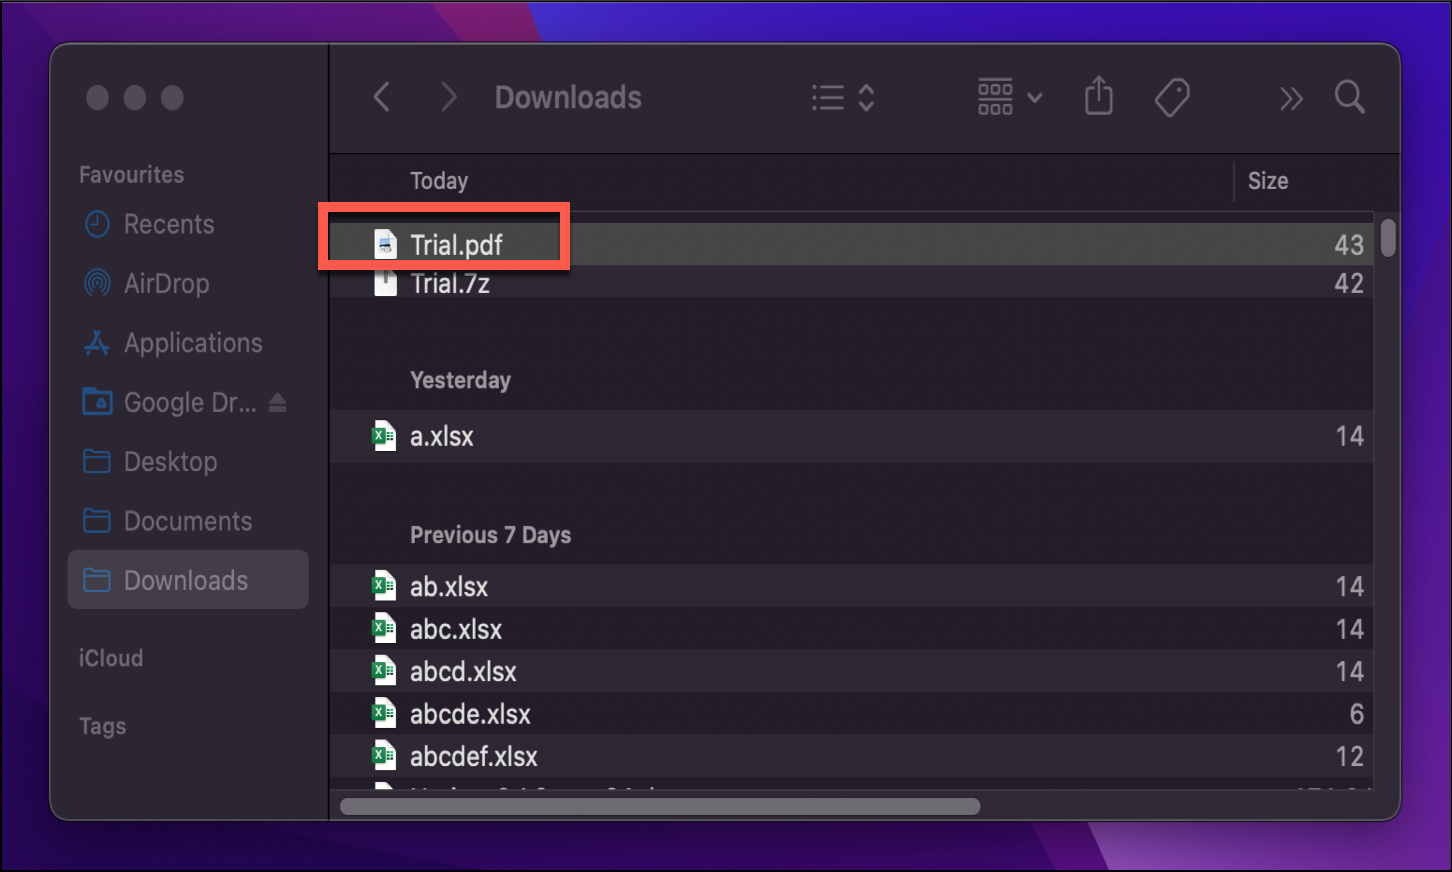
Depending on the contents of the compressed file, it might take a few seconds for the file to decompress. You’ll find your extracted files in the same location as the 7z file.
That’s it! This is all you need to do to extract and decompress a 7z file on macOS devices. These files can save you a lot of space and help you manage your large files more efficiently.
Although there are plenty of other tools available – some that even offer additional functionality, like malware scanning – for simple decompression needs, Archive Utility is more than enough.
Extracting a 7z File Online on macOS
If you can’t extract the files using Archive Utility for some reason, you can use an online tool called Online-Archive-Extractor. It’s extremely easy to use and also saves you from the pain of downloading a third-party app.
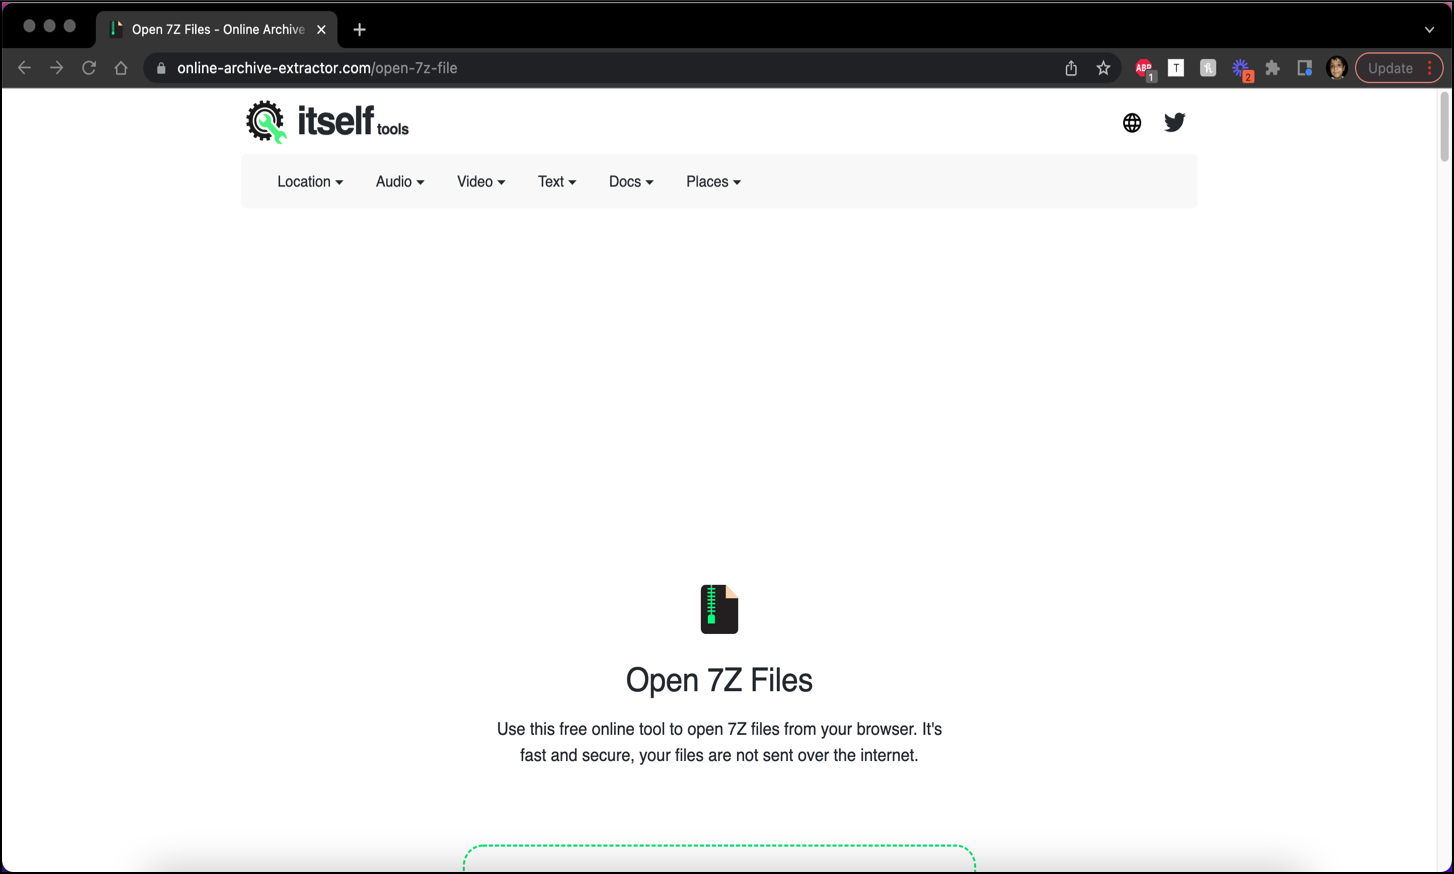
First, open online-archive-extractor.com in your desired browser.
Click the ‘I agree’ checkbox to be able to use the online tool.
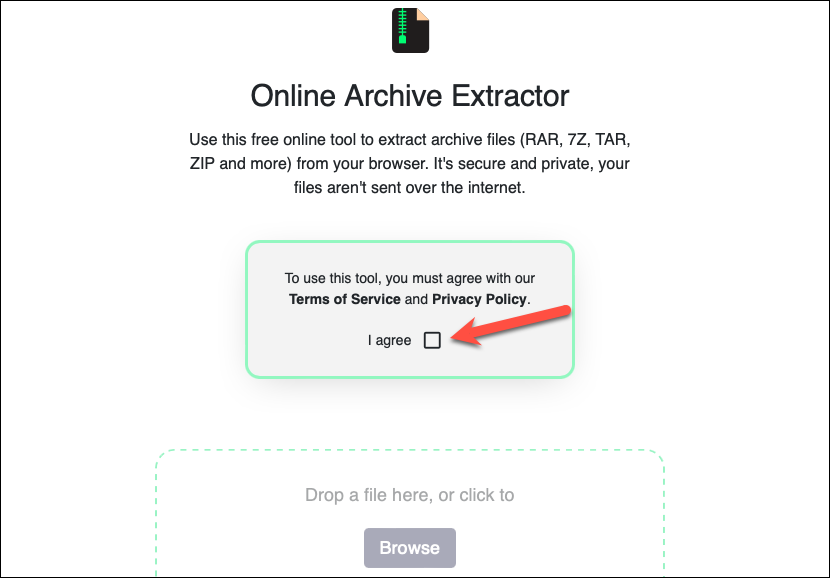
The ‘Browse’ button would become clickable as soon as you click the checkbox. Now, either click ‘Browse’ and open the 7z file or drag and drop your desired 7z file in the space provided.
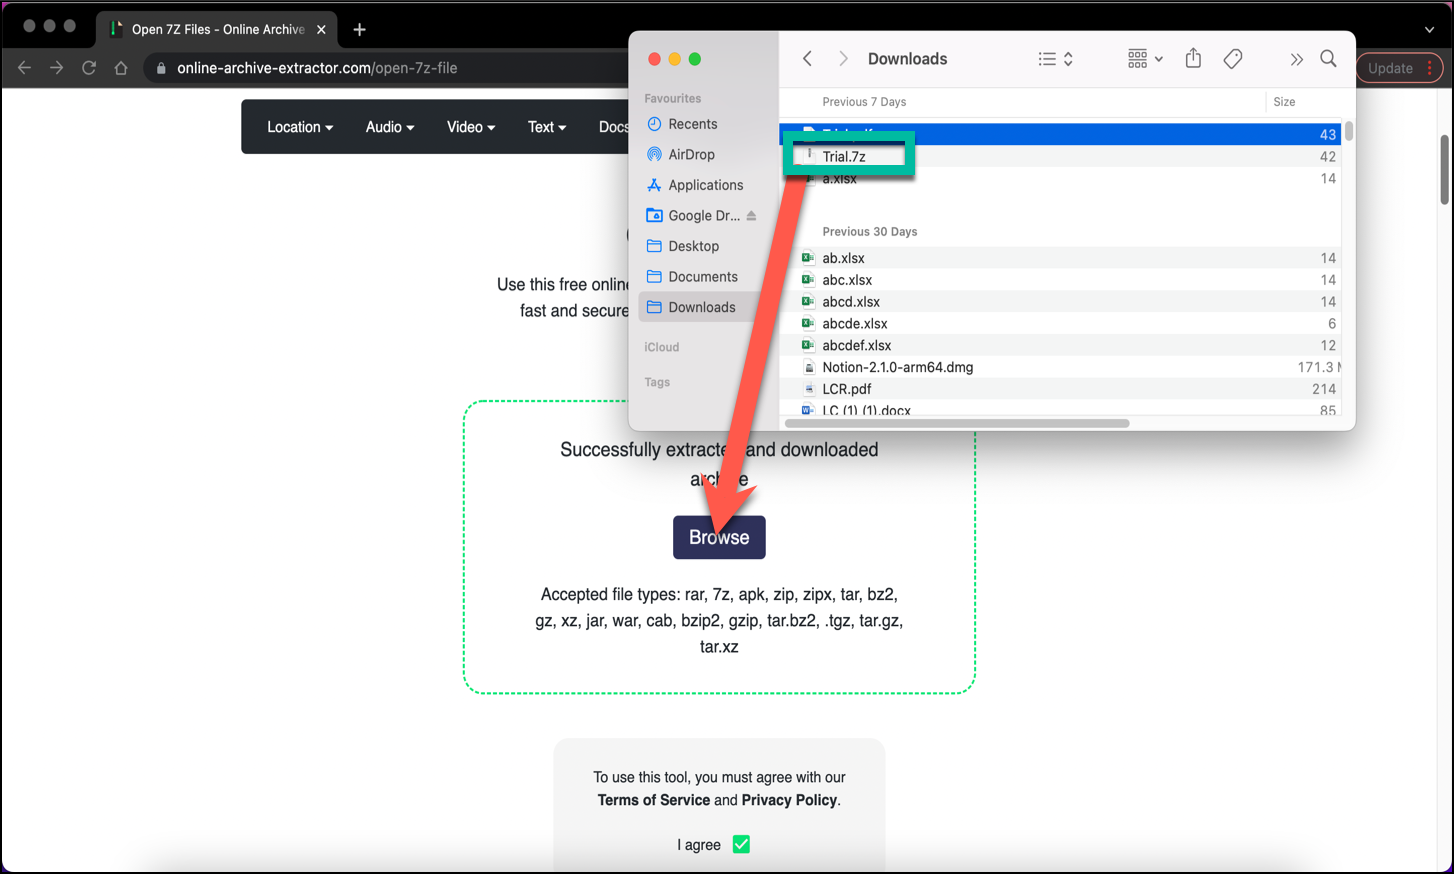
Once uploaded, the site would automatically extract the files from where you can download them by clicking the ‘Download’ button.
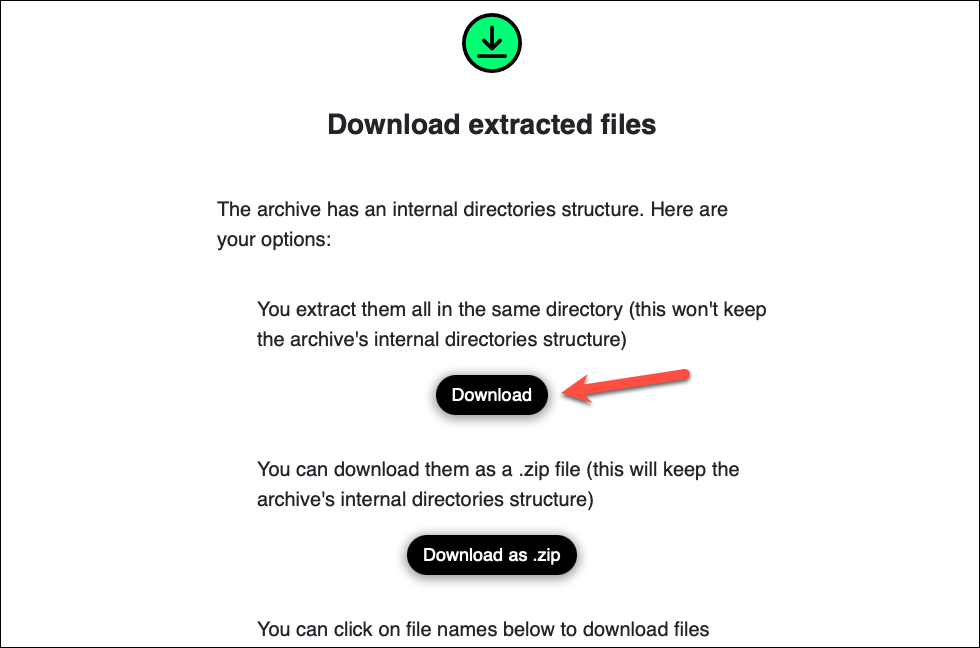
Once the download is complete, you can locate the files in your downloads folder.
There you go! This is how you can easily extract and download the content of your 7z files online. Now that we have learned how to extract and download these files, let’s have a look at how to create them.
Creating a 7z File on macOS
There are several ways to convert your local archived files into a 7z file. One of the easiest and most effective ways is to do it online. Using it, you can convert .zip, .rar, or other archived file formats to .7z files.
First, visit convertfiles.com in your desired browser.
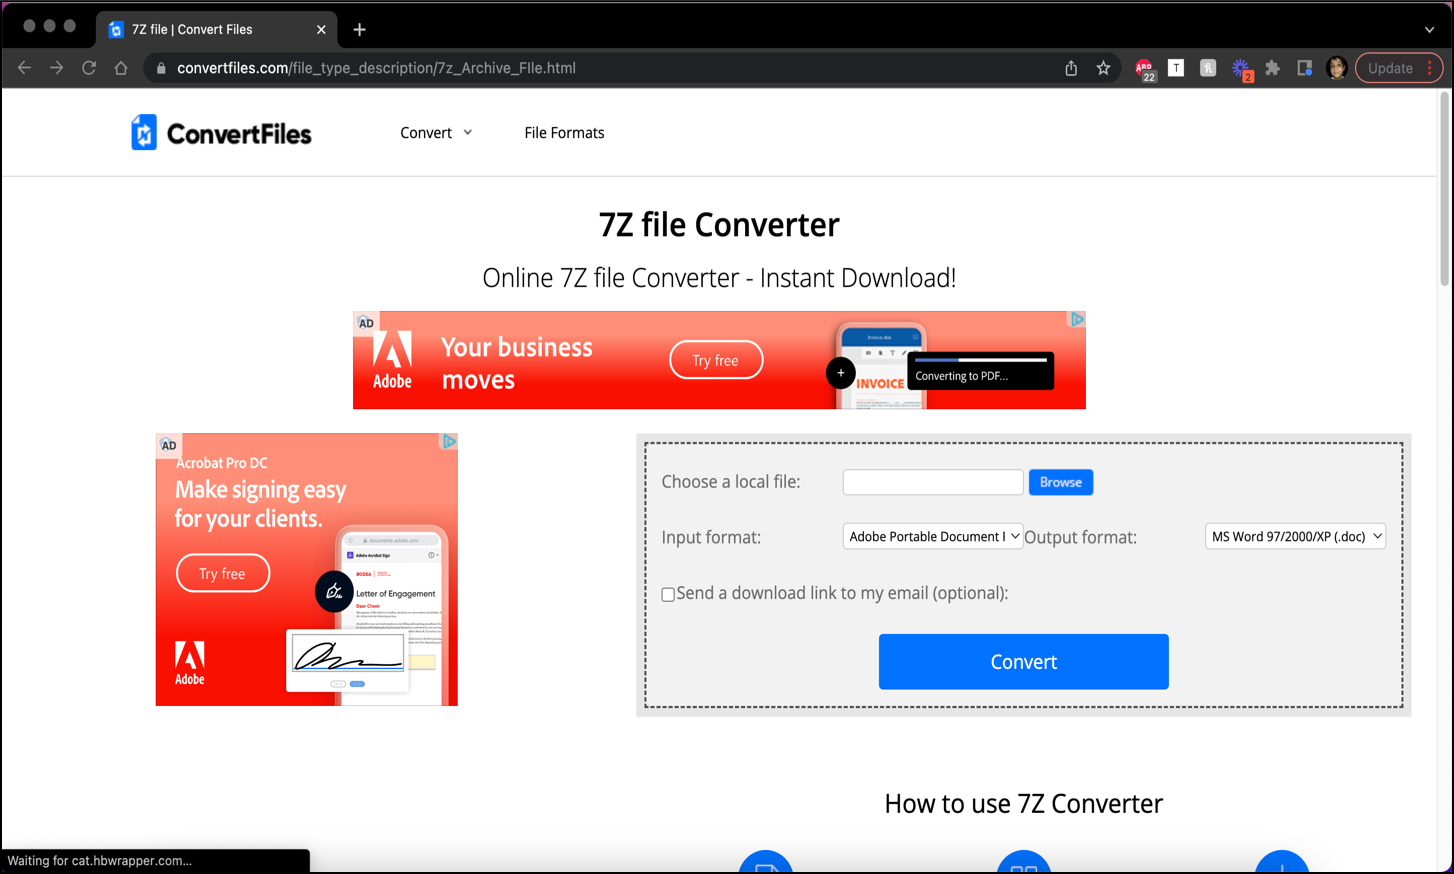
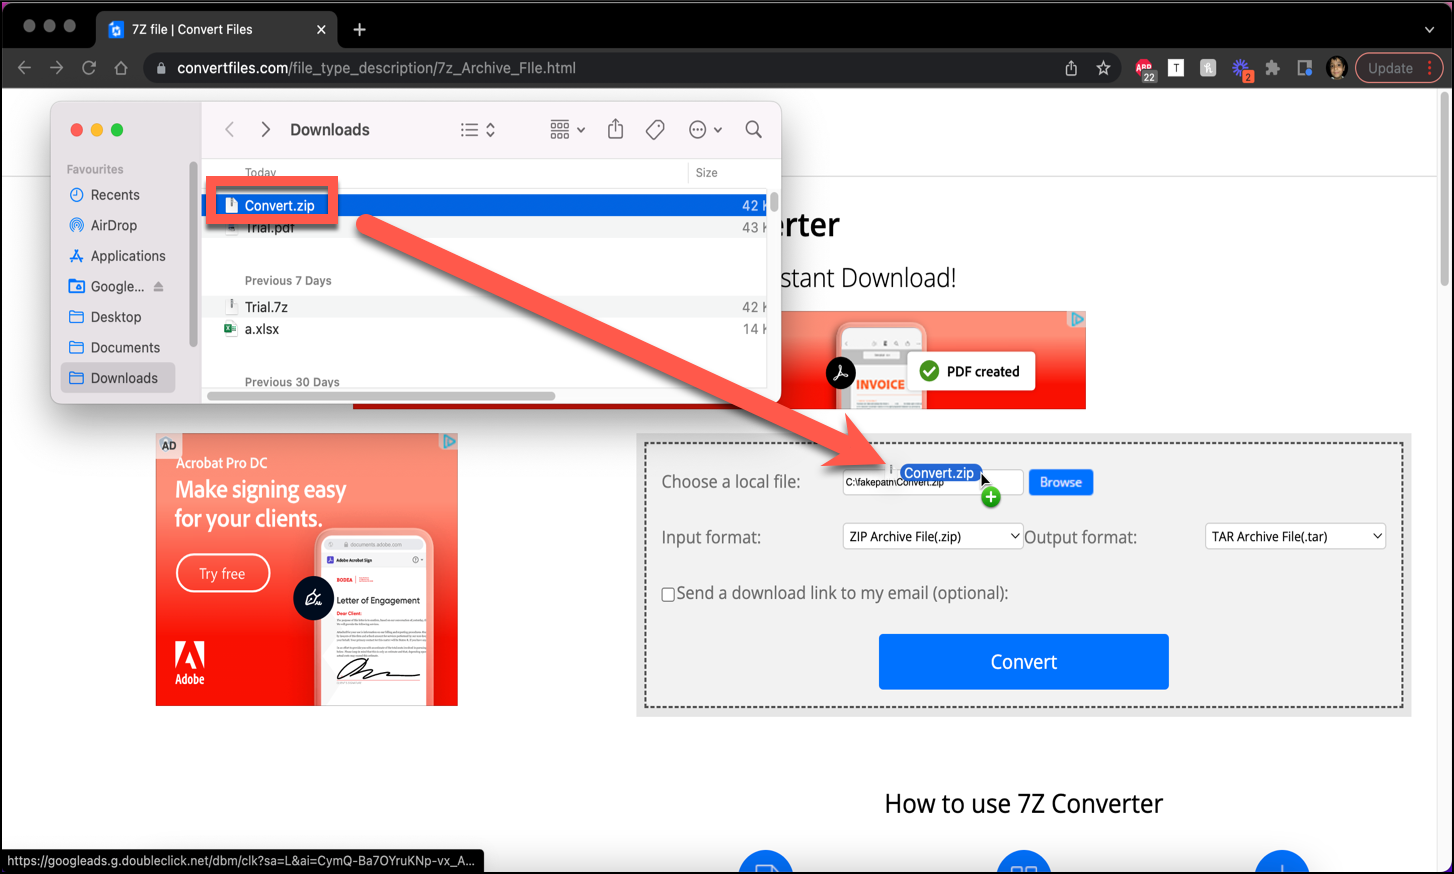
Next, browse or drag and drop the file/folder you wish to convert into a 7z archive. It’ll automatically detect the input format and provide compatible options in the output format.
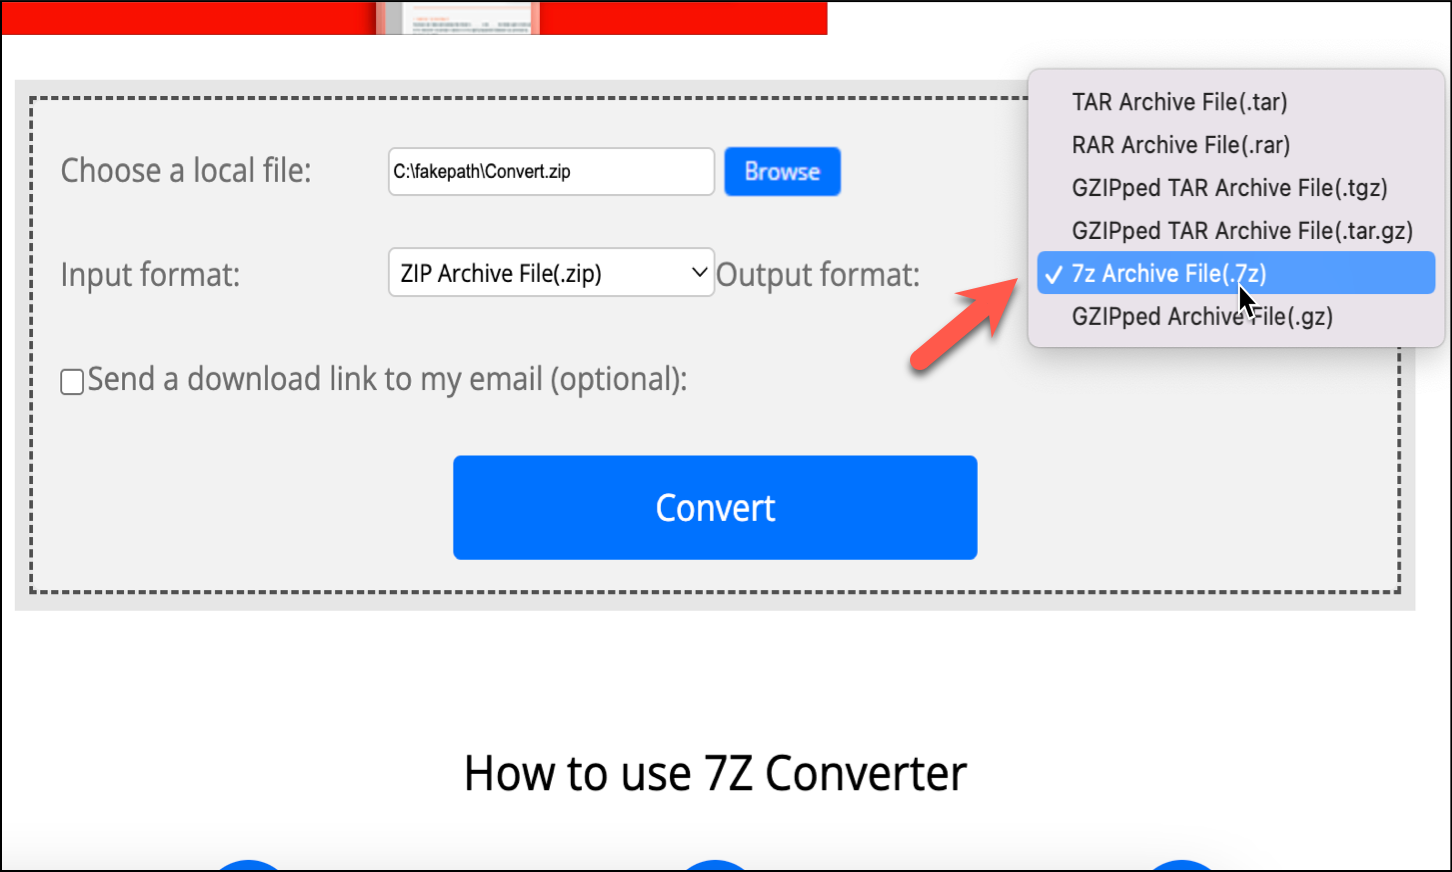
Click the ‘Output format’ drop-down button and select the ‘7z Archive File(.7z)’ option from the menu. If you can’t find it, it means the input file cannot be converted to a .7z file type.
Next, click on the ‘Convert’ option.

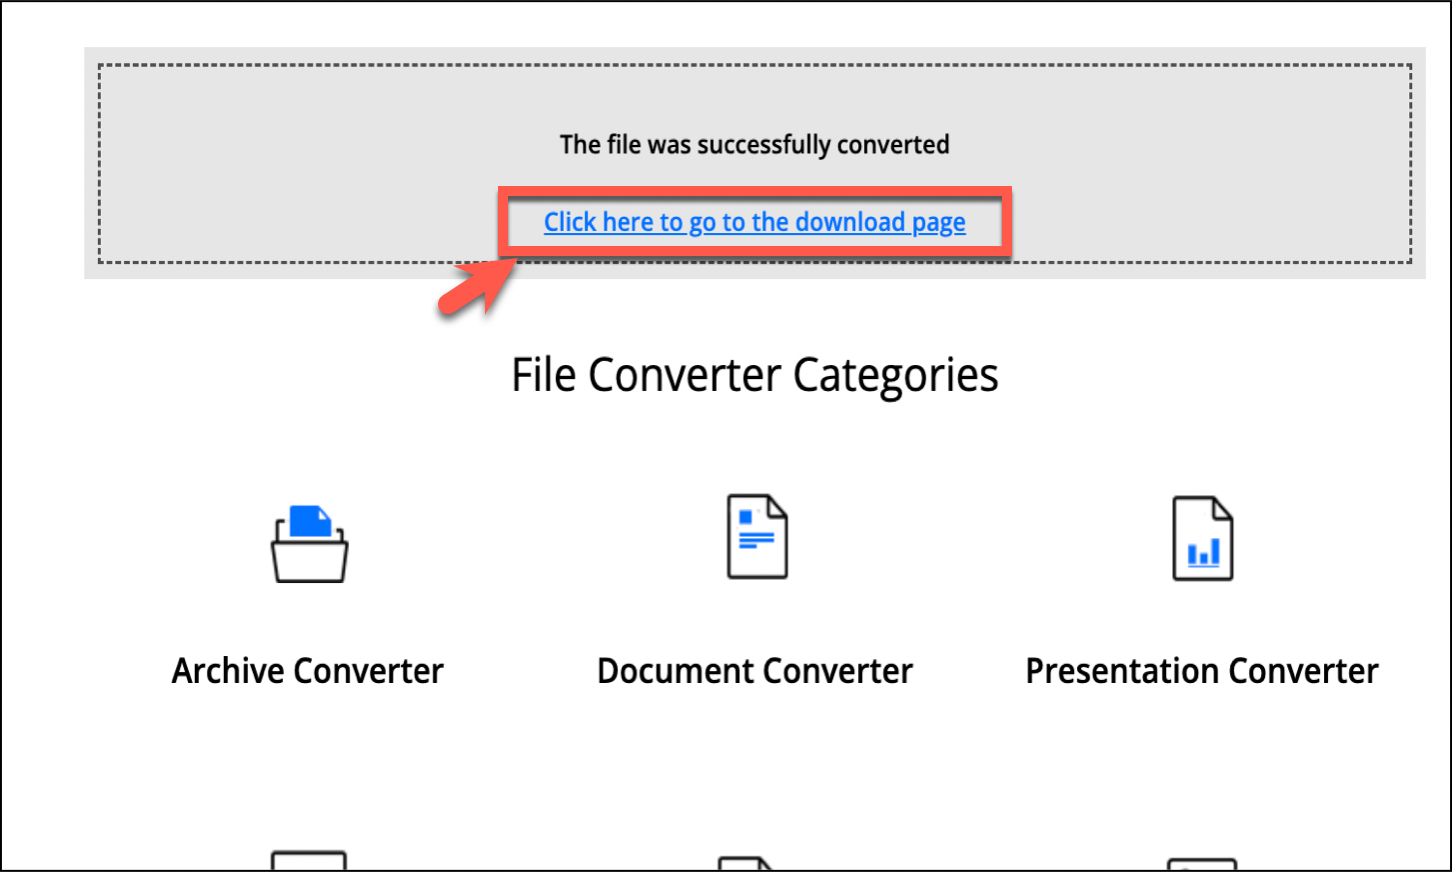
It’ll take some time to convert the files. Once complete, you would be prompted by a message which would say, “The file was successfully converted.” Click on the ‘Click here to go to the download page’ hyperlink.
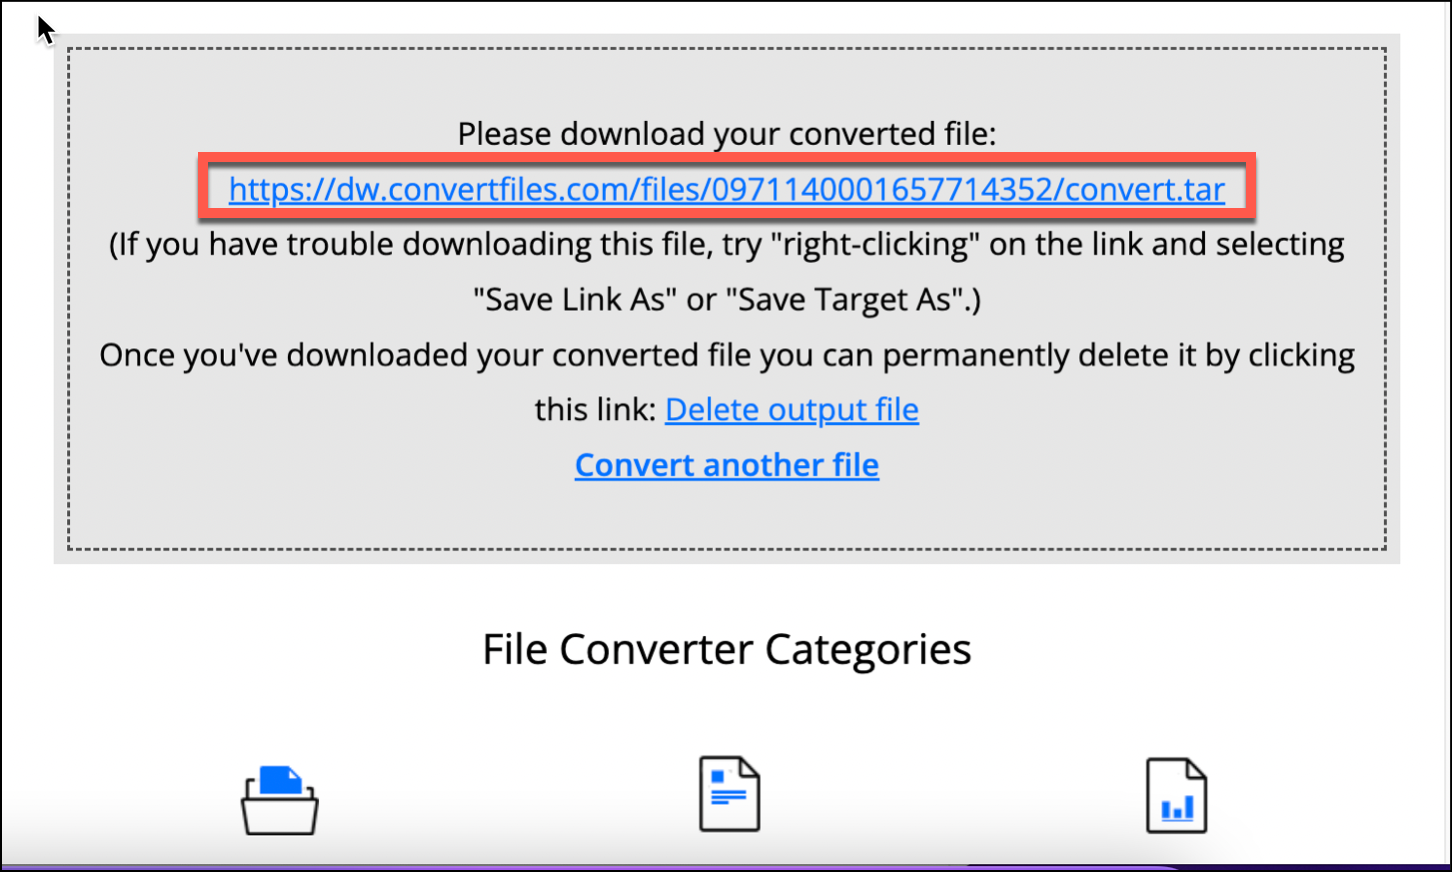
You would be redirected to another tab where you would find the download link. Finally, click on the link to download the 7z file.
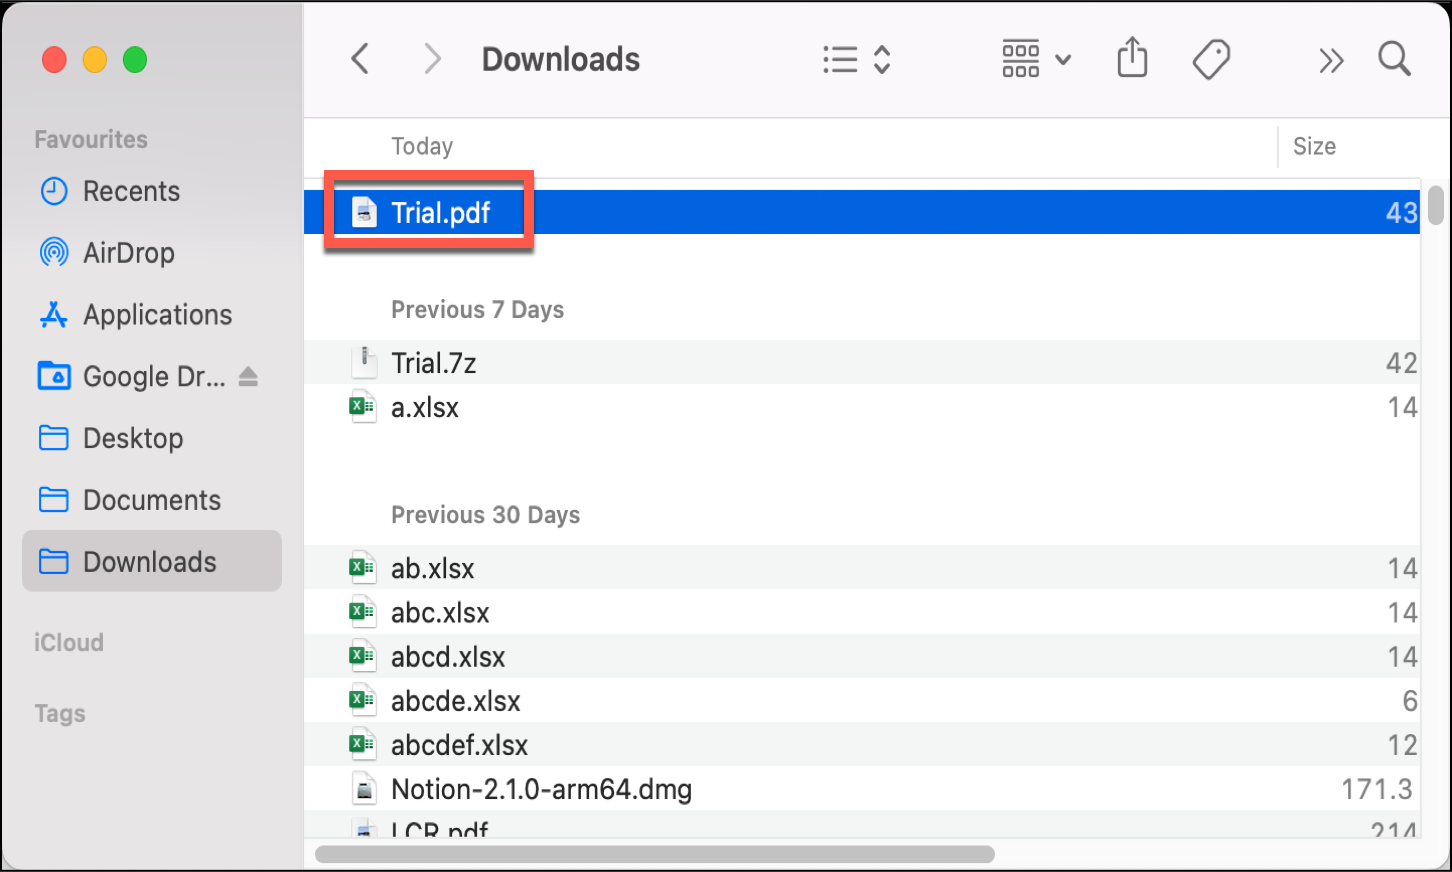
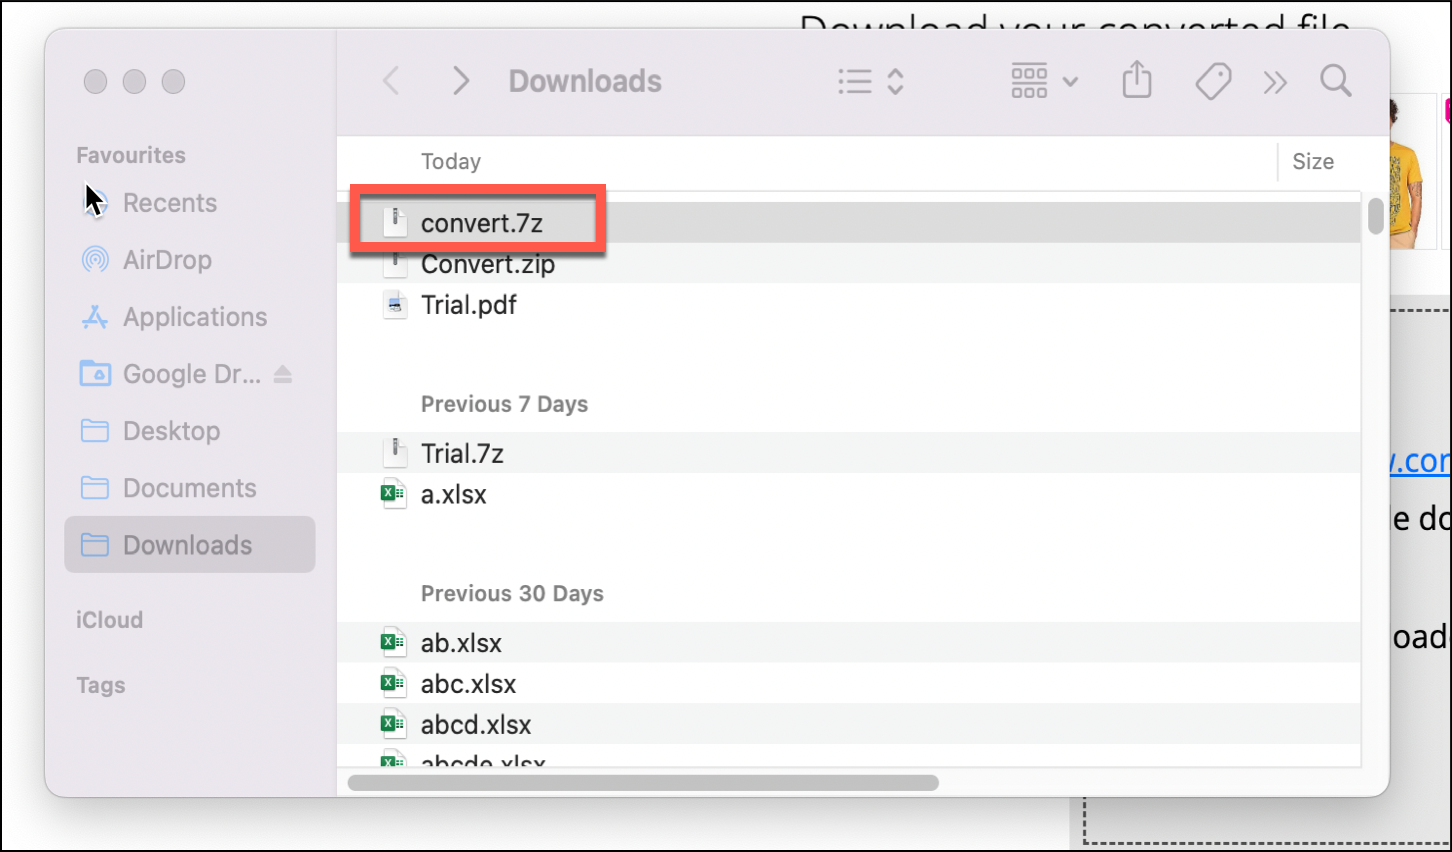
You’ll be able to locate the downloaded file in your ‘Downloads’ folder.
You have successfully converted your desired file/folder into a 7z archive file. You can also upload a 7z file and convert it to another compatible format using the same tool.
That’s about it! 7z files are notoriously easy to work with on your macOS device with the right set of tools. Hopefully, with the tools mentioned in this guide, you can now easily extract and even convert your 7z files.