
Windows 11 offers a powerful Clipboard feature that goes beyond simple copy and paste functionality. The Clipboard history allows you to access multiple recently copied items, making it easier to transfer text and other content between applications. This guide will walk you through how to enable, use, and manage the Clipboard history on your Windows 11 device.
Enabling Clipboard history
There are two simple methods to enable Clipboard history on Windows 11:
Method 1: Using Settings
- Open the Settings app by clicking its icon in the Start menu or pressing
Windows+Ion your keyboard. - Select the “System” tab from the left sidebar.
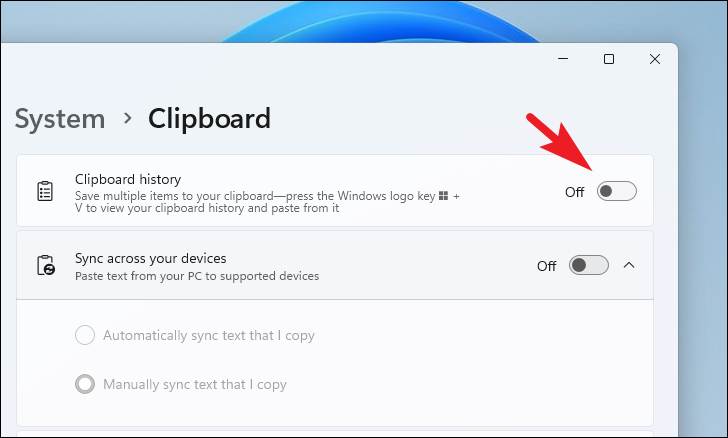
- Scroll down and click on “Clipboard” in the right pane.
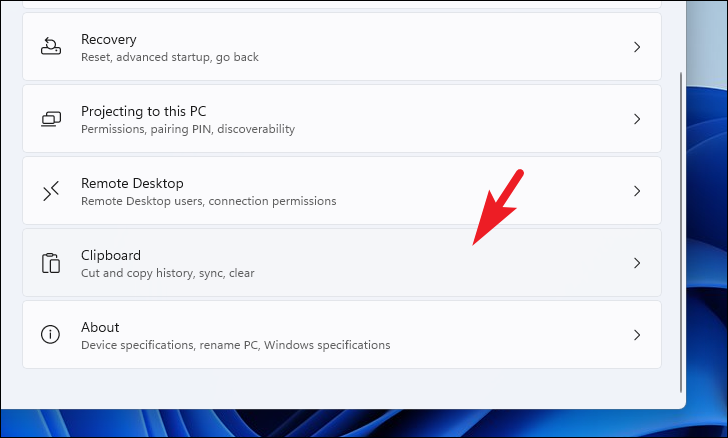
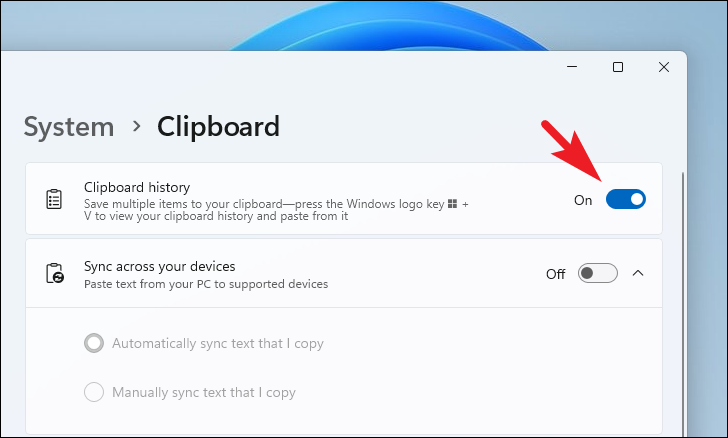
- Locate the “Clipboard history” toggle switch and click it to turn it on.
Method 2: Using keyboard shortcut
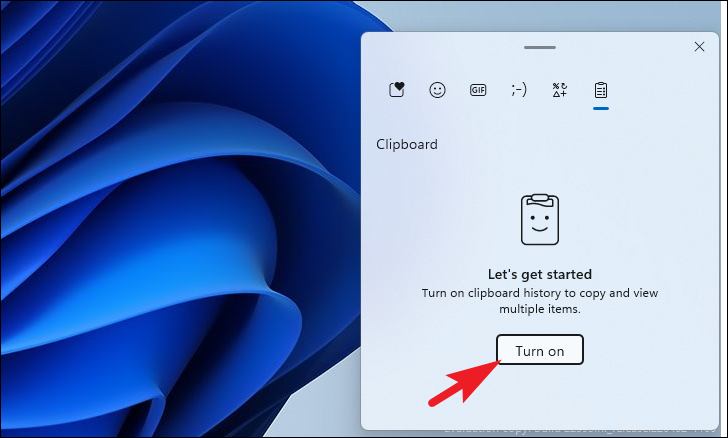
- Press
Windows+Von your keyboard to open the Clipboard panel. - Click the “Turn on” button in the Clipboard window to enable Clipboard history.
Using Clipboard history
Once enabled, you can easily access and use items from your Clipboard history:
- Copy text or content as you normally would (e.g., using
Ctrl+C). - When you want to paste a previously copied item, press
Windows+Vto open the Clipboard panel. - Click on the desired item in the panel to paste it at your cursor location.
Managing Clipboard items
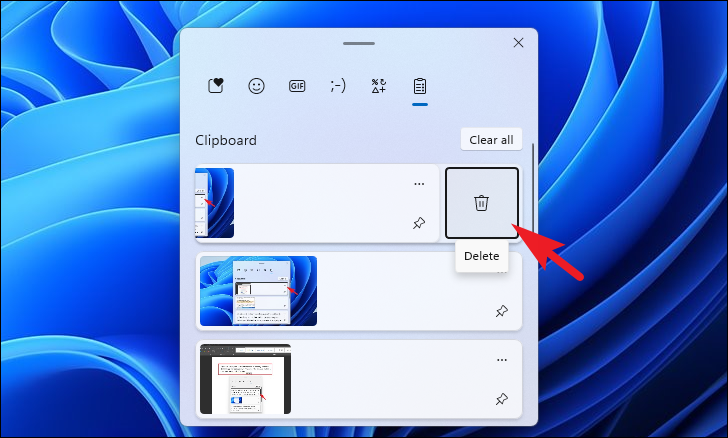
Removing individual items
- Open the Clipboard panel with
Windows+V. - Find the item you want to remove.
- Click the ellipsis (three dots) icon in the top-right corner of the item.
- Select the trash can icon to delete the item.
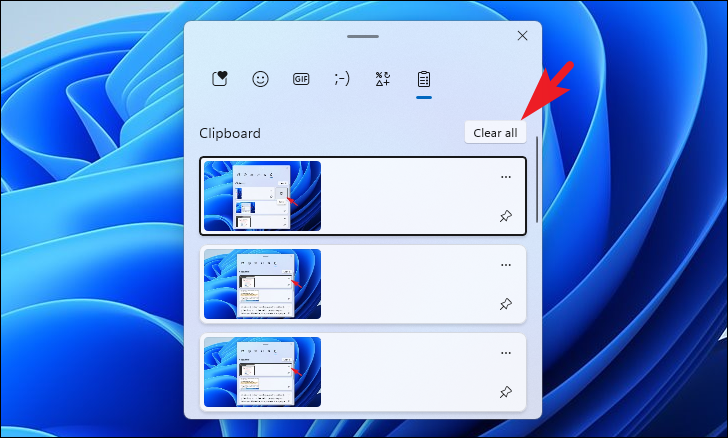
Clearing all Clipboard items
- Open the Clipboard panel with
Windows+V. - Click the “Clear all” button in the top-right corner of the panel.
Alternatively, you can clear Clipboard data through Settings:
- Navigate to Settings > System > Clipboard.
- Click the “Clear” button next to “Clear clipboard data”.

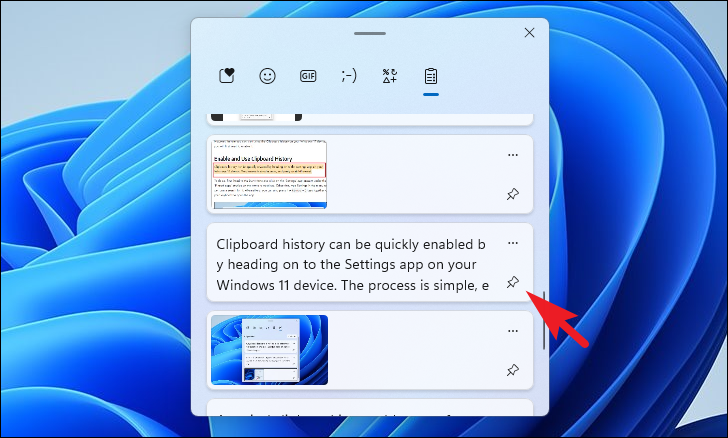
Pinning items
To keep important items readily available:
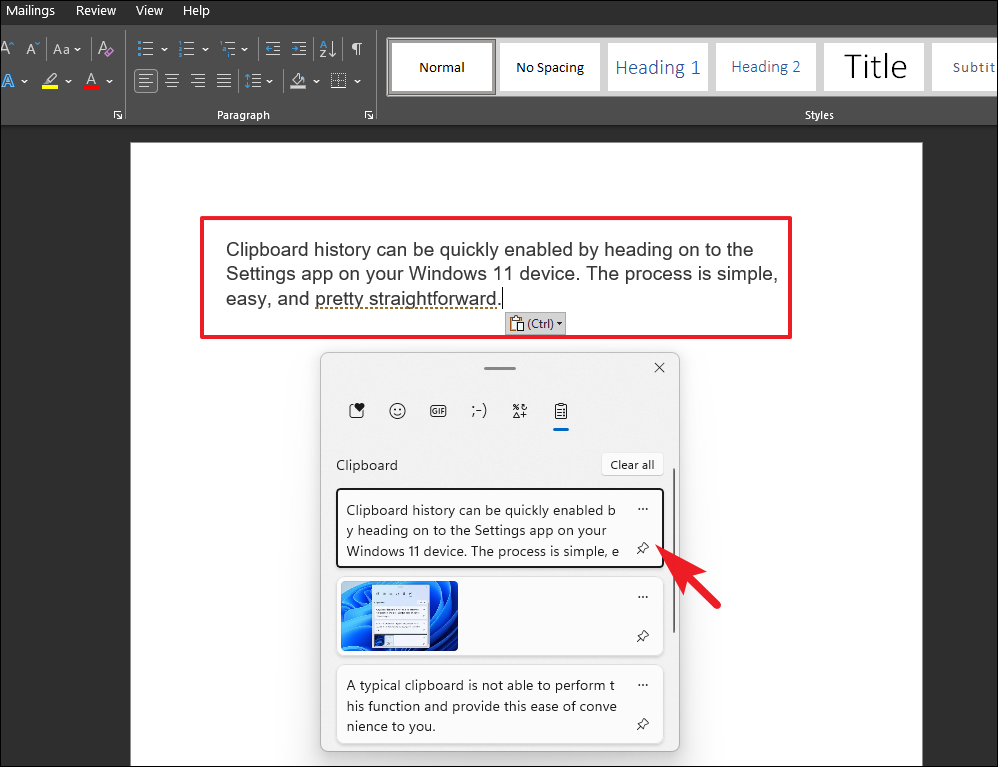
- Open the Clipboard panel (
Windows+V). - Find the item you want to pin.
- Click the pin icon in the bottom-right corner of the item.
Syncing Clipboard across devices
Windows 11 allows you to sync Clipboard data across multiple devices:
- Go to Settings > System > Clipboard.
- Toggle on “Sync across devices”.
- Choose between “Automatically sync text that I copy” or “Manually sync text that I copy”.

Note: Devices must be connected to the internet and logged in with the same Microsoft account for syncing to work.
Disabling Clipboard history
If you need to turn off Clipboard history:
- Open Settings > System > Clipboard.
- Toggle off “Clipboard history”.
By mastering these Clipboard features, you can boost your productivity in Windows 11.


