
Windows 11 includes various visual effects and background services that can slow down performance, especially on older PCs. Fortunately, you can optimize your system settings to improve speed and responsiveness. Here are several effective methods to optimize Windows 11 for older hardware.
Adjust Visual Effects for Better Performance
Step 1: Click the search icon on the taskbar and type sysdm.cpl, then press Enter. This opens the System Properties window.
Step 2: In the System Properties window, navigate to the "Advanced" tab and click on "Settings" under the Performance section.
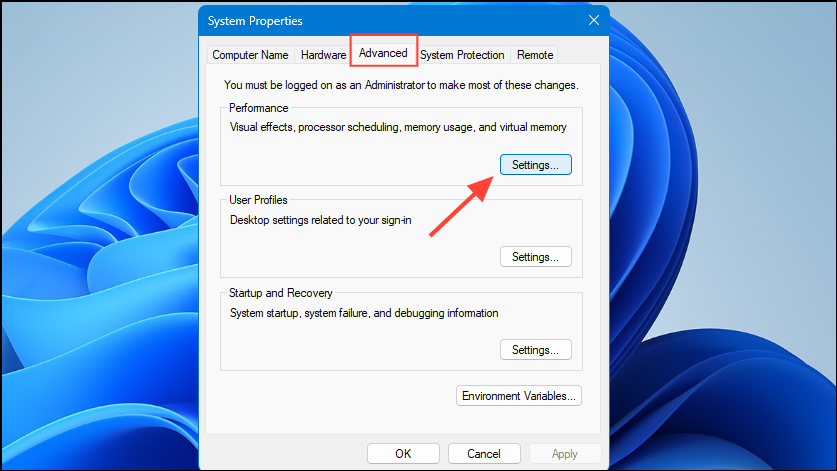
Step 3: Under the Visual Effects tab, select "Adjust for best performance." This option disables unnecessary animations, shadows, and visual effects, freeing up system resources and improving responsiveness.

Step 4: Click "Apply," then "OK," and restart your PC to apply the changes.
Enable the High-Performance Power Plan
Step 1: Open the Settings app by pressing Windows key + I, then select "System" and click "Power & Battery."
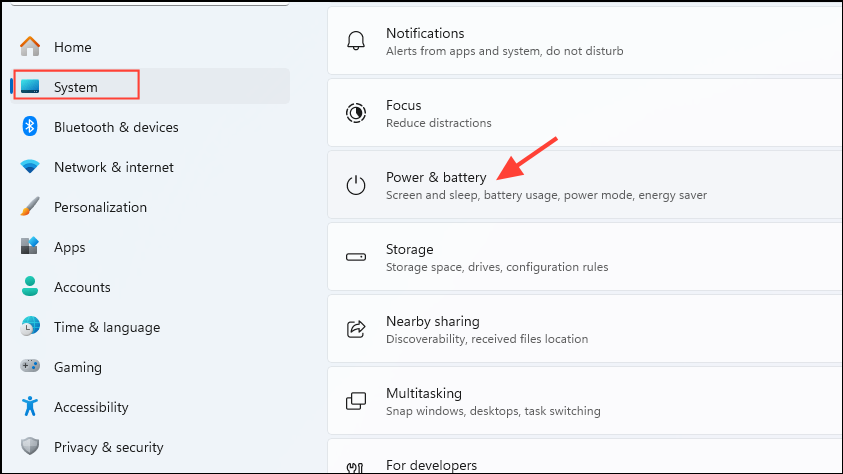
Step 2: Under Power mode, select "Best performance" when plugged in, on battery, or both, as per your needs. This setting prioritizes system performance over energy saving, providing a noticeable boost in speed, which is particularly helpful for older hardware.

Step 3: Close the Settings app, and your new power plan will take effect immediately.
Free Up Disk Space with Storage Sense
Step 1: Open Settings (Windows key + I), navigate to "System" and select "Storage."
Step 2: Toggle the "Storage Sense" switch to "On." Storage Sense automatically deletes unnecessary temporary files and clears out old files in the Recycle Bin, freeing valuable disk space.

Step 3: To configure Storage Sense further, click on "Storage Sense" and set up your preferred schedule and cleanup settings.
Disable Unnecessary Startup Programs
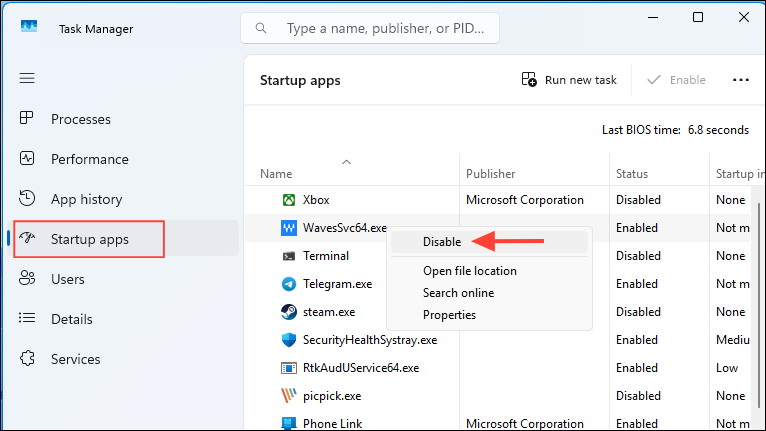
Step 1: Press Ctrl + Shift + Esc to open Task Manager and select the "Startup apps" tab.
Step 2: Review the list of programs that launch automatically with Windows. Right-click any unnecessary program and select "Disable." Reducing startup programs significantly decreases boot time and frees system resources.
Step 3: Restart your PC to see the improved startup speed.
Update System and Device Drivers
Step 1: Open Settings, go to "Windows Update," and click "Check for updates." Installing the latest Windows updates ensures your system has the most recent performance improvements and security patches.
Step 2: For updating specific hardware drivers, press Windows key + R, type devmgmt.msc, and press Enter. In the Device Manager, expand categories, right-click devices, and select "Update driver."
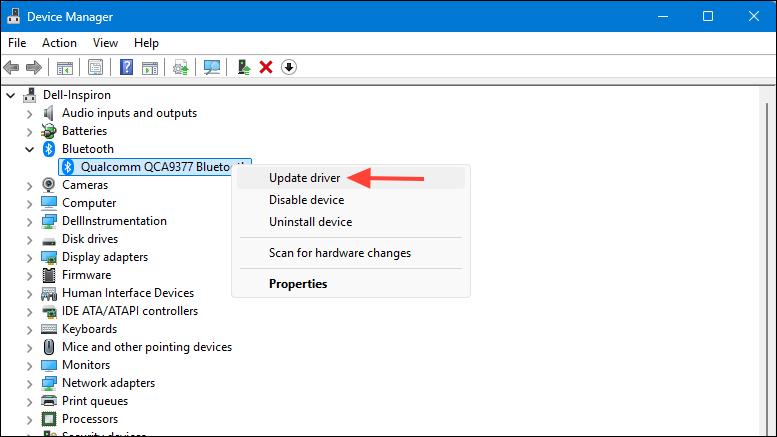
Step 3: Choose "Search automatically for drivers" and follow on-screen prompts. Updated drivers can help your hardware run more efficiently.
Optimize Virtual Memory Settings
Step 1: Open the System Properties window again (sysdm.cpl), navigate to the "Advanced" tab, and click "Settings" under Performance.
Step 2: Go to the "Advanced" tab and click "Change" under the Virtual Memory section. Ensure that "Automatically manage paging file size for all drives" is checked. If not, enable it and click "OK."
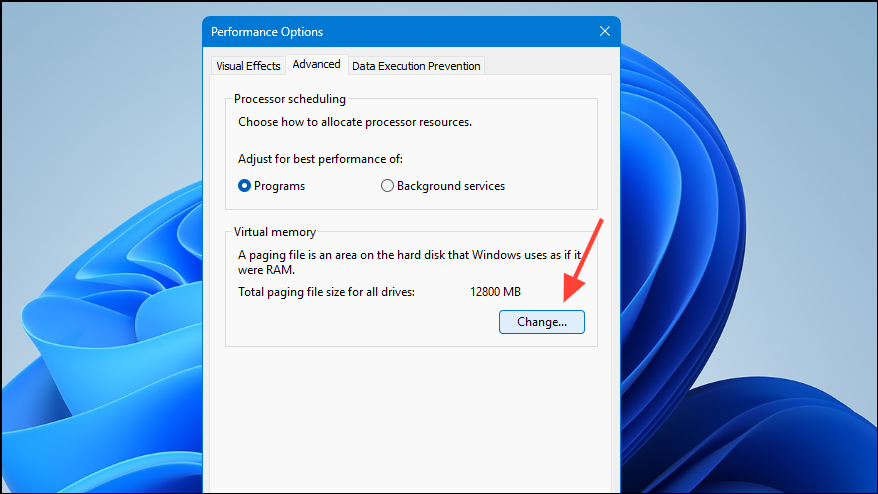
Step 3: Restart your PC to apply the changes. Proper virtual memory management ensures smoother multitasking and better overall performance.
Use ReadyBoost to Increase System Responsiveness
Step 1: Insert a USB flash drive with at least 500 MB of free space and a fast data transfer rate into your PC.
Step 2: Open File Explorer, right-click the USB drive, select "Properties," then go to the "ReadyBoost" tab. Choose "Use this device," and Windows will allocate space on the drive to act as additional memory.
Step 3: Click "OK" to apply the settings. ReadyBoost can significantly speed up older PCs with limited RAM, although it has minimal effect on systems with SSD drives.
Uninstall Unused Applications
Step 1: Open Settings, select "Apps," and then click "Installed apps."
Step 2: Go through the list and identify applications you no longer use. Click the three-dot menu next to each app and select "Uninstall."
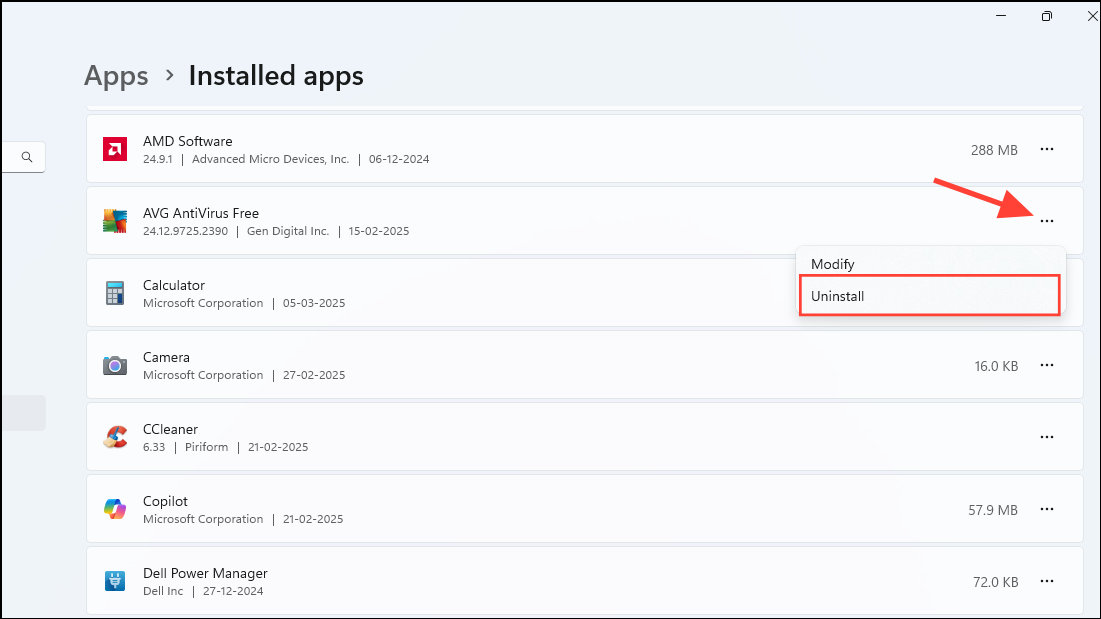
Step 3: Restart your PC after uninstalling unnecessary software. Removing unused applications frees disk space and reduces background processes, improving performance.
Pause OneDrive Syncing
Step 1: Locate the OneDrive icon in the notification area of your taskbar. Click it, then select "Help & Settings" and choose "Pause syncing."
Step 2: Select how long you wish to pause syncing. Temporarily pausing OneDrive can free system resources and improve responsiveness, especially if your PC is experiencing slowdowns during file synchronization.
After applying these optimizations, your older PC running Windows 11 should operate noticeably faster and more efficiently. Regularly checking for system updates and keeping your device free of unnecessary software will help maintain optimal performance over time.