
Unexpected right margin changes in Microsoft Word disrupt document layout, cause text to reflow, and often require repeated manual corrections. These margin shifts can result from a mix of formatting settings, section breaks, AutoCorrect features, or even external factors like printer drivers and PDF conversion tools. Addressing the root causes directly restores consistent margins and saves time spent on unnecessary reformatting.
Method 1: Reset All Margins Across the Document
Step 1: Press Ctrl+A to select the entire document. This ensures margin changes apply to every section and page.
Step 2: Go to the Layout tab in the Ribbon, then click Margins. Choose a standard margin setting such as Normal, or select Custom Margins... to set specific values. Click OK to apply.
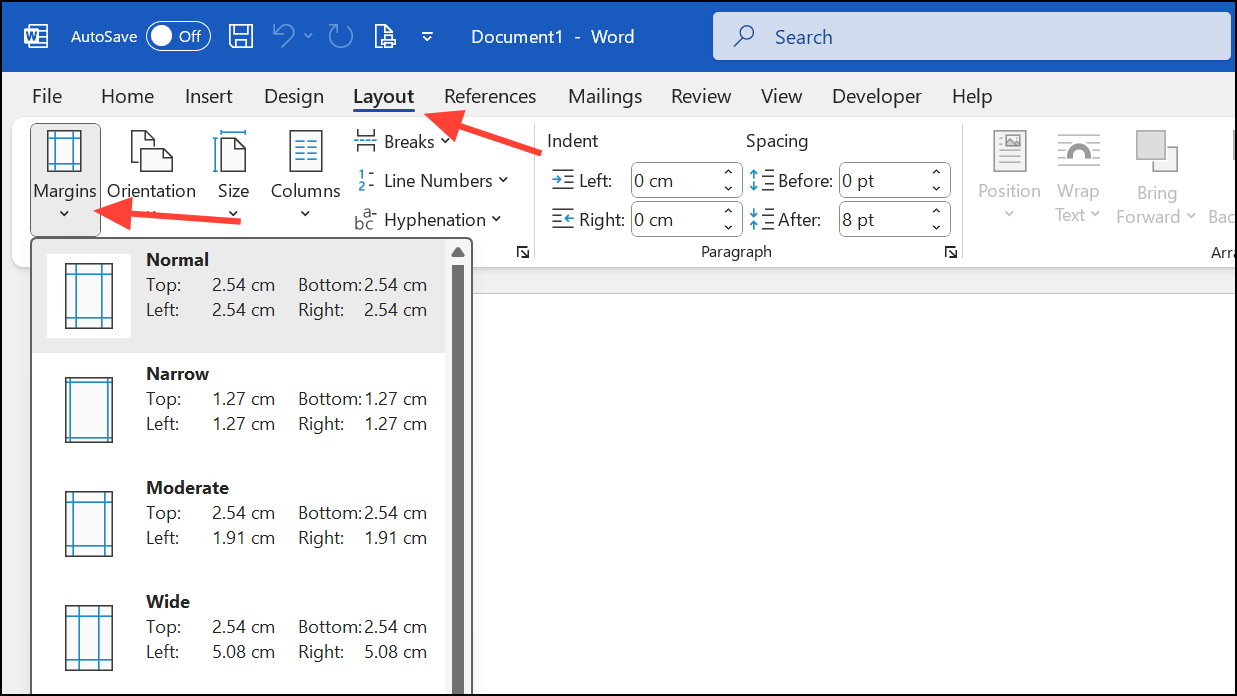
This step standardizes margins for all sections. If margins still vary, section breaks may be present and require removal.
Method 2: Remove Section Breaks That Cause Margin Changes
Section breaks allow different margin settings within a single document, so leftover breaks from copied or imported text can shift margins unexpectedly.
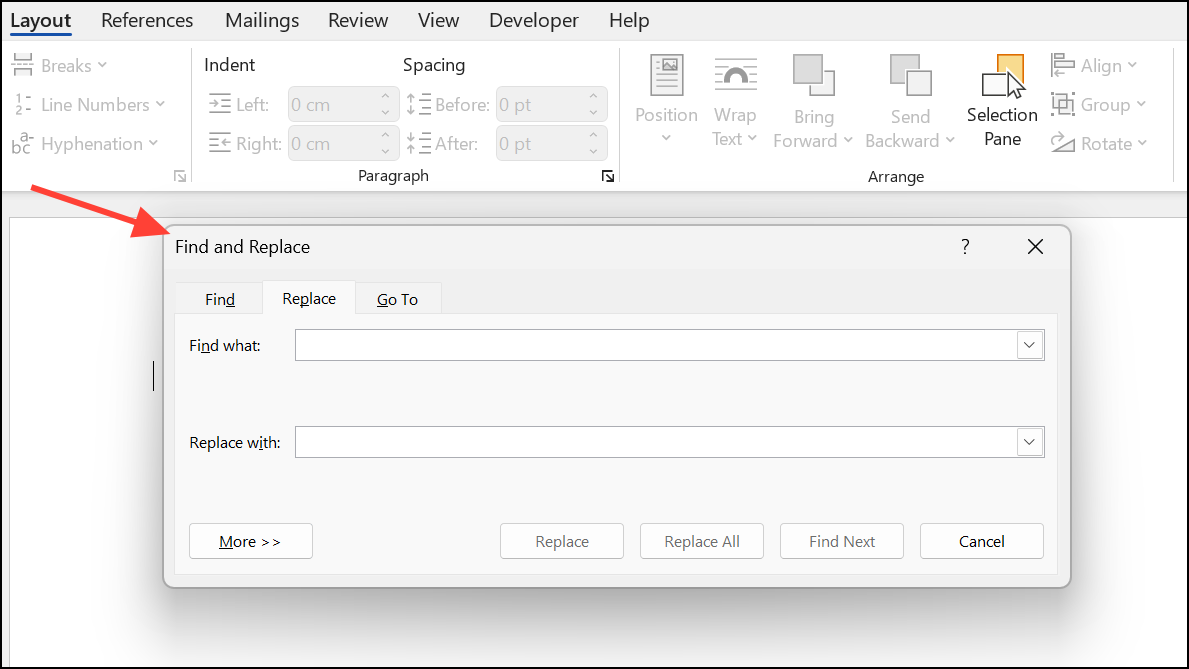
Step 1: Press Ctrl+H to open the Replace dialog box.
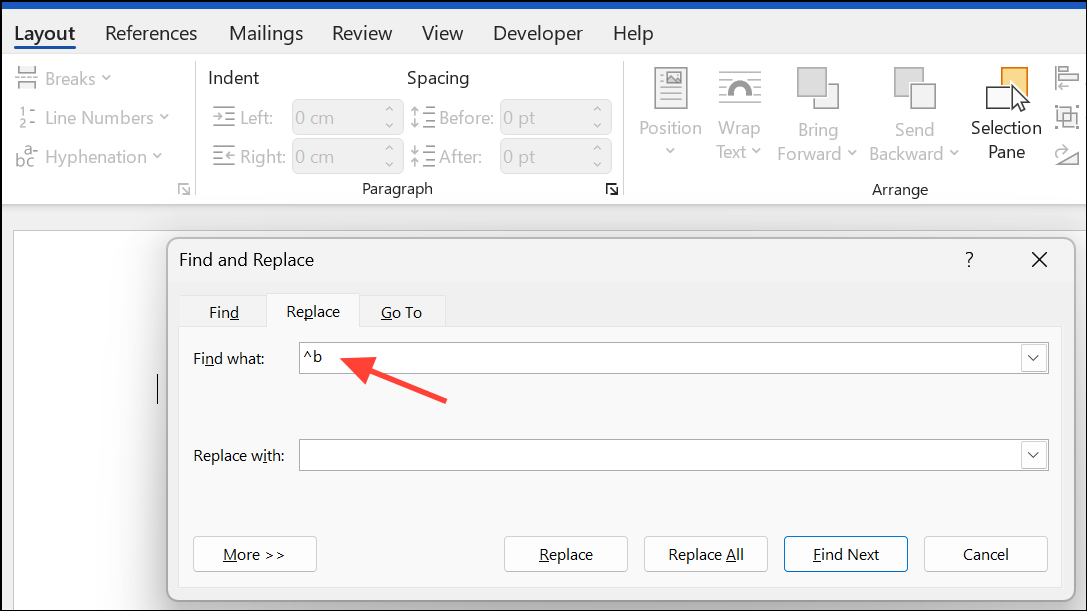
Step 2: In the Find what field, type ^b (the code for section breaks). Leave the Replace with field empty to delete them.
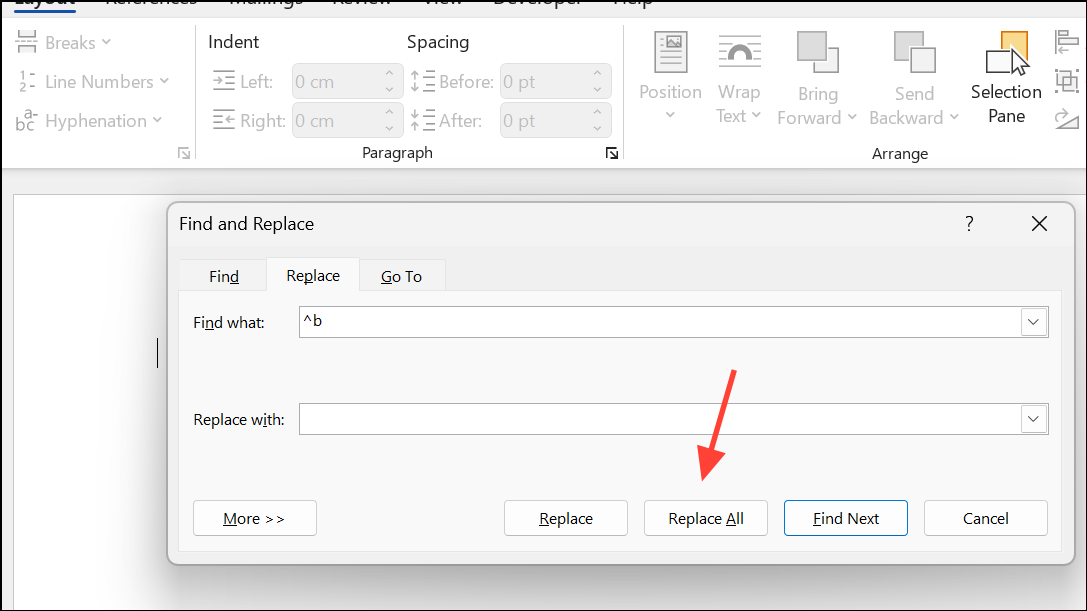
Step 3: Click Replace All. This removes all section breaks, eliminating margin changes tied to different sections. Afterward, reapply your preferred margin settings.
Method 3: Fix Indents Versus Margins
Paragraph indents are often mistaken for margin changes. Indents apply to individual paragraphs and can create the appearance of shifted margins.
Step 1: Select the affected text or press Ctrl+A to select all text.
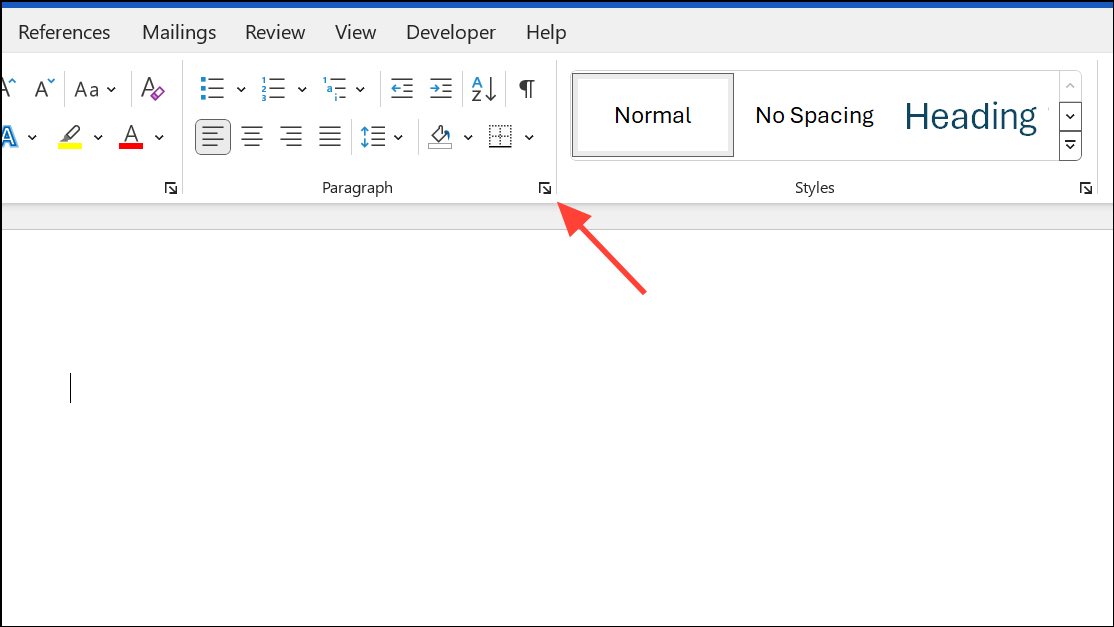
Step 2: On the Home tab, click the small arrow in the Paragraph group to open the Paragraph dialog box.
Step 3: Set both Left and Right indents to 0. Click OK.
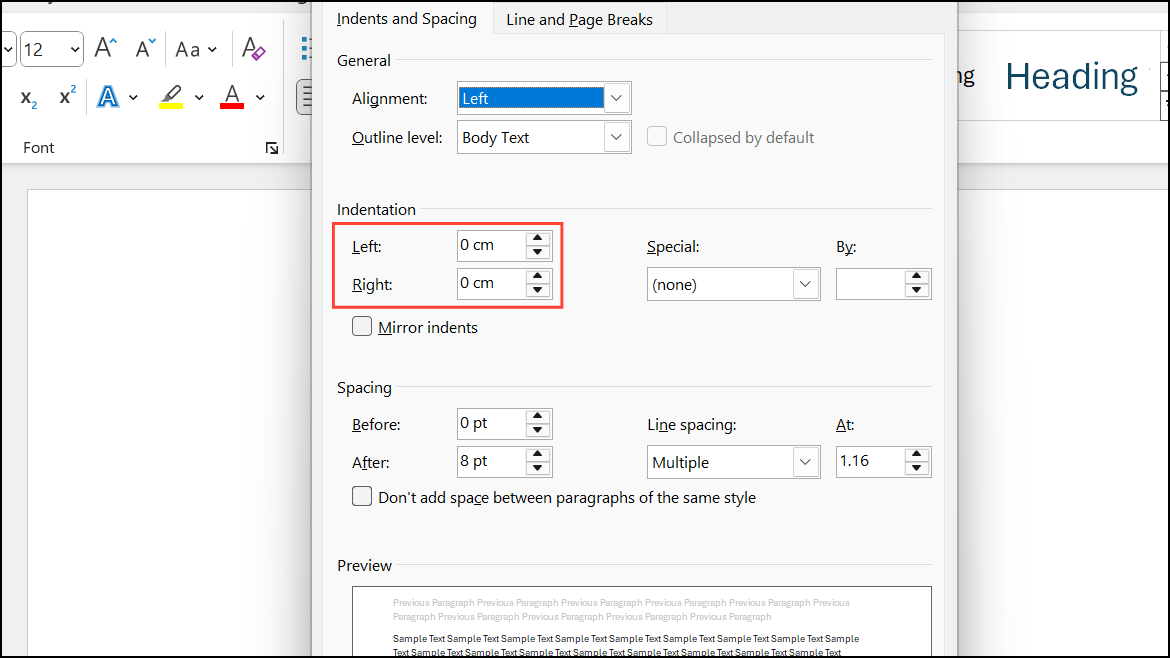
This step ensures that only the document’s margins, not paragraph indents, define the text area.
Method 4: Disable AutoFormat and AutoCorrect Features
Some automatic formatting features can change alignment, margin-like spacing, or insert unexpected elements that push text to the right.
Step 1: Click File > Options, then select Proofing in the sidebar.
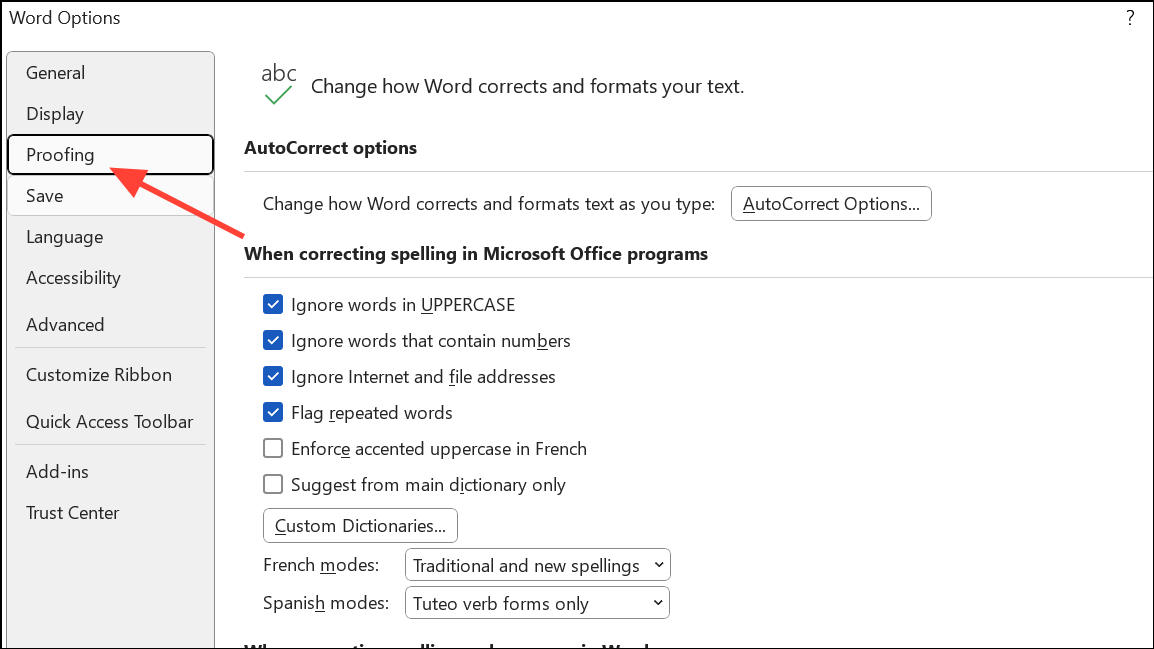
Step 2: Click AutoCorrect Options... and open the AutoFormat As You Type tab.

Step 3: Uncheck options that might modify formatting, such as "Set left- and first-indent with tabs and backspaces" or "Format beginning of list item like the one before it". Click OK twice to close the dialog boxes.
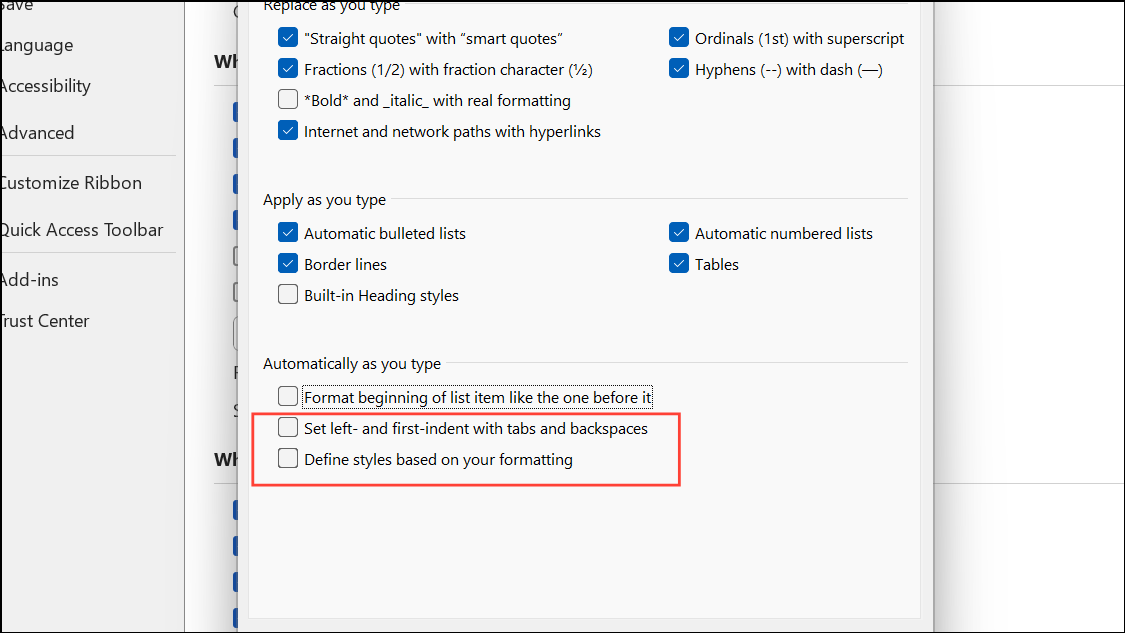
Turning off these features prevents Word from making automatic changes that affect margins or alignment.
Method 5: Check for Hidden Formatting or Corruption
Corrupted formatting, unusual templates, or copied content from external sources can introduce persistent margin problems.
Step 1: Copy all document content (Ctrl+A then Ctrl+C).
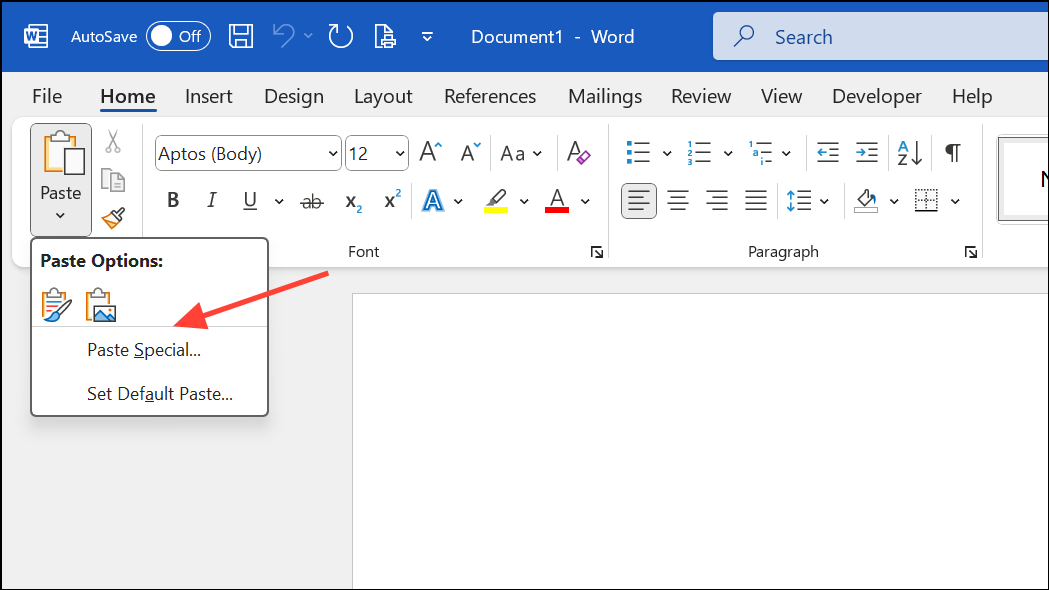
Step 2: Open a new blank document. Use Paste Special (Home tab > Paste drop-down > Paste Special > Unformatted Text).
Step 3: Set margins and styles in the new document. This approach removes hidden formatting and resets margin behavior.
Method 6: Adjust Printer and PDF Conversion Settings
Right margin shifts may occur only when printing or exporting to PDF due to printer drivers or scaling options.
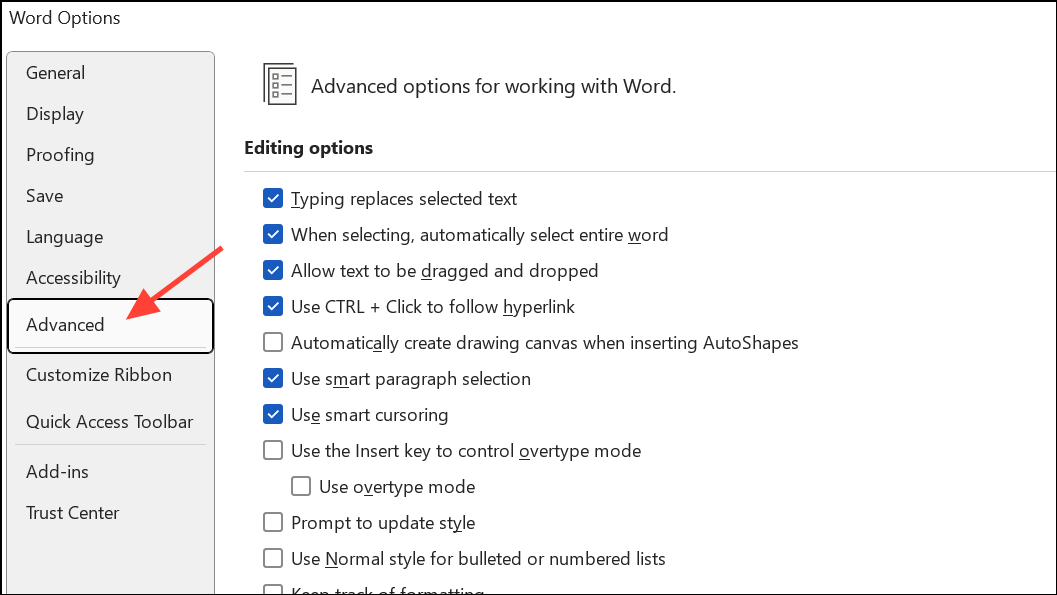
Step 1: Before printing or saving as PDF, go to File > Options > Advanced.
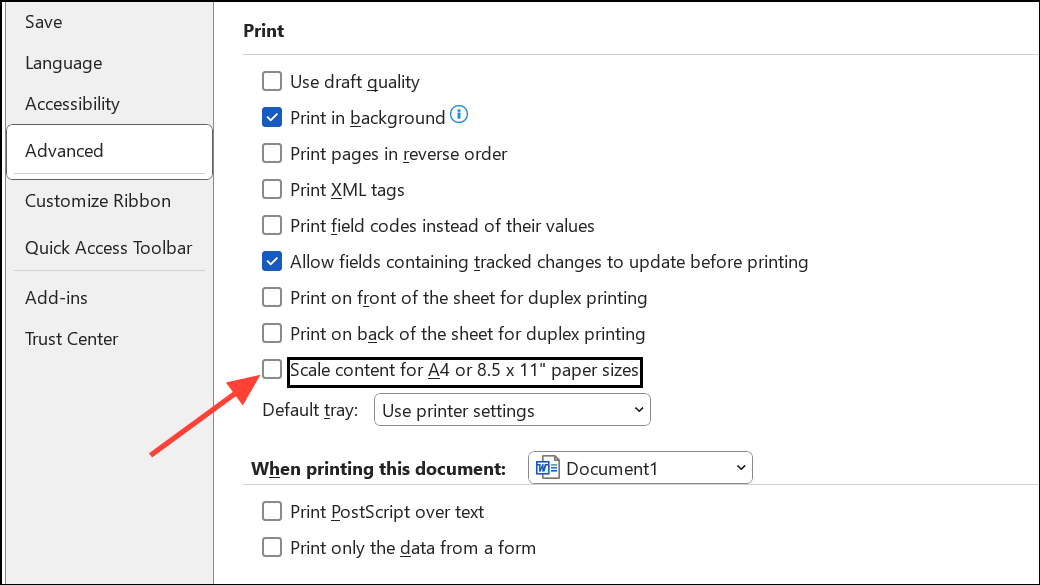
Step 2: Scroll to the Print section and uncheck Scale content for A4 or 8.5 x 11" paper sizes. Click OK.
Step 3: In the print dialog or PDF export options, ensure scaling is set to None or Actual Size. Avoid "Fit to Page" or similar settings that can alter margins.
These steps keep printed and PDF margins consistent with the on-screen layout.
Method 7: Restore Display of White Space Between Pages
When the top or bottom margins seem to disappear in Print Layout view, Word may have toggled the display of white space, which can also affect perceived right margin alignment.
Step 1: Hover the mouse over the space between pages until the cursor changes to a double arrow, then double-click to restore white space.
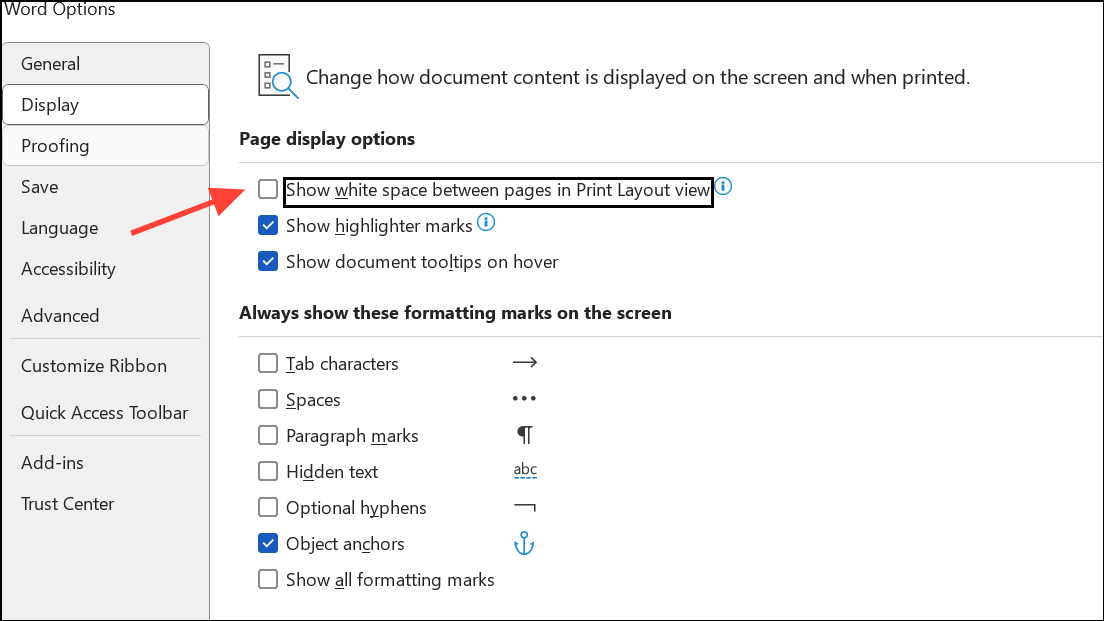
Step 2: Alternatively, go to File > Options > Display and check Show white space between pages in Print Layout view.
Restoring white space ensures margins appear as expected during editing.
Addressing right margin shifts in Word requires a mix of margin resets, section break removal, and careful management of formatting settings. Regularly saving backup copies and using Word’s Paste Special feature helps maintain consistent formatting over time.