Selecting the right print option in the new Outlook app can be the difference between a seamless workflow and unnecessary frustration. Outlook’s updated interface introduces new steps for printing emails, attachments, and even calendar items, while also presenting some quirks and limitations that are important to know about before you start.
Printing an Email in the New Outlook App for Windows
Step 1: Open the Outlook app and navigate to the email message you want to print. Make sure the message is fully loaded in the reading pane or open it in a separate window for best results.
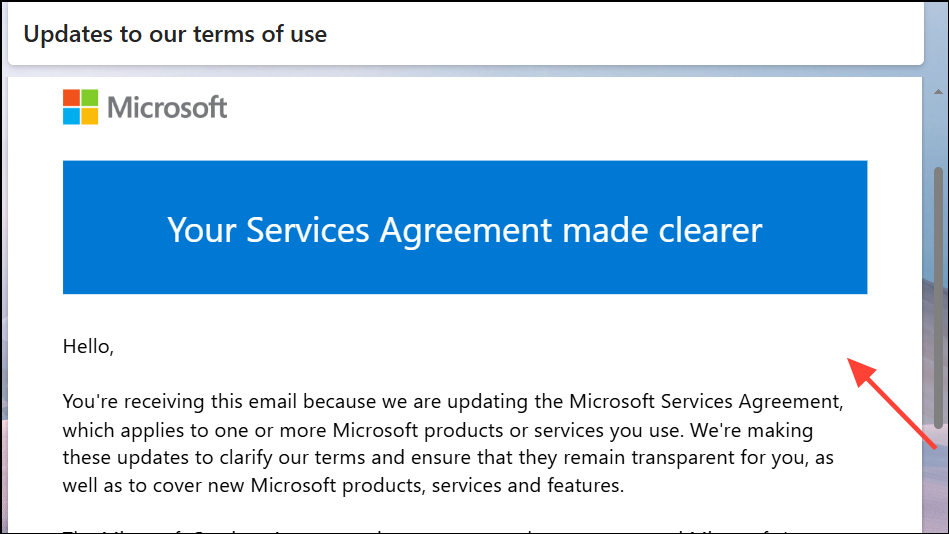
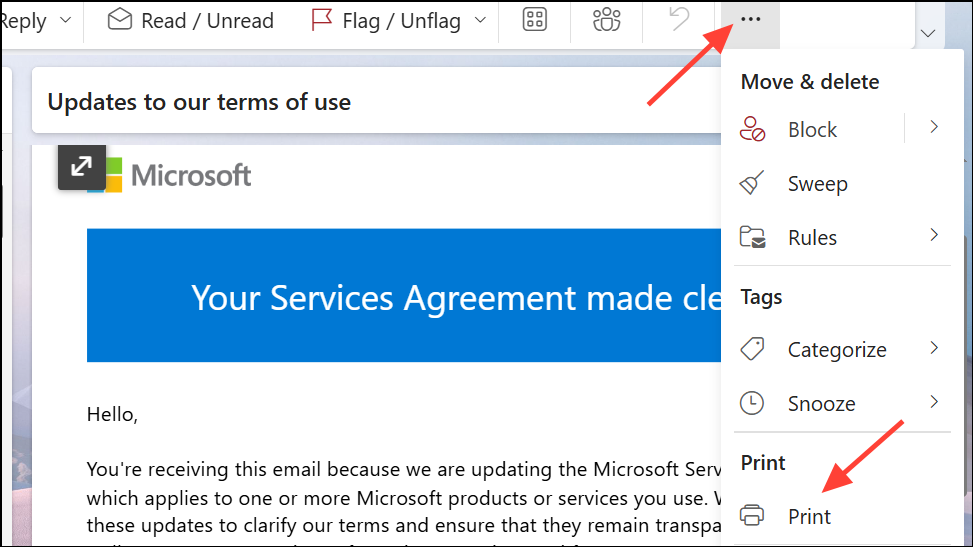
Step 2: Locate the Print button. In the new Outlook, this is typically found at the top of the window on the ribbon under the Home tab. If the button is not visible, look for a three-dot (More options) menu and select Print from there.
Step 3: After clicking Print, a print preview window will appear. Here, you can review how your email will look when printed. There will be another Print button on this preview window.
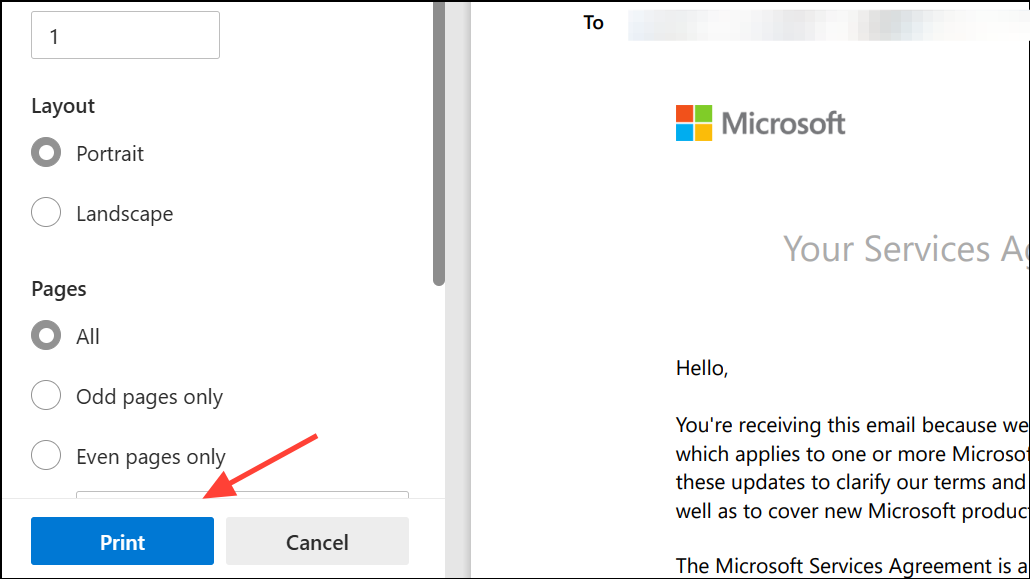
Esc will usually close the preview.Step 4: In the system print dialog, choose your printer, adjust layout and paper settings as needed, and select the specific pages you want to print. Confirm by clicking Print.

For quick access, you can also use the keyboard shortcut Ctrl+P to open the print dialog directly. However, this may not always work when editing drafts or in certain views.
Printing Attachments from Emails
Step 1: Open the email containing the attachment. In the new Outlook app, attachments are displayed below the message header.
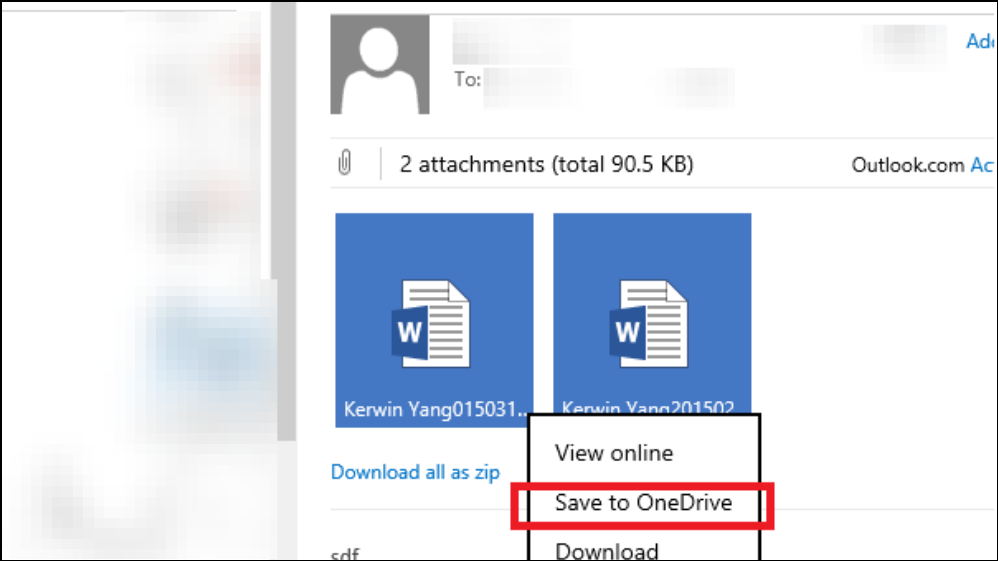
Step 2: To print an attachment, you must first download it. Click on the attachment and select Download or Save to OneDrive. Open the file in its default application (such as Word for .docx files or Adobe Reader for PDFs).
Step 3: Use the print function within the attachment’s application to print the file. The new Outlook app does not support printing attachments directly from the email window.
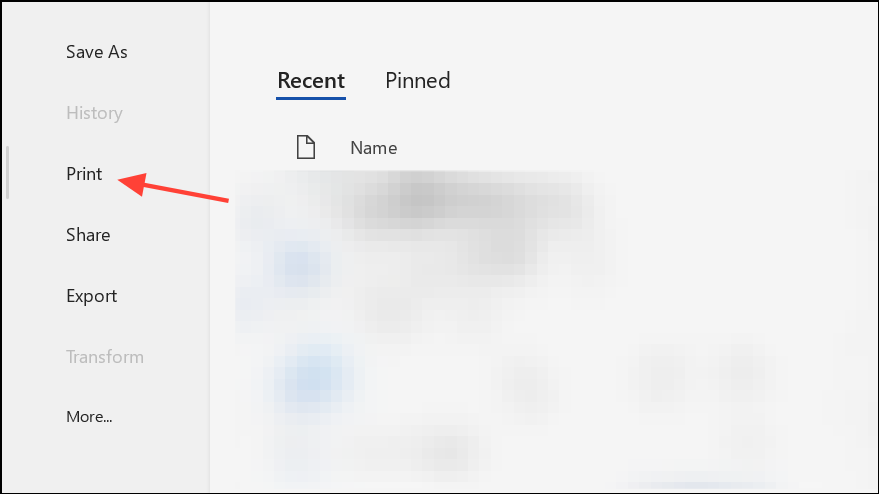
This process ensures you have full control over print settings and avoids formatting issues that can occur when printing directly from email previews.
Printing a Specific Section or Page of an Email
Sometimes, you only need a portion of an email. Because the new Outlook app’s print dialog does not allow for printing selections, you’ll need to use a workaround.
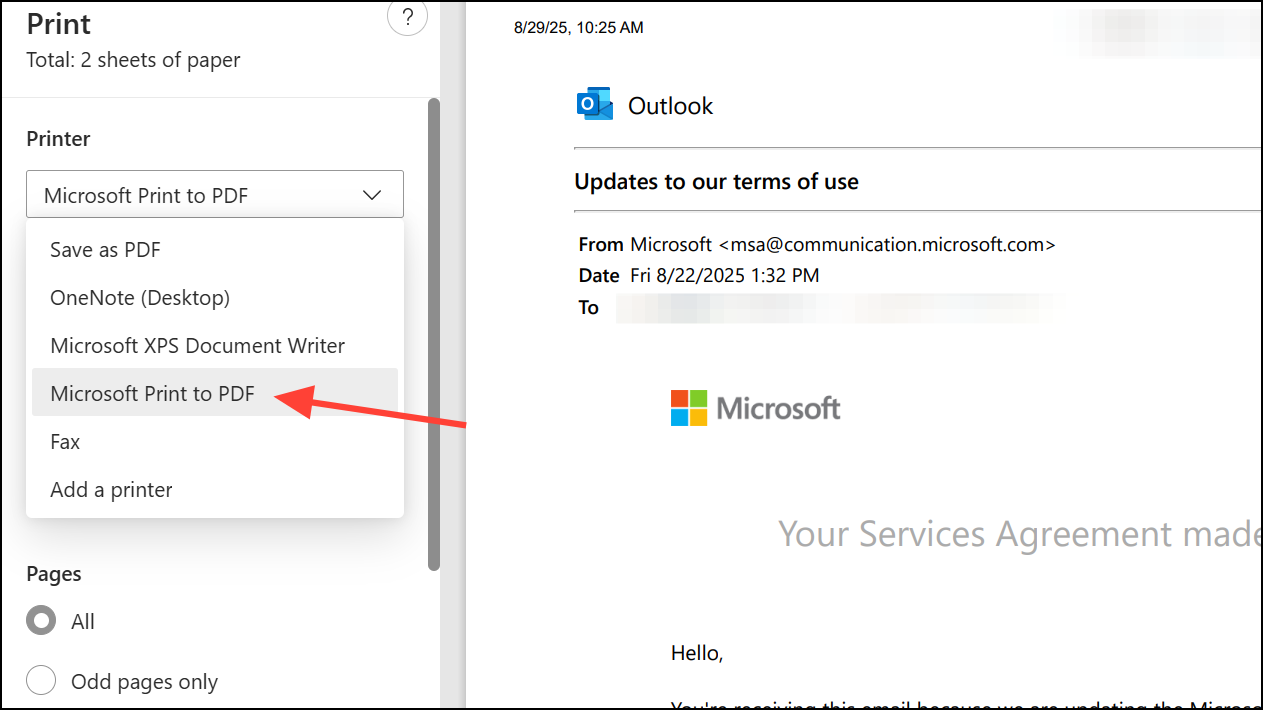
Step 1: Open the email and use the Print to PDF option by selecting Microsoft Print to PDF as your printer in the print dialog. This will save the entire email as a PDF file on your computer.
Step 2: Open the PDF in a PDF reader like Adobe Acrobat. Use the selection tool or snapshot feature to highlight the section you want to print.
Step 3: In your PDF reader’s print menu, look for an option such as Print Selection or Selected graphic to print only the chosen content.
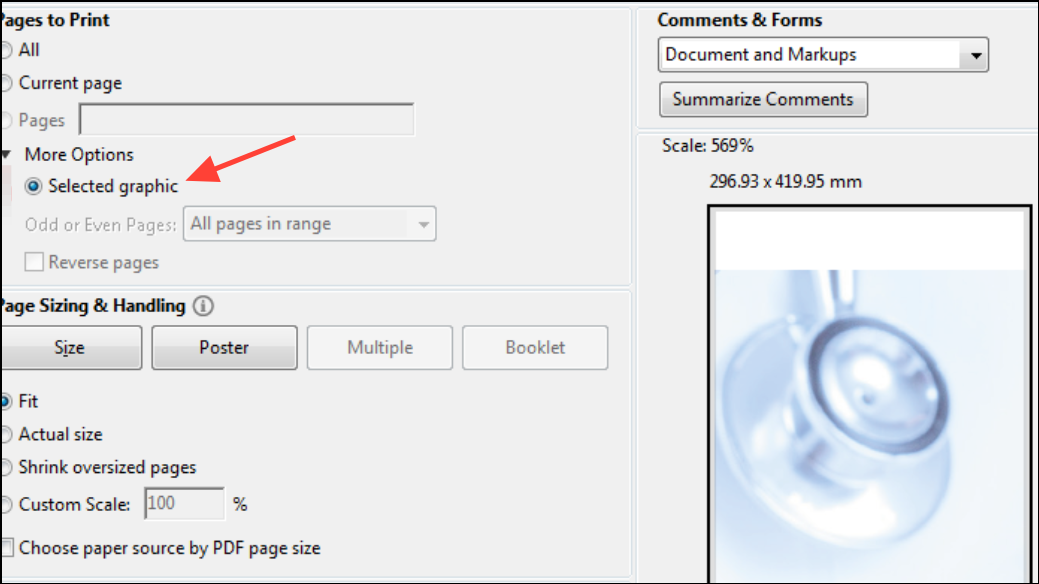
This method preserves formatting and allows you to avoid printing unnecessary pages or sections.
Printing Draft Emails
Printing draft emails in the new Outlook app is less straightforward. While some official answers claim you can print drafts by using the three-dot menu or right-clicking for Quick Print, many users report that these options are missing or non-functional when editing a draft.
Currently, there is no reliable built-in way to print a draft email directly from the editing window in the new Outlook app. As a workaround, you can copy the text of your draft, paste it into a Word document or another text editor, and print from there. Monitor for updates from Microsoft, as this limitation has been widely reported and may be addressed in future releases.
Printing from Outlook Web and Mobile Apps
Outlook Web (Outlook.com or Outlook on the Web)
Step 1: Open the email you wish to print in your web browser.
Step 2: Click the three-dot menu at the top right of the message, then select Print.
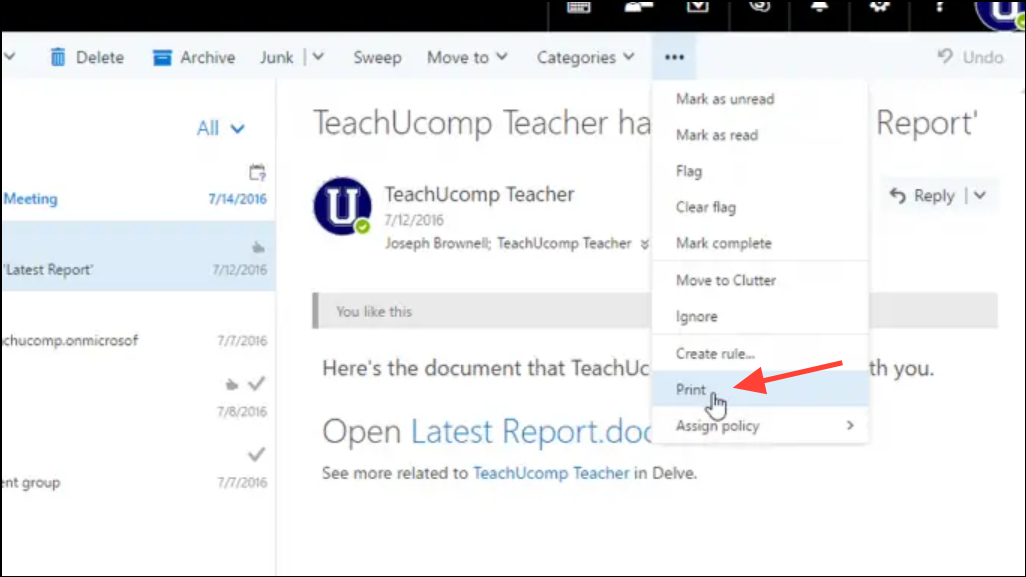
Step 3: Review the print preview, then click Print at the top left of the pop-up window.
Step 4: In your browser’s print dialog, select your printer and desired print settings, then confirm by clicking Print.
Outlook Mobile App (Android and iOS)
Step 1: Open the Outlook app and sign in.
Step 2: Select the email you want to print.
Step 3: Tap the three-dot menu at the top right corner of the email.
Step 4: Choose Print from the menu.
Step 5: Select your printer, verify it’s connected and ready, then tap Print again.
On Android devices, some users may need to use a printing service app (such as Princh) to complete the process. The mobile print function offers fewer customization options, but it is convenient for quick jobs.
Common Issues and Troubleshooting
- Some users experience unresponsive print buttons or windows in the new Outlook app. If the print preview window locks up, pressing
Escwill usually exit the window. - Draft emails may not offer any print option in the new Outlook app. Use the copy-and-paste workaround if printing drafts is essential.
- If your email contains images in the body, right-click and save the image to your device, then print it using your system’s image viewer. Printing images directly from within an email body is not currently supported.
- Always verify your printer is online and selected as the default device in Windows settings if print jobs do not appear.
For persistent issues, check for updates to the Outlook app or consult your printer manufacturer’s documentation for troubleshooting tips.
Mastering print tasks in the new Outlook app requires a few extra steps, but following these instructions will help you generate reliable paper copies of your emails and attachments. Stay alert for software updates, as Microsoft continues to refine Outlook’s print features based on user feedback.

