
Are you cooking and want to set a two-minute timer to remind you to put off the stove? Or maybe you want to set a timer for a few minutes to exercise. You can quickly set a timer on your iPhone and it will remind you when the time is up.
There are two ways to set a timer on your iPhone, either by asking Siri or through the control center. Setting a timer with Siri is effortless and does the job pretty quickly. Though, if you do not prefer using Siri, you can add the Timer shortcut to the Control Center on your iPhone to quickly set timers from there as well.
We will be discussing both the options for your understanding and you can select the one that suits your requirement.
Asking Siri to Set a Timer on iPhone
This is probably the simplest method to set a timer on iPhone. If you already use Siri for various tasks, you’ll find setting a timer just as convenient. First, check if you have activated ‘Listen for “Hey Siri”‘ in the settings. You can also long-press the ‘Home’ button to get Siri’s attention. Or press the side button on newer iPhone models to activate Siri.
Once you have Siri’s attention, say ‘Set a timer for 3 minutes’ to set a 3-minute timer. You can also set a timer for 2 minutes 30 seconds or 3 hours by replacing the last phrase. For instance, to set a 3 hour and 30 minutes timer, say ‘Set a timer for 3 hours and 30 minutes’.
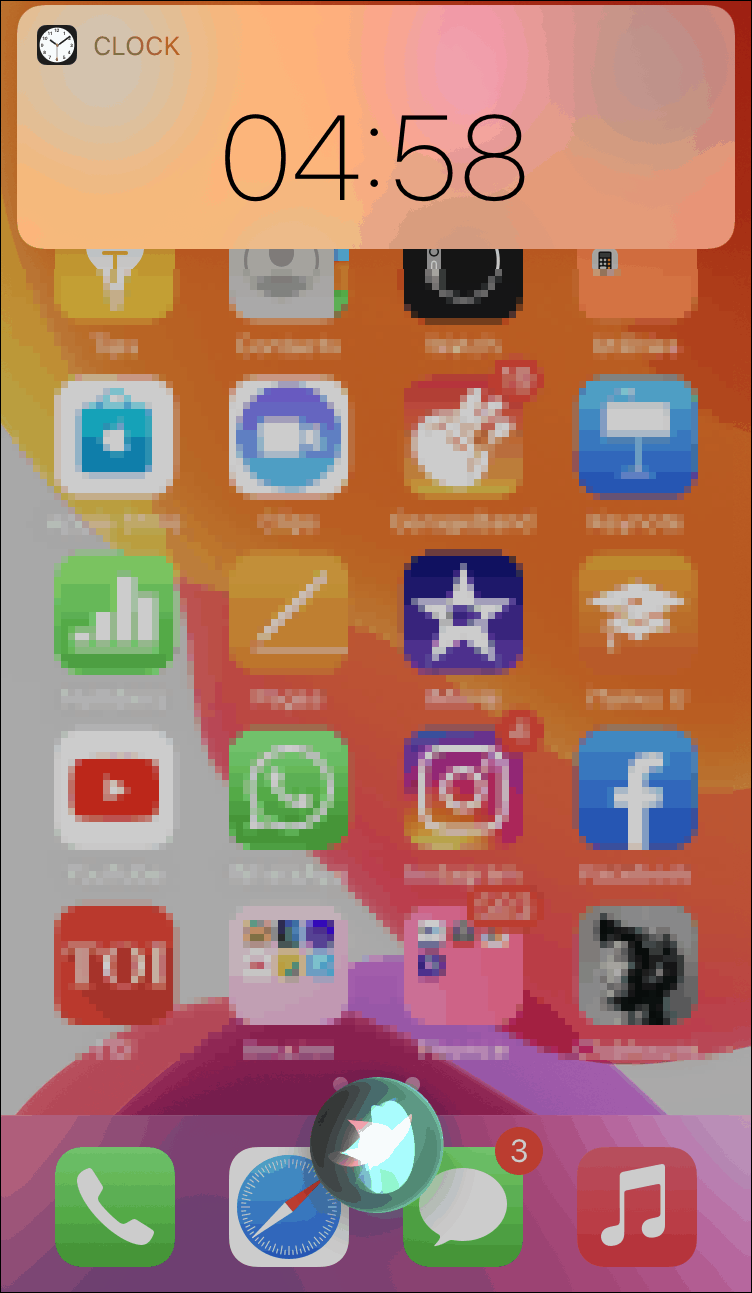
Siri will immediately set the timer and you’ll see a banner at the top of the screen. In case the iPhone is locked, the timer will be displayed on the lock screen right below the current time.
If you want to know the time that has elapsed, Siri will inform that as well. All you have to do is say, ‘How much time is left?’.
You can also stop the timer anytime by holding the Home or Side button on your iPhone to activate Siri and give ‘Stop the timer’ or ‘Cancel the timer’ command.
Setting a Timer from Control Centre
You can access the control center in your iPhone by swiping up on the screen. Before you can set a timer in the control centre, you must add the ‘Timer’ control to the list of included controls.
Adding Timer Control to Control Centre
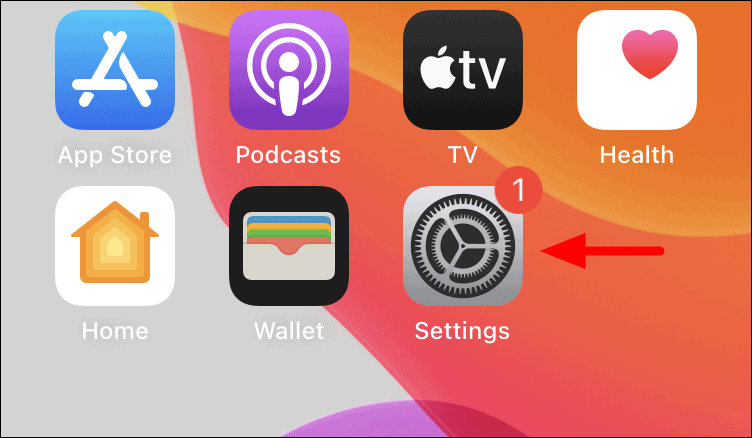
To add ‘Timer’ control, you must access the control centre from the iPhone settings. To do so, tap on the Settings icon on the home screen.
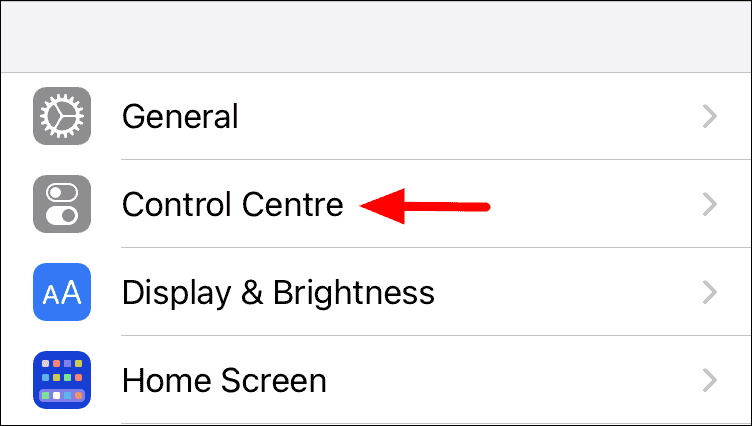
In the iPhone settings, scroll down, locate the ‘Control Centre’ and open it.
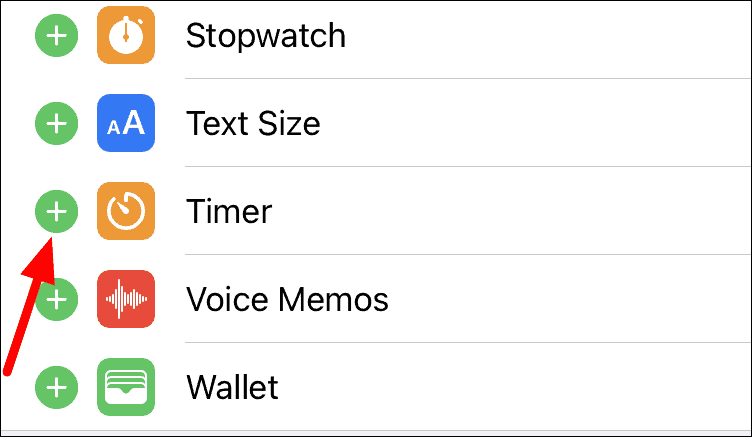
Check if the ‘Timer’ is in the list of ‘Included Controls’ at the top. If it is not, scroll down to ‘More Controls’ and tap on the ‘+’ icon before the ‘Timer’ control.
The ‘Timer’ control has now been added to the control centre and is just a couple of taps away.
Starting the Timer from Control Centre
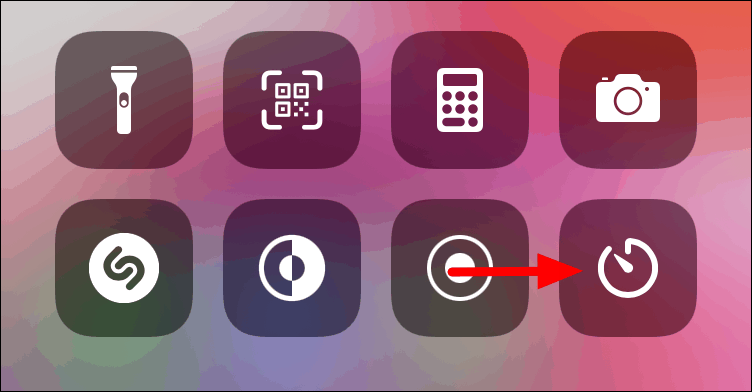
To start the timer, you first need to access the control centre. To access it, swipe up anywhere on the screen and look for the ‘Timer’ control, which resembles a clock. Next, long-press (hold) the ‘Timer’ icon to open the timer screen.

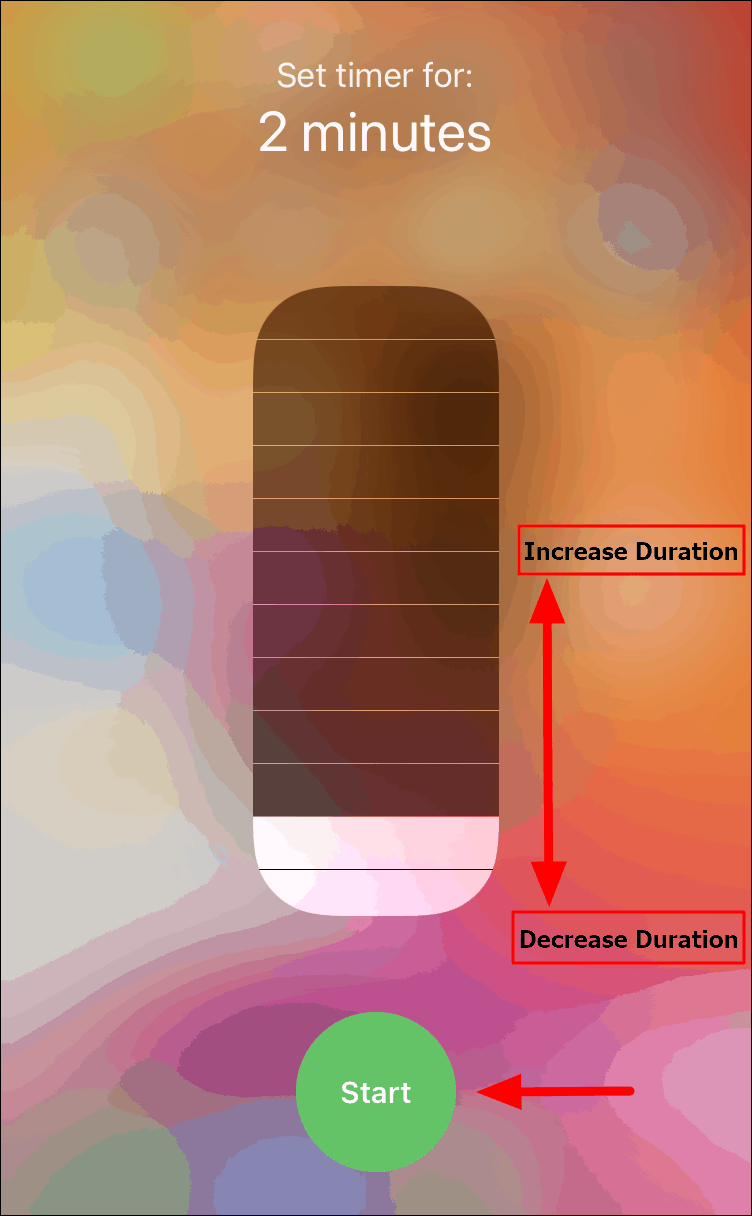
The timer screen will now open up. The timer is initially set to two minutes. To increase, swipe upwards in the rectangular box while your can swipe down to decrease the time value. The minimum value that you can set here is 1 minute while the maximum is 2 hours. Once you have gotten the required value, tap on ‘Start’ at the bottom to start the timer.
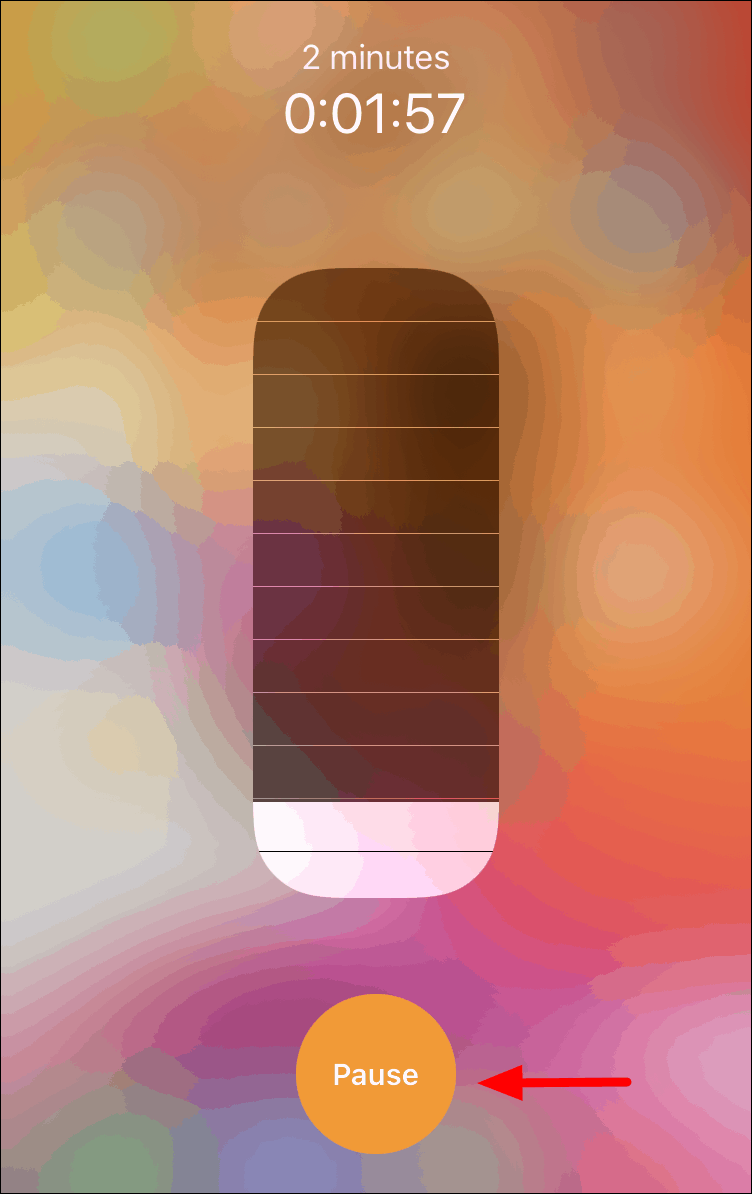
You will now see the timer running at the top. To pause the timer, tap on the pause button at the bottom.
Canceling the Timer from Control Centre
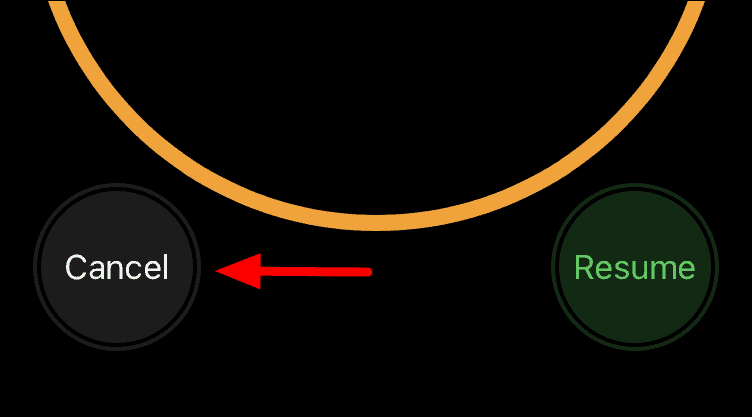
Earlier you have seen how to start and pause a timer, but it does not give you the option to cancel a timer. You have to cancel the timer from the ‘Timer’ section of the ‘Clock’ app. You can either launch the ‘Clock’ app from the home screen and then switch to the ‘Timer’ section or simply tap on the ‘Timer’ control in the Control Centre.
Once you are in the ‘Timer’ section, tap on the ‘Cancel’ icon to cancel the timer.
Now on, set a timer and let your iPhone keep a track of time while you concentrate on the work at hand and not bother checking the clock after every few moments.


