
Let’s assume you had been working on an important Excel document for several painstaking hours and Excel crashes, the power went out, system crashes or you accidentally closed the file without saving it. And it would be really annoying to see all your hard work and time are wasted. But don’t worry, you can still recover those files if you act quickly.
There are also other cases when you have accidentally overwritten some important data or when you make a mistake that you can’t undo, you may need to restore previous versions of your workbook.
That is why Excel provides these great features called Autosave and Autorecover that enable you to recover the unsaved Excel files or the previous versions of the Excel files. In this tutorial, we will guide you through the different ways of recovering an unsaved or overwritten Excel file.
Recover an Unsaved Excel File
If Excel crashed or you closed the Excel program before saving your work, you can still recover that file using the ‘Recover Unsaved Workbooks’ option in Excel. Excel’s auto-save feature automatically saves the files every few minutes. You can use this feature to recover the unsaved Excel Files. Here’s how you can do that:
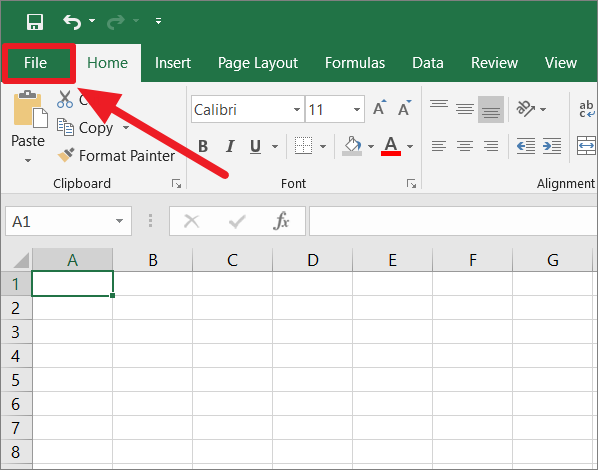
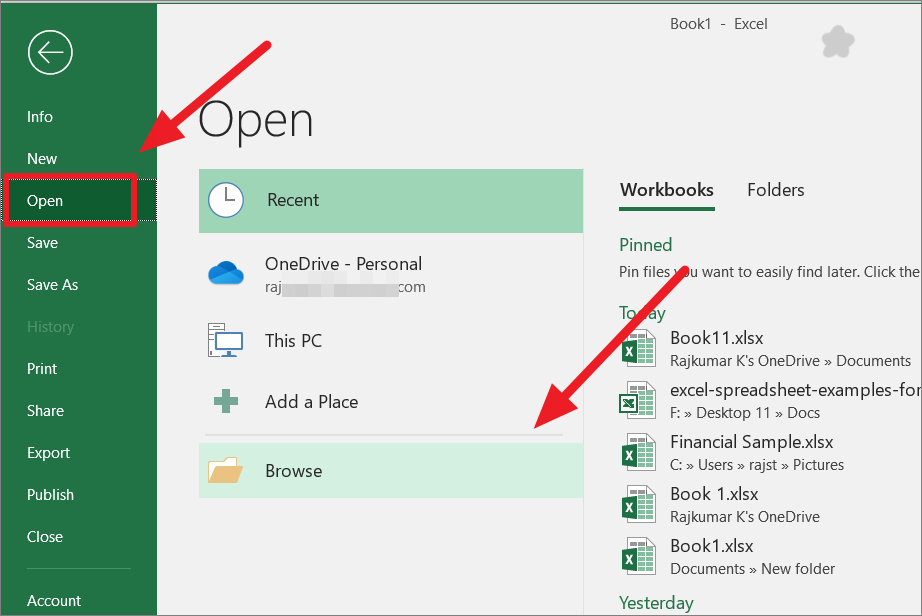
First, open Microsoft Excel and tap/click on the ‘File’ tab.
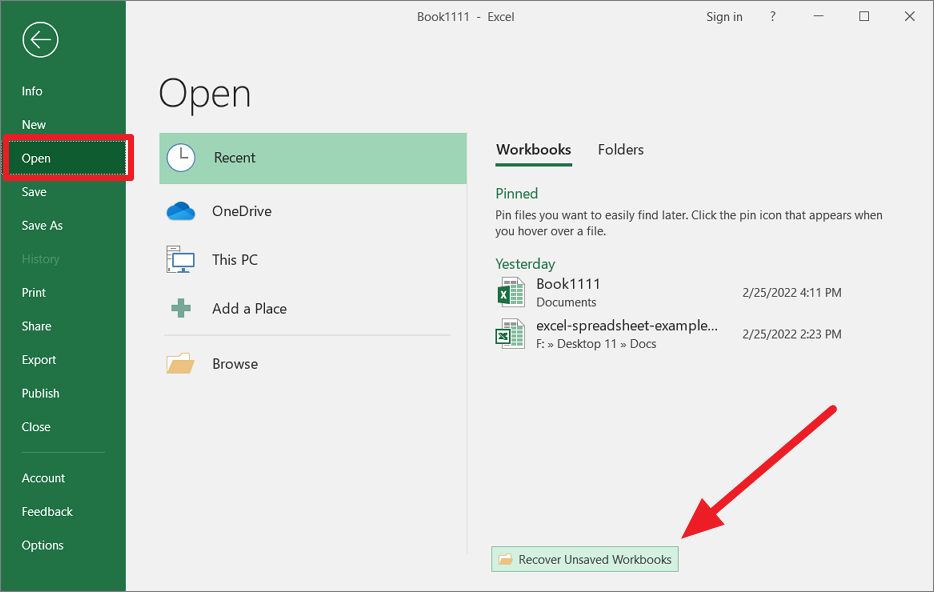
Then go to the ‘Open’ section on the left panel, then scroll down, and click the ‘Recover Unsaved Workbooks’ button at the bottom.
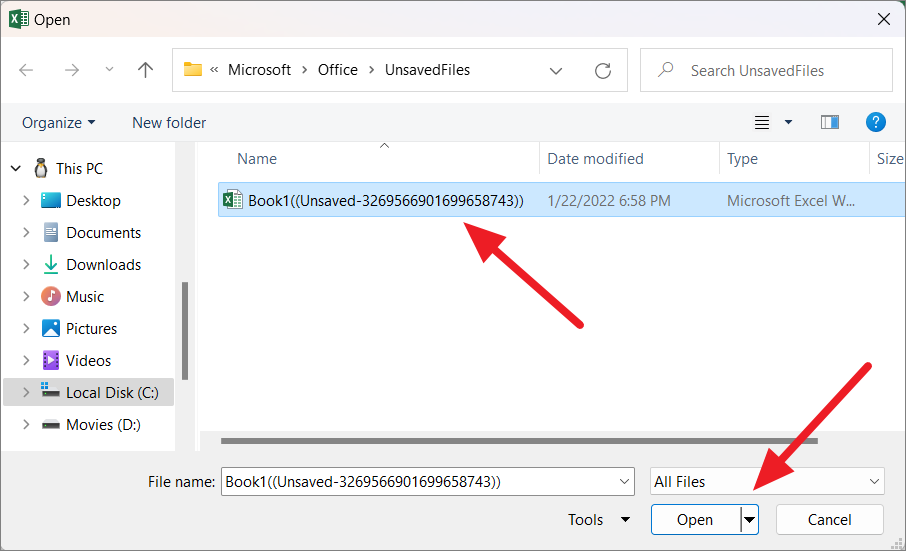
This will take you to the ‘UnsavedFiles’ folder where Excel has saved all the unsaved workbooks. If you have more than one file, you can identify your file with the date and time. Now, select the file you want to recover and click the ‘Open’ button.
Alternatively, you can also navigate to the above ‘UnsavedFiles’ folder directly through File Explorer and recover your unsaved Excel workbooks.
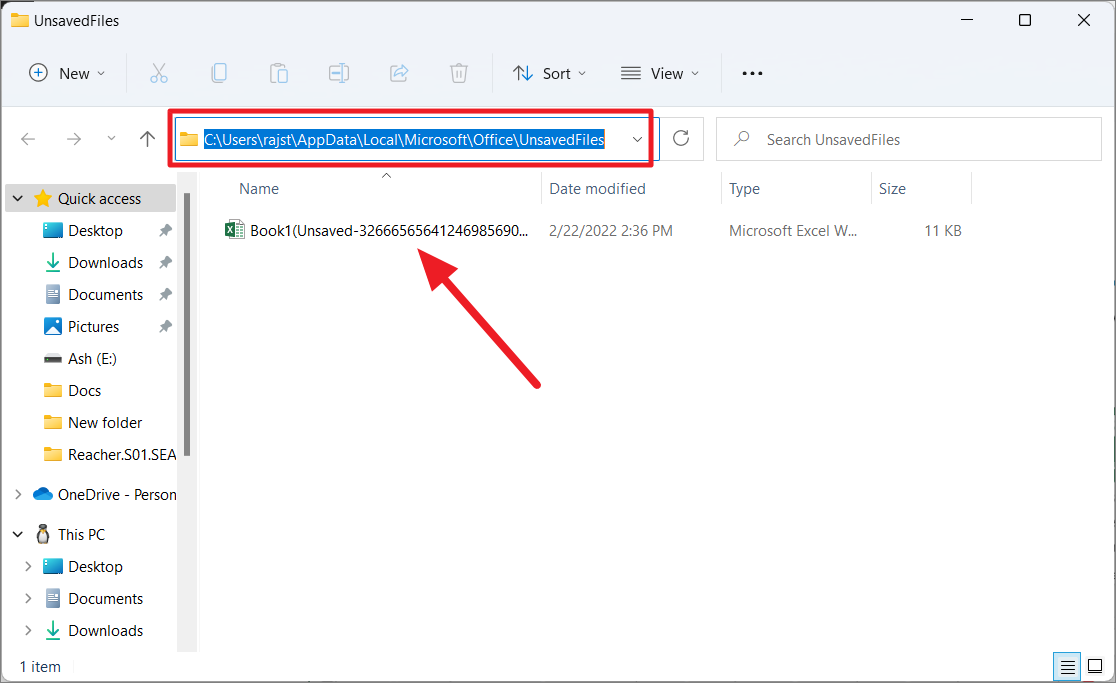
To do that, open the File Explorer and navigate to the below location manually or enter the below path in the address field, and press Enter:
C:\Users\User_profile\AppData\Local\Microsoft\Office\UnsavedFilesIn the above path, make sure to replace the User_profile with your user profile name.
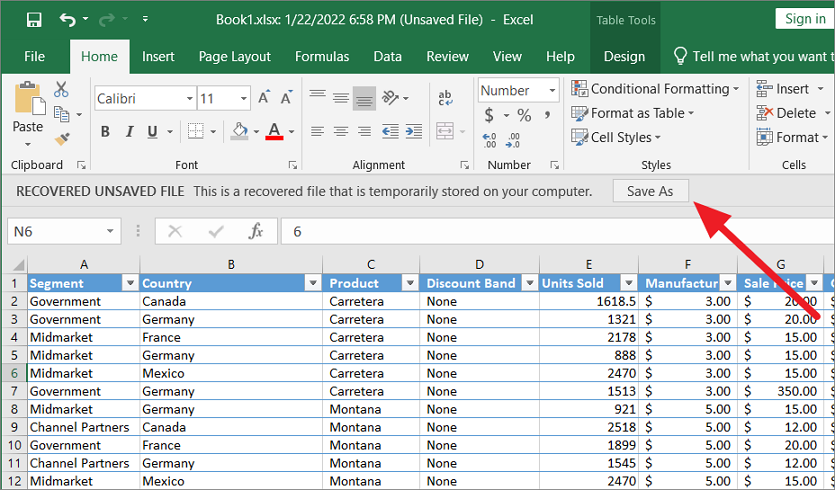
Once the file is recovered and opened in Excel, you will see a prompt to save it. Now, click on the ‘Save As’ button to save the file to the desired location.
Recover Excel Files using Document Recovery feature
If you made changes to a previously saved workbook but Excel crashed or closed unexpectedly before you could save it again, you can still recover that file with changes you made using the Document Recovery feature. This method will only work with Excel files that have been saved at least once.
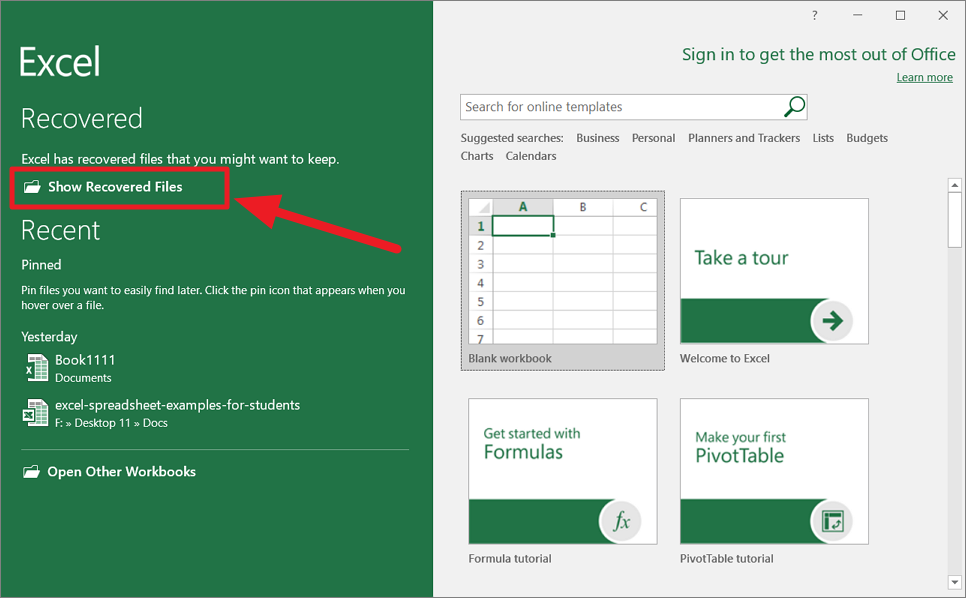
Open any of the existing Excel Workbook or the Excel application. If the Excel program opens up in Excel backstage window, click the ‘Show Recovered Files’ option under the ‘Recovered’ section on the left pane.
When Excel launches, you will see the ‘Document Recovery’ panel on the left side of the window that lists all the unsaved files. Now, select the file you want to recover.
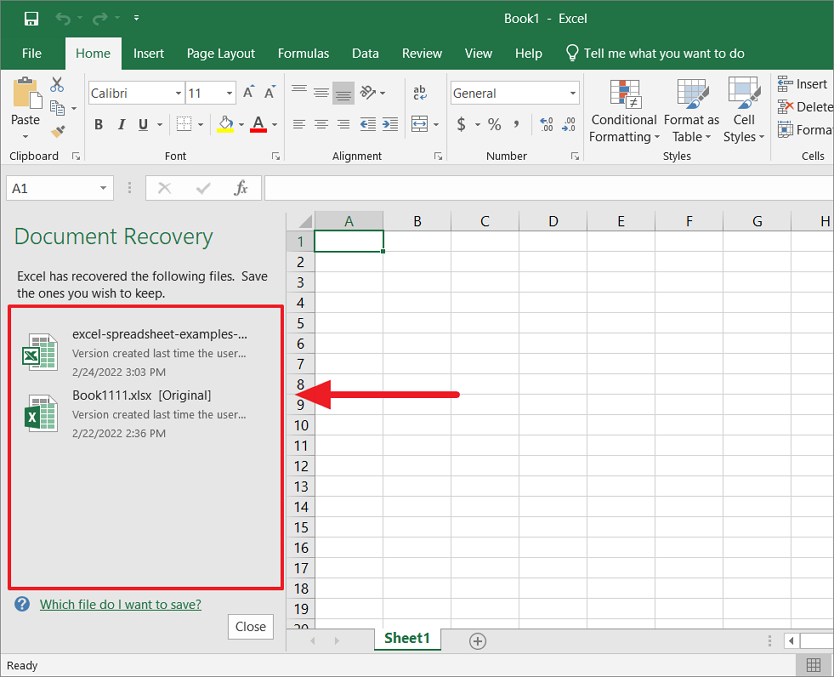
After the file opens, save the workbook with a different name.
Restore Previous Version/Overwritten Excel Files Using Manage Versions option
In Excel, you can only undo changes you made in the workbook before you close the application. However, Excel understands that users sometimes need to undo changes they made or recover overwritten files after reopening the file. Hence, Excel provides us the Manage Versions option which auto-saves all versions of your file on your system. In case you can’t go back and undo your work, you can use this feature to restore a previous version of the Excel File.
But you should know, if you restore the workbook to the previous version, you will lose all the data you added after creating that version. There are two ways you can restore a previous version of an Excel file – through the Manage Version option or Excel File properties.
Method 1:
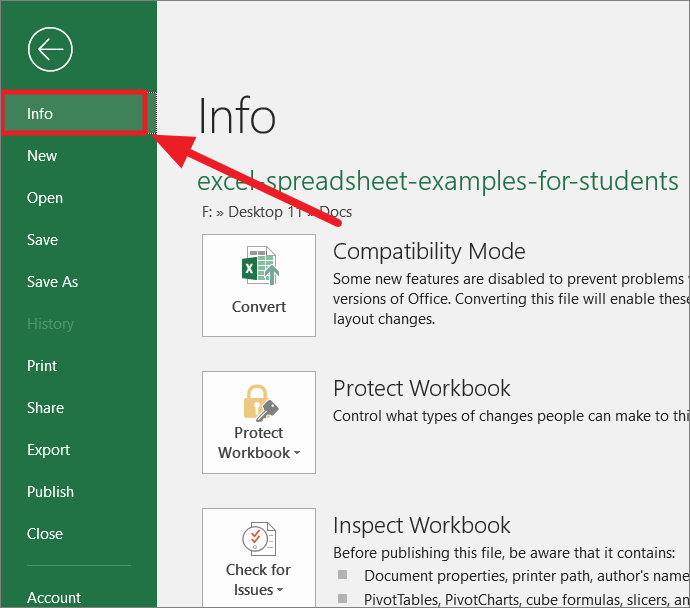
First, open the Excel Work for which you want to restore the previous version and click the ‘File’ tab. Then, choose ‘Info’ on the left-hand pane.
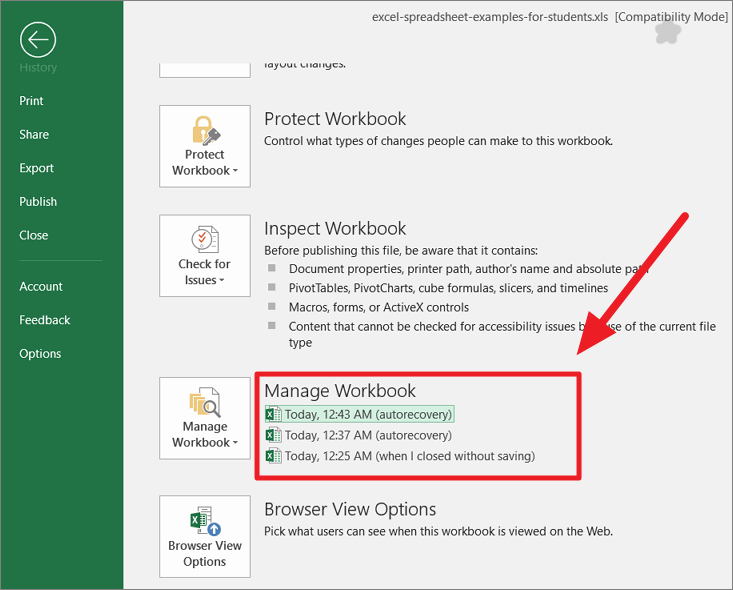
Then, scroll down the Info page and you will see all the previous versions of that file right next to the ‘Manage Versions’ button.
If the AutoRecover option is enabled (enabled by default), then Excel will automatically save multiple versions at specific intervals as long as you have made changes to your spreadsheet between those intervals. You can identify each version with its time and date.
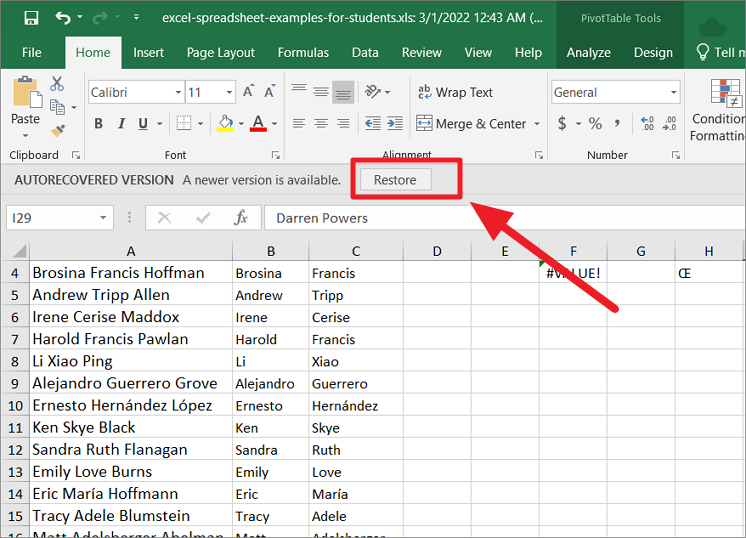
Now, simply click on the version you want to restore from the list of versions and it will open the document in the Excel window (as shown below).
When the autosaved version of the document opens up, you will see a prompt bar (AUTORECOVERED VERSION) above your spreadsheet as shown below. Click the ‘Restore’ button in the prompt bar to revert to the previous version.
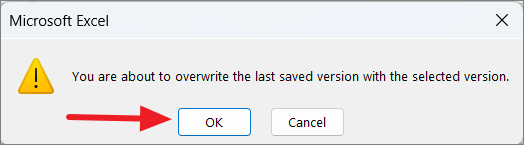
Then, click ‘OK’ to the overwrite warning box.
After that make sure to save that file with a different name before you close it.
Method 2:
Alternatively, you can also restore autosaved files using the file properties. Here’s how you can do that:
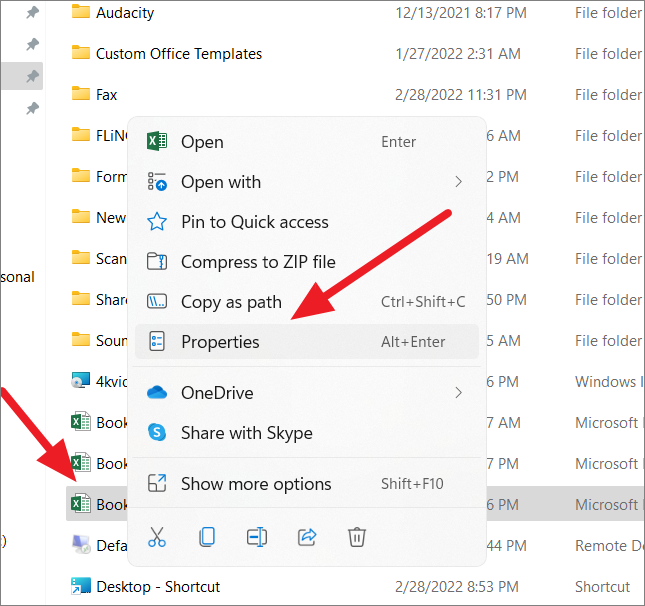
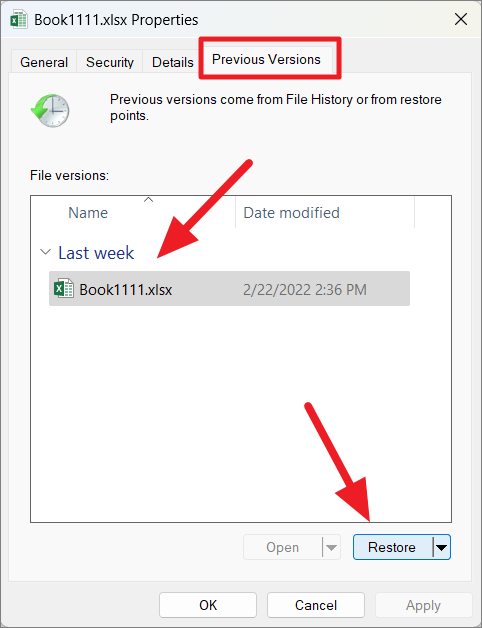
First, open File Explorer and navigate to the folder where your Excel files are stored. Then right-click on the Excel file you want to recover and select ‘Properties’. Alternatively, right-click on the file, select ‘More options’ and then select the ‘Restore Previous Versions’ option.
Next, go to the ‘Previous Versions’ tab in the dialog box, select the file version and click the ‘Restore’ button at the bottom.
Recover Auto-Recovered and Unsaved Files from AutoRecover Folder
As we mentioned earlier the AutoRecover feature automatically saves unsaved and auto recovered Excel files in the hidden AutoRecover folder. So, it is helpful to recover overwritten or accidentally changed/saved over Excel files. Here’s how you recover these files.
As we mentioned earlier the AutoRecover feature automatically saves unsaved and auto recovered Excel files in the hidden AutoRecover folder. So, you can easily recover the overwritten or accidentally changed/saved over Excel files from this folder. Here’s how you can recover these files:
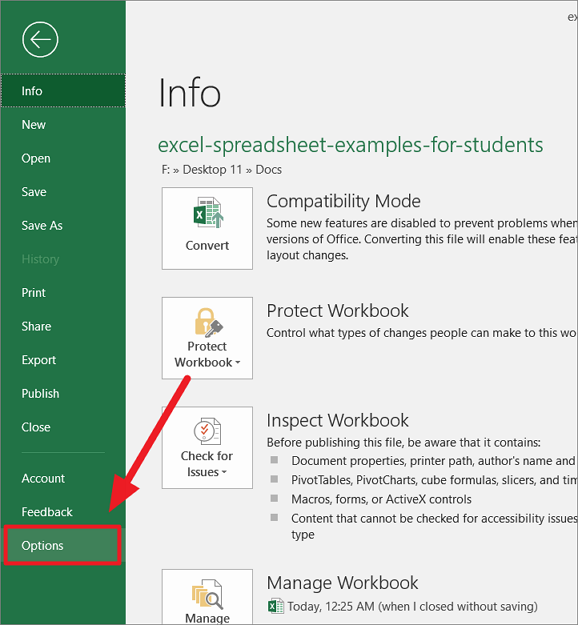
First, open the Excel program and go to the ‘File’ tab. From the backstage view left panel, select ‘Options’.
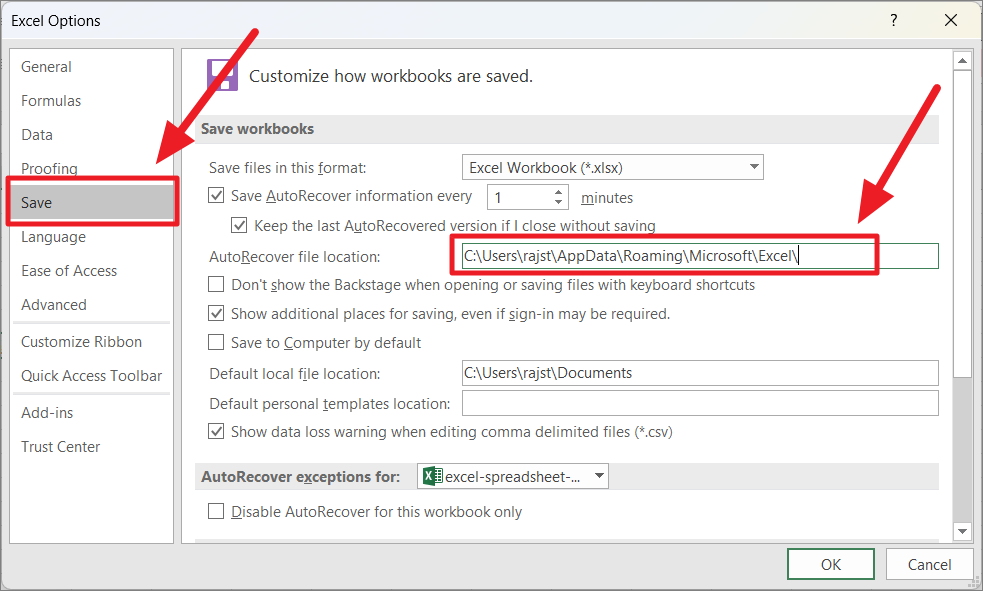
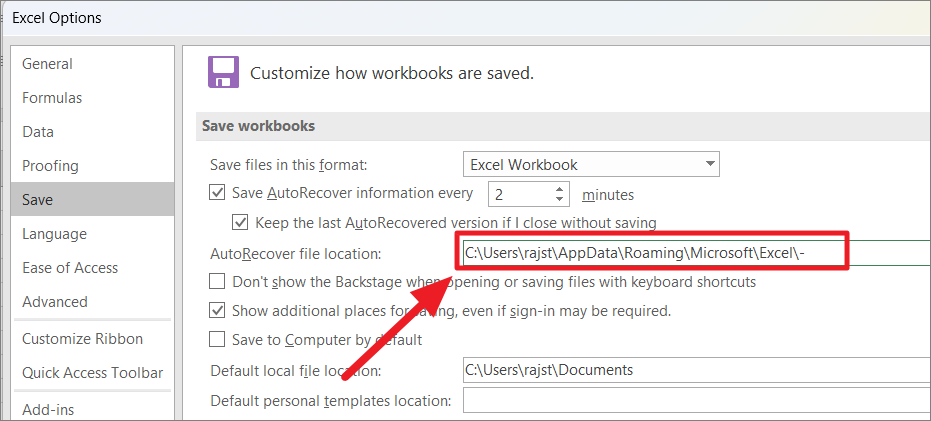
In the Excel Options dialog box, click on the ‘Save’ section on the left side panel. Then, find ‘AutoRecover file location:’ under the Save workbooks section and copy the path from the field.
Next, open File Explorer and paste the copied path in the address bar, and hit Enter:
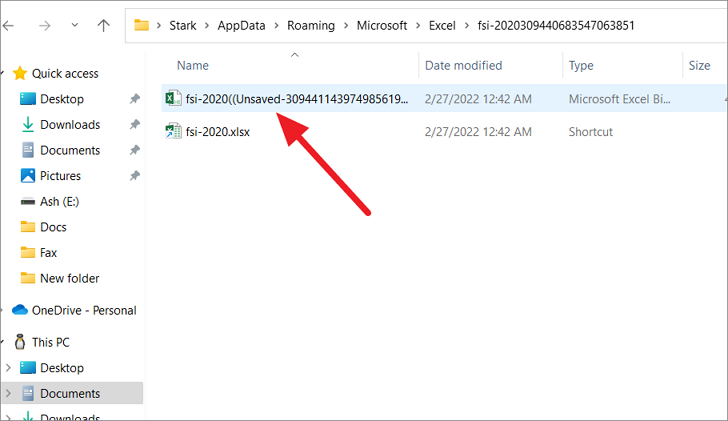
C:\Users\rajst\AppData\Roaming\Microsoft\Excel\This will open the Excel folder where you can find the unsaved and auto recovered files or the folders with the name of the Excel files you are looking for. Open the folders and check if there are any useful files.
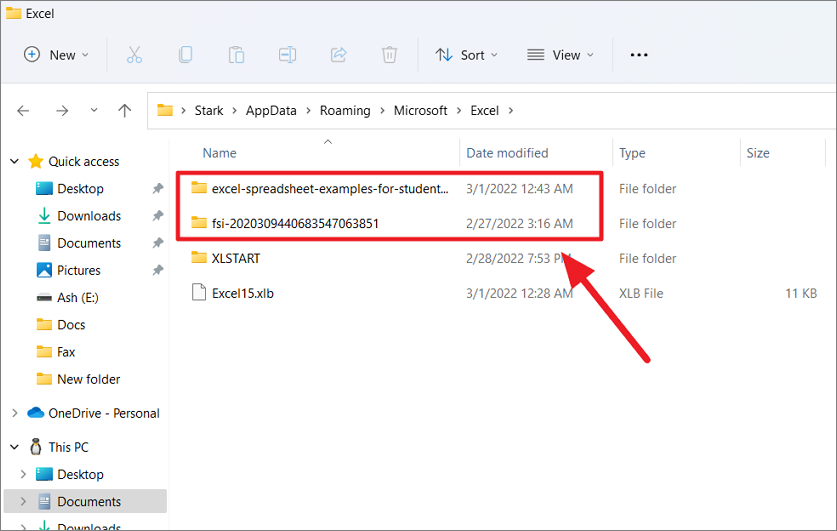
As you can see below there is an unsaved excel file inside one of the folders.
Recover Excel Files from Recycle Bin
If you accidentally deleted some important Excel workbook, you can easily recover it from the Recycle Bin folder. Here’s how you can recover a deleted Excel file from the Recycle Bin:
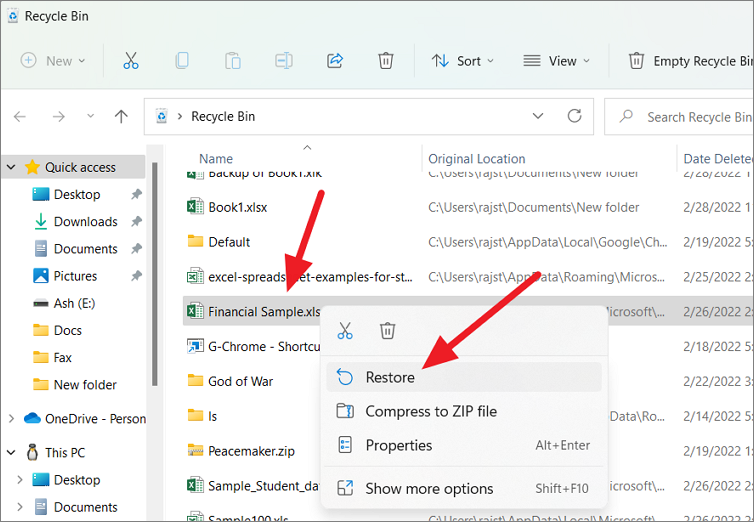
Open the Recycle Bin on the desktop and locate the file you want to retrieve. Then, right-click on the deleted Excel file and select the ‘Restore’ option to restore it back to its original location.
Recovering Overwritten Data in Excel using OneDrive
Cloud services like OneDrive, DropBox, and Share Point can also help you recover the previous versions of an Excel file, lost or damaged files. If you usually save your Excel files on the cloud, you can easily download the previous versions of the overwritten Excel files or lost files from there. Now, let us see how to get the previous versions of Excel files from OneDrive:
For this to work, you must be logged into the OneDrive app and enabled automatic backup or you must have manually backed up your Excel files from time to time.
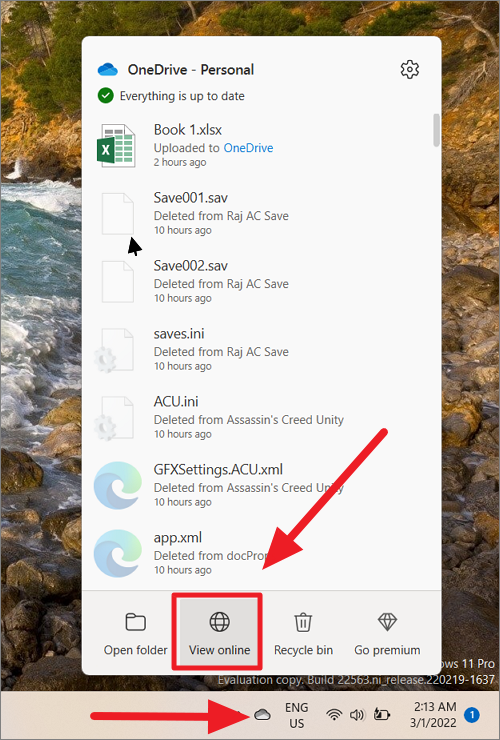
First, open OneDrive by clicking the OneDrive icon in the taskbar corner and clicking the ‘View online’ button. Or you can go to: https://onedrive.live.com.
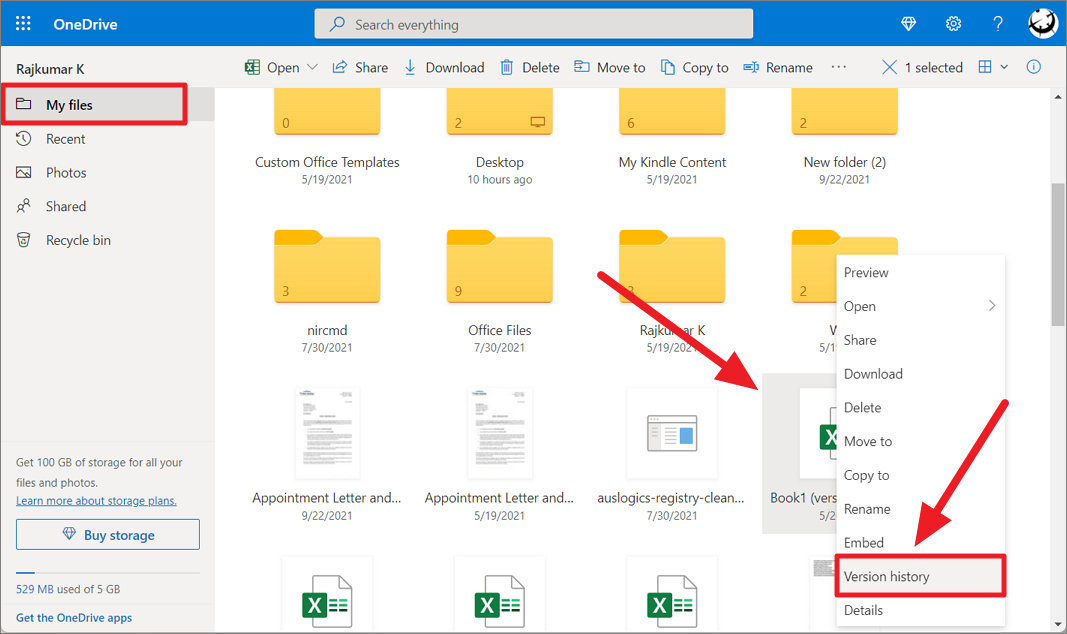
This will open the OneDrive website in your browser. Now, go to the ‘My files’ section, right-click the file you want to recover, and select ‘Version History’ from the context menu.
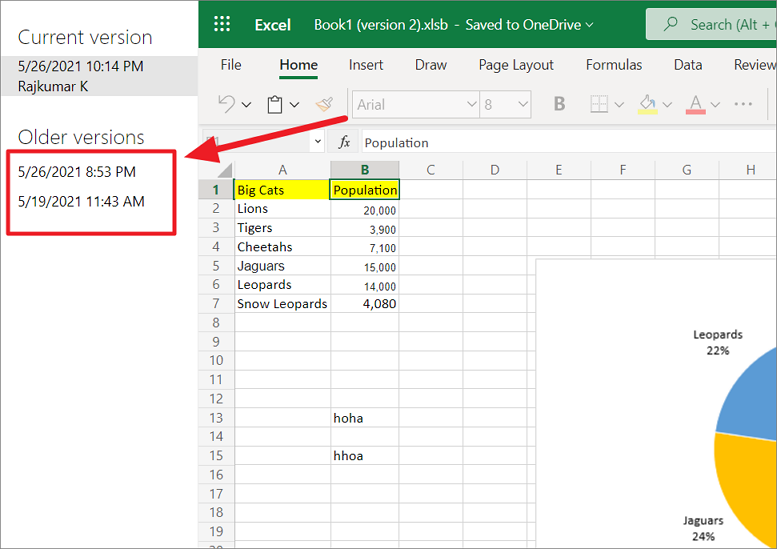
This will open the file in a new tab and you will see the current version as well as the previous versions of the file in the panel on the left. You can preview each version by clicking on the date and time.
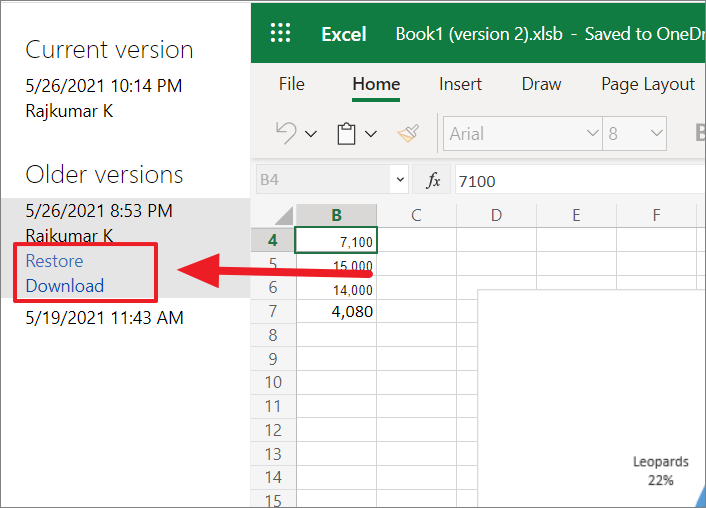
Then, click on the version that you want to recover and select ‘Restore’ to overwrite the current version of the document or ‘Download’ to download a copy of the selected version.
Configure AutoSave and AutoRecover Options
The above recovery methods will only work if the AutoRecover and Auto-save features were enabled and configured. The AutoRecover feature automatically saves all open workbooks at a specified fixed time interval which is usually is 10 minutes. The Excel file will only save changes in the workbook if you have made changes in the file between those intervals. By default, both features are enabled in Excel. If it isn’t, you need to enable them and configure them.
Follow these instructions to enable the AutoRecover feature and configure it:
First, launch the Excel program and open any existing workbook. Then, click the ‘File’ tab to go to the Excel backscreen.
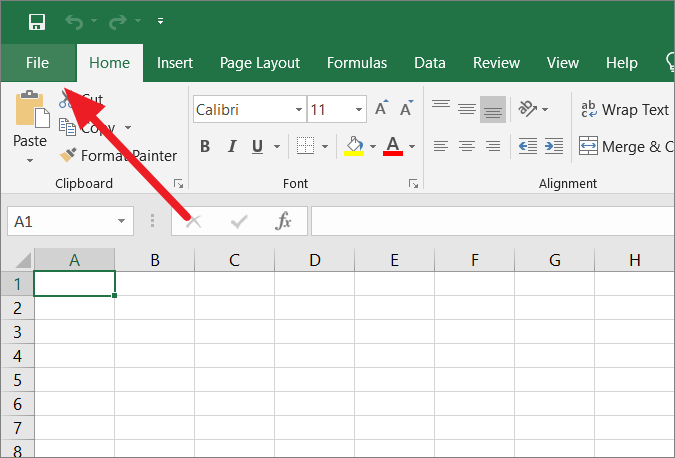
Next, click ‘Options’ on the left side panel.

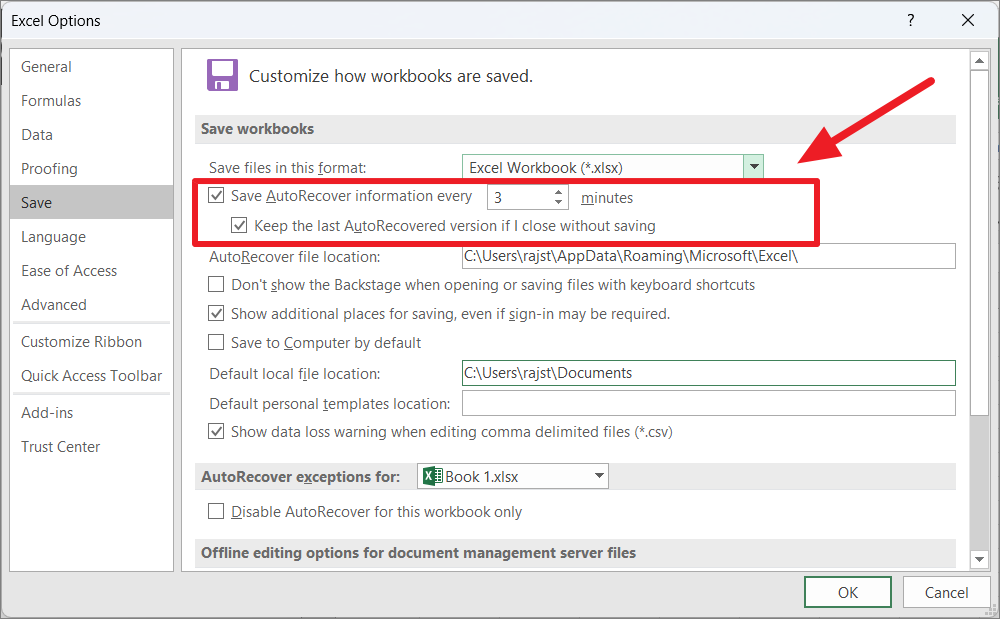
This will launch the Excel Options interface where you can configure Excel settings. Now, select the ‘Save’ tab found in the left menu pane.
Now, make sure to check the boxes next to both following options:
- Save AutoRecover information every _ minutes – As you can see here the default time to auto-save all open Excel files is 10 minutes. This option will make sure that all your open workbooks and their worksheets are saved every 10 minutes. But you can change the time from ‘1’ minute to however long you want. Use the arrows in the time limit box to adjust the time period.
- Keep the last autosaved version if I close without saving – This option makes it easy to recover your most recent Excel files if the Excel program crashes or closed before saving the file. So when you reopen Excel, you will see a version of the file is auto-recovered. But, this option will only apply to workbooks that have been saved at least once.
In the AutoRecover file location field, you can change where auto-recovered files are saved.
In case you are working on a large dataset, with many formulas and charts, you need to set a longer time limit for AutoRecover because a shorter time duration will cause unnecessary recalculations and Excel crashes.
Create a Backup Copy of Your Workbook
AutoRecover and Auto-Save are useful features for retrieving unsaved Excel files and automatically saving the changes made to the Excel workbook. While Auto-Backup is a feature that helps you retrieve earlier versions of your workbook by creating a backup copy of the file. When enabled, this feature will automatically take a backup whenever you save a file.
This backup copy will help you recover the previous version of the file and protect your work in case you accidentally saved the changes and you do not want to keep the current original file or if you lost the original file.
For instance, if you save an Excel file after enabling the auto-backup option, it will create a backup file with the name ‘Backup of….xlk’ in the same location. After that, if you made changes to the original file and save it again, you will have the current saved data in the original workbook and previously saved data in the backup file. Then, if you save the file again, all the changes will be saved in the backup copy.
Follow these instructions to backup an Excel workbook and how to retrieve it:
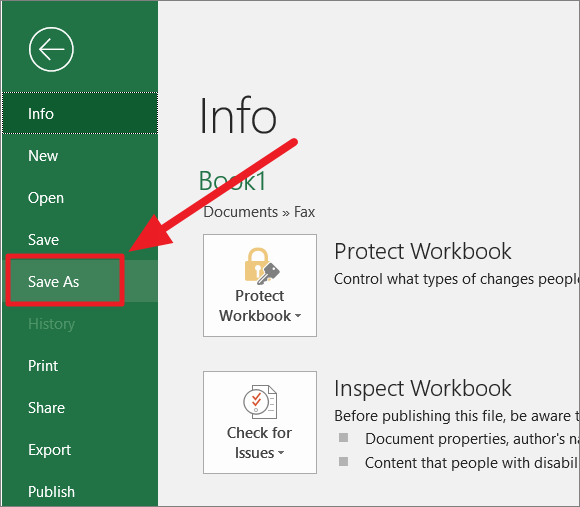
Go to the ‘File’ tab and select the ‘Save As’ option from the left-hand panel.
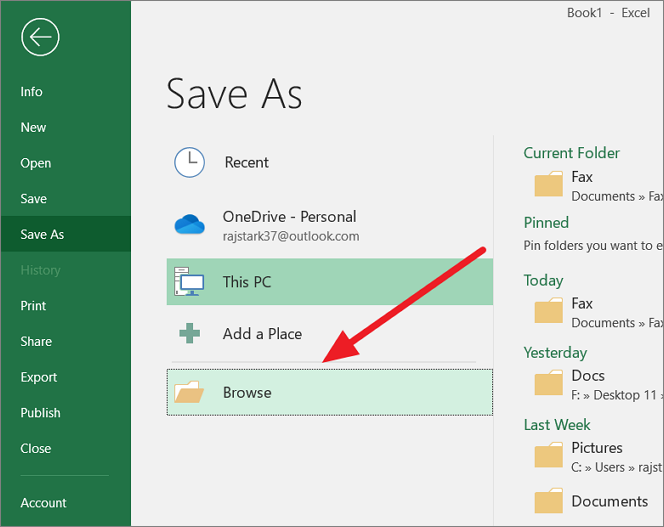
Next, click on ‘Browse’ to open the ‘Save As’ dialog box.
In the Save As dialog box, navigate to the folder where you want to save the file and its backup and click on the small arrow next to the ‘Tools’ button at the bottom of the window. Then, choose ‘General Options…’ from the drop-down list.
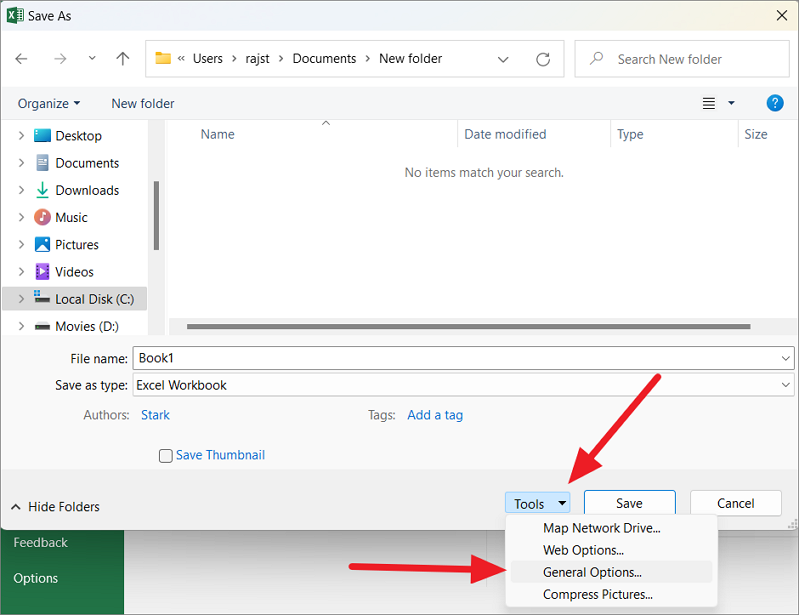
After that, check the ‘Always create backup’ box in the General Options dialog and click ‘OK’.
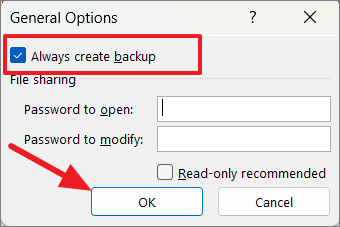
You can also set passwords to open the backup Excel file and modify it.
Auto-Backup settings will only work on the current workbook. If you enable auto-backup while saving (Save As) the file, it will only backup that workbook. If you want to backup another workbook, you have to check the ‘Always create backup’ option again under General Options in the Save As dialog box.
Then, rename the file if you want and click the ‘Save’ button.
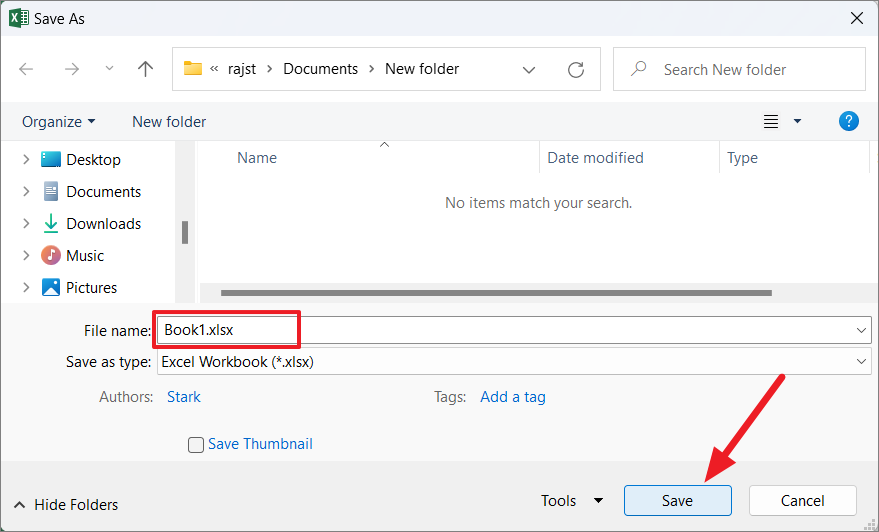
As soon as you click the Save button, two files will be saved – one is the original file with the specified file name and the other is the backup file with the pre-fix ‘Backup of’ (with the ‘.xlk’ extension). When the backup is created for the first time, both files will have the exact data.
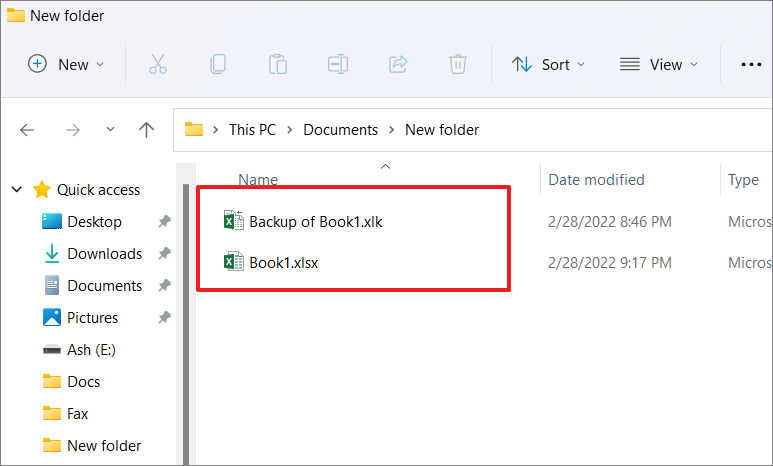
But after creating the backup if you make changes to the original file (Book 1) and save it once, it will not be saved in the backup file (Backup Book 1). Then, if you save the original file again, it will also update the backup file. Hence, the backup file is always one version behind your original file with every save. This way, you can always have a backup for the previous version of the file.
Open Backup Excel file
To open or recover the backup file, simply double-click on the backup file. And you will see a prompt box that says file format and extension of the backup file don’t match and asks do you want to open it anyway. Simply, click ‘Yes’ to open the backup file.

Alternatively, you can go to the ‘File’ tab and click the ‘Open’ option. Then, click the ‘Browse’ button and navigate to the location where the file is located.
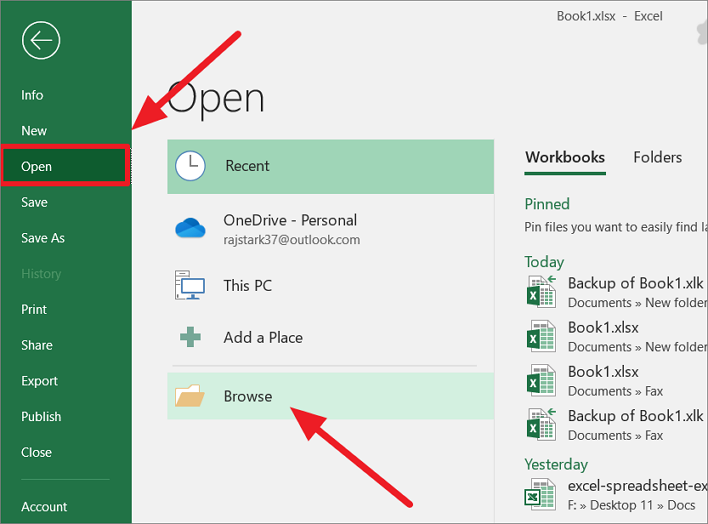
From the drop-down list, either select ‘Backup files (*.xlk;*.bak)’ or ‘All Files (*.*). Then, select the backup file and click ‘Open’.
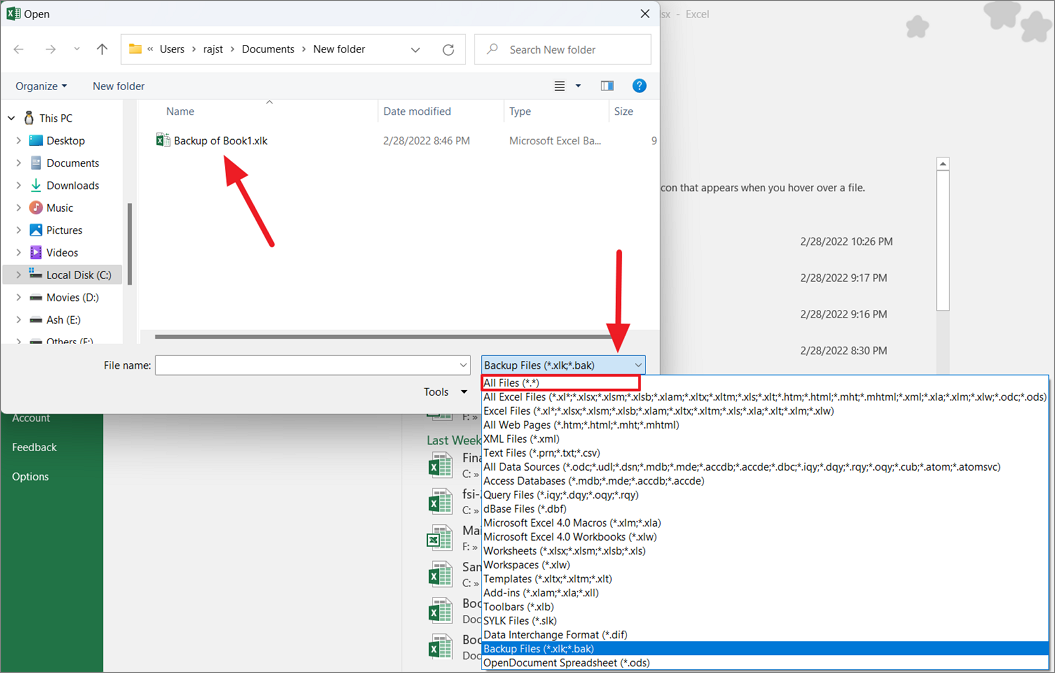
If you see the “Do you want to open this anyway” prompt, click ‘Yes’ on it.
You can also rename the file extension of the backup file from ‘.xlk’ to ‘.xlsx’ and open it normally.
Repair Corrupt Excel Files
Sometimes, when you recover unsaved or auto-recovered Excel files filled with lots of data or complex calculations, you will often find yourself with a corrupt or damaged Excel file. In such cases, you can use Excel’s built-in option to repair those files. Here’s how you can repair a corrupt or damaged file.
First, open Excel and go to the ‘File’ tab. In the backstage view, select the ‘Open’ (or Ctrl+O) and click the ‘Browse’ button.
When the Open dialog box opens up, select the file that has been corrupted or damaged and click on the small down arrow next to the ‘Open’ button.
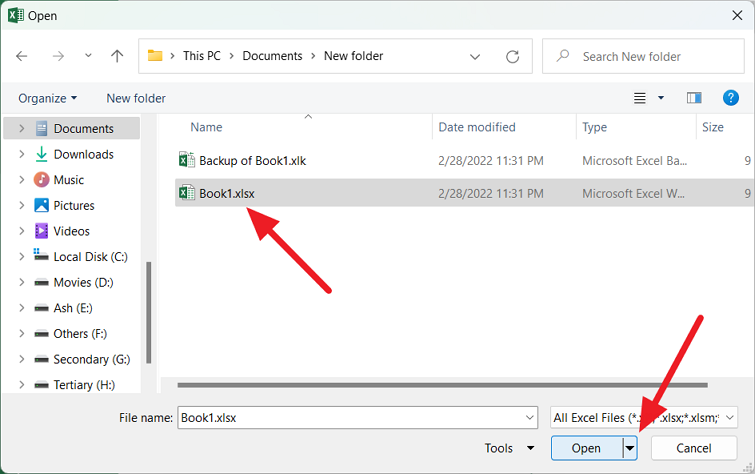
Then, choose ‘Open and Repair’ from the drop-down.

Save a Time-Stamped Copy of the Excel Workbook
In the above backup creating method, Excel updates a single backup copy every time you save the original workbook. So you will only have one original copy and a previous version (Backup copy) of the workbook at any point. But how can you go back a few versions back, if you already saved the original workbook multiple times?
Don’t worry, you can use a VBA code to create time-stamped multiple backup versions of your workbook whenever you save it or close it. This way you can have all the earlier versions of the workbook and you can go back to any version of the file if anything goes wrong. Here’s how can you can do that:
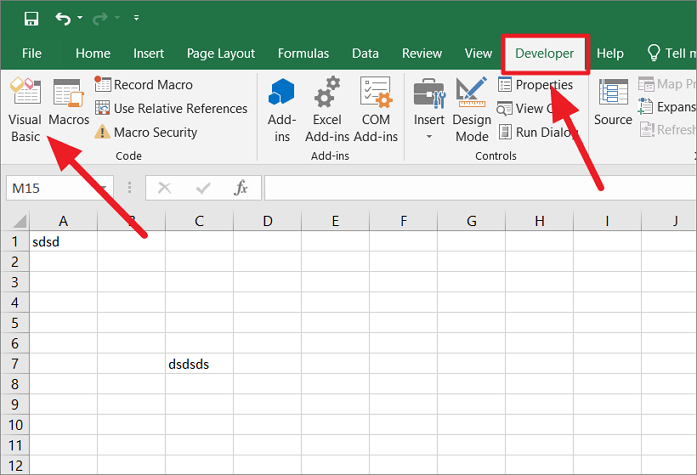
Open the workbook for which you want to create backups and then go to the ‘Developer’ tab and click the ‘Visual Basic’ button.
This will open Microsoft Visual Basic for Applications window. Here, double click on the ‘This Workbook’ object in the project explorer (left-hand navigation panel).
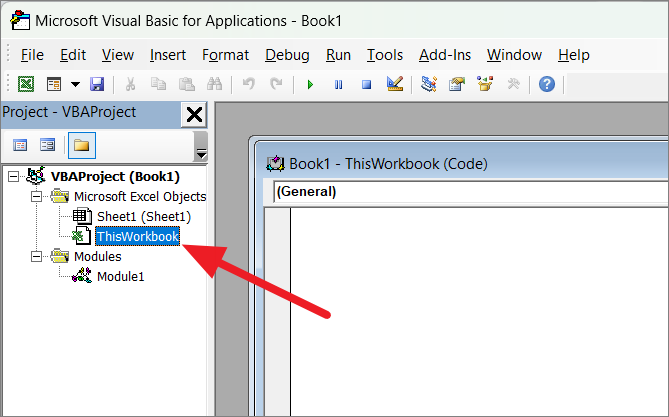
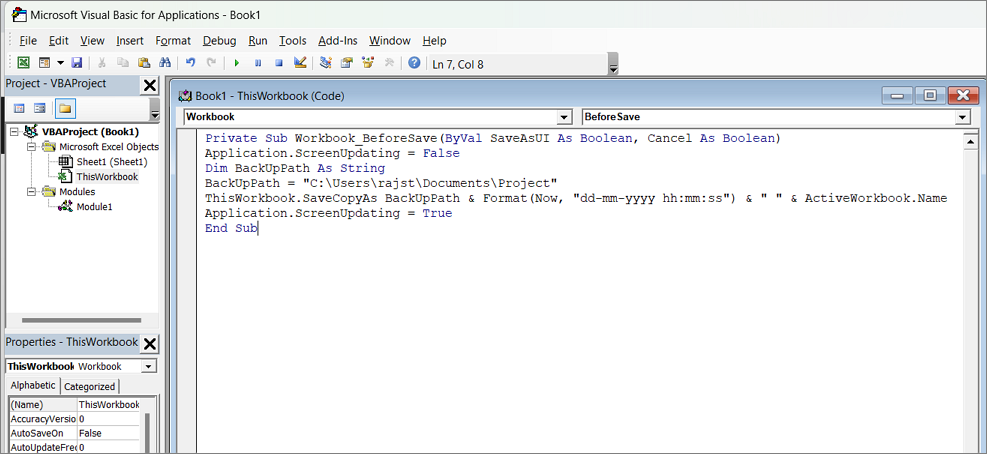
To create timestamped copies of the workbook when you save it, copy and paste the below code in the ‘ThisWorbook’ code window:
Private Sub Workbook_BeforeSave(ByVal SaveAsUI As Boolean, Cancel As Boolean)
Application.ScreenUpdating = False
Dim BackUpPath As String
BackUpPath = "C:\Users\rajst\Documents\Project"
ThisWorkbook.SaveCopyAs BackUpPath & Format(Now, "dd-mm-yyyy hh:mm:ss") & " " & ActiveWorkbook.Name
Application.ScreenUpdating = True
End Sub
Where replace C:\Users\rajst\Documents\Project with the location of the folder where you want to save the backup copies on your computer.
To save create a backup copy before you close the workbook (instead of saving a copy every time you save the workbook), use the below code:
Private Sub Workbook_BeforeClose(Cancel As Boolean)
Dim BackUpPath As String
BackUpPath = "C:\Users\rajst\Documents\Project"
ThisWorkbook.SaveCopyAs BackUpPath & Format(Now, "dd-mm-yyyy hh-mm-ss") & " " & ActiveWorkbook.Name
End Sub
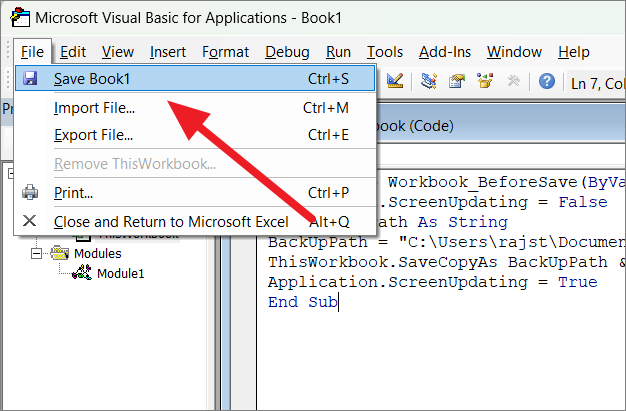
Then, click the ‘File’ menu and select ‘Save…’ or press Ctrl+S.
Based on the code, it will automatically create a separate backup copy of the workbook whenever you save or close it. You can distinguish the backup files with the timestamps in the file name.
That’s it.


