
Documents often contain sensitive and private information that’s not meant for everyone’s eyes. Before you can share such a document, you have to redact this information. Were it a physical document, it would have been rather easy to permanently redact any sensitive information – all you need is a thick permanent marker.
But redaction in digital documents is a little bit complicated. You cannot simply draw black boxes imitating a permanent marker over the sensitive information in Word or other such apps. That won’t fix the problem. Believe it or not, it’s extremely easy to remove said boxes to reveal the text underneath. Also, it does nothing about the metadata.
What you need is a permanent fix, and the Redact feature in Adobe Acrobat is the answer to your needs.
How to Redact in Adobe Acrobat
First things first, to use the redact feature in Adobe Acrobat, you need a Pro subscription. The feature is available in Adobe Acrobat 2017, Adobe Acrobat 2020, and Adobe Acrobat DC, but with a Pro subscription.
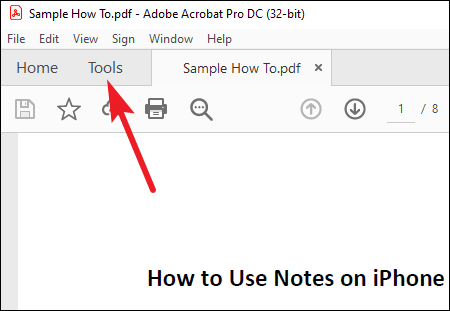
Open the document you wish to redact in Adobe Acrobat. If you have a lot of information you wish to redact, go to the ‘Tools’ menu.
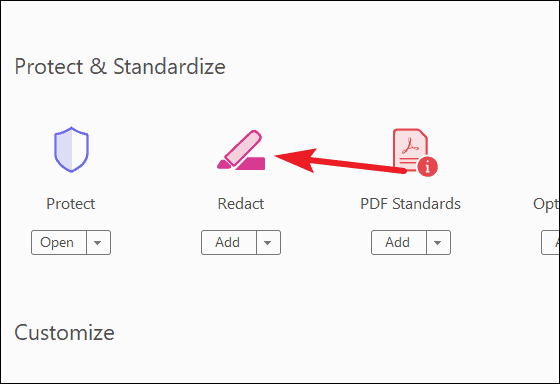
Select ‘Redact’ from the options in the Tools menu.
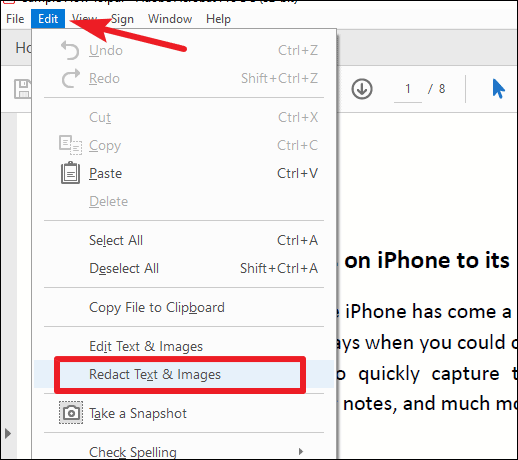
You can also go to ‘Edit’ from the menu bar and select ‘Redact Text and Images’ from the menu.
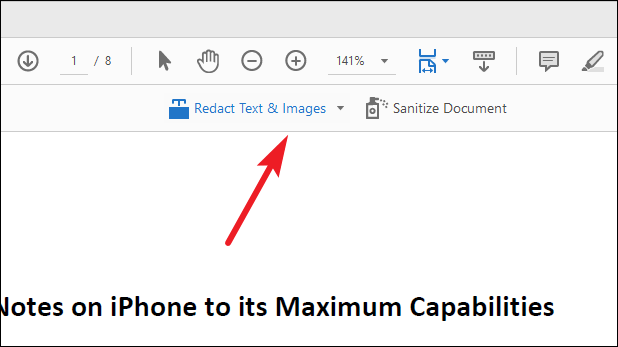
The redact toolset will appear on your document on the secondary toolbar.
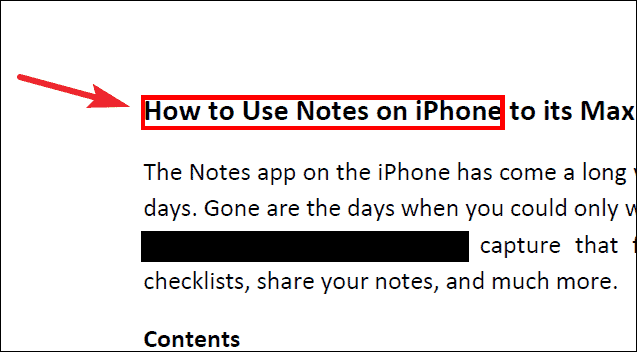
Now, select the text or images you want to redact. They’ll appear with red boxes, meaning that they are marked for redaction. You can mark all the text you wish to redact before applying the changes.
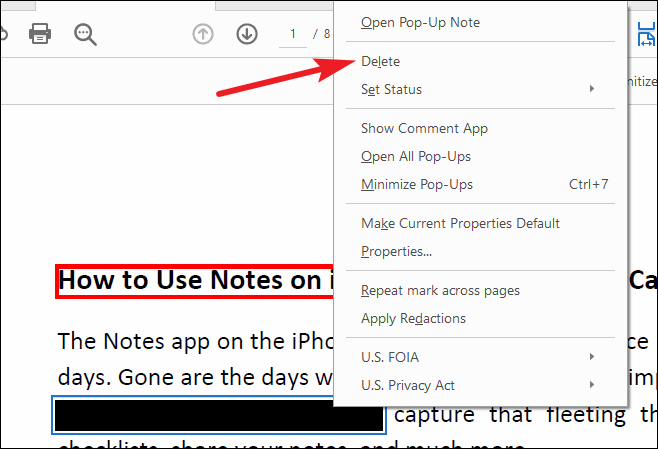
If there are redactions in the document that appear in the same place in all or a lot of pages, like a watermark, header/ footer, etc., you don’t have to mark them separately. After marking one such text, right-click on it and select ‘Repeat mark across pages’ from the menu.

The permanent removal of the text will not be complete until you apply the redaction. If you’ve marked some text by mistake, you can delete it while it is still marked. But once you apply the changes and redact the text, you cannot delete it.
To delete a marking, right-click on it and select ‘Delete’ from the menu.
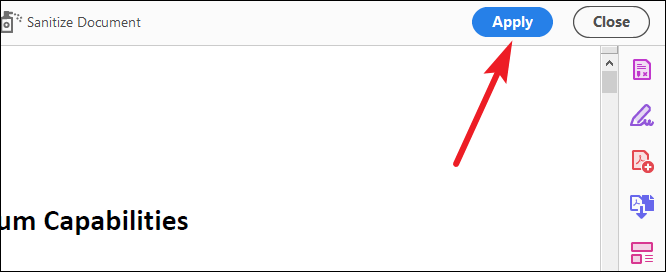
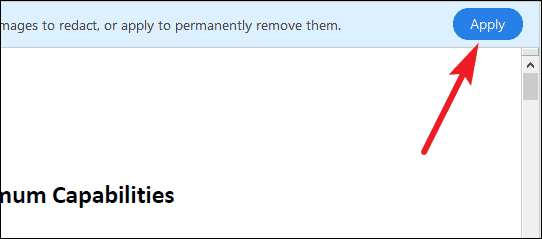
Once you’ve marked all the text you want to redact, click the ‘Apply’ button on the secondary toolbar.
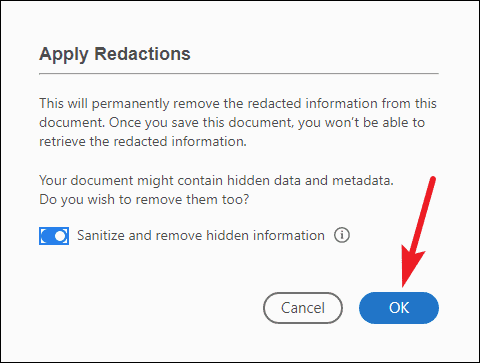
A dialog box will appear with the warning that you are about to permanently redact the text, and once you save the document, you cannot undo it. Click on ‘OK’ to continue.
A dialog box to save the document will open. If you want the document to overwrite the original document, save it with the same name in the same location. Otherwise, either change the name, location, or both.
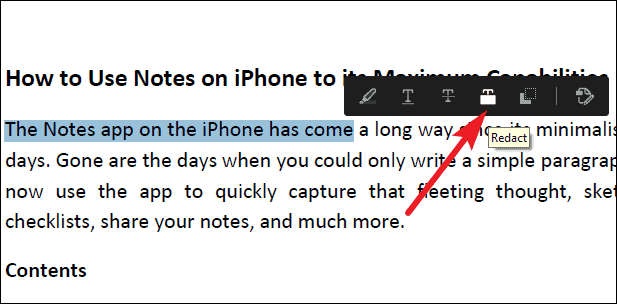
If you want to redact only a small amount of text, say a single line, you can also select the text, and then either click on ‘Redact’ from the floating context-menu.
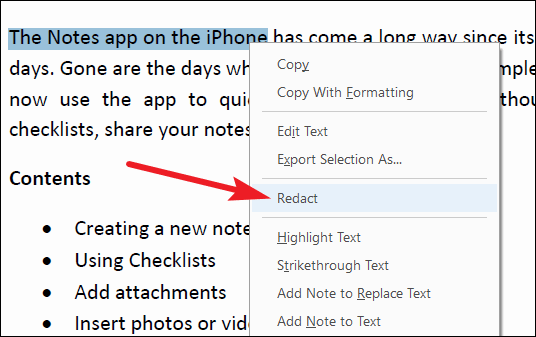
Or, select the text and right-click on it. And then, select ‘Redact’ from the right-click context menu that appears.
Now, click on ‘Apply’ and save the document.
Setting the Appearance of Redaction Marks
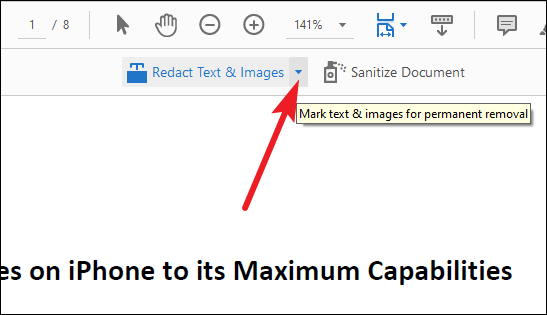
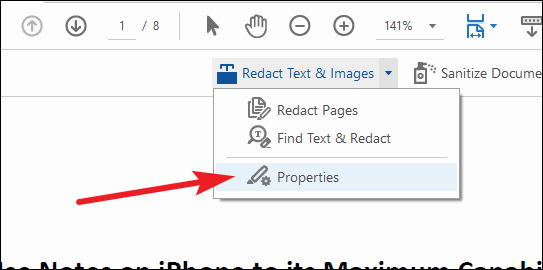
By default, redaction marks will appear as black boxes without any overlay text. But you can change the appearance of the redaction marks. Go to the redact toolset on the secondary toolbar, and click the drop-down arrow next to the ‘Redact Text & Images’ button.
The drop-down menu will expand. Click on ‘Properties’.
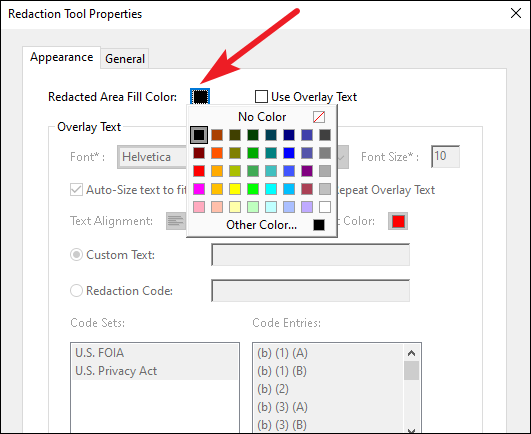
The ‘Properties’ dialog box will open. Stay on the Appearance tab. To change the color of the redaction mark, click on the color square next to the option ‘Redacted Area Fill Color’ and select the color you want to use.
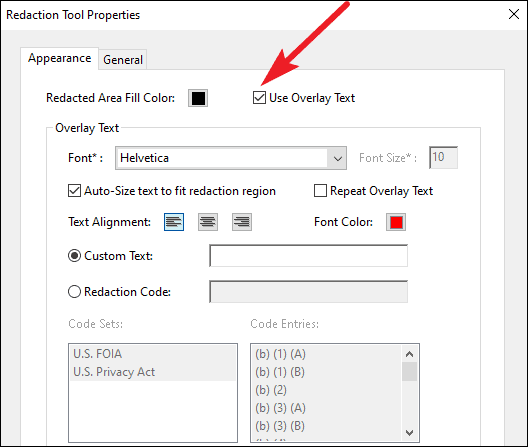
To also have overlay text on the redaction mark, check the box for the same. The settings for overlay text that were previously gray will become configurable. Enter the text and select other attributes such as color, font, etc.
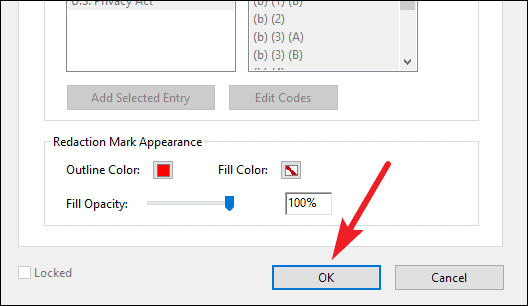
Finally, click ‘OK’ to apply the changes.
Any changes you make to the appearance of the redaction marks will only apply to new redactions. That is, if the document consists of redactions that you have already marked or applied, they won’t be affected. So, changes will apply to text that you will mark or redact in the future.
Search and Remove Text
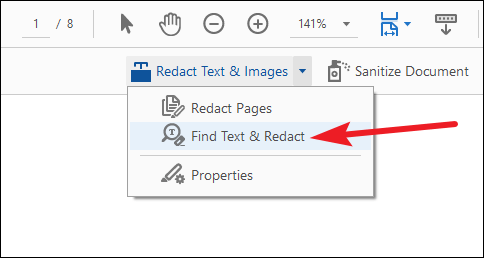
You can also find the text from one or multiple PDFs in one go and redact it using the ‘Find Text’ tool. Click on the drop-down arrow next to Redact Text and Images from the Redact toolset and select ‘Find Text & Redact’ from the menu.
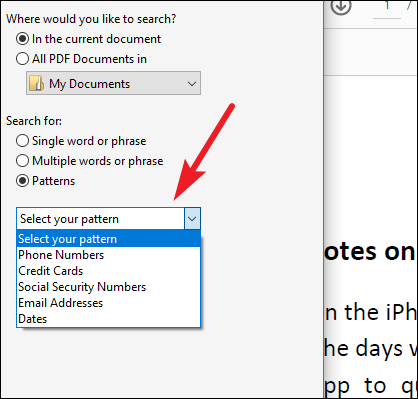
The Search dialog box will open. Here, you can specify whether you want to search the current document only or all PDFs in a particular location.
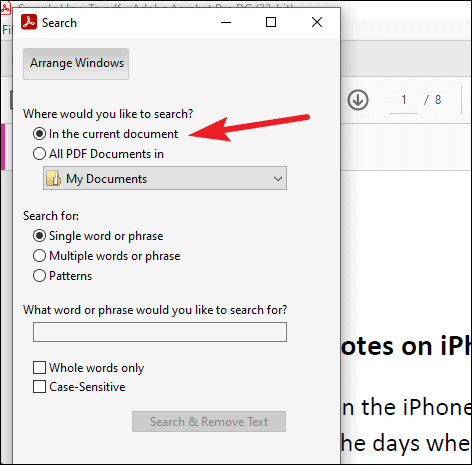
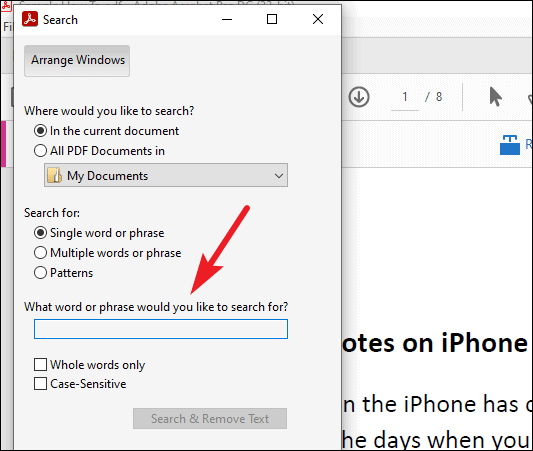
After specifying the PDF, select whether you want to search for a single word or phrase or multiple phrases. To search for a single word/ phrase, select the option and enter the phrase in the text box.
To search for multiple words, select the corresponding option and then click the ‘Select Words’ option.
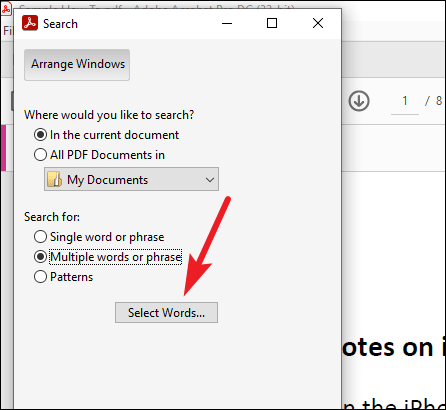
Enter a word or phrase in the textbox and click the ‘Add’ button. You can also import a text file with list of words to search for.

Last, select the option ‘Patterns’ to find information like credit card numbers, phone numbers, email addresses, dates, social security numbers, etc. Select one of the available patterns from the drop-down menu. You can also change the locale for patterns to one of the available countries.
Sanitizing a Document
Every time you go to apply any redactions, you’ll find a toggle option ‘Sanitize and remove hidden information’ automatically selected. What does it exactly mean?
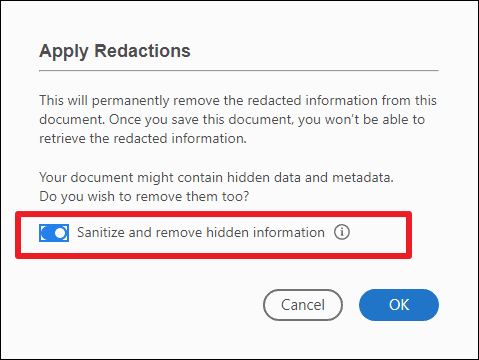
A document contains a lot of hidden information like metadata, hidden text or layers, overlapping text, attachments, bookmarks, comments, etc., that you don’t want others to be able to see when you publish or share the document.
The above option for sanitizing the document permanently deletes all the hidden information associated with the document.
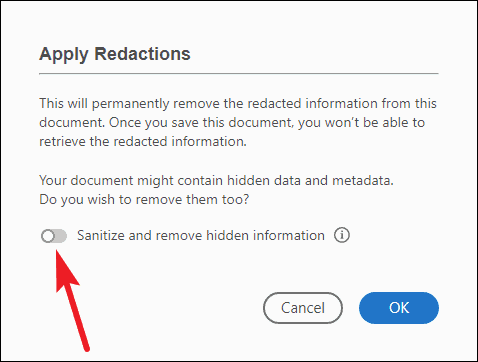
You can also specify and select what hidden information you want to remove and what to retain. To do this, first of all, while applying redactions, turn off the toggle for ‘Sanitize and remove hidden information’.
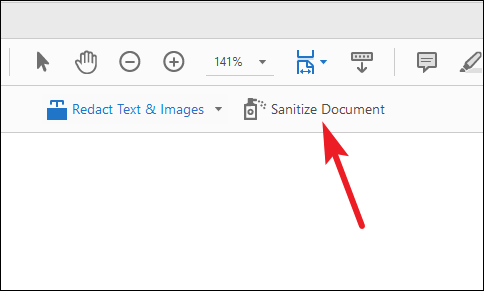
Now, go to the ‘Sanitize Document’ option on the redact toolbar.
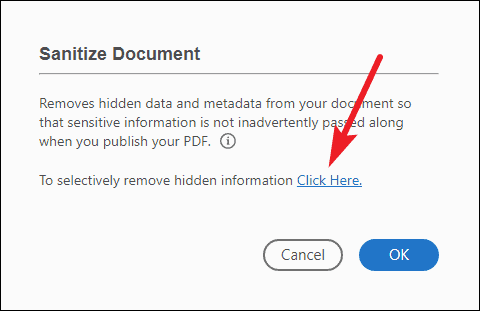
A dialog box will appear. Click on the option ‘Click here’ next to the statement “To selectively remove hidden information.”
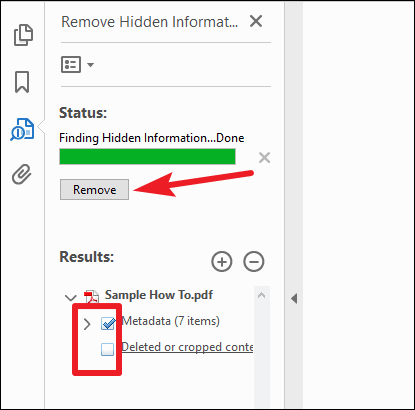
The ‘Remove Hidden Information’ panel will open and it’ll list all the hidden information found in the document after examining it thoroughly. By default, all hidden information will be selected. Click on the checkboxes next to them to deselect them. Then click the ‘Remove’ button to remove the items that are still selected.
Sharing sensitive information with people who aren’t supposed to see it can land you in huge trouble. Now, before you publish or share any documents, you can properly redact sensitive information and sanitize the document to avoid any mishaps using Adobe Acrobat.


