Is the option to remove a Microsoft account missing or greyed out? Learn how to remove it anyway (forcefully) on Windows 11.
Is the option to remove a Microsoft account missing or greyed out? Learn how to remove it anyway (forcefully) on Windows 11.
by Kazim Ali Alvi
Many users link their Microsoft account when setting up Windows 11 to access features like OneDrive, Microsoft Store, and synchronization services. However, there are instances where you might want to remove your Microsoft account from your Windows 11 PC. This guide will walk you through the detailed steps to remove a Microsoft account from Windows 11.
Create a Local Account on Windows 11
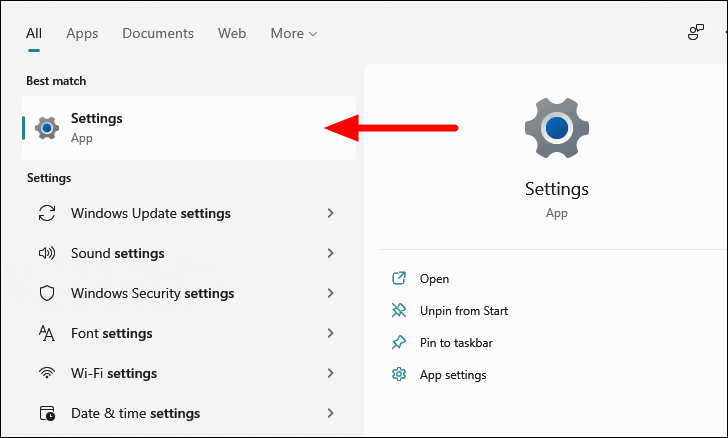
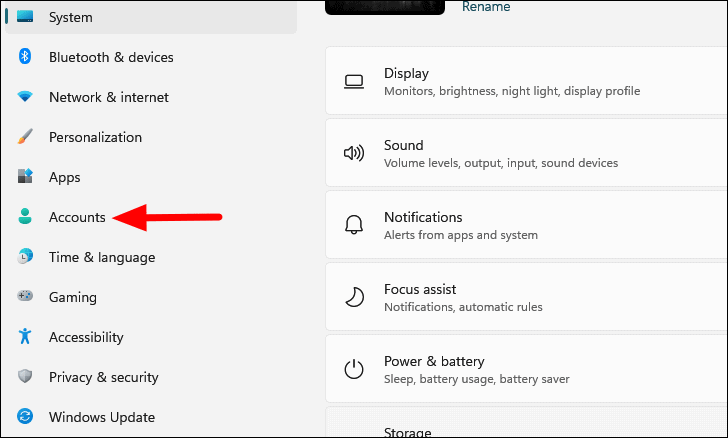
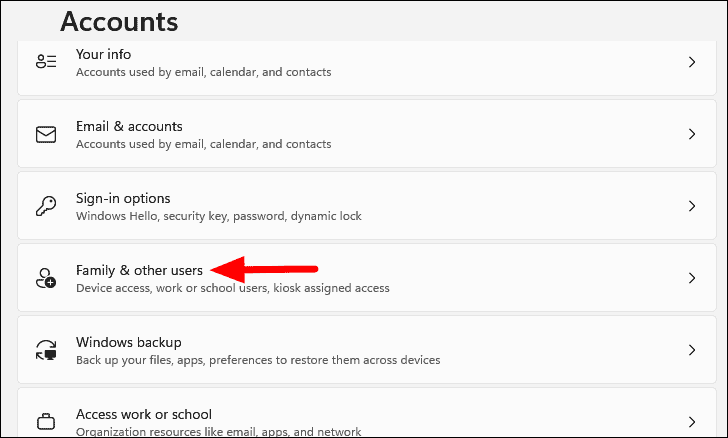
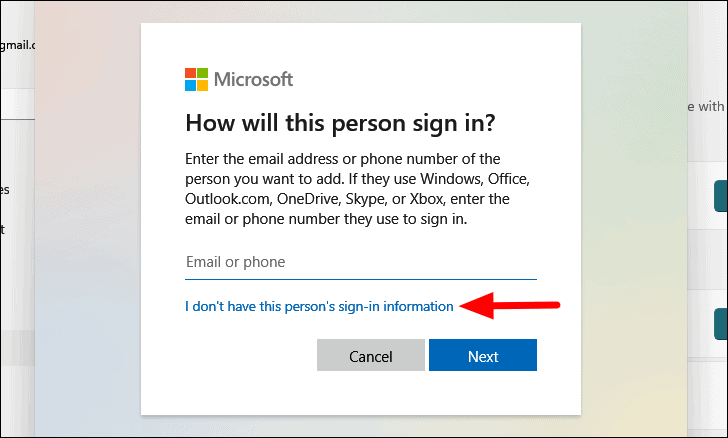
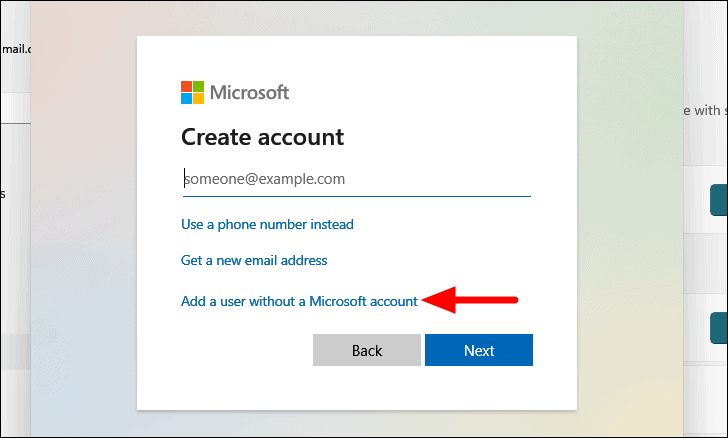
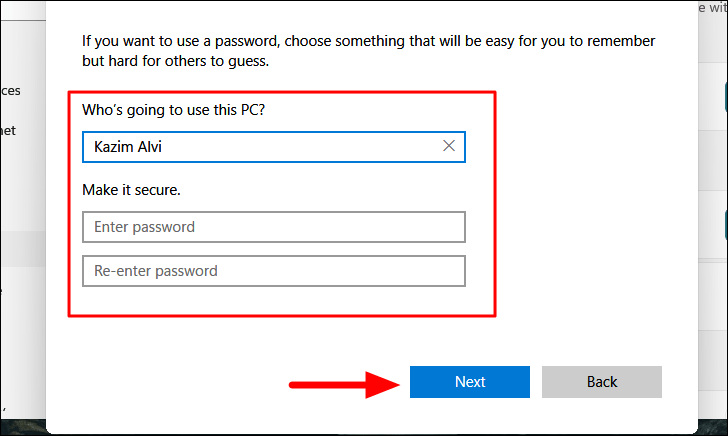
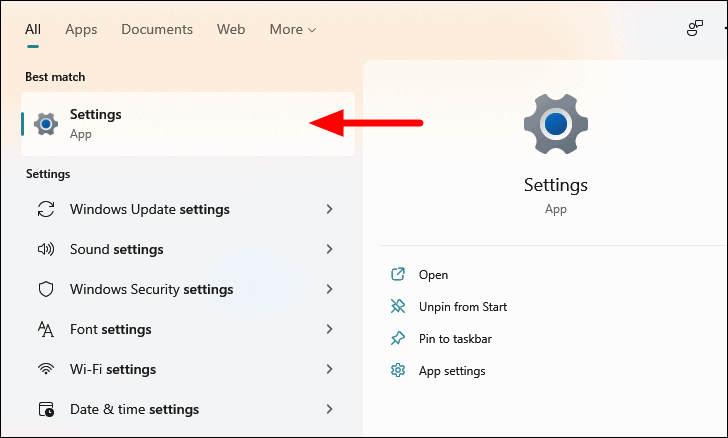
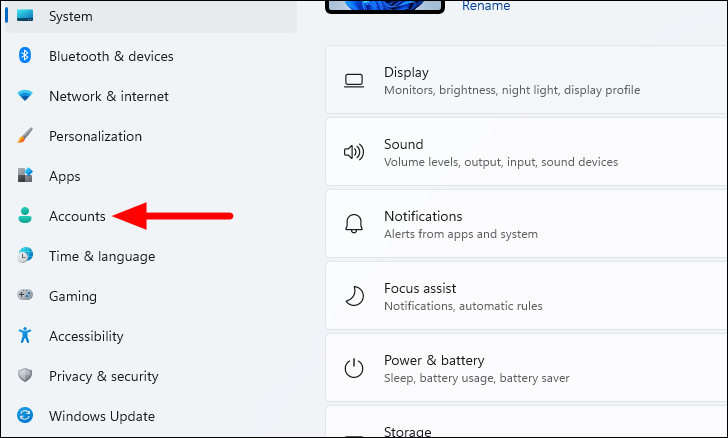
Before you can remove a Microsoft account, you need to ensure that you are not signed into it. Therefore, the first step is to create a local account with administrative privileges.
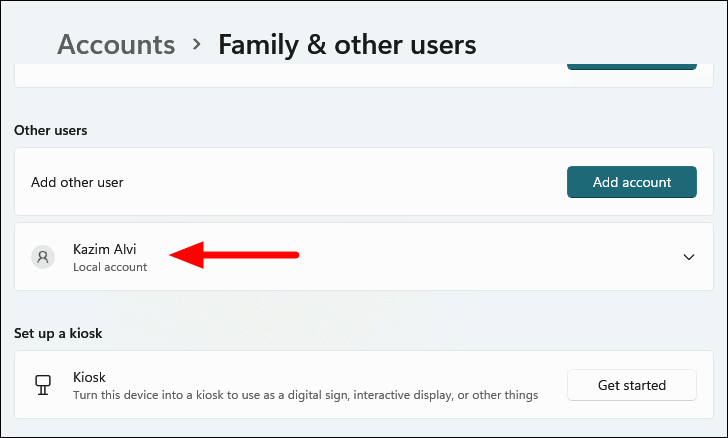
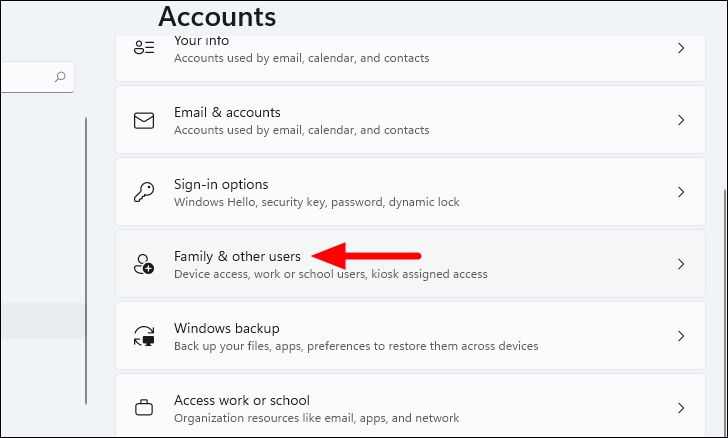
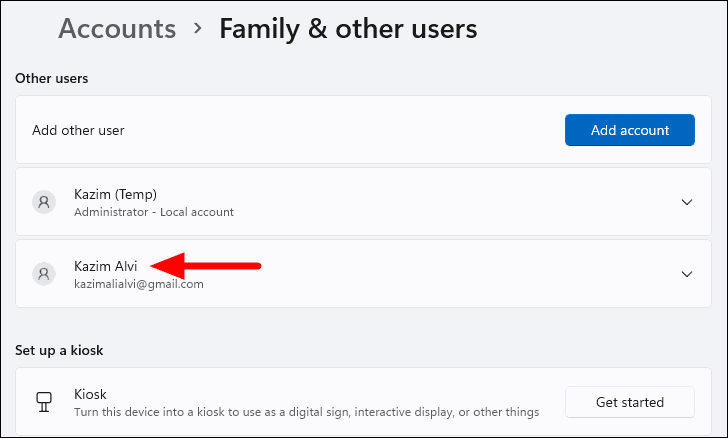
The local account is now created but is a standard user by default. To assign administrative privileges, click on the newly created account under Other users.
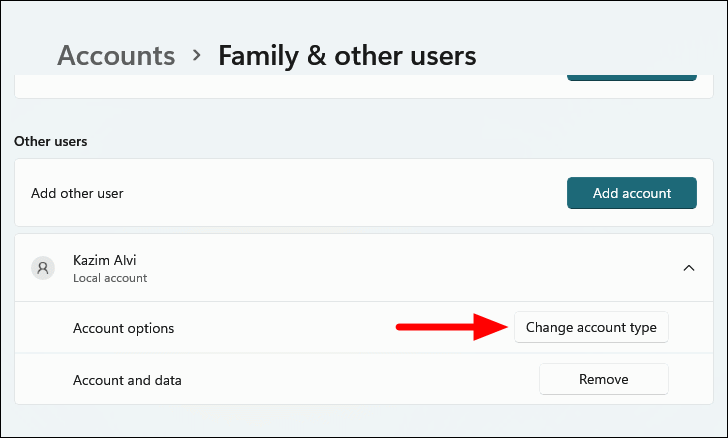
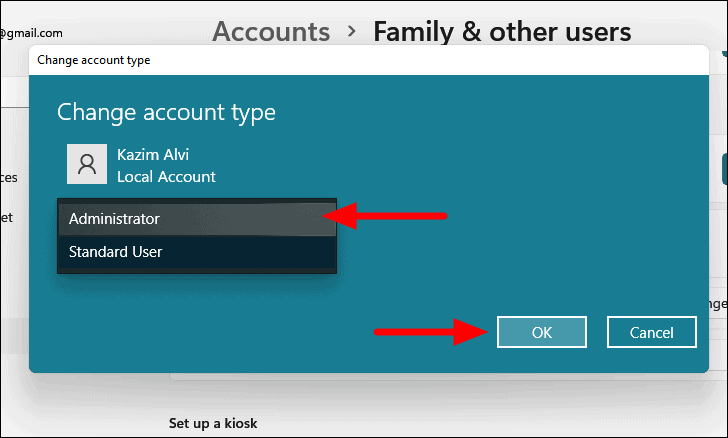
In the Change account type window, open the drop-down menu under Account type and select Administrator. Click on OK to save the changes.
You now have a local account with administrative rights. Sign out of your Microsoft account and sign in with this local account to proceed with removing the Microsoft account from your system.
Removing Microsoft Account on Windows 11
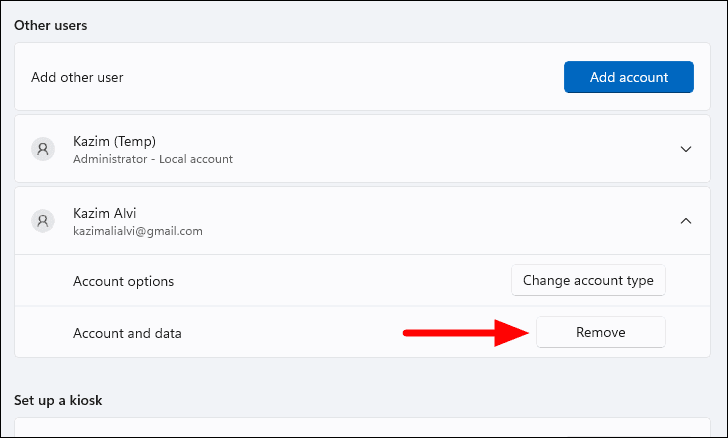
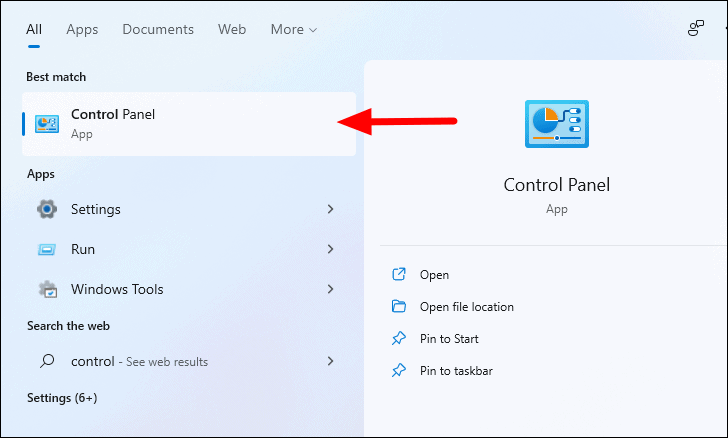
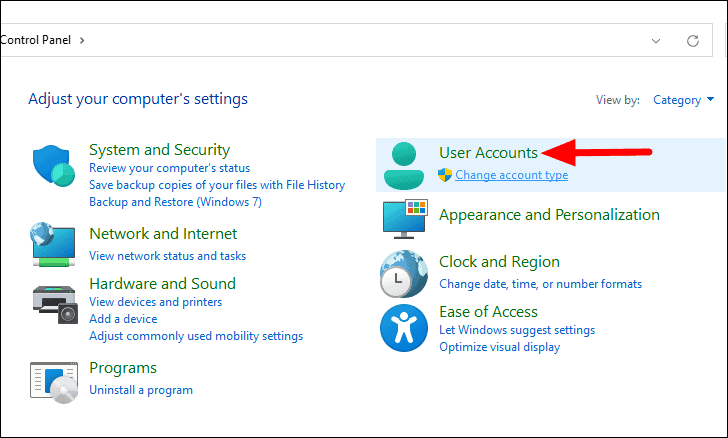
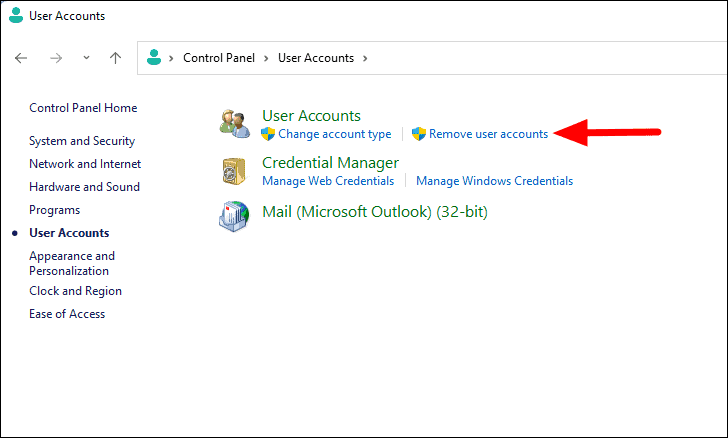
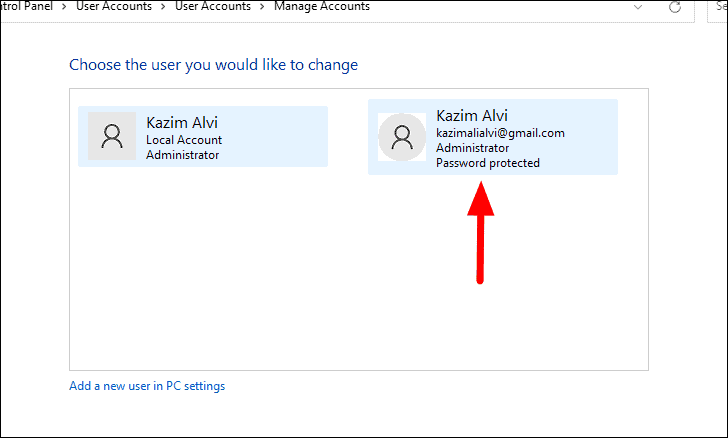
Once you’re signed in with the local administrator account, you can remove the Microsoft account from your system. There are several methods to accomplish this. Below are the steps for the most effective methods.
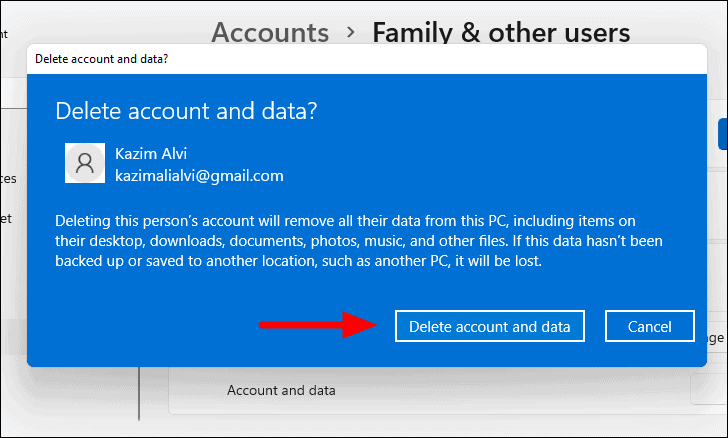
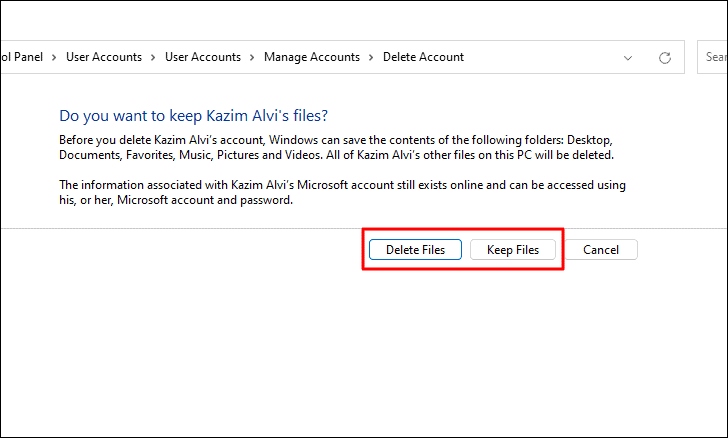
Choose whether you want to Delete Files or Keep Files. Selecting Keep Files will save certain files associated with the account to your desktop. Make your selection to proceed.
Note: Opting to Keep Files will save limited files from the account. If you wish to delete them later, you can do so manually.
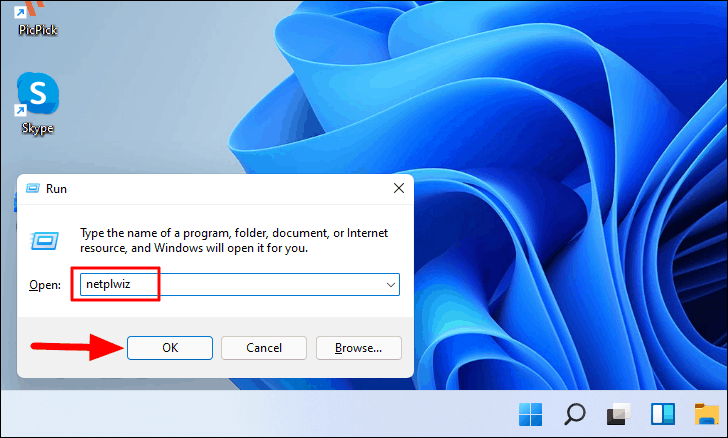
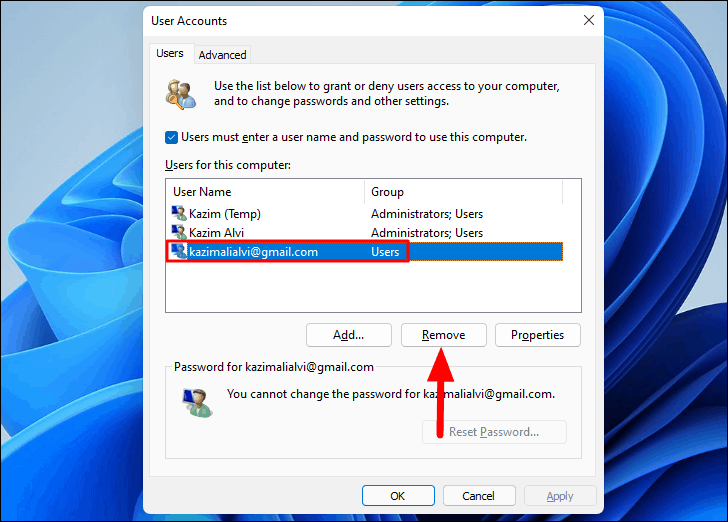
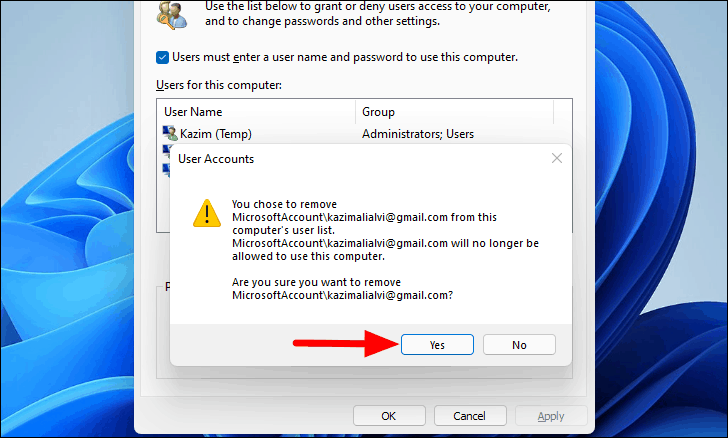
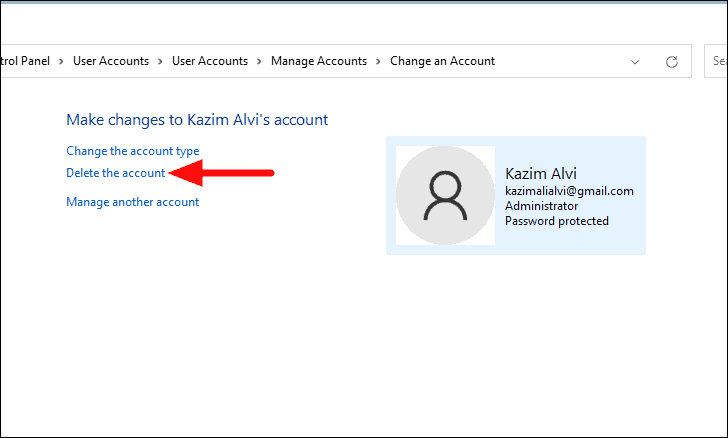
The Microsoft account has now been removed using the Control Panel.
By following these steps, you can successfully remove a Microsoft account from your Windows 11 PC. This can help you maintain your privacy or simplify your user accounts on the system.