
The redesigned context menu in Windows 11 File Explorer often hides essential commands—like "Always available" or integration items from third-party apps—behind an extra "Show more options" step. This change disrupts workflows that rely on quick right-click access to file operations, slowing down tasks such as extracting archives, opening folders in development tools, or running custom scripts. By making a targeted registry edit, you can revert to the classic context menu, restoring immediate access to these items and streamlining file management.
Restore the Classic Context Menu Using a Registry Edit
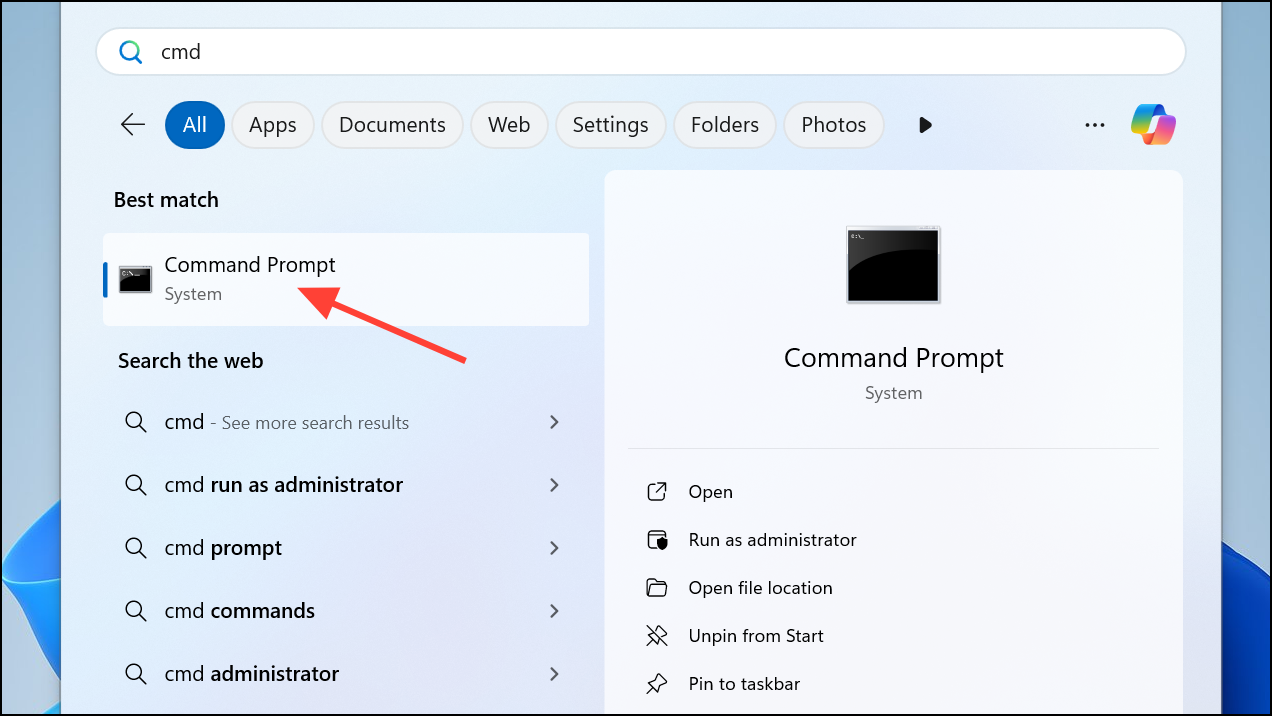
Step 1: Open a Command Prompt or Windows Terminal window as your standard user (not as administrator). This is important because the registry change should apply to your user account, not an elevated or admin account. You can do this by searching for "Command Prompt" in the Start menu and clicking "Open", not "Run as administrator".
Step 2: Copy and paste the following command into the terminal and press Enter:
reg.exe add "HKCU\Software\Classes\CLSID\{86ca1aa0-34aa-4e8b-a509-50c905bae2a2}\InprocServer32" /f /ve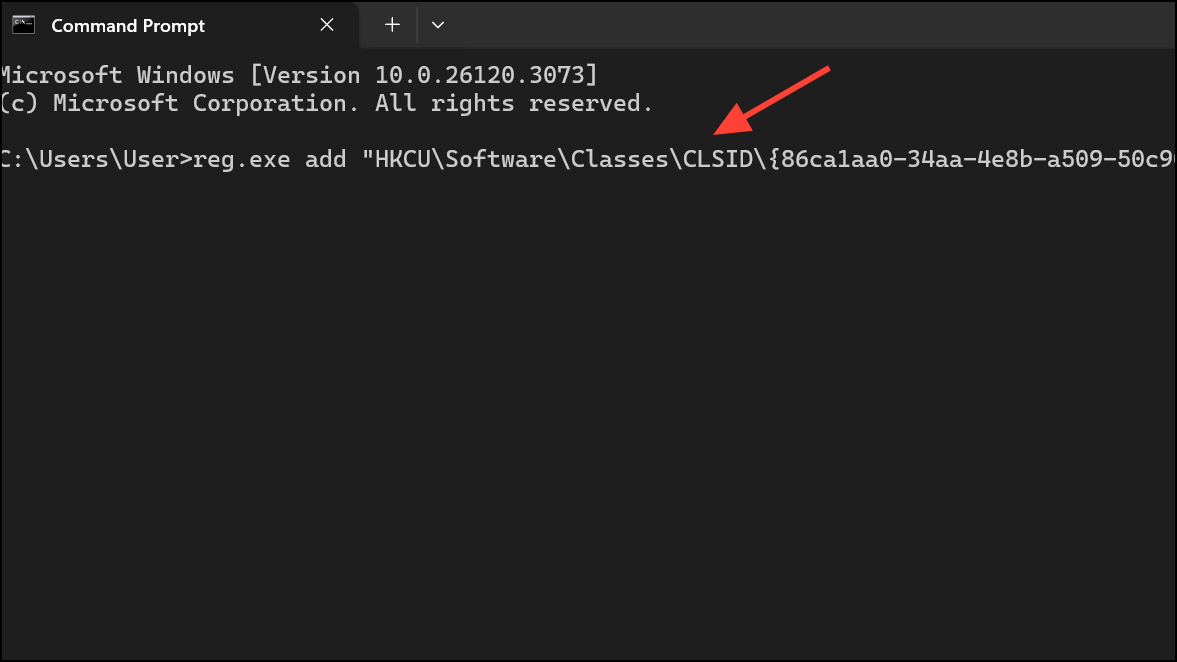
This command creates a specific registry key with an empty default value. Windows 11 checks this key when displaying the context menu; if present and empty, it defaults to the classic menu layout found in previous Windows versions.
Step 3: Restart Windows Explorer to apply the change. This step is necessary for the new registry setting to take effect. You can do this without rebooting your computer:
taskkill /f /im explorer.exe
start explorer.exe
Alternatively, you can open Task Manager (Ctrl + Shift + Esc), find "Windows Explorer" under the Processes tab, right-click it, and select "Restart".
Step 4: Right-click any file or folder in File Explorer. The classic context menu should now appear immediately, with all options—such as "Always available", third-party app commands, and detailed file actions—readily accessible without clicking "Show more options".
Revert to the Default Windows 11 Context Menu
If you want to switch back to the Windows 11 style menu (with the streamlined appearance and "Show more options" submenu), remove the registry key you added:
Step 1: Open Command Prompt or Windows Terminal as your standard user.
Step 2: Run the following command:
reg.exe delete "HKCU\Software\Classes\CLSID\{86ca1aa0-34aa-4e8b-a509-50c905bae2a2}" /f
Step 3: Restart Windows Explorer as described previously. The right-click menu will return to the Windows 11 default layout.
Alternative: Use Shift + Right-Click for Classic Menu (No Registry Change)
If you cannot edit the registry—such as on work computers with restricted permissions—you can access the classic context menu by holding Shift and right-clicking a file or folder. This shortcut temporarily displays the full menu, but you must use it each time you want the old options. This method does not persist across sessions or change the default menu behavior.
Troubleshooting and Notes
- Editing the registry as described only affects your current user account. If you need the classic menu for all users, similar changes can be made under
HKEY_LOCAL_MACHINE, but this may be reverted by Windows updates and requires administrator rights. - If the menu does not update immediately, ensure all instances of File Explorer are closed, or restart your computer if restarting Explorer does not work.
- Some system administrators prefer using third-party tools or scripts to automate this tweak across multiple systems, but manual registry edits are the most direct method for individual users.
- Future Windows 11 updates could override or disable this workaround. If the classic menu disappears after an update, repeat the registry edit or check for new solutions.
Switching to the classic context menu in Windows 11 removes the extra step of "Show more options" and restores immediate access to frequently used commands. If your workflow depends on these options, this registry tweak offers a reliable and quick fix.