
The Quick Access menu can sometimes go missing from your Windows 11 File Explorer due to buggy Windows Updates, which can be quite frustrating if you rely on the menu a lot for your day-to-day workflow. Alternatively, you may find that your pinned items are no longer visible while the menu is still there. In any case, you can bring back the Quick Access menu and your pinned items quite easily.
Fix 1: Change folder options in File Explorer
- Open the File Explorer by clicking on it in the taskbar or using the
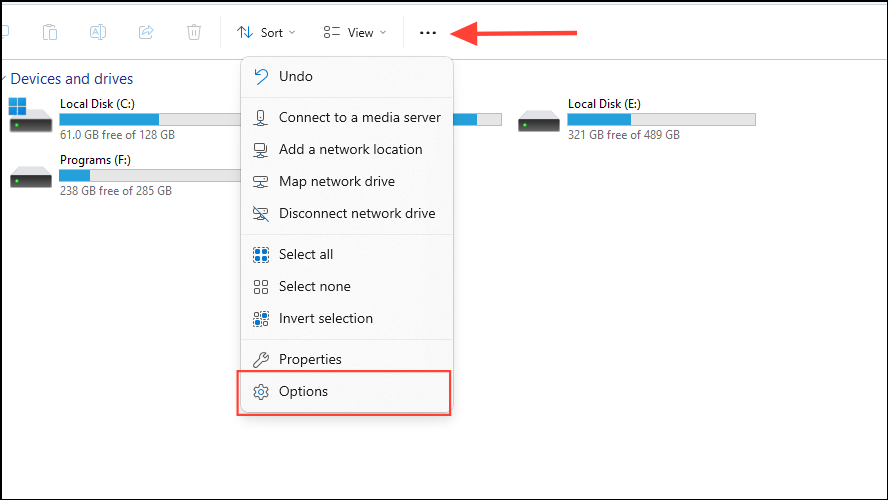
Win + Eshortcut. - When it opens, click on the three dots at the top and then on 'Options'.
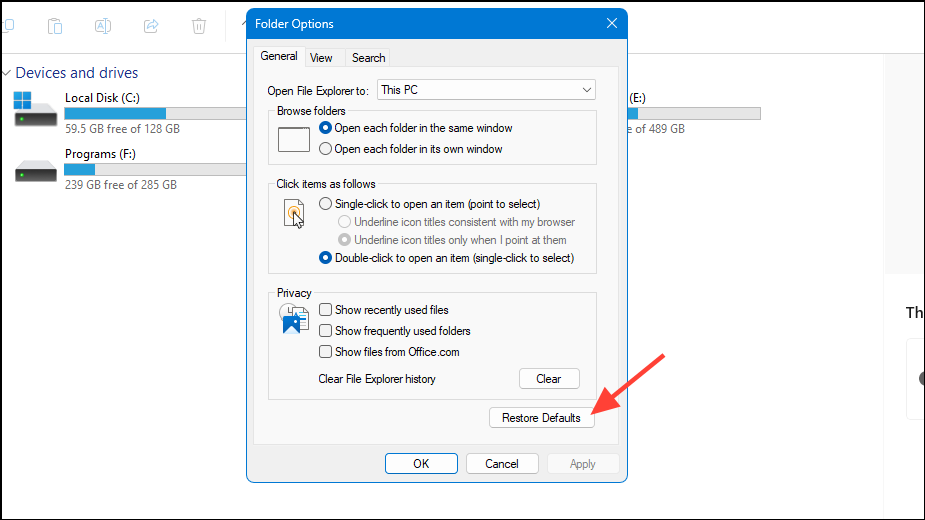
- Click on the 'Open File Explorer to' dropdown menu and select 'Home' in the Folder Options dialog box that appears.
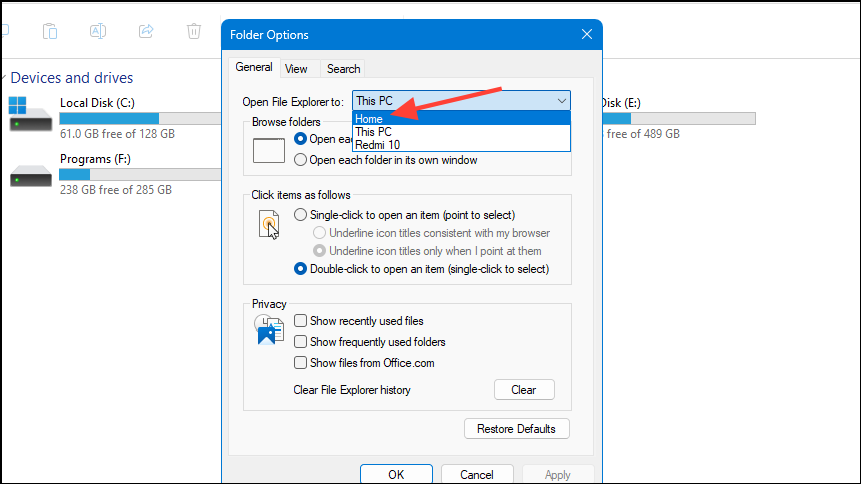
- Click on the 'Apply' button and then on OK before closing and reopening the File Explorer. Your Quick Access menu should be back now.
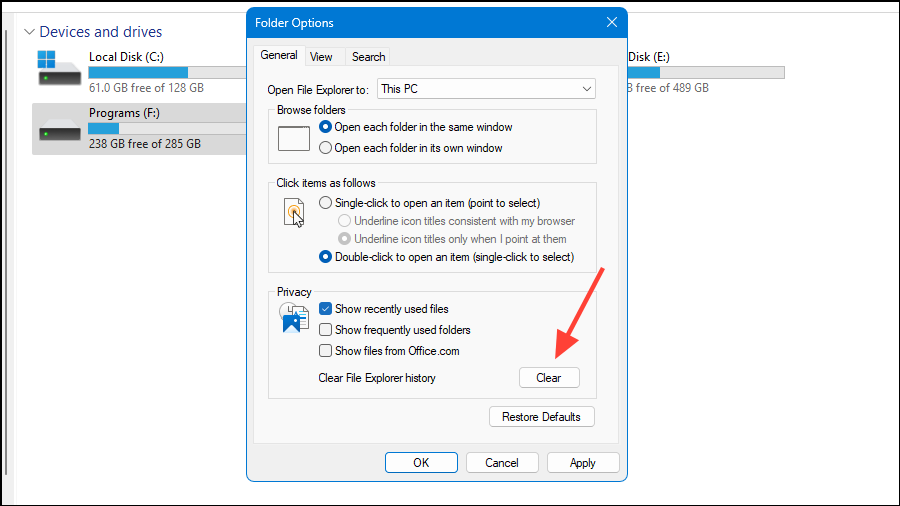
- Now, you need to clear your File Explorer history, as glitches can sometimes prevent the Quick Access menu from appearing. Open the Options dialog box in File Explorer and click on the 'Clear' button.
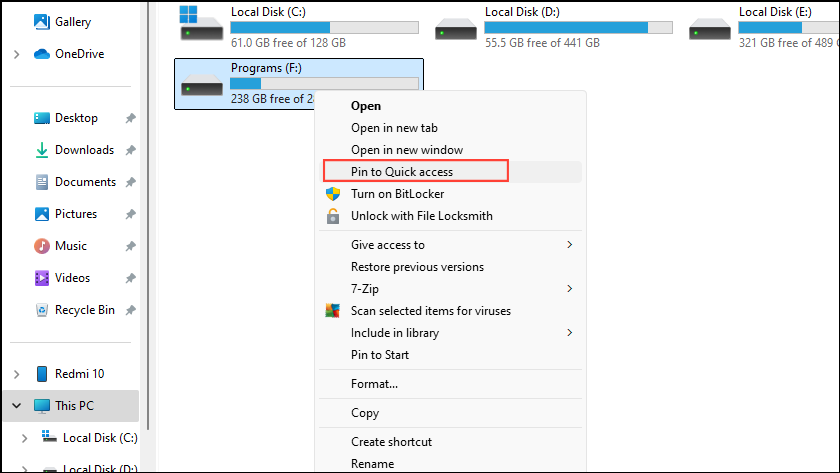
- Next, simply re-pin the missing items from your Quick Access menu to get them back. Locate the item you want to pin and right-click on it before clicking on 'Pin to Quick Access'. It will now be visible in the Quick Access menu.
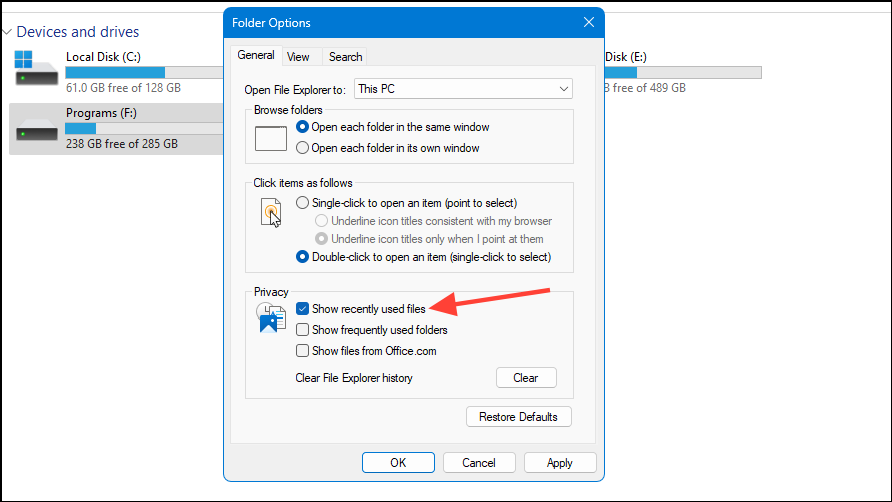
- Finally, you need to re-enable the 'Recent Files' option. Click on the three dots at the top and again on 'Options'. Then click on the checkbox next to the 'Show recently used files' to enable it before clicking on the 'OK' button.
Fix 2: Run SFC and DISM scans
- Corrupted files are another reason why your Quick Access menu may not be appearing in File Explorer. To fix this, open the Start menu, type
cmdand click on 'Run as administrator'.

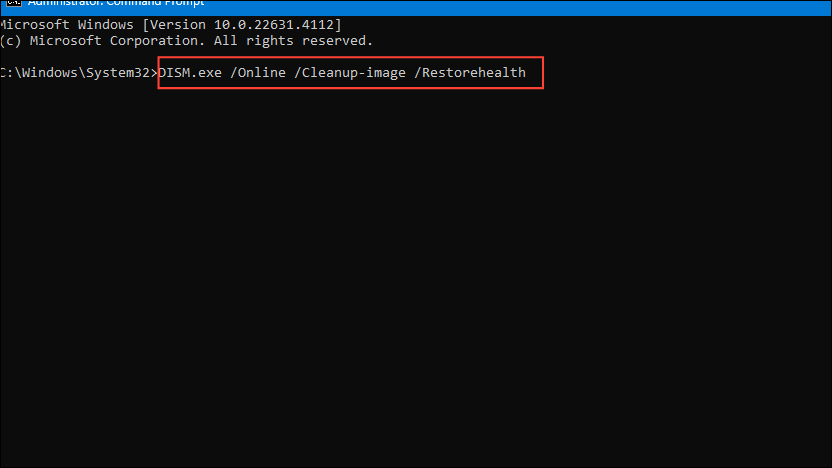
- In the command prompt window, type
DISM.exe /Online /Cleanup-image /Restorehealthand press Enter.
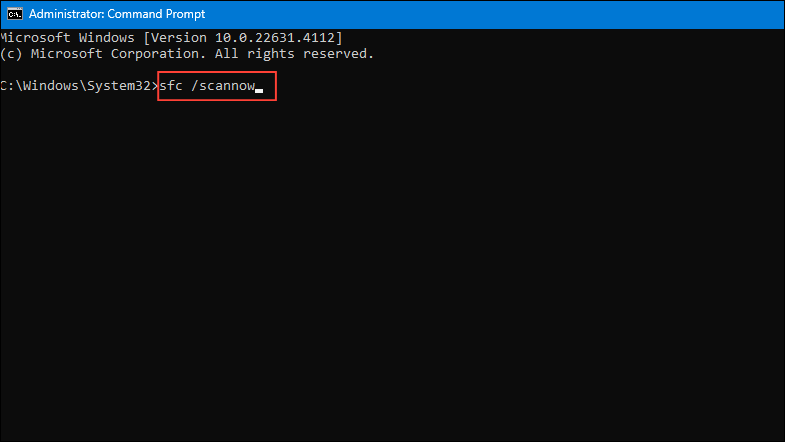
- Wait until the process completes and then type
sfc /scannowbefore pressing Enter.
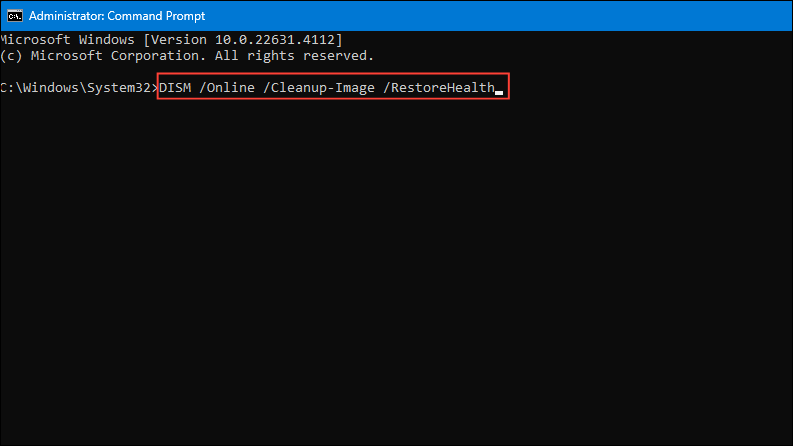
- Once Windows runs the command, type
DISM /Online /Cleanup-Image /RestoreHealthand press Enter. The scan can take time to complete, so wait until it does and then restart your computer.
Fix 3: Run Windows Update
Bugs in Windows can prevent the Quick Access menu from showing up and one way to get rid of such bugs is to update your system.
- Open the Settings app using the
Win + Ishortcut and click on 'Windows Update' on the left.
- On the Windows Update page, click the 'Check for updates' button.
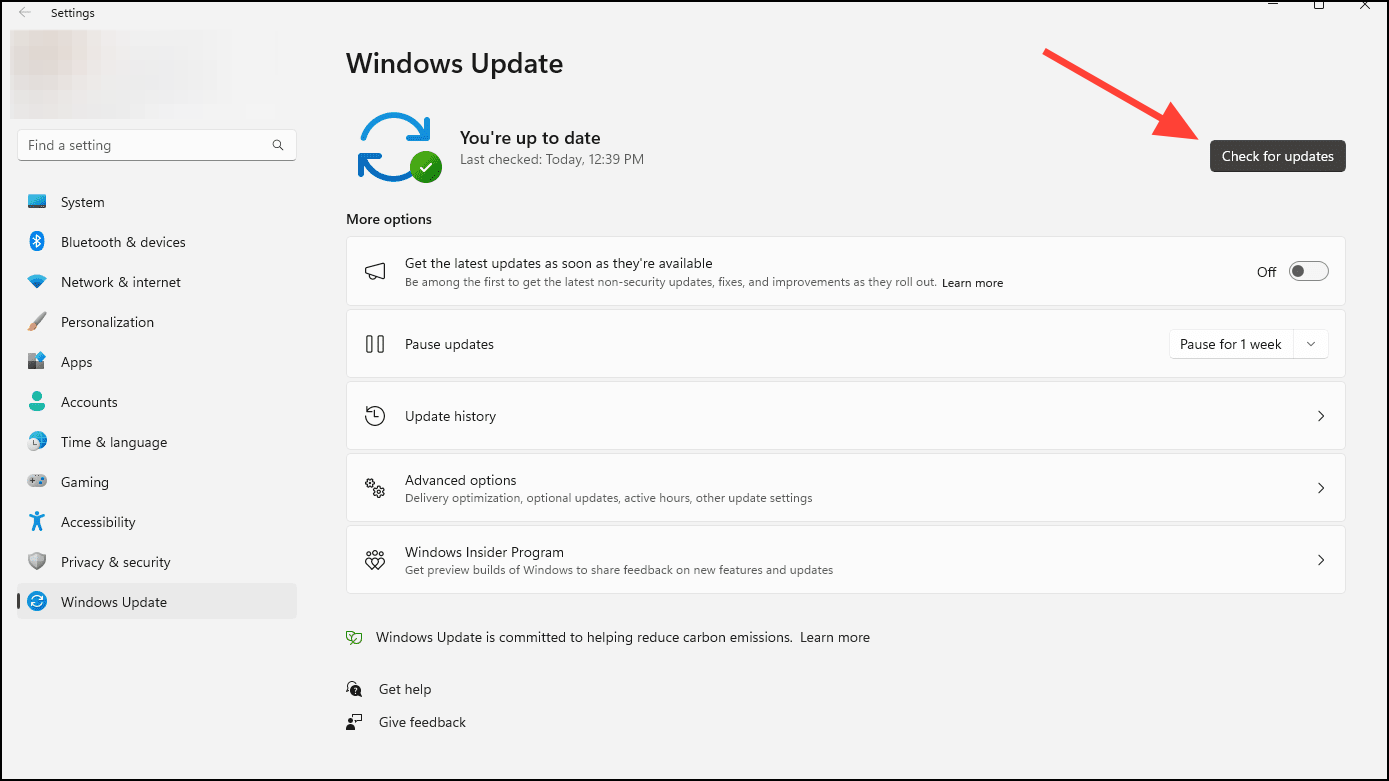
- If updates are available, Windows will download and install them. You can then reboot your computer and check whether the Quick Access menu is back.
Fix 4: Clear Quick Access cache data
Problems with the Quick Access cache data can prevent it from loading or cause other problems. Here's how you can clear the cache data and fix the problem.
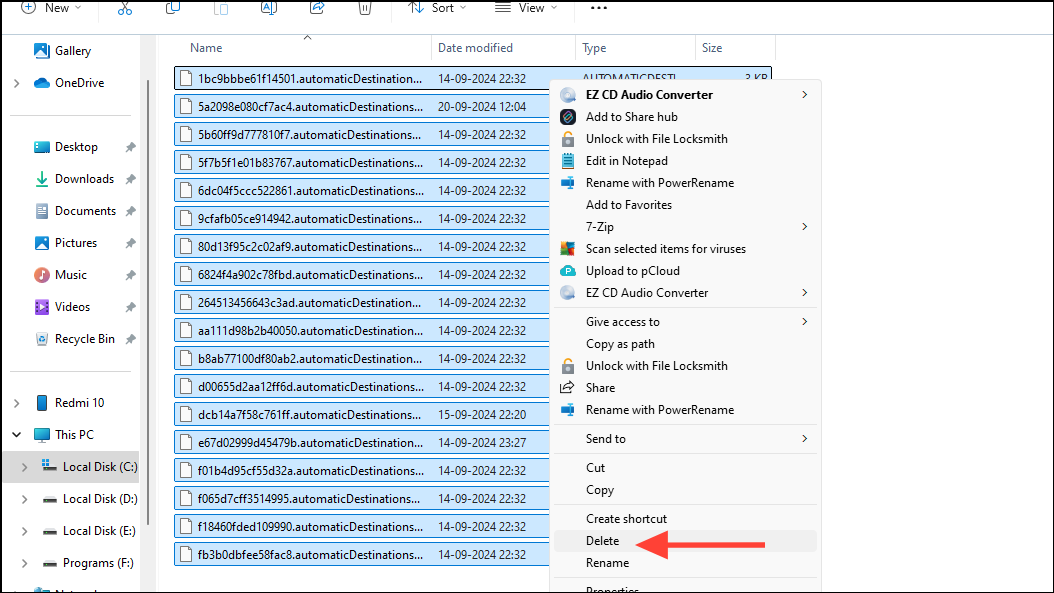
- Open the Windows File Explorer and navigate to the following address:
%AppData%\Microsoft\Windows\Recent\AutomaticDestinations. - Once the folder opens, select all its contents using the
Ctrl + Ashortcut and then delete them. Make sure to delete them from your recycle bin as well, or use theShift + Deleteshortcut.
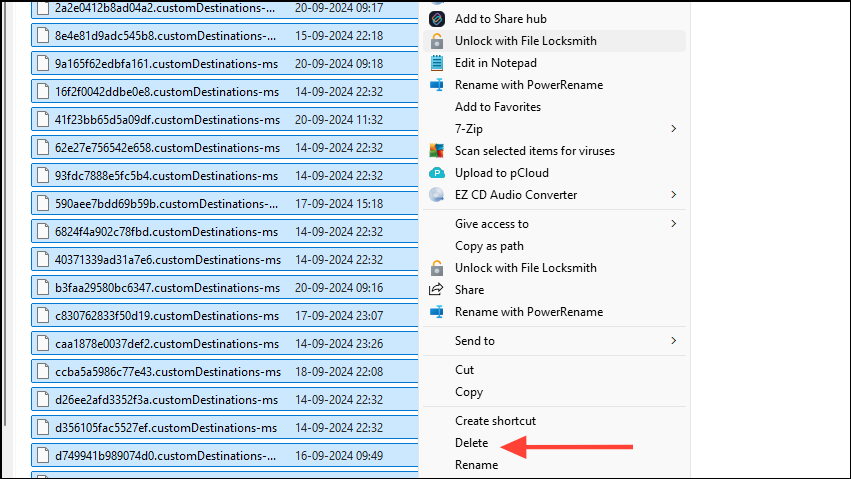
- Now, navigate to the following directory:
%AppData%\Microsoft\Windows\Recent\CustomDestinationsand delete all the files in the folder.
Fix 5: Enable all options under the Navigation Pane
While the navigation pane is highly customizable in Windows 11, changing certain settings can cause the Quick Access menu to disappear. Here is how you can fix this.
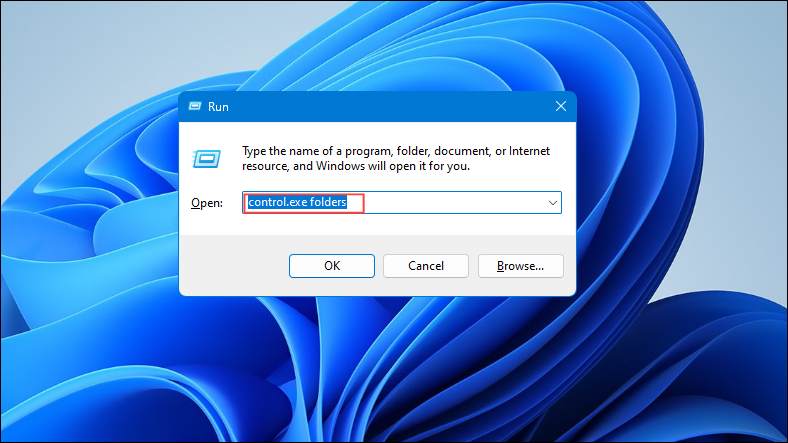
- Open the 'Run' dialog box using the
Win + Rshortcut and then typecontrol.exe foldersinside it before pressingCtrl + Shift + Enter.
- When the File Explorer Options dialog box opens, click on the 'View' tab at the top and scroll down to the Navigation pane. Then click on all the checkboxes and enable them.
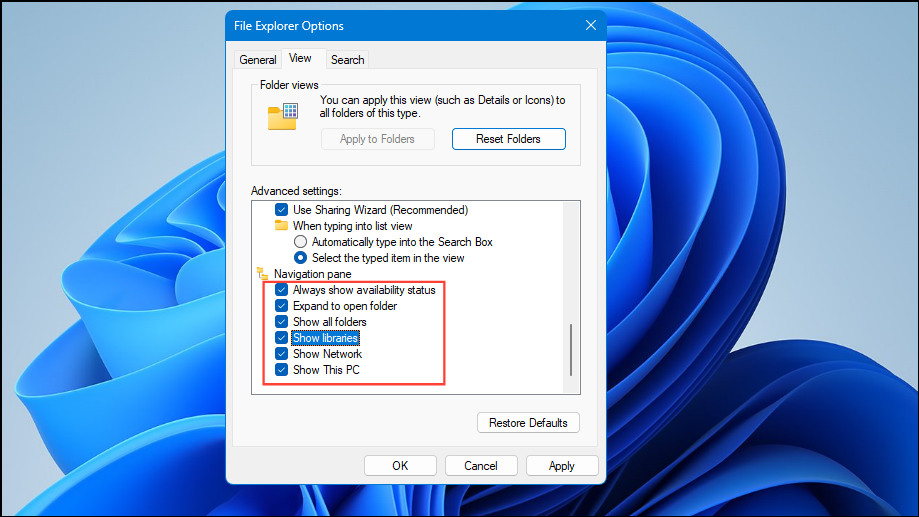
- Finally, click on the 'Apply' button. Alternatively, you can click on the 'Restore Defaults' button also to restore all the default settings.
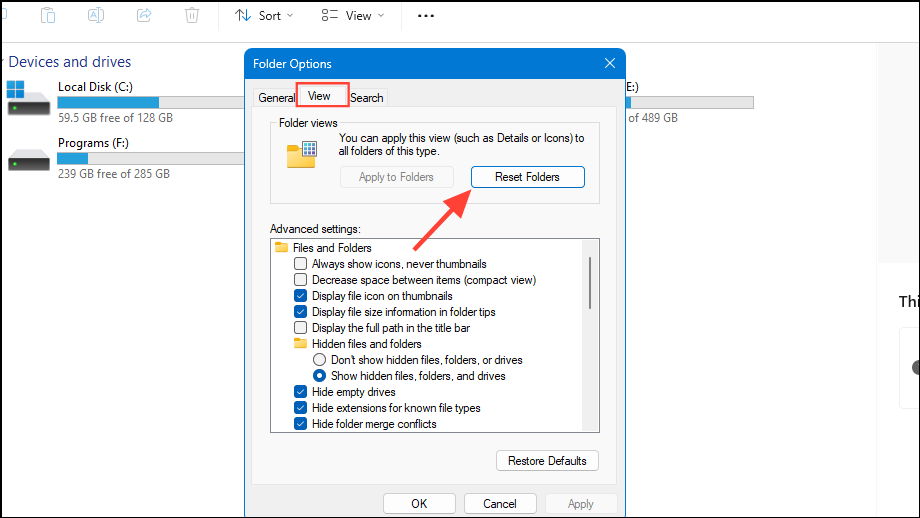
- If you do not want to restore all the settings to their default values, click on the 'View' tab at the top and click on the 'Reset Folders' button. Then reboot your PC.
Fix 6: Turn on recent items from personalization settings
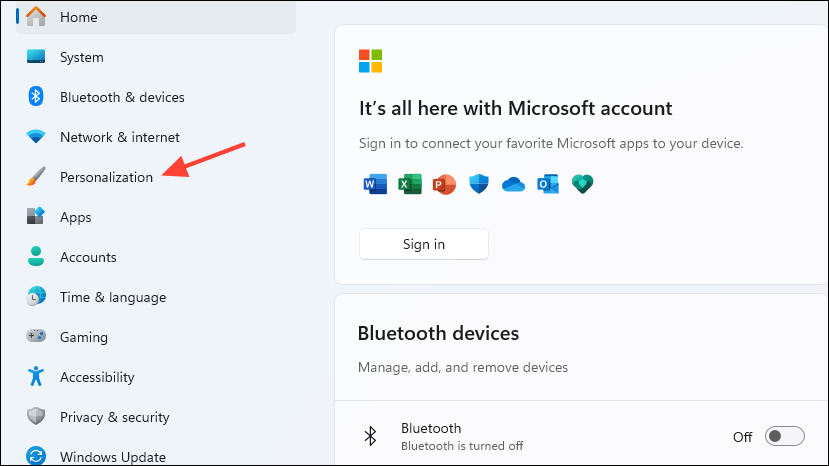
- Open Windows Settings and click on 'Personalization' on the left.
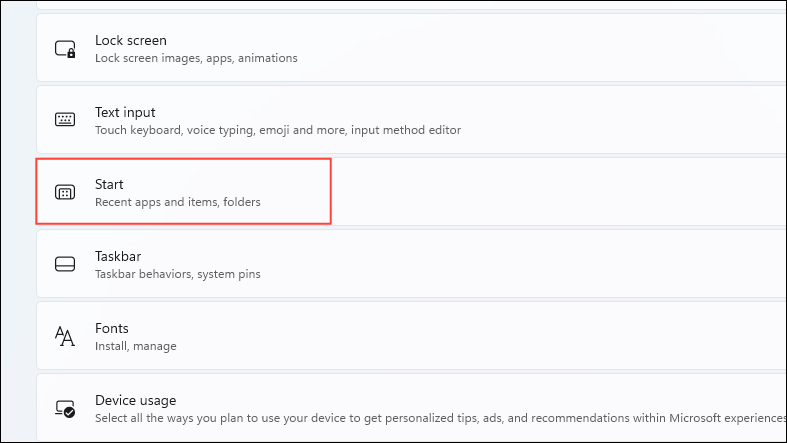
- Next, click on 'Start' on the Personalization page.
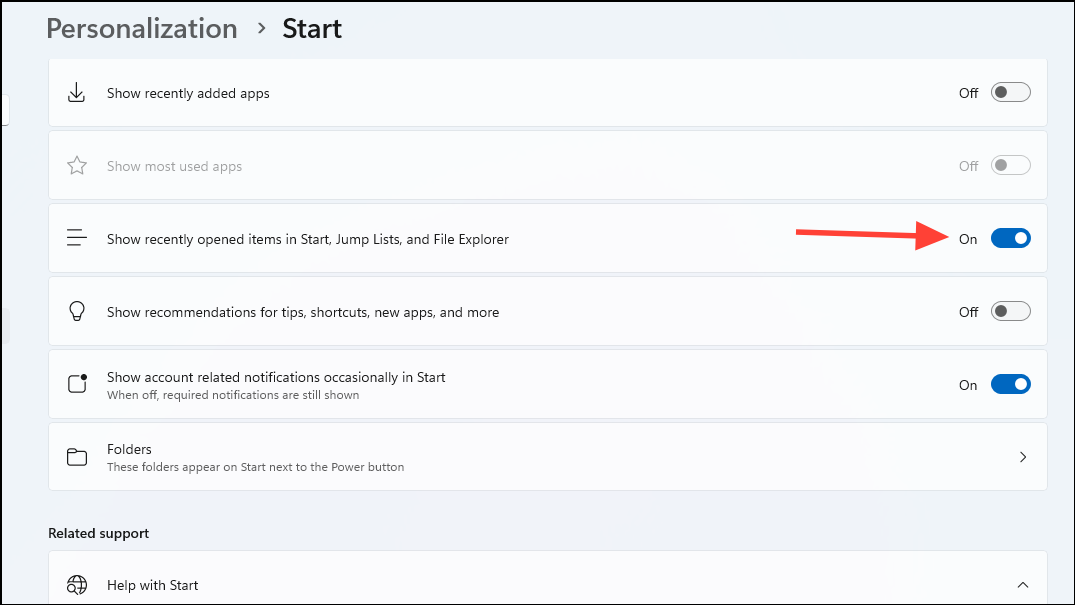
- Click on the 'Show recently opened items in Start, Jump Lists, and File Explorer' toggle to turn it on.
Fix 7: Perform a system restore
If you've created a restore point at any time, you can use it to revert your PC to an earlier state when the Quick Access menu was still present.
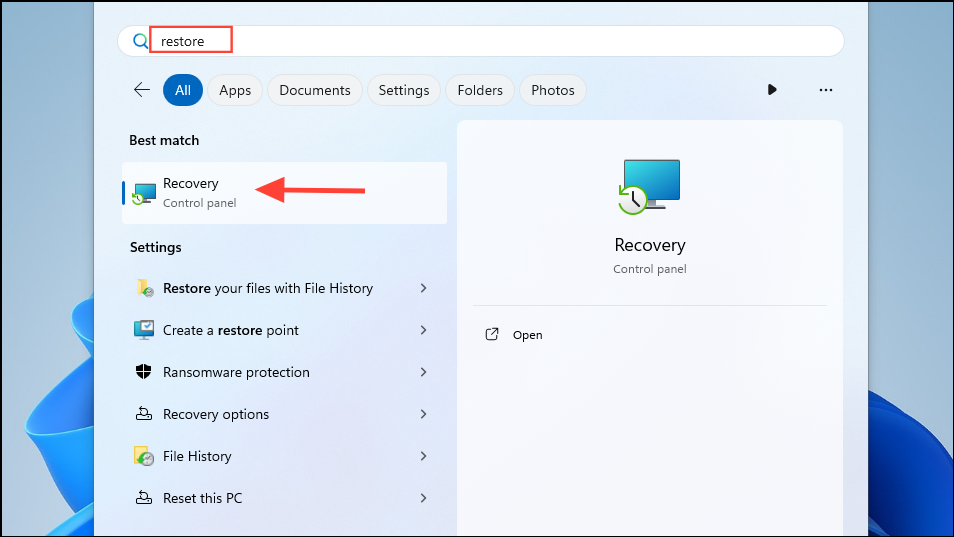
- Open the Start menu, type
restoreand click on 'Recovery'.
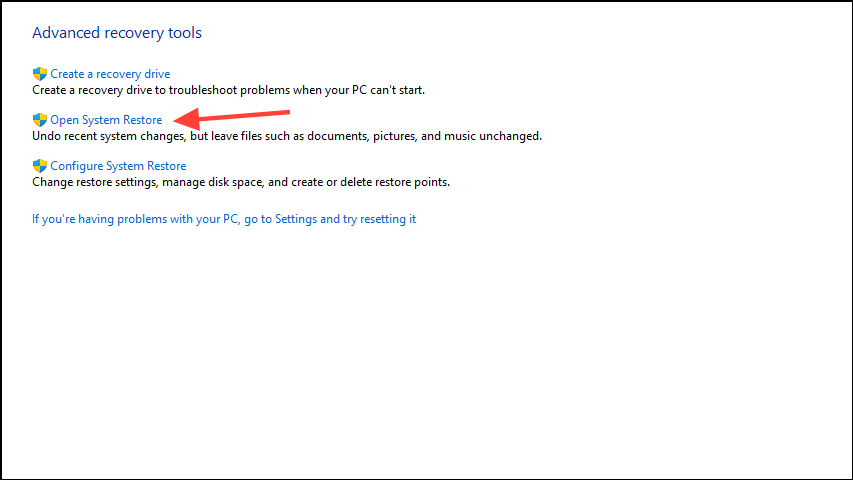
- Click on 'Open System Restore' when the Recovery page opens.
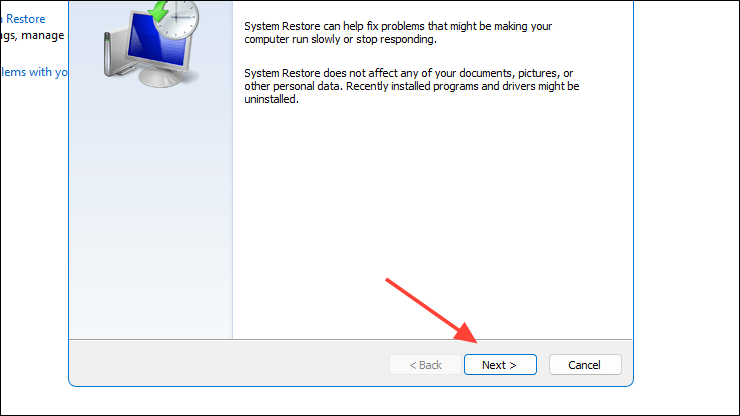
- When the System Restore dialog box appears, click on the 'Next' button.
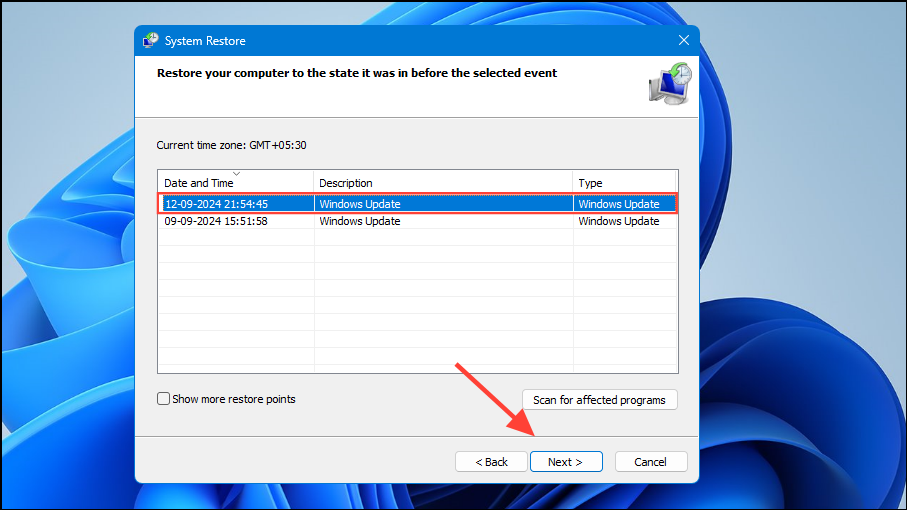
- Now you will see all the restore points available and you can select the one you want to use by clicking on it. Then click on the 'Next' button.
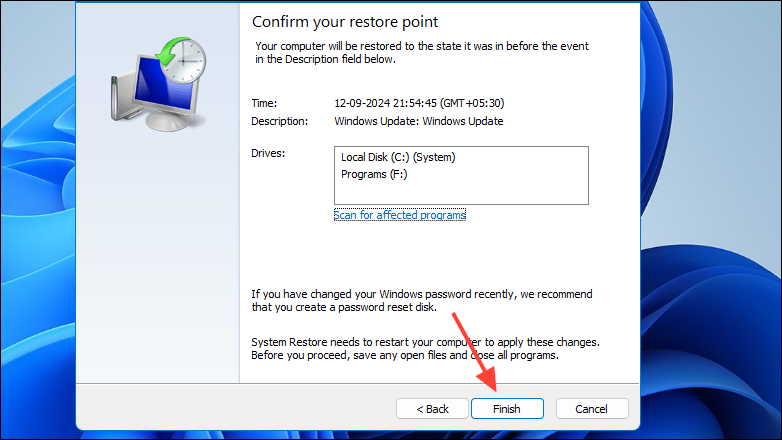
- Finally, click on the 'Finish' button and your computer will reboot and go back to how it was when you created the restore point.
Fix 8: Reset File Explorer using Command Prompt
- Open Command Prompt with Admin rights as explained earlier.
- Type
del /F /Q %APPDATA%\Microsoft\Windows\Recent\AutomaticDestinations\*and press Enter.
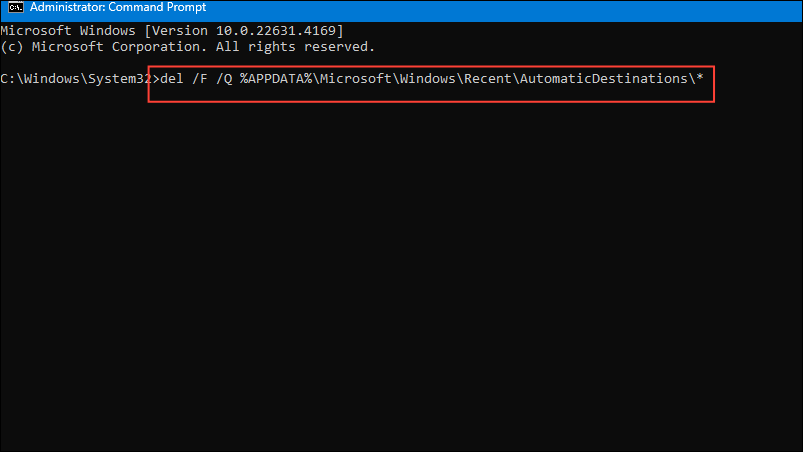
- Check whether the Quick Access menu is working in File Explorer or not.
Fix 9: Use the Registry Editor to reset the Quick Access menu
- Open the Start menu, type
regeditand click on 'Run as administrator'.
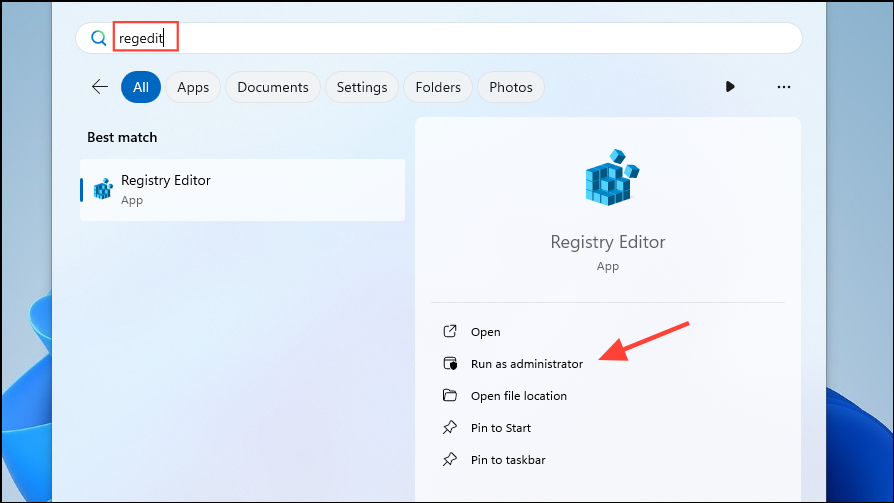
- When the Registry Editor opens, navigate to the following directory:
HKEY_CURRENT_USER\Software\Microsoft\Windows\CurrentVersion\Explorer\Ribbon.

- Search for the
QatItemsentry on the right side and delete it once you find it. Then restart your computer and check whether the Quick Access menu is working.
Fix 10: Create another user account
It might be that the Quick Access menu may only be missing from your current user account and may not be a system-wide problem. To verify that, you can create another profile on your computer.
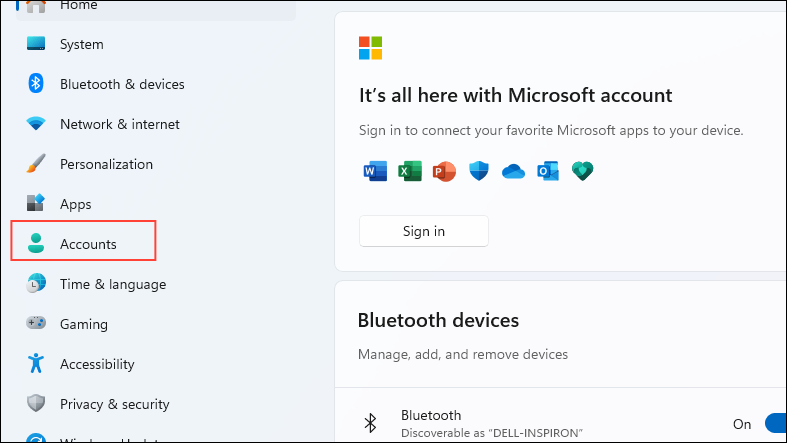
- Open the Settings app and click on the 'Accounts' option on the left.
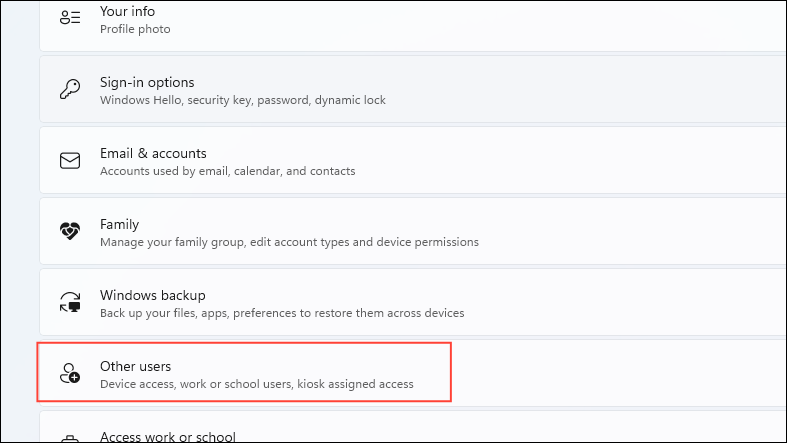
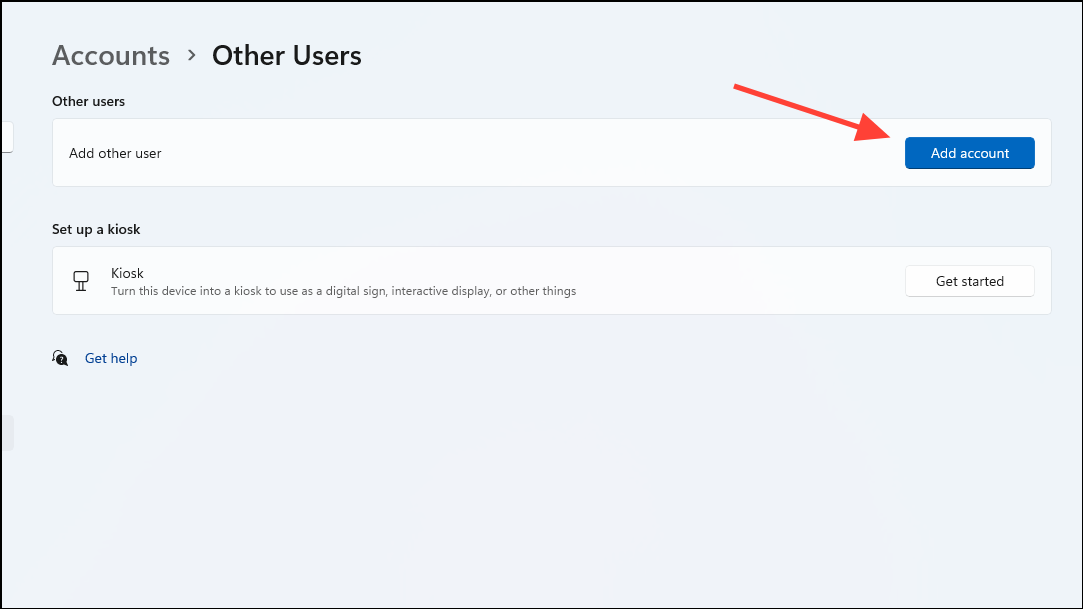
- On the Accounts page, scroll down and click on 'Other Users'.
- Now click on the 'Add account' button on the right.
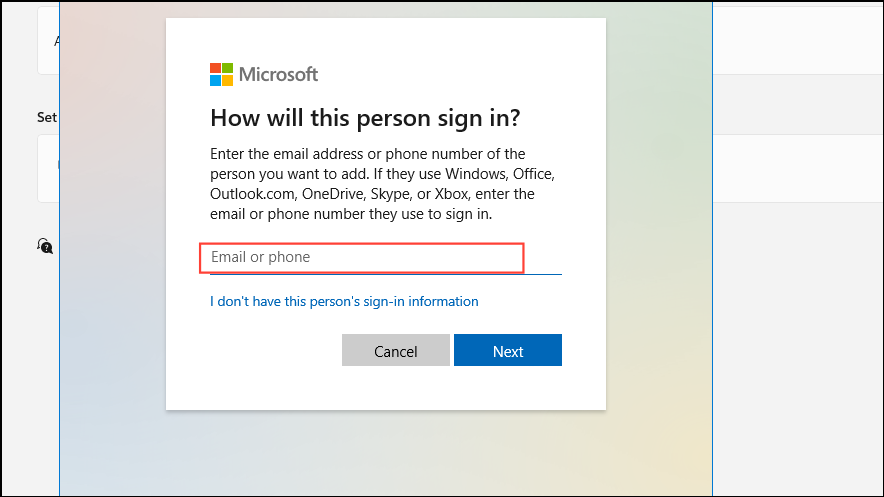
- Now you can enter your credentials such as your email address and password to set up a new account. Keep in mind that Windows does not let you create an offline account by default now. You will need to create a Microsoft account.
- Once you've set up a new user account, log in to it and then open the File Explorer to check whether the Quick Access menu is working correctly. If it does, it means the problem lies with your original user profile only.
Fix 11: Reset your PC
Another option is to reset your computer, which will remove all your customizations and settings and apply the defaults.
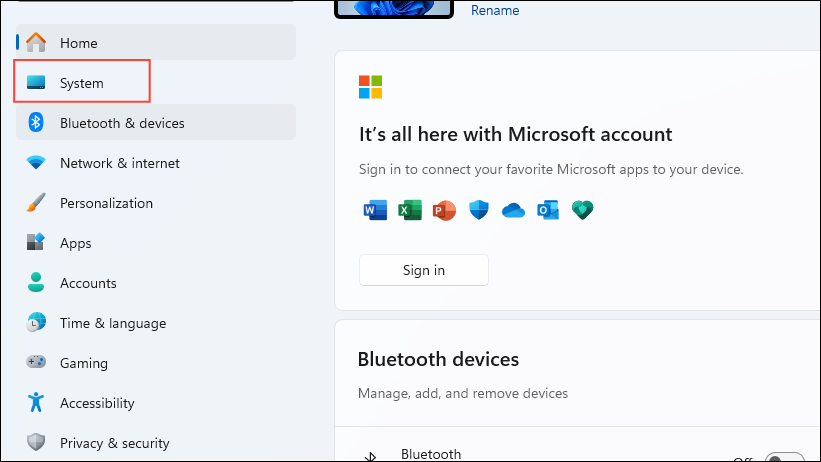
- Open the Settings app and click on 'System' on the left.
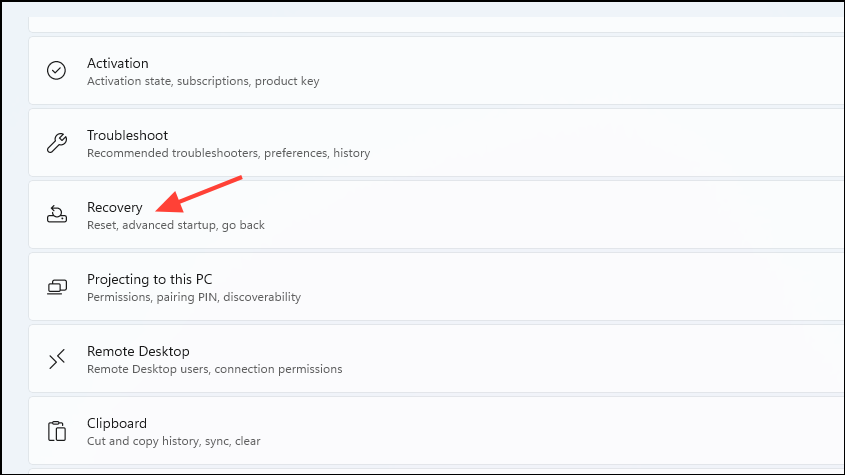
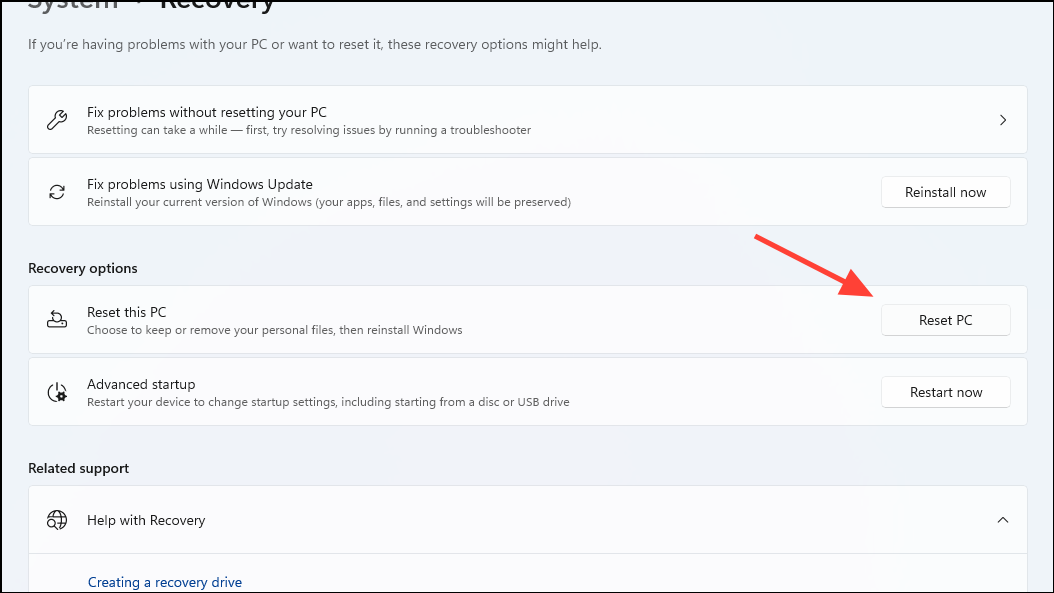
- On the System page, scroll down and click on 'Recovery'.
- Next, click on the 'Reset PC' button on the right.
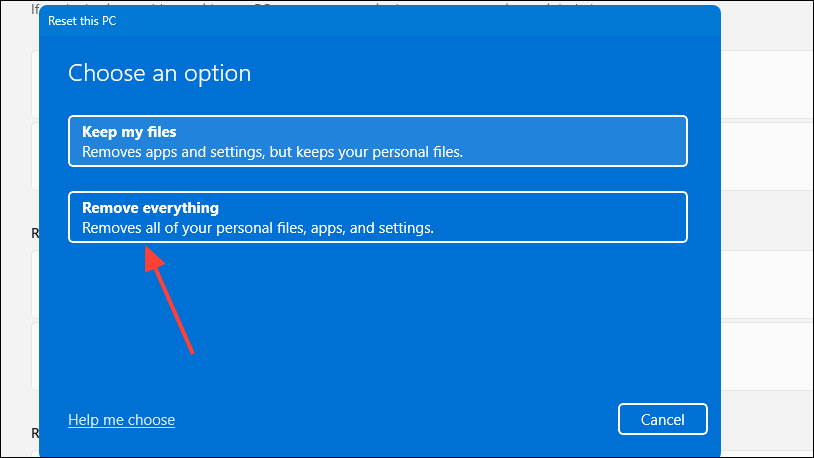
- In the pop-up that appears, click on 'Remove everything'.
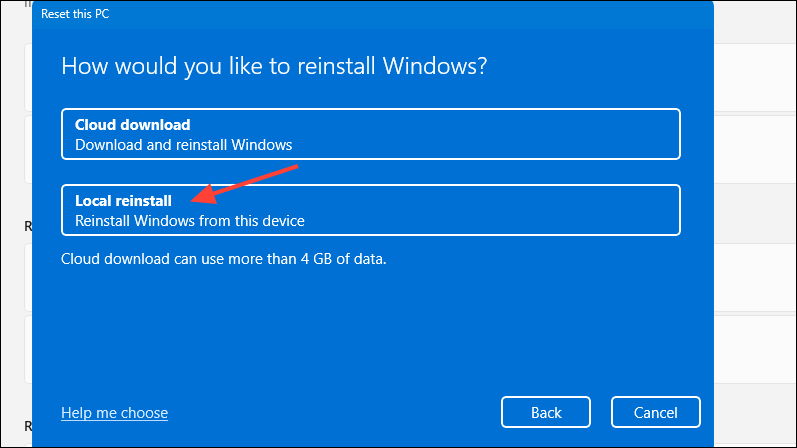
- Then click on 'Local reinstall'. You can choose 'Cloud download' to get the latest updates but that will require a fast and stable internet.
Things to know
- Besides the above solutions, you can try performing an in-place repair using a Windows ISO image available on Microsoft's website.
- If your Quick Access has gone missing after installing a recent Windows Update, try uninstalling that update from the Windows Update page in the Settings app.
- You can also download alternative file explorer applications from the Microsoft Store that have Quick Access as well as many other features not present in the native application.