
If your Windows 11 system isn’t performing as expected, a repair upgrade can be an effective way to fix multiple issues simultaneously without losing your personal data. This process reinstalls Windows 11 over your existing installation, repairing corrupted or missing system files and resolving various problems you might be experiencing with your computer.
Understanding Repair Upgrade in Windows 11
A repair upgrade, also known as an in-place upgrade or repair install, involves reinstalling Windows 11 over your current installation without deleting your personal files, settings, or applications. This means all your data, programs, and configurations remain intact after the upgrade, allowing you to fix system issues without starting from scratch.
When to Perform a Repair Upgrade on Windows 11
Consider performing a repair upgrade in the following situations:
Corrupted system files: If you’re experiencing frequent errors or crashes, corrupted system files might be the culprit. A repair upgrade can replace these damaged files and restore system stability.
Reset Windows without losing files and applications: If you want to refresh your system while keeping your personal files and installed programs, a repair upgrade is an ideal solution.
Upgrade to a newer Windows 11 version: If you’re having trouble updating to a newer version of Windows 11 due to errors or failures, a repair upgrade can help complete the process successfully.
Maintain applications and data: To upgrade to Windows 11 from an earlier Windows version without reinstalling programs or transferring files, a repair upgrade is the best method.
System performance issues: If your computer is running slowly or encountering software errors and driver conflicts, a repair upgrade may resolve these problems without affecting your personal data.
While a repair upgrade is beneficial for many issues, it may not fix severe hardware problems or malware infections. In such cases, a clean install might be more appropriate.
Performing a Windows 11 Repair Upgrade Using the ISO File
The most direct way to repair your Windows 11 installation is through an in-place upgrade using the Windows 11 ISO file. Here’s how you can do it:
Requirements for a Repair Upgrade
Before you begin, ensure you meet the following requirements:
- Obtain the Windows 11 ISO file that matches your current system’s language, edition, and architecture.
- Administrator access to your Windows account.
- Your computer is plugged in or has sufficient battery power.
- An internet connection.
- At least 20 GB of free disk space.
- Disable or pause any third-party antivirus programs to prevent interference.
Backing Up Your Important Files
It’s always recommended to back up your important files before performing major system operations.
Downloading the Windows 11 ISO File
To download the Windows 11 ISO file, follow these steps:
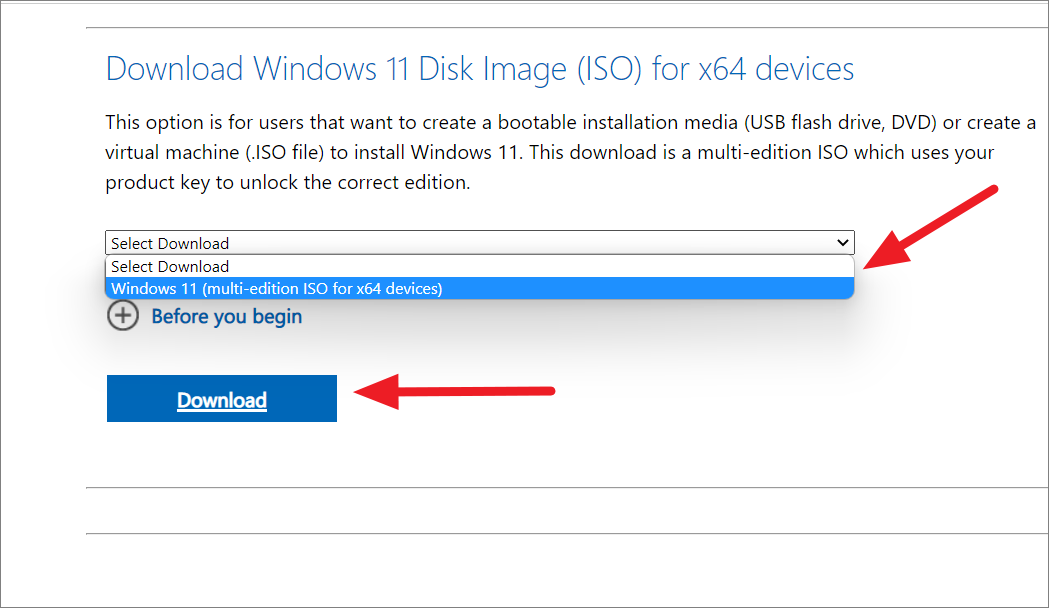
Visit the official Windows 11 download page. Under the “Download Windows 11 Disk Image (ISO)” section, select ‘Windows 11 (multi-edition ISO for x64 devices)’ from the dropdown menu.
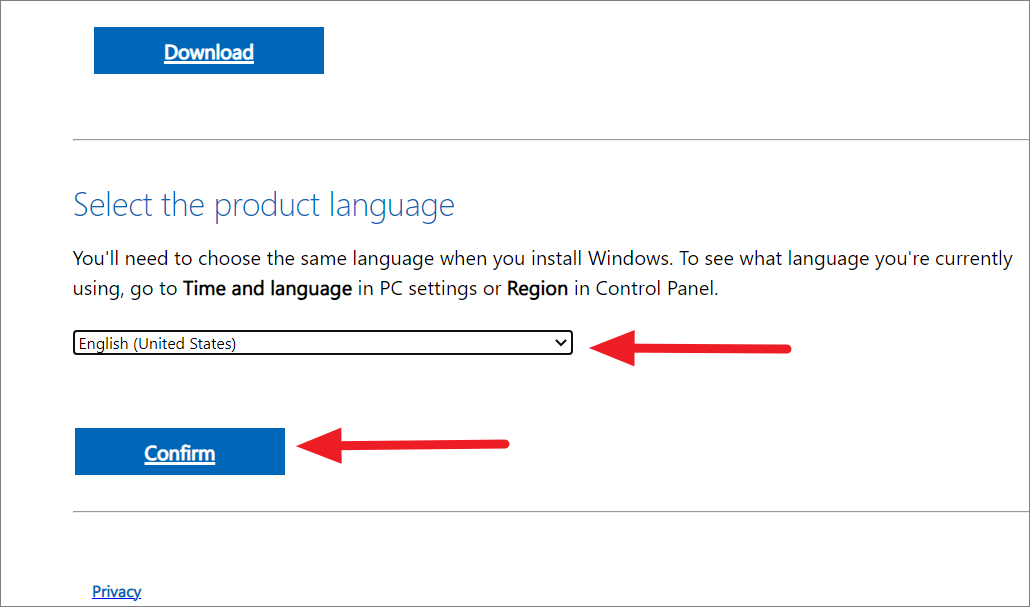
Choose your preferred language and click ‘Confirm’.
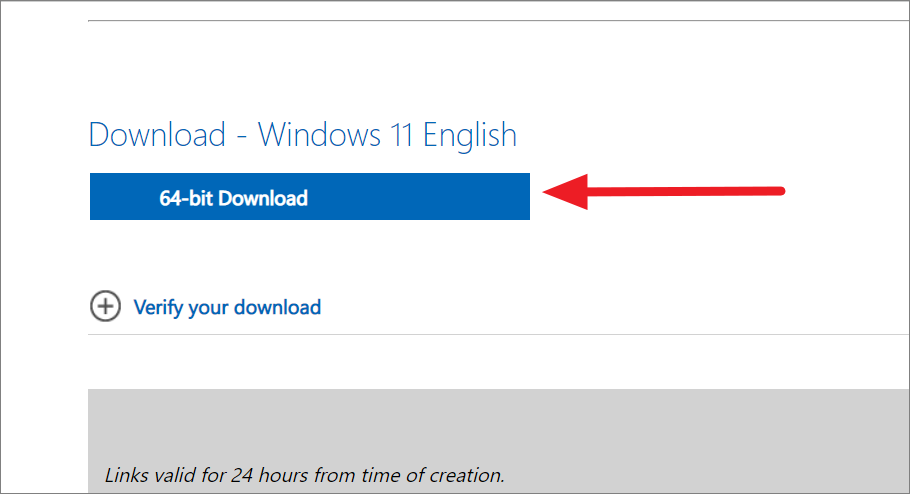
Click the ’64-bit Download’ button to start downloading the ISO file. The download link is valid for 24 hours.
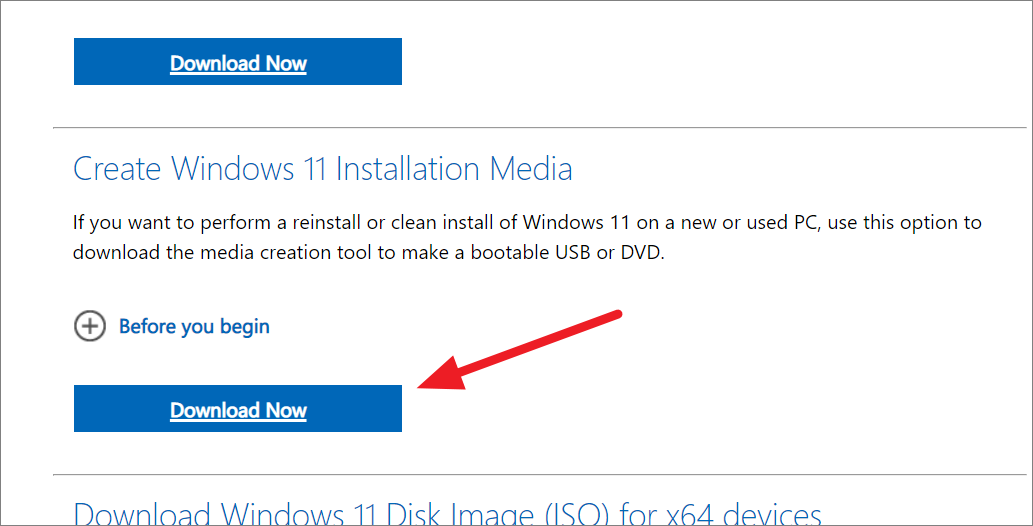
If you’re unable to download the ISO directly, you can use the Media Creation Tool:
On the same download page, under ‘Create Windows 11 Installation Media’, click ‘Download Now’.
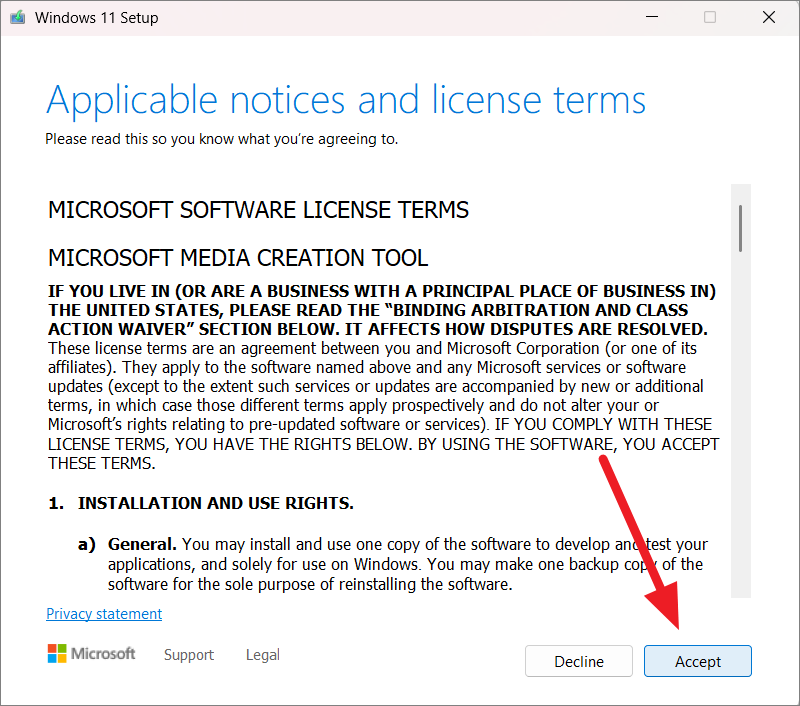
Run the downloaded ‘mediacreationtool.exe’ file. Accept the license terms to proceed.
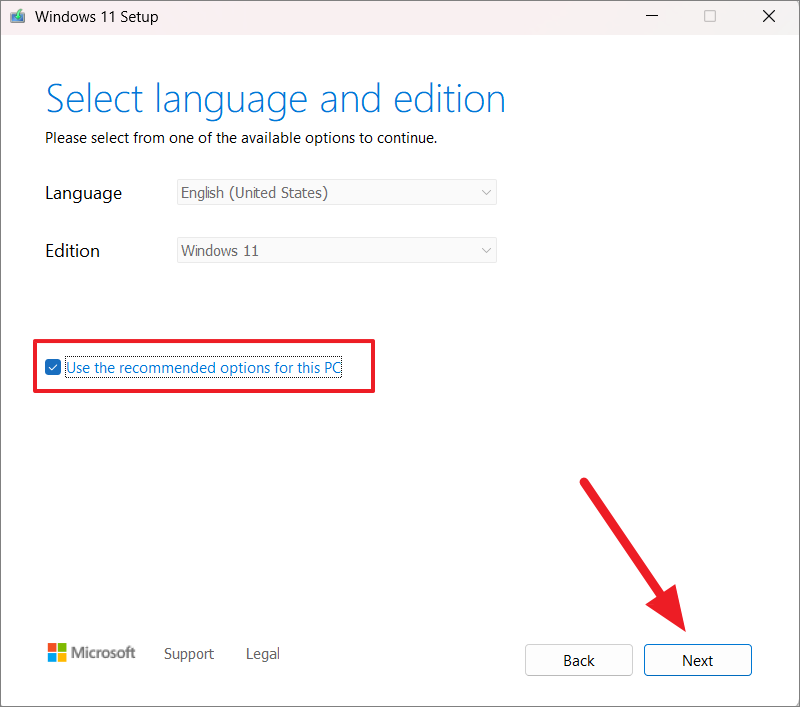
Uncheck ‘Use the recommended options for this PC’ if you wish to change the language, then click ‘Next’.
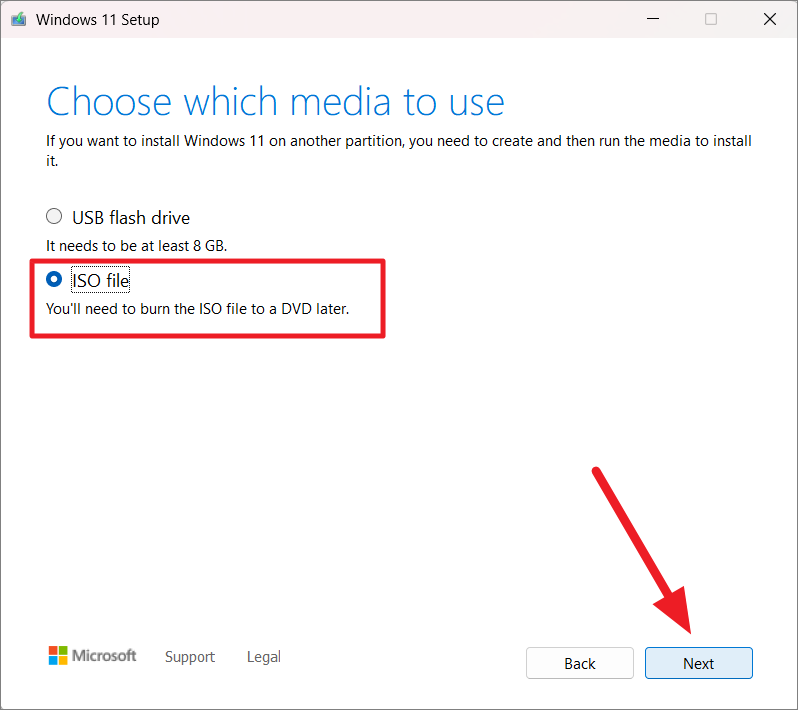
Select ‘ISO file’ and click ‘Next’.
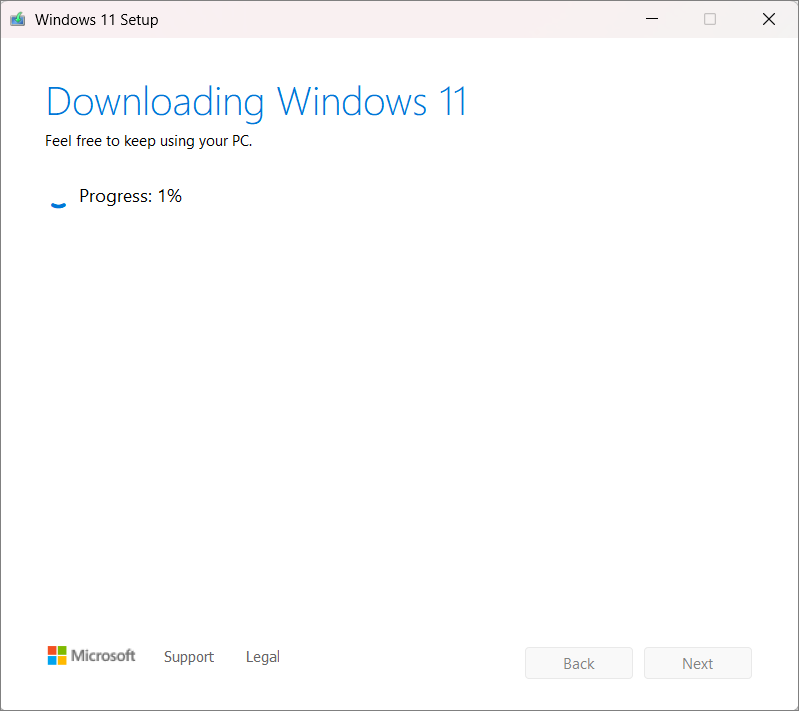
Choose a save location for the ISO file and click ‘Save’. Wait for the download to complete.
Repairing and Upgrading Windows 11
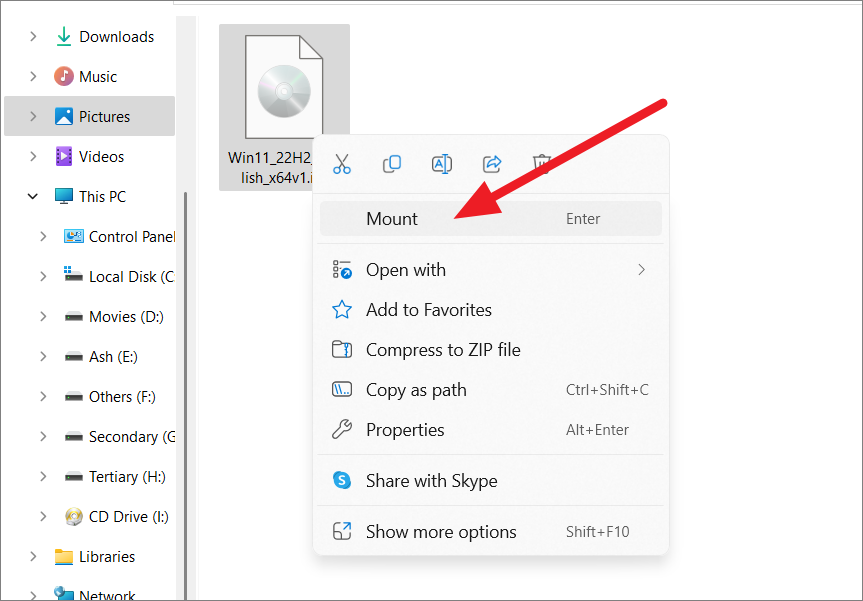
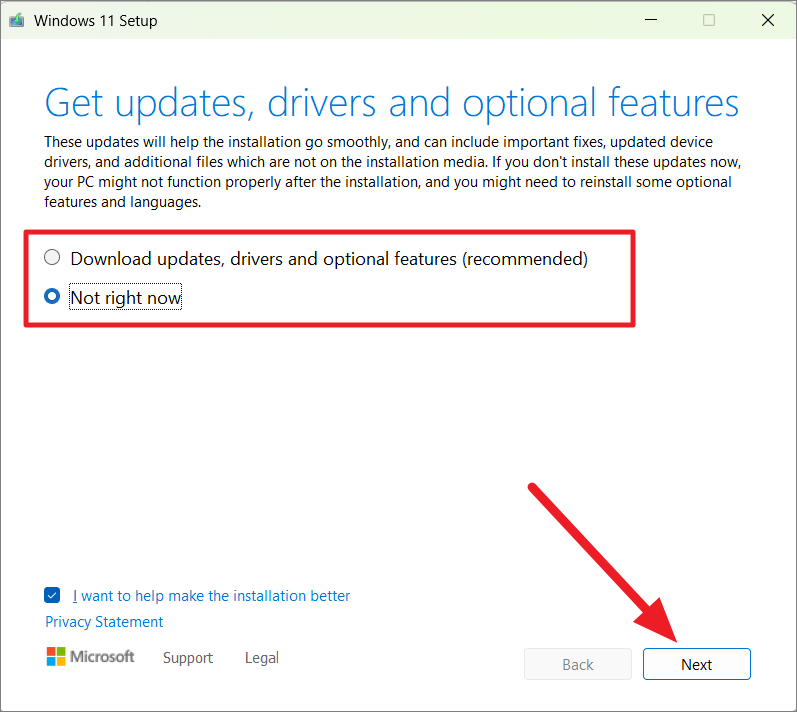
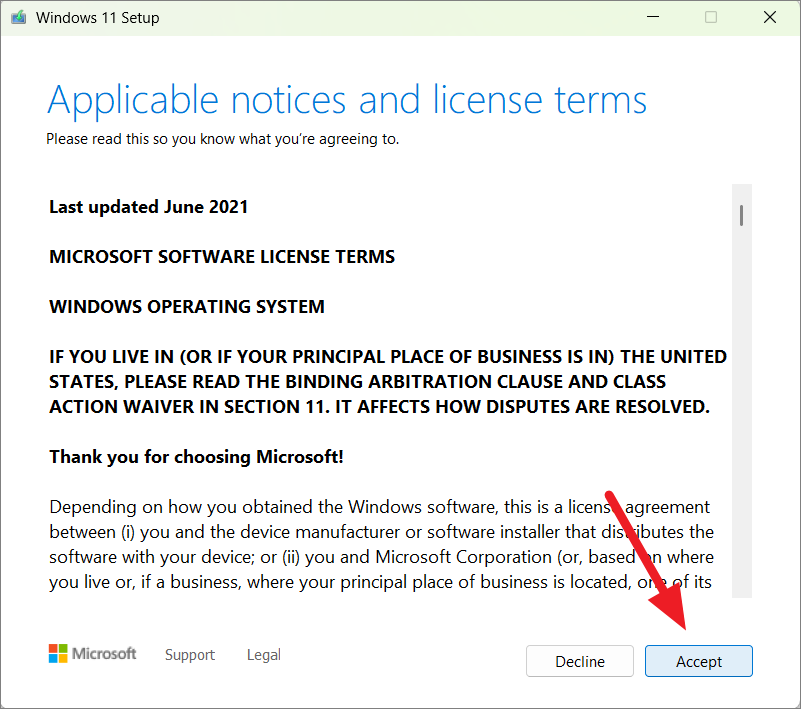
Once you have the ISO file, follow these steps to perform the repair upgrade:

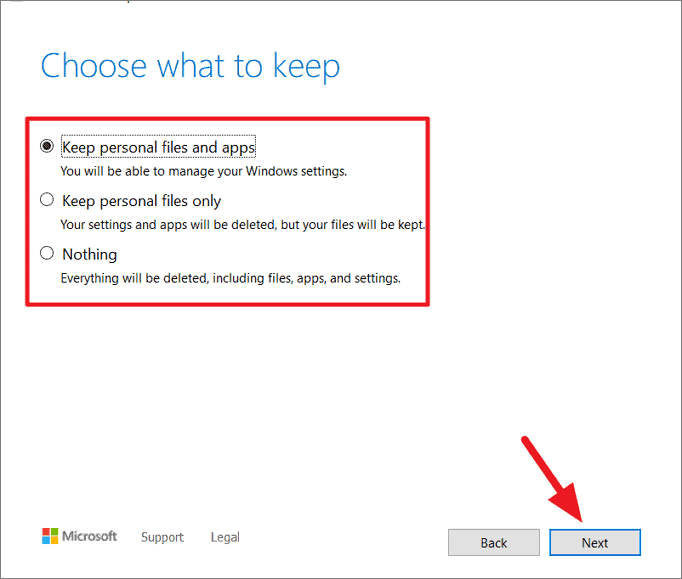
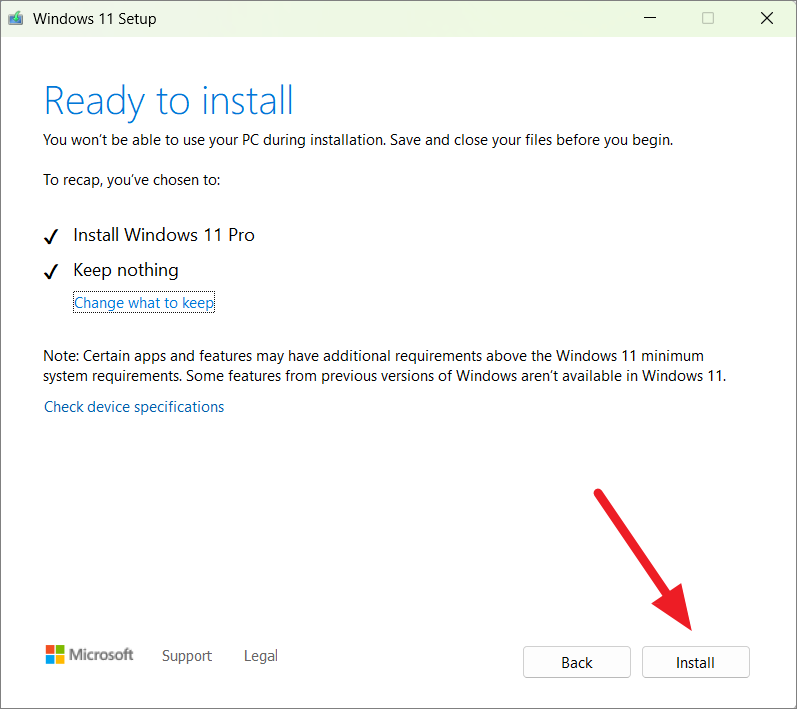
After the installation, log in to your account. If you chose to keep your personal files and apps, everything should be as you left it. Check for updates to ensure your system is up to date.
Resetting Windows 11 Without Losing Data
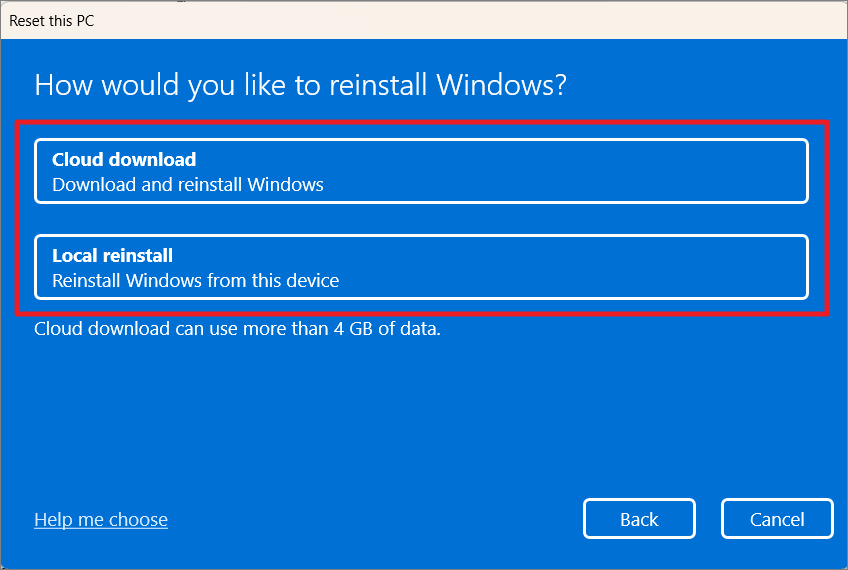
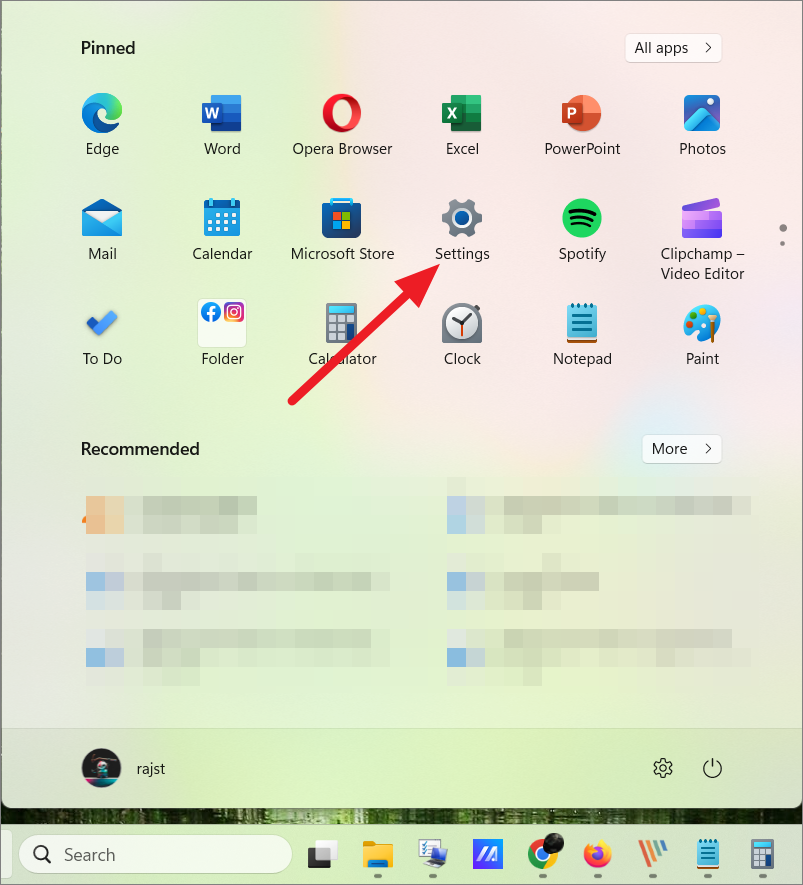
If you prefer to reset Windows 11 without using an ISO file, you can use the built-in ‘Reset this PC’ feature to reinstall Windows while keeping your personal files.


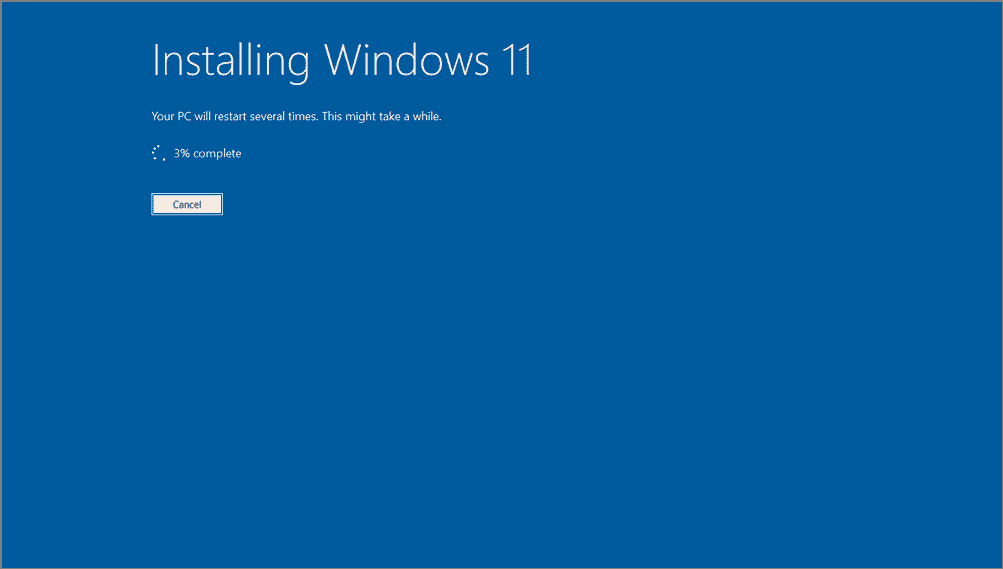
Your PC will restart and reinstall Windows 11. This may take some time. Once completed, your system will be refreshed while retaining your personal files if you chose that option.
Resetting Windows 11 via Recovery Mode
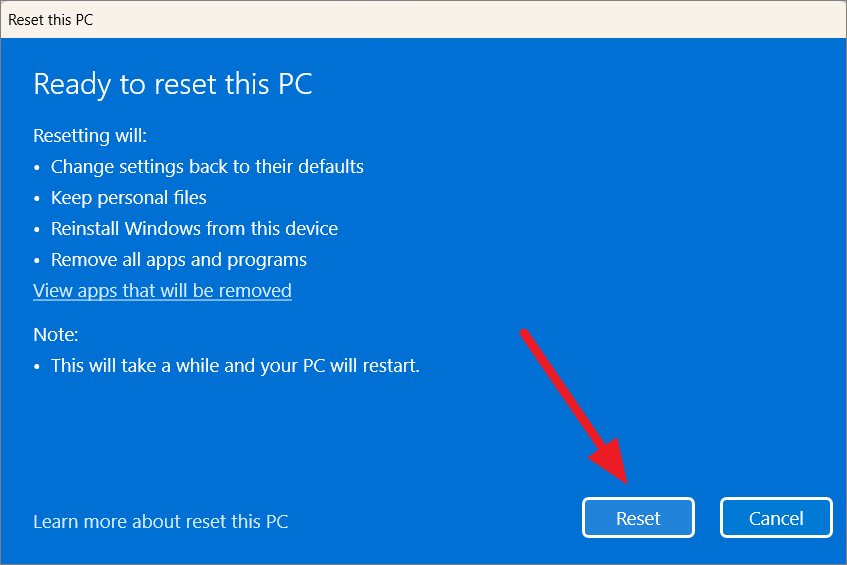
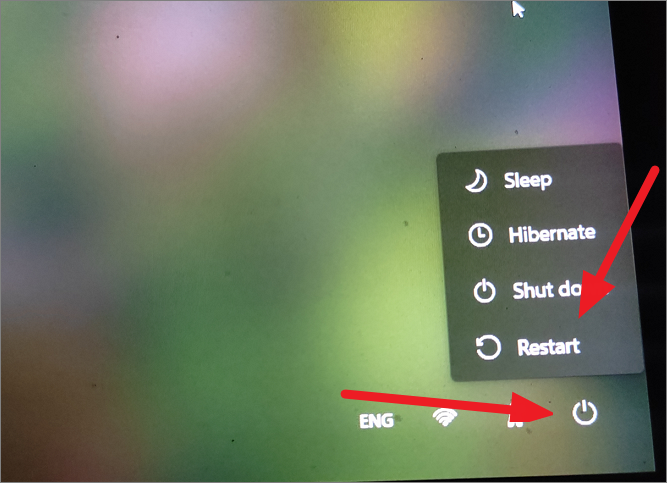
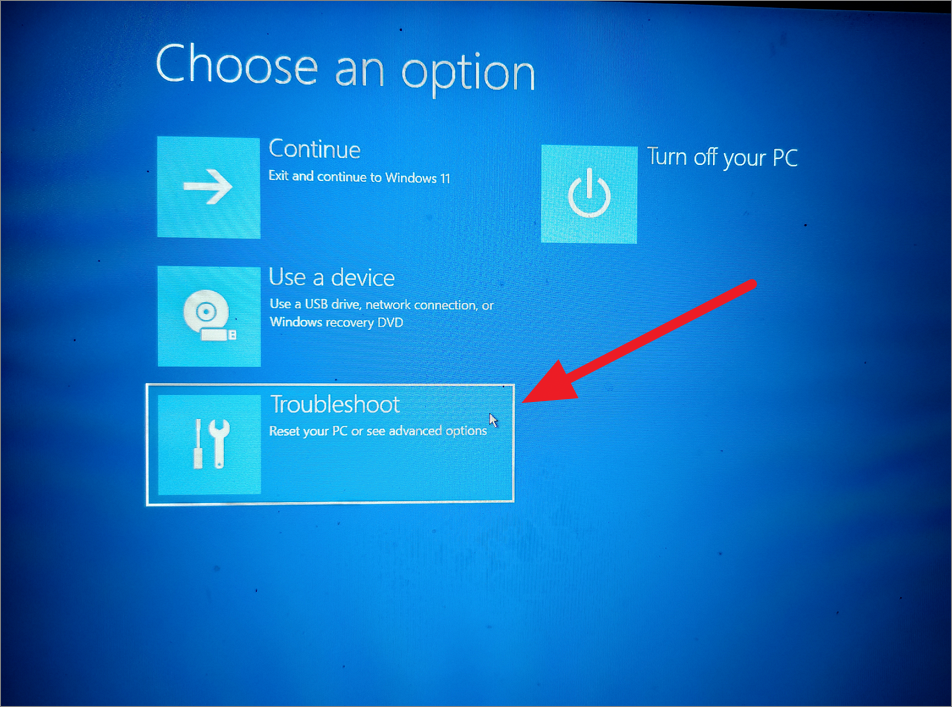
If you’re unable to access Windows Settings, you can reset your PC through the Recovery Environment:
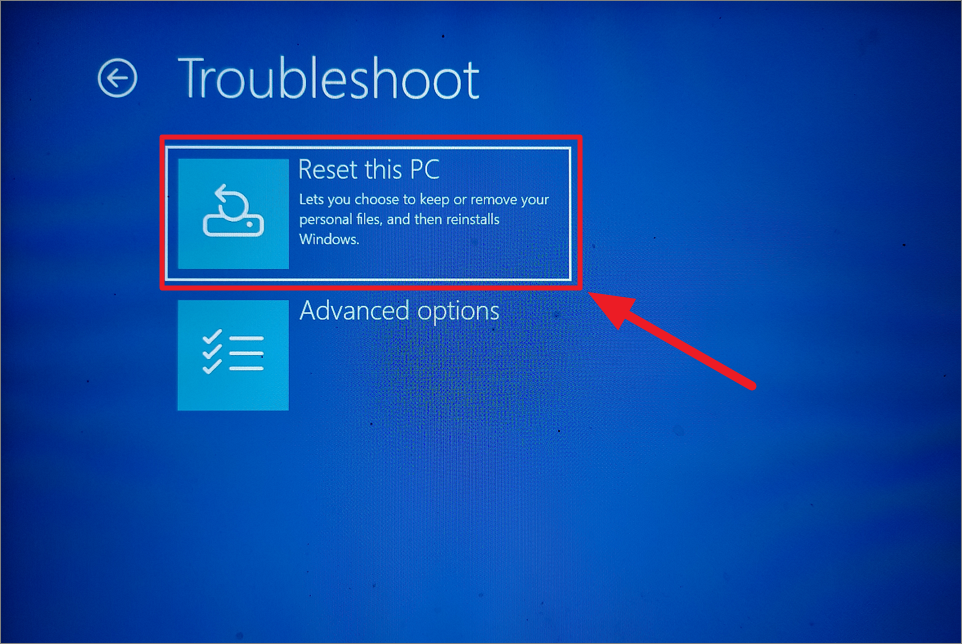
The system will begin resetting and reinstall Windows 11.
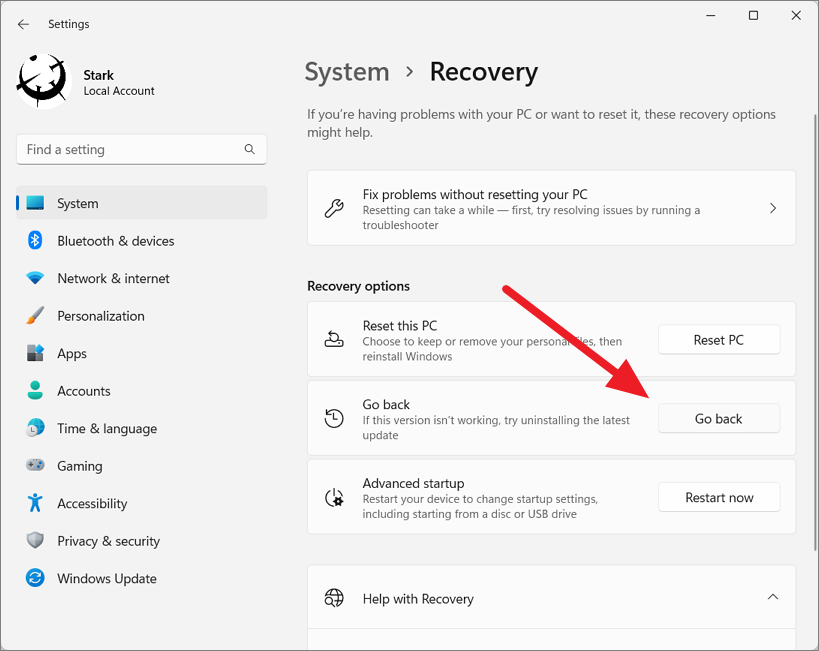
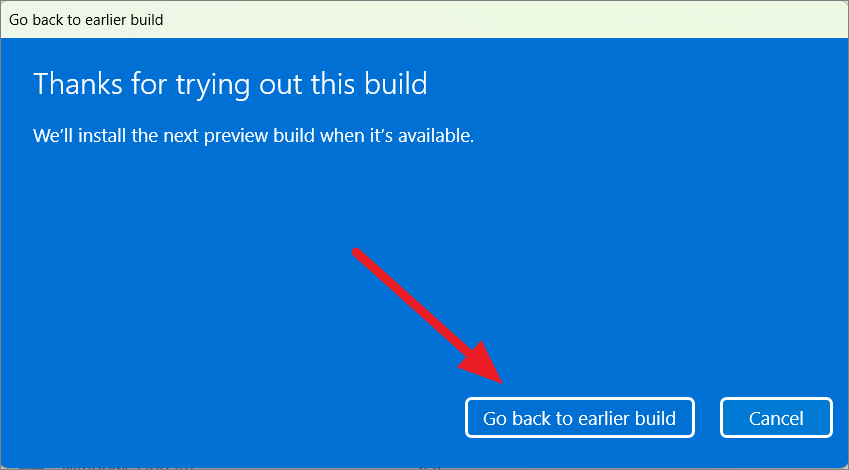
Rolling Back to a Previous Version of Windows 11
If you recently upgraded to a new version of Windows 11 and are experiencing issues, you can roll back to the previous version within 10 days of the upgrade:
Extending the Windows 11 Rollback Period
By default, you have 10 days to roll back to a previous version. You can extend this period up to 60 days using the Command Prompt:
DISM /Online /Get-OSUninstallWindowDISM /Online /Set-OSUninstallWindow /Value:60Press ‘Enter’ to execute the command. Now, you have extended the rollback period.
By following these methods, you can effectively repair your Windows 11 installation and resolve various system issues without losing your data.


