Gmail is one of the most popular emailing platforms in the world today. It’s easy to use, has a great user interface, and has several features that align with the user’s needs. A few years ago, we didn’t have much of a say while sending emails on Gmail.
All mails were sent in real-time. That is, emails were sent the moment they were composed. Of course, we could save and edit drafts in the future, but a perfectly good email couldn’t be scheduled for another time or sent at a specific time/date.
Gmail now has the option to schedule emails. In this guide, we’ll cover how you schedule your e-mail for later on both the mobile Gmail app and desktop client.
Scheduling Email on Gmail
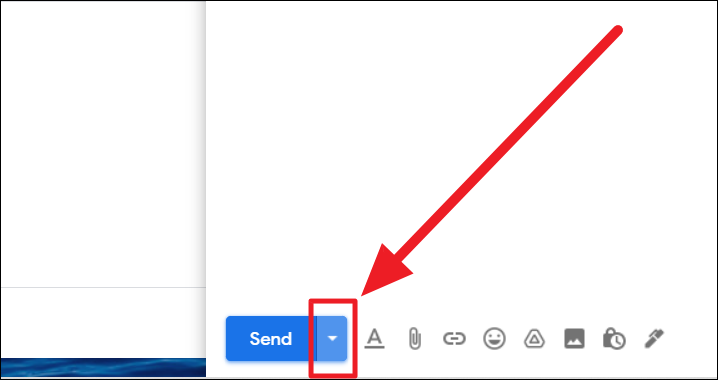
The process to schedule both new emails and replies to existing ones is the same. Once you’re done drafting the mail, click the downward-facing arrowhead next to the ‘Send’ button.
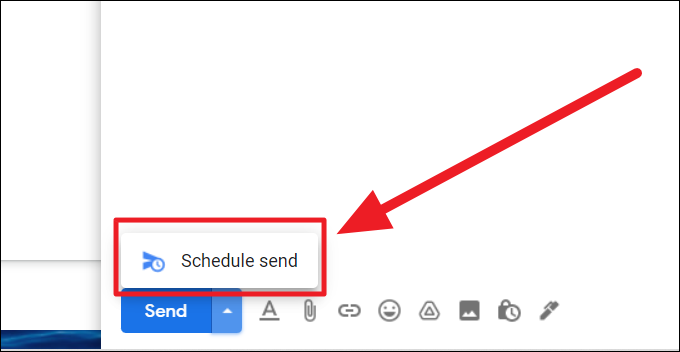
Click on the ‘Schedule send’ option from the available options to schedule your email.
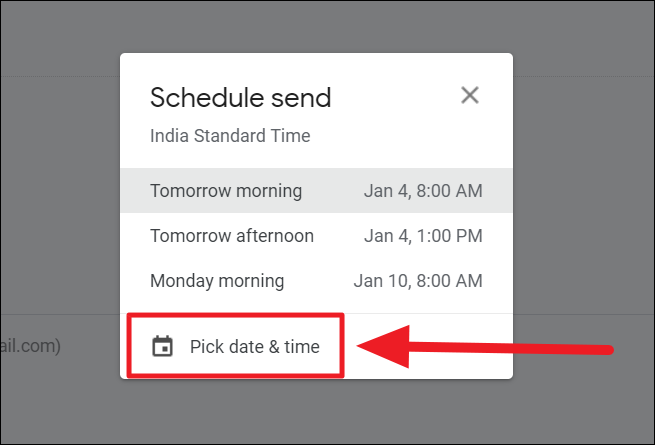
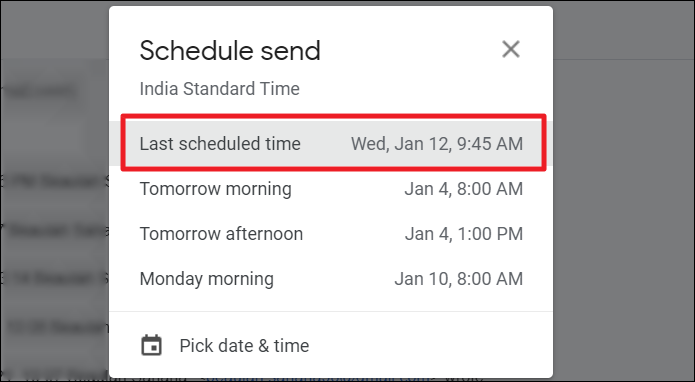
Gmail will suggest a couple of time slots for scheduling your email. If the suggestions aren’t suitable, pick your own date and time by clicking the ‘Pick date and time’ option at the bottom of the suggestions box.
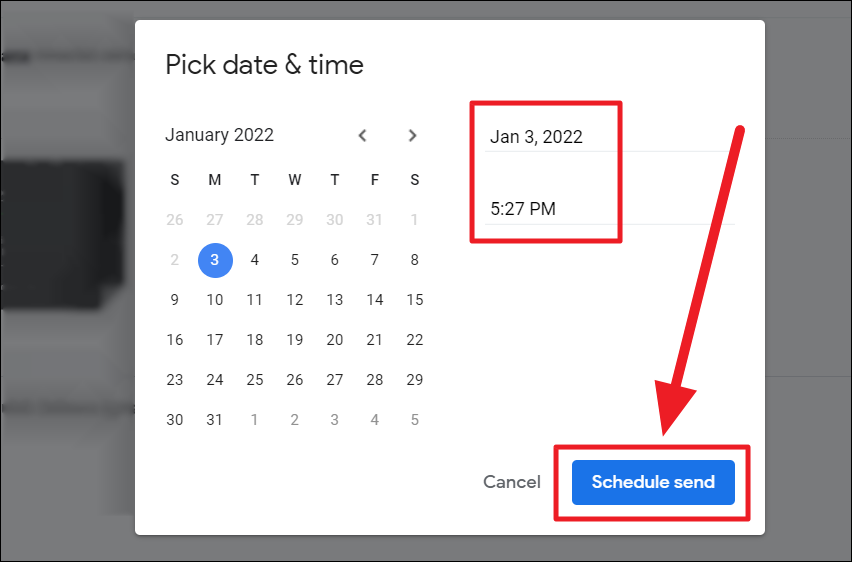
In the following ‘Pick date & time’ box, you can scroll through the calendar and choose a date or add both the date and time manually on the right. Once the date and time are finalized, click the ‘Schedule send’ button to schedule your email.
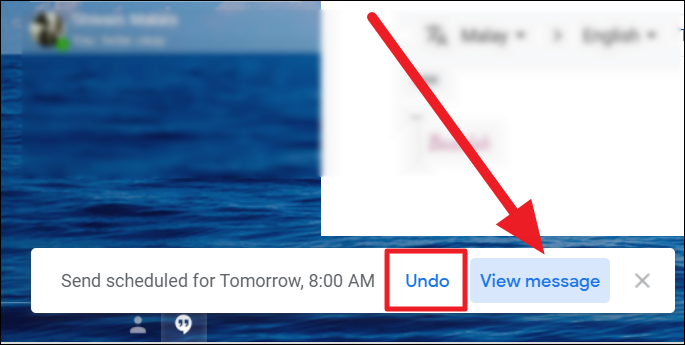
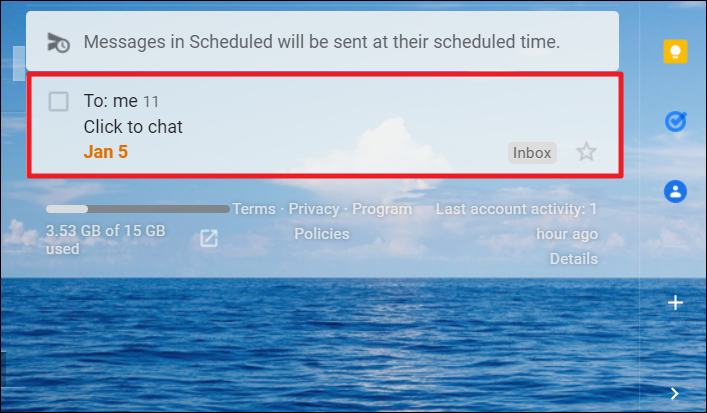
After scheduling your email, you’ll receive a notification where you can undo the scheduling or choose to view the message. Click ‘Undo’ or ‘View message’ to execute your respective decision.
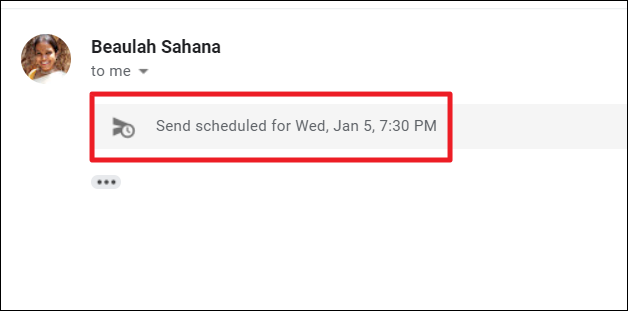
The scheduled email will also have a notification strip on it – highlighting the scheduling details.
Canceling a Scheduled Mail in Gmail
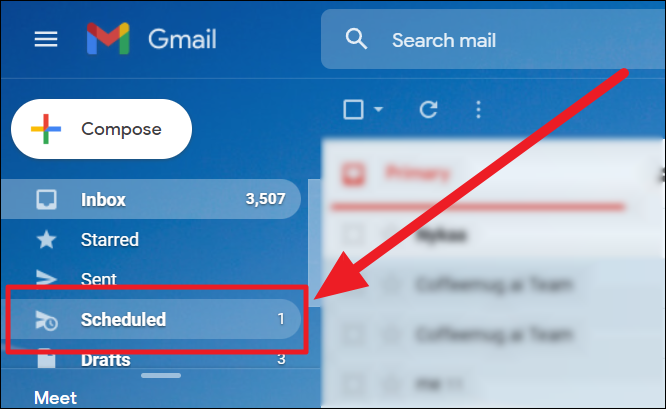
Scheduling an email is safer – you can always cancel sending an email. To cancel sending a scheduled email, go back to the scheduled mail by clicking the ‘Scheduled’ tile to the left.
Click to select the email you want to cancel sending.
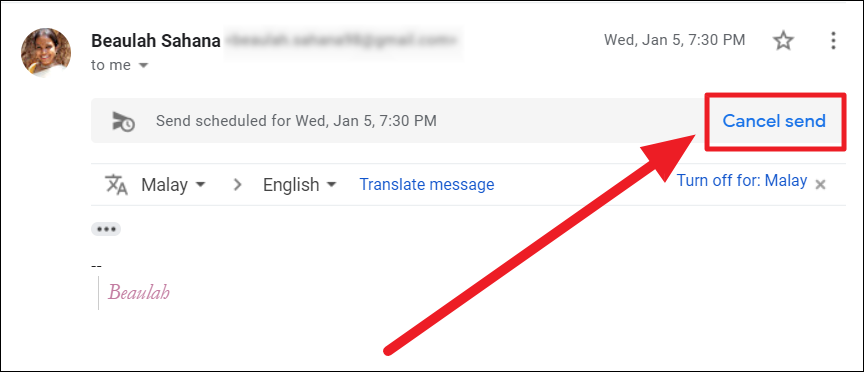
If it’s a response to an email threat scroll all the way to your reply. If it’s a new email, you’ll find the ‘Cancel Send’ button right away. It follows the same lines as the scheduling information.
When you cancel sending an email, you will be reverted to the email’s draft. You can make further changes and send it right away or schedule it.
Scheduling an Email in Gmail App
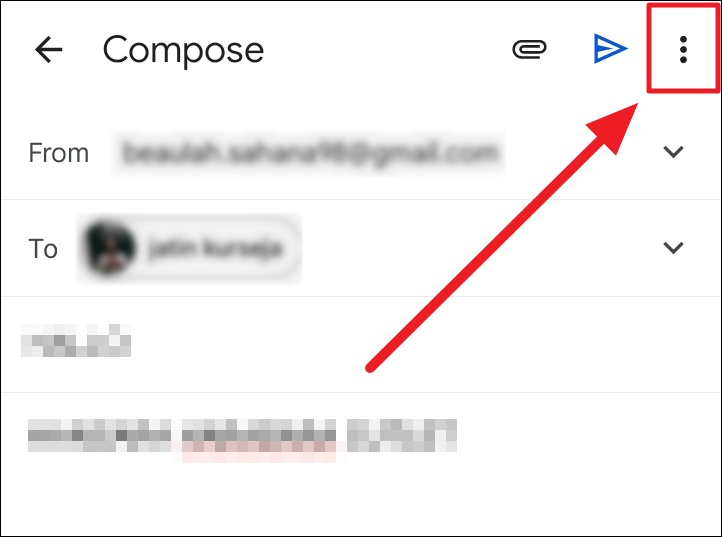
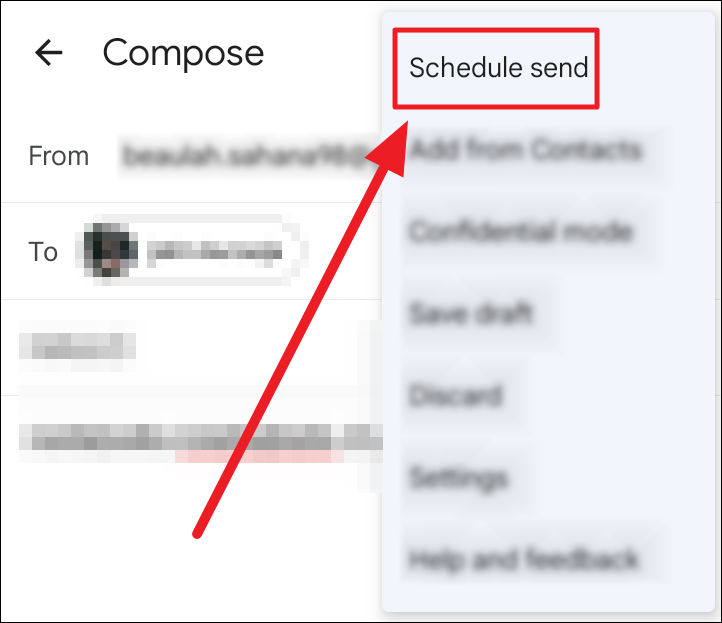
Launch the Gmail application on your phone and either open an email you want to schedule or compose it. Once you’re done writing the mail, tap the ellipsis icon (three vertical dots) to the top right corner of the screen, next to the ‘Send’ button.
Select the ‘Schedule Send’ from the list of options.
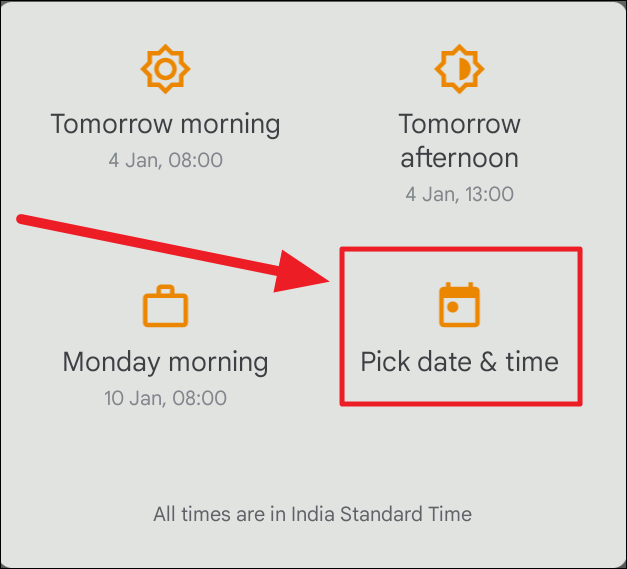
You will see a familiar box to pick a date and time. Choose a convenient time slot, if the suggestions aren’t suitable, tap the ‘Pick date & time’ box.
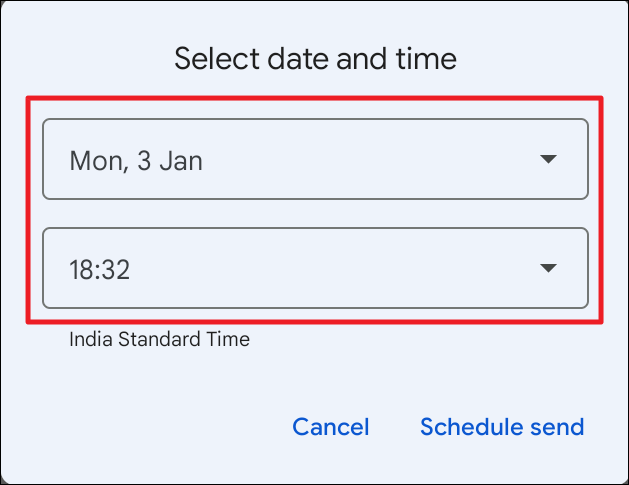
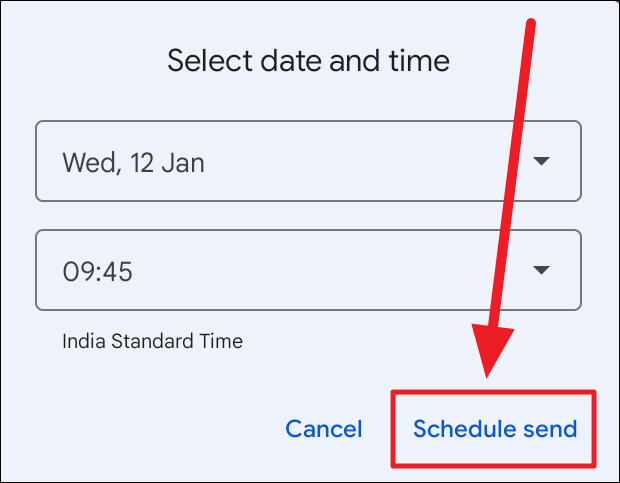
Now, select your preferred date and time by tapping the respective drop-down boxes – one after the other.
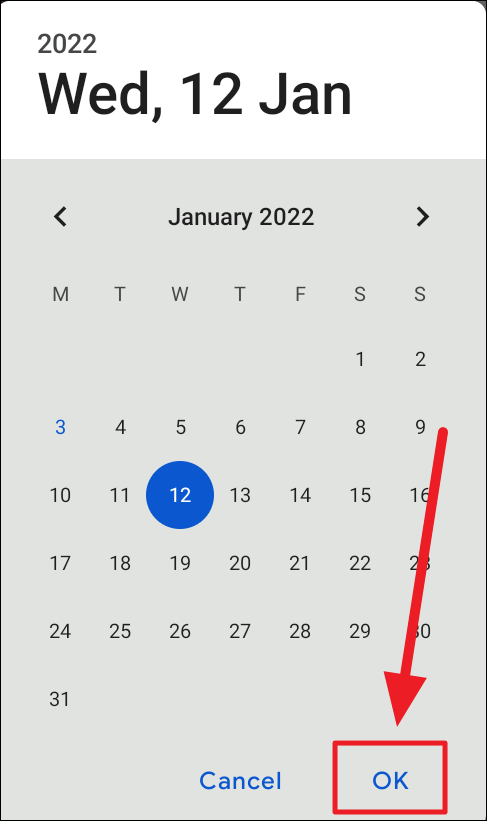
To pick a date — Scroll sideways to reach the desired month and tap the date to select the date of scheduling your email. Tap ‘OK’ once done.
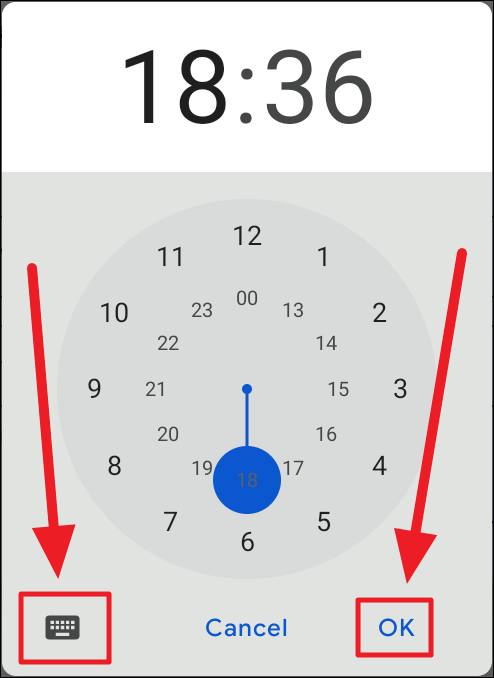
To select the time, tap the required number corresponding to the hour and minute and hit ‘OK’. Or, tap the keyboard icon to the bottom left corner of the box to manually input the time.
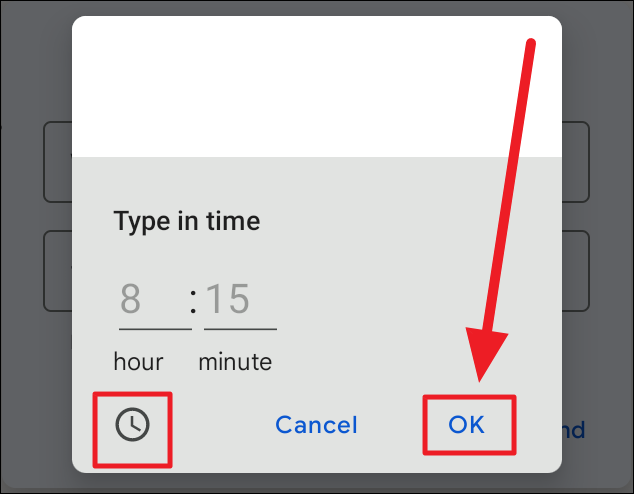
You can now type in the time in the ‘hour’ and ‘minute’ slots. Tap ‘OK’ when you’re done. If you want to return to the analog clock, tap the clock icon to the bottom left of the box.
Once your date and time are in place, hit the ‘Schedule Send’ button to schedule your email.
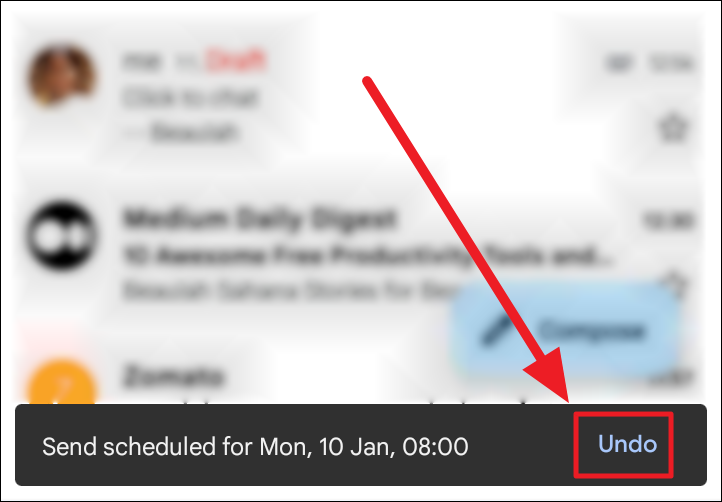
You’ll immediately receive a notification regarding the scheduling. If you wish, you can undo the schedule from this notification itself. Tap the ‘Undo’ button on the notification.
Canceling a Scheduled Email in Gmail App
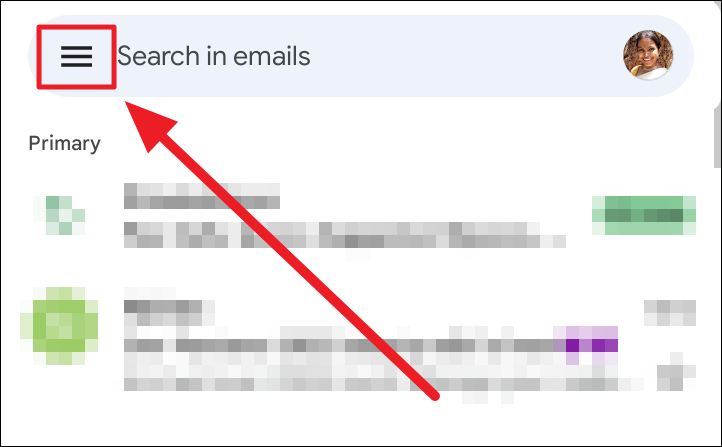
In case you ignored the ‘Undo’ button or need to cancel sending the scheduled mail after scheduling it and before it’s time, tap the hamburger icon to the top left corner of the Gmail home screen.
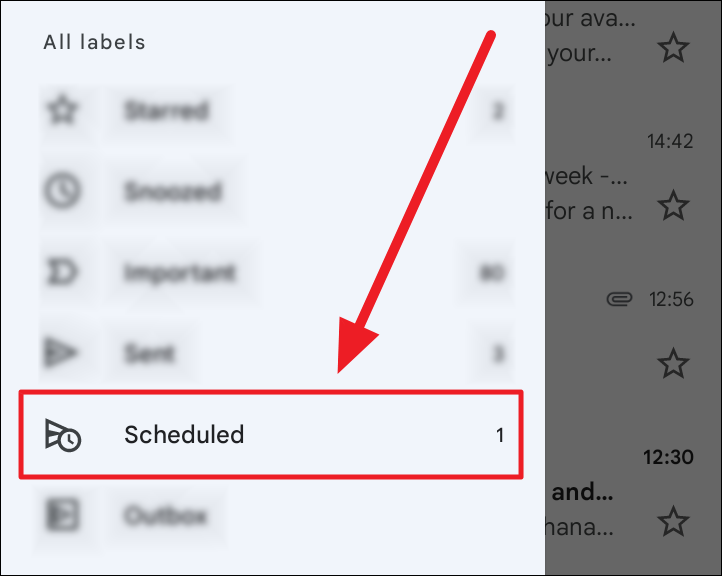
Navigate to and tap the ‘Scheduled’ tile under ‘All labels’.
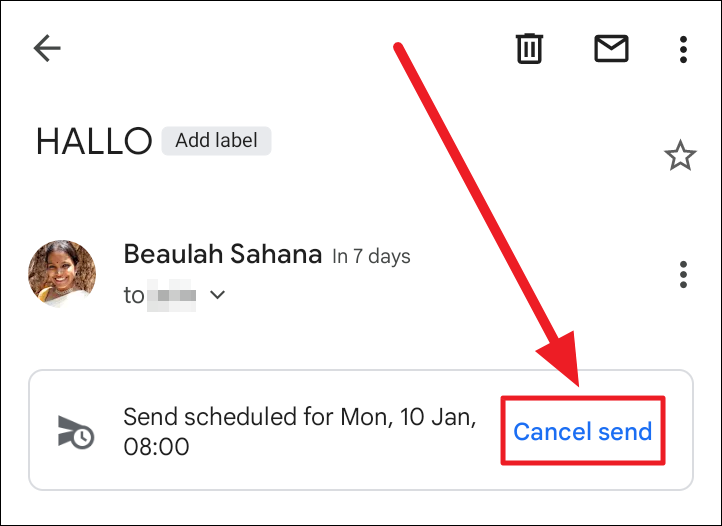
Tap to open the email you want to cancel sending. Then, tap the ‘Cancel Send’ button in the scheduling notification.
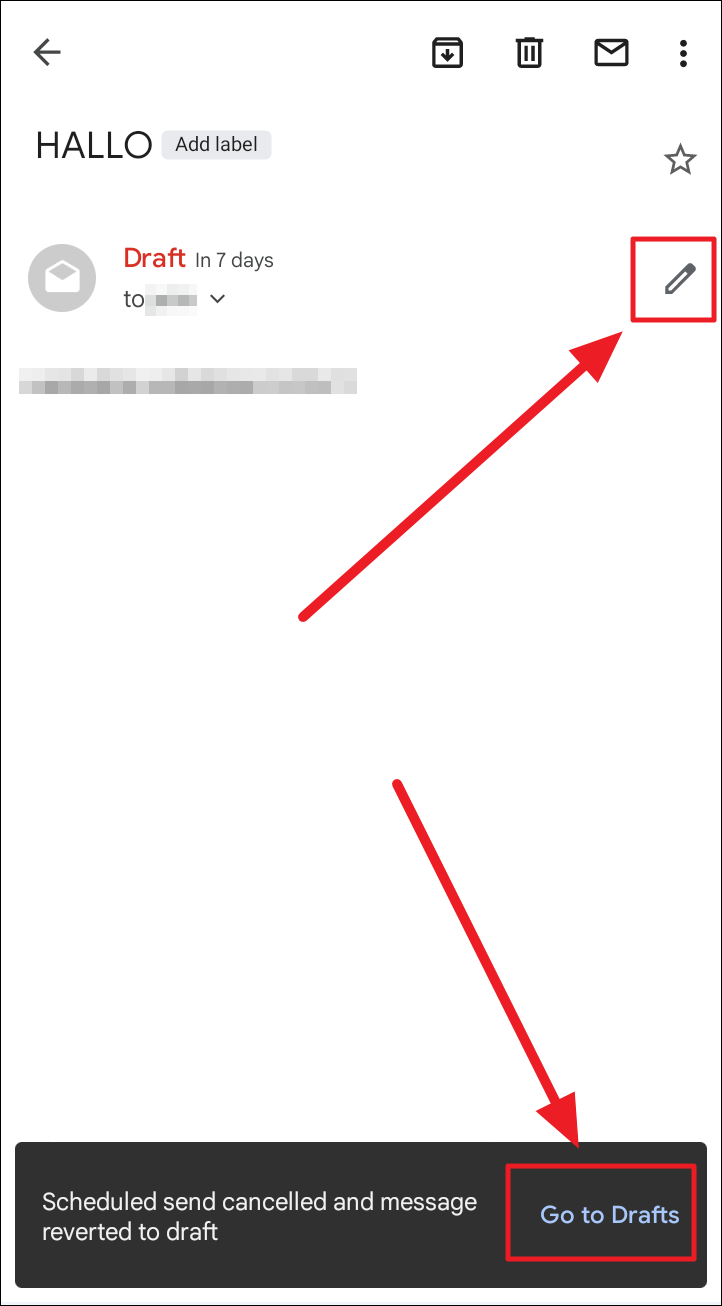
A canceled scheduled email reverts to a draft. Tap the pen icon to continue editing the drafts. Or tap the ‘Go to drafts’ button in the schedule canceling notification at the bottom of the screen to reach your list of drafts.
On both devices – the desktop client and the mobile app, Gmail records your last scheduled time. The next time you schedule a new email, you will see your last email’s schedule.
That’s about scheduling an email on Gmail! We hope you found our guide useful in understanding how smoothly you can schedule and cancel sending an email!