
We have a lot of important data on our iCloud, data that’s as important for our family members as well. But in the event that something happens to us, what happens to this data?
A few years ago, the answer would be to share your password with someone so that they can access your account in case of any adverse events. But that’s not very secure, is it? And the alternative would be to let your data get lost. Fortunately, our digital lives have become so prominent that it’s just not an option to not have a viable solution anymore. And a Legacy Contact is Apple’s answer to this problem.
What is a Legacy Contact on iPhone?
A Legacy Contact is a person (or multiple persons) you choose who can access your Apple account data after you pass away. The feature is available on iPhones with iOS 15.2 or higher (or iPadOS 15.2 and macOS 12.1 or higher on iPad and Mac respectively). Additionally, you must have two-factor authentication enabled for your Apple ID.
Essentially, it’s the most secure way you can give someone access to your Apple account data after your death. Your legacy contact can be anyone; they don’t have to have an Apple ID or an Apple device either.
The only requirement is that they should be older than 13 years of age (in most countries). Exceptions are: over 14 in Austria, Bulgaria, China mainland, Cyprus, Italy, Lithuania, and Spain; over 15 in Czech Republic, France, and Greece; over 16 in Brazil, Croatia, Germany, Hungary, Ireland, Kosovo, Liechtenstein, Luxembourg, Netherlands, Poland, Portugal, Romania, Singapore, Slovakia, and Slovenia.
How Does It Work?
When you assign someone as your legacy contact, Apple will generate an access key. This access key is the most important part of the entire setup – the legacy contact cannot request access to your account without it.
To request to access your account, they’ll need to submit two things to Apple:
- The access key
- Your death certificate
Once Apple is able to verify the information, they approve the request. Then, the legacy contact receives a special Apple ID that they need to set up to access your account. The Apple ID and Password for the original account are not shared and they stop working when a legacy request is approved. Moreover, the Activation Lock on any Apple devices that used your Apple ID will also be removed.
The Legacy Contact can only access your data for a limited time, though – three years after the first legacy contact request is approved. That is, if you have multiple legacy contacts, whenever any one of them requests access to your account, the three-year countdown will start, after which your account will be permanently deleted. During this time, they can access your data whenever they want or download a copy of it.
All legacy contacts also have equal permissions to your account after your death and any one of them can take decisions individually, such as deleting your account permanently. They don’t need permission from other legacy contacts, so choose your contacts carefully.
What Data Can Legacy Contacts Access?
There are distinctions in what type of data legacy contacts can and cannot access after someone’s passing. The original account holder, i.e., you who wants to give a legacy contact access to your data, cannot alter the type of data the legacy contact will have access to. For example, you cannot give them access to your Notes and Mail while leaving out your iCloud Photos.
All data that is accessible with this feature will be available for them to access. The data that will be available will depend on what you store on iCloud or iCloud backup, though.
The data which can be accessed by a legacy contact includes:
- Notes
- iCloud Photos (if you have them turned on)
- Calendars
- Contacts
- Reminders
- Messages in iCloud
- Files stored in iCloud Drive
- Call history
- Voice Memos
- Health Data
- Safari Bookmarks and Reading List
- iCloud Backup, which may include downloaded App Store apps; photos and videos stored on the device; device settings, and other content backed up in iCloud which is not excluded by the list below
A legacy contact cannot access the below data:
- Any information saved in Keychain. This includes your Safari user names and passwords, any internet accounts (used in Mail, Contacts, Calendar, and Messages), credit card numbers and expiration dates, and Wi-Fi passwords.
- Any licensed media, for example, movies, music, and books that you may have purchased.
- Payment information, for example, your Apple ID payment info or cards you might have saved to use with Apple Pay.
- In-app purchases. This includes any upgrades, subscriptions, game currency, or other content that you bought within an app.
Now that you’re completely acquainted with this feature, let’s get on with it.
Adding a Legacy Contact on iPhone
Setting up a legacy contact on iPhone is as easy as it gets. But as mentioned earlier, you need an iPhone running iOS 15.2 or later to be able to use this feature.
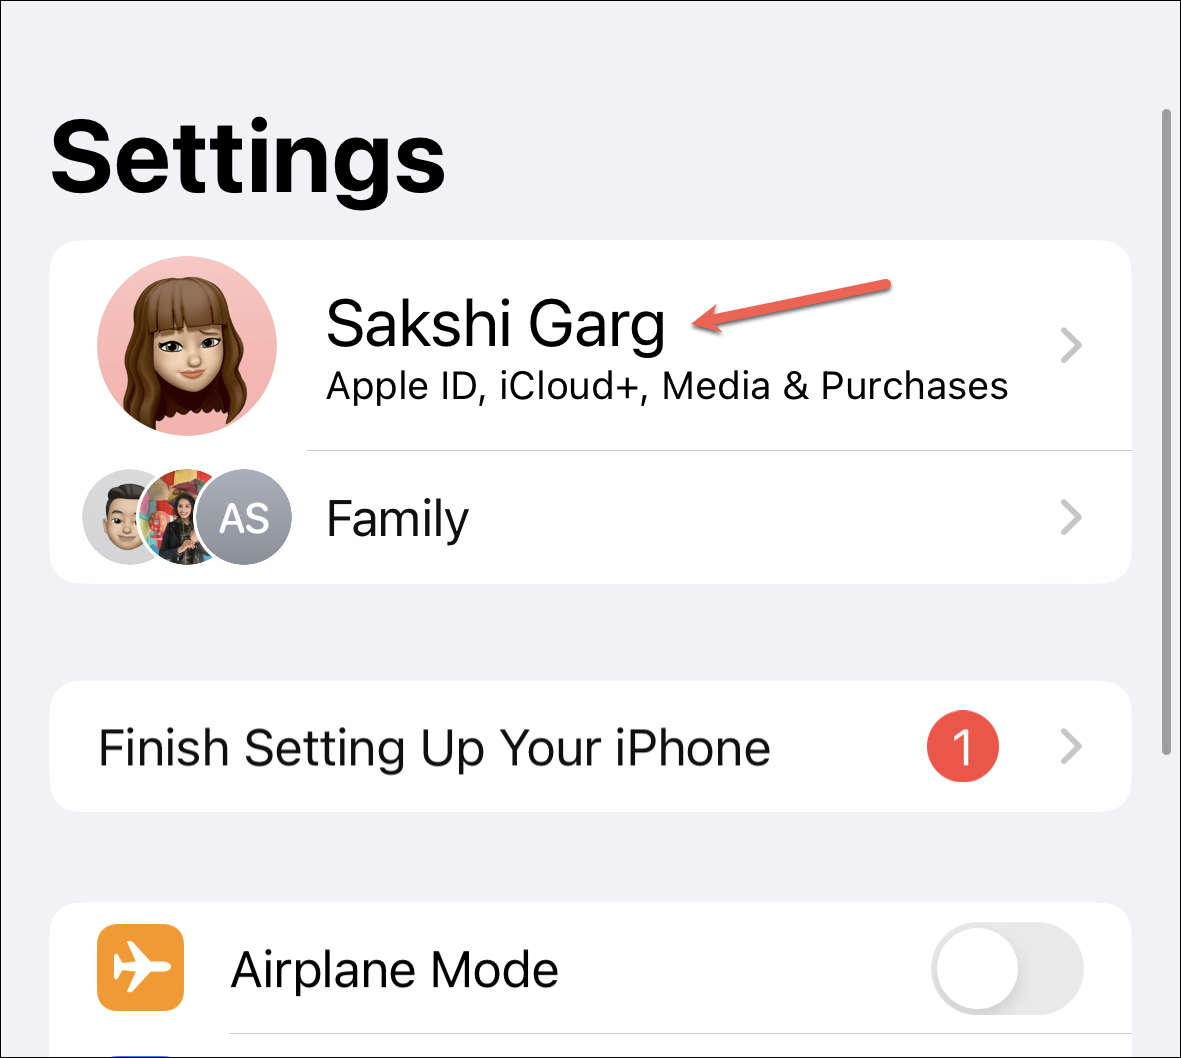
Open the Settings app on your iPhone and tap your name at the top.
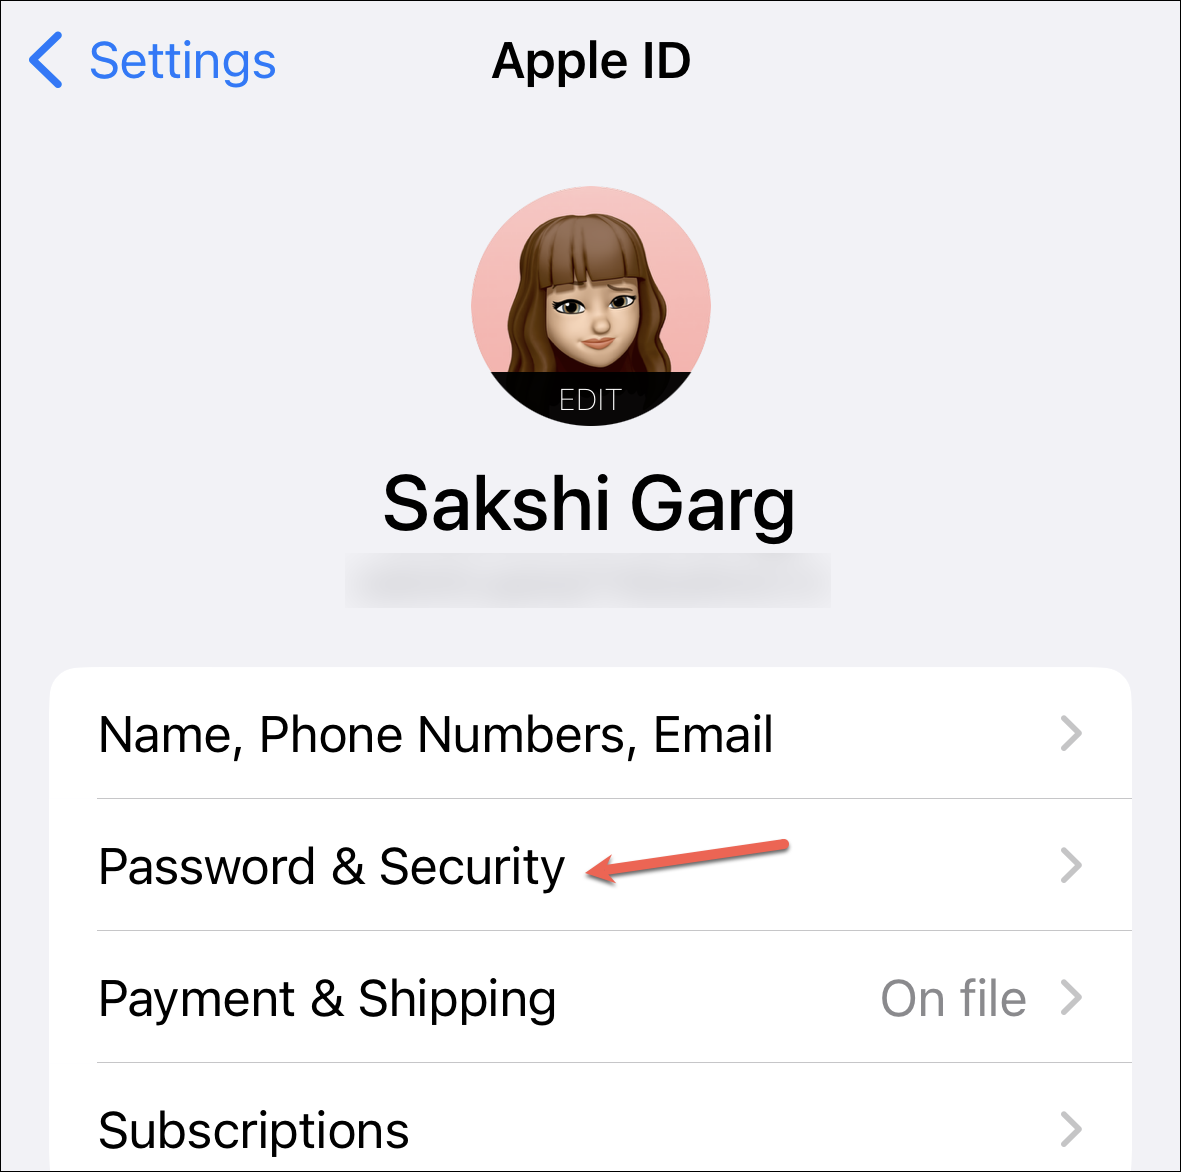
Then, go to ‘Password & Security’.
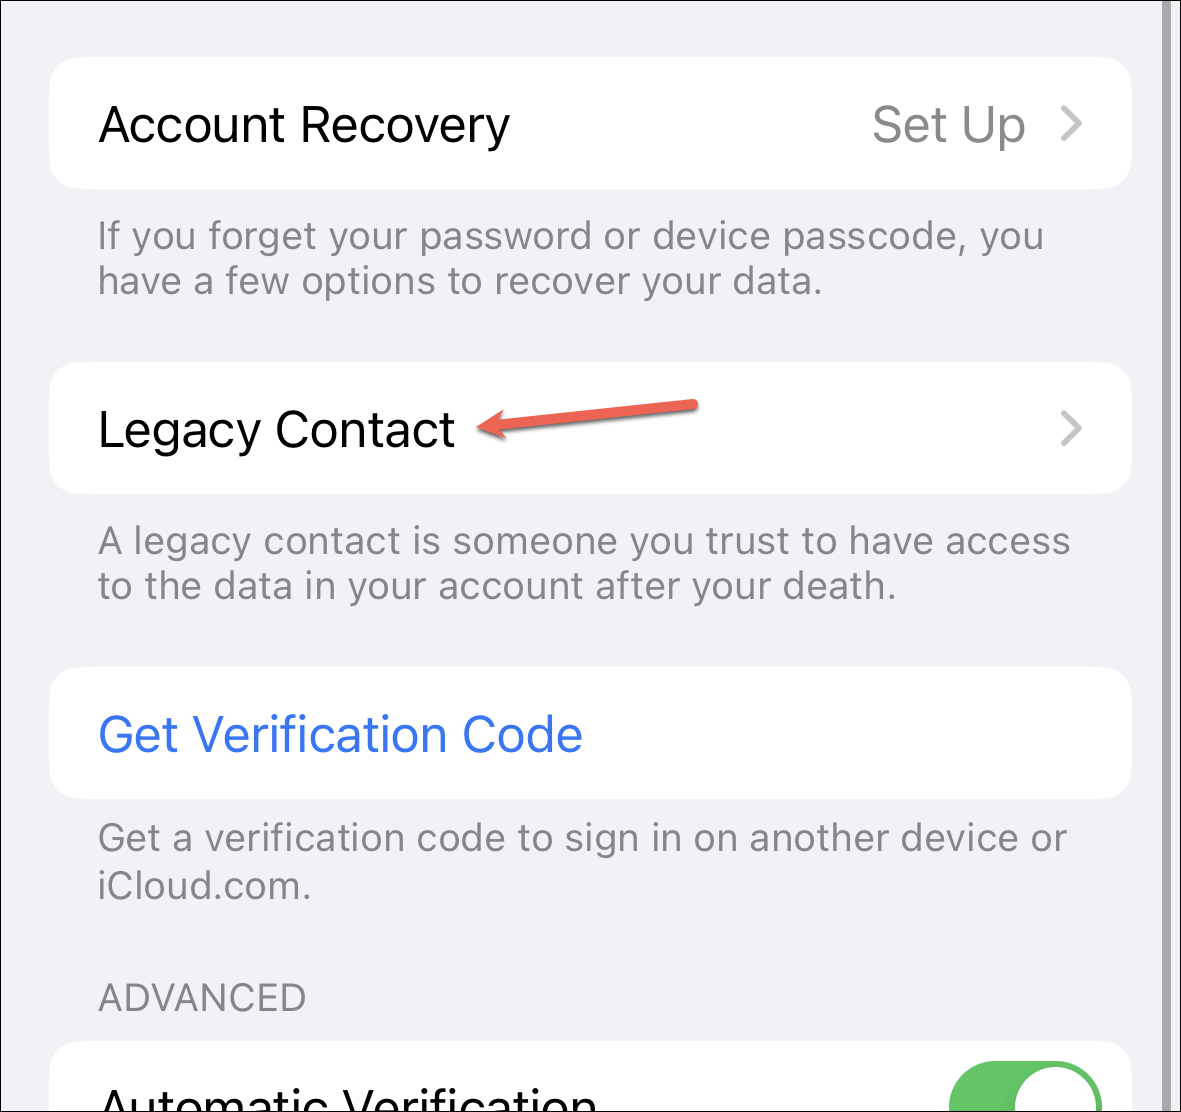
Now, tap the option for ‘Legacy Contact’.
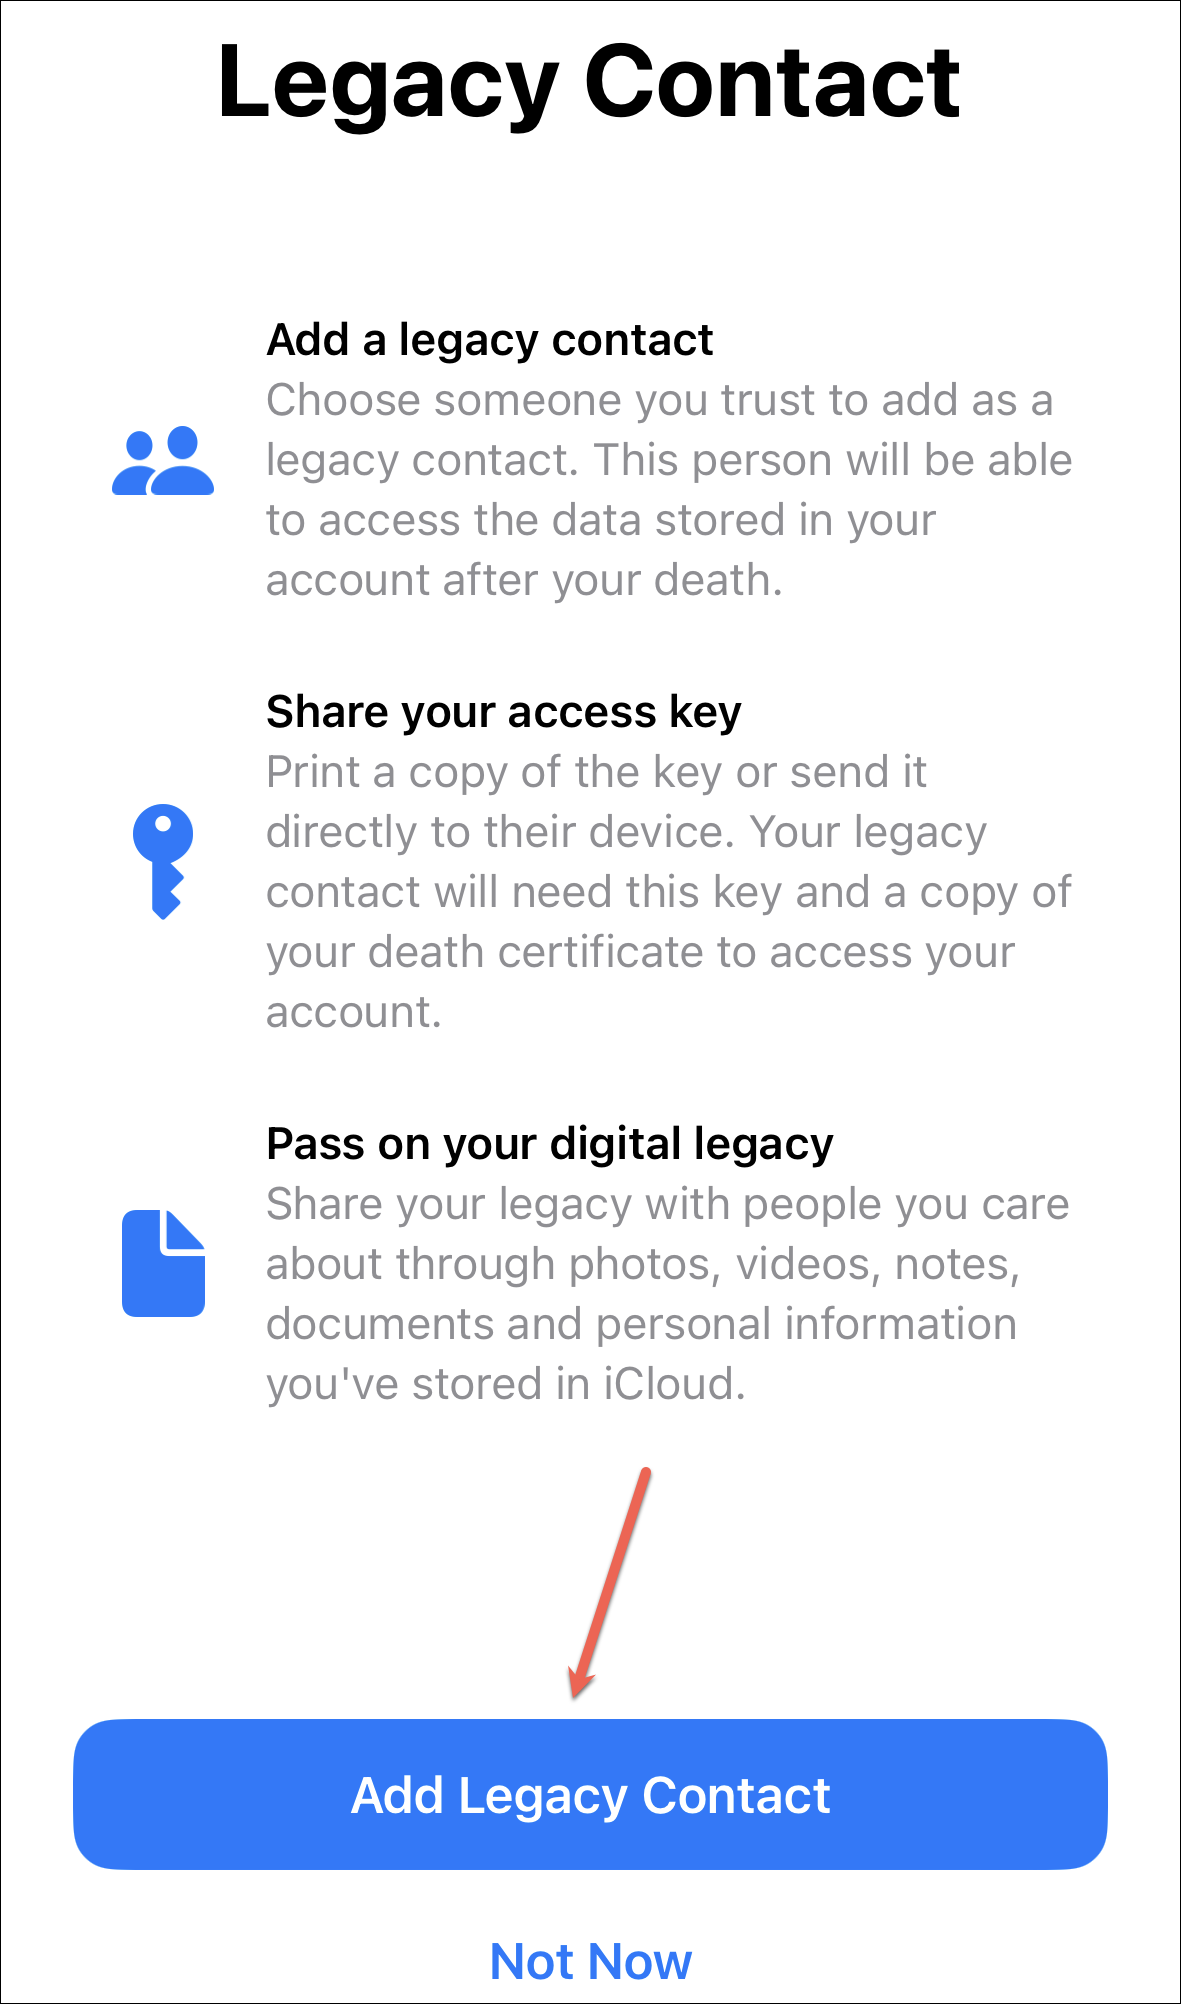
Tap ‘Add Legacy Contact’.
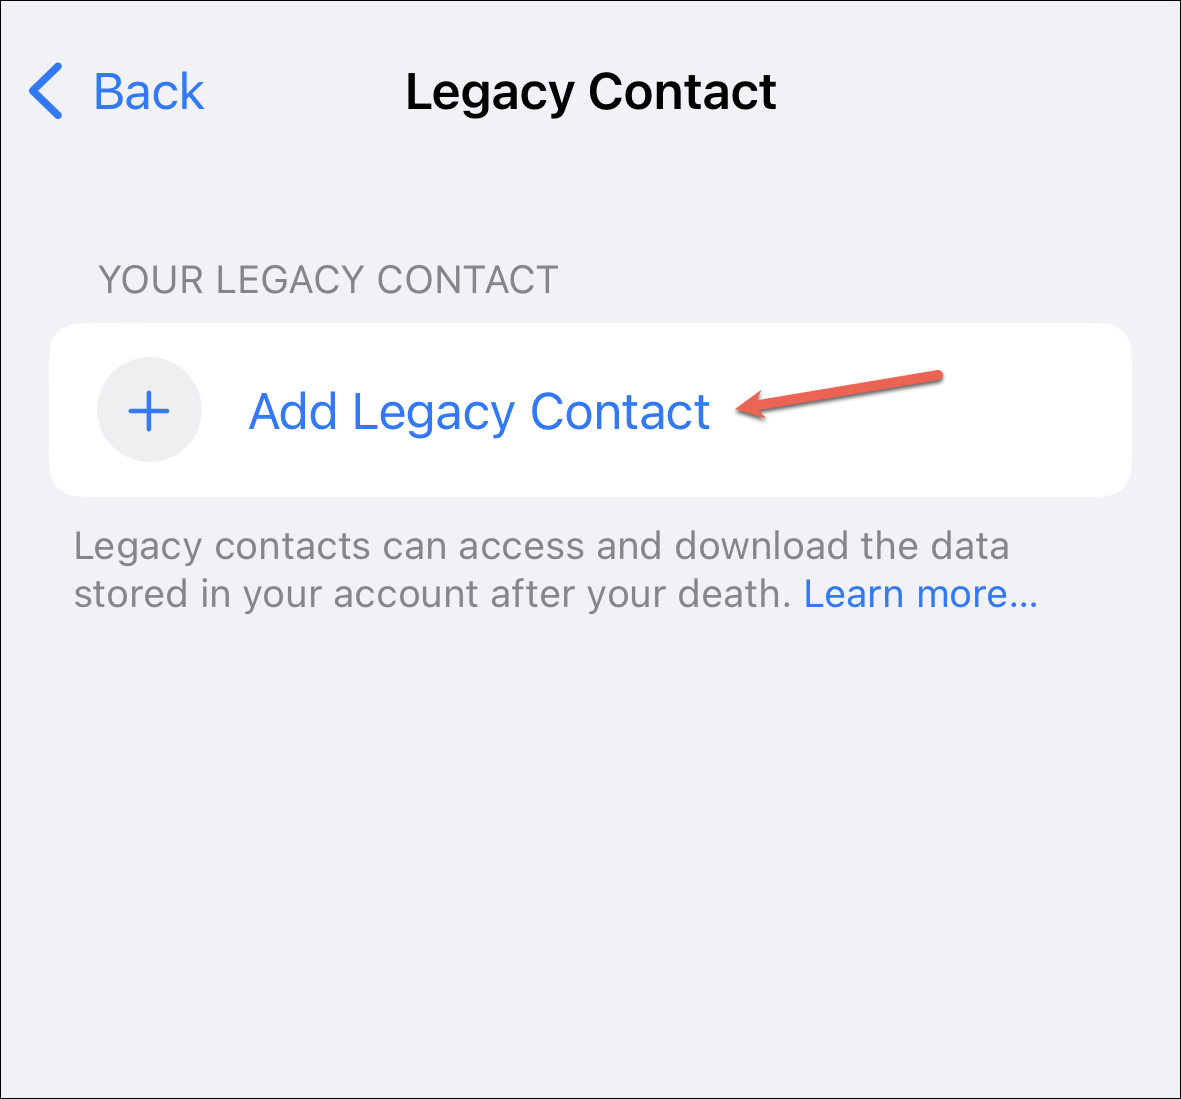
An onboarding screen will appear when adding your first legacy contact. Tap ‘Add Legacy Contact’ again. You will be required to authenticate with Face ID, Touch ID, or your device passcode.
Then, if you’re in a family sharing group, the members in the group will appear for easy access. If you want to add someone from the group, tap their name. Otherwise, tap ‘Choose Someone Else’.

Your contact list will open. Choose someone to add them using their phone number or email address.
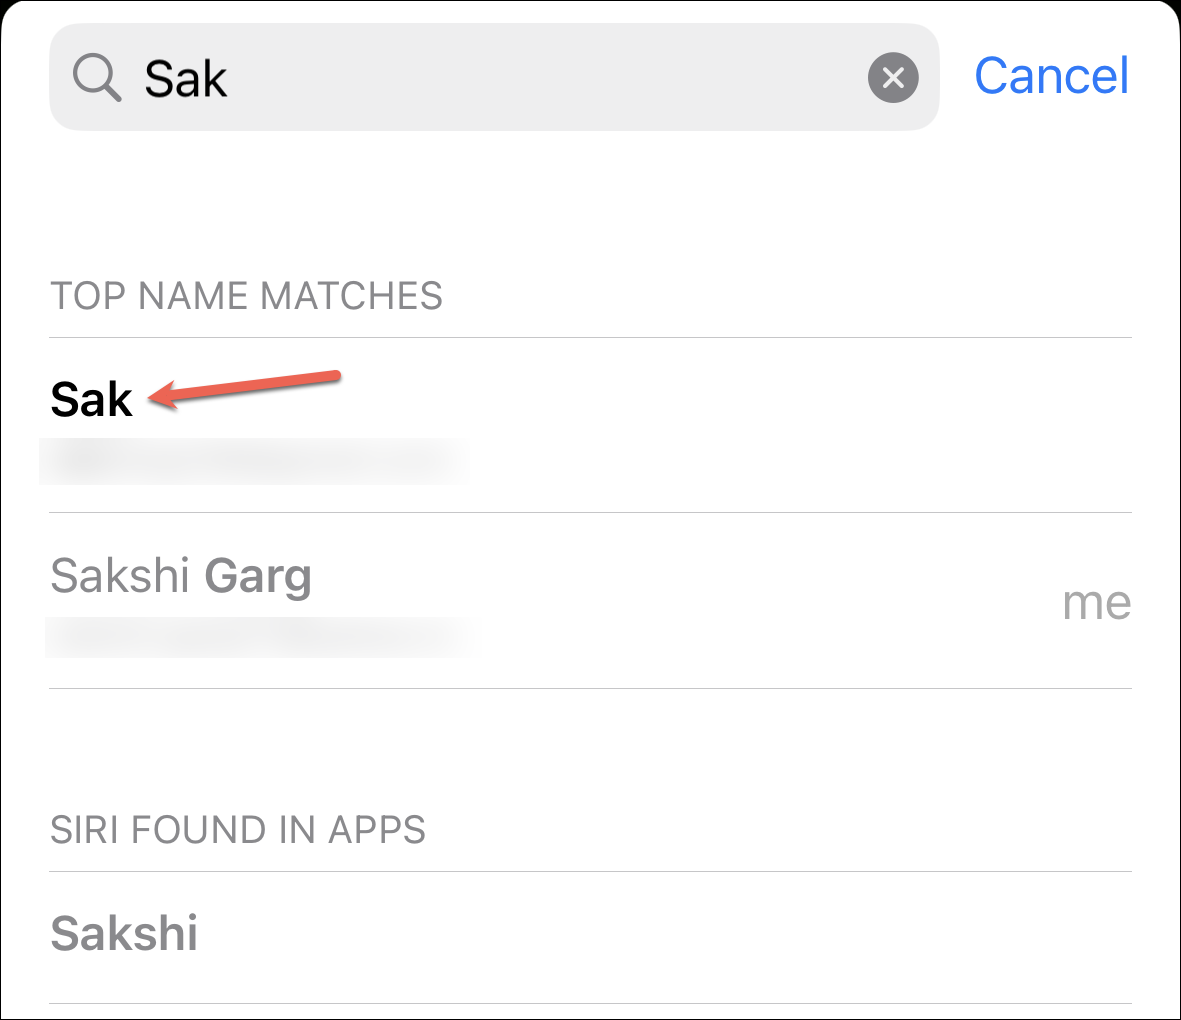
Tap ‘Continue’ again after you choose a person.

The access key will be generated.
Sharing the Access Key
Now, the access key is the most important part of the entire process. And, thus, making sure that your legacy contact has the access key is just as vital.
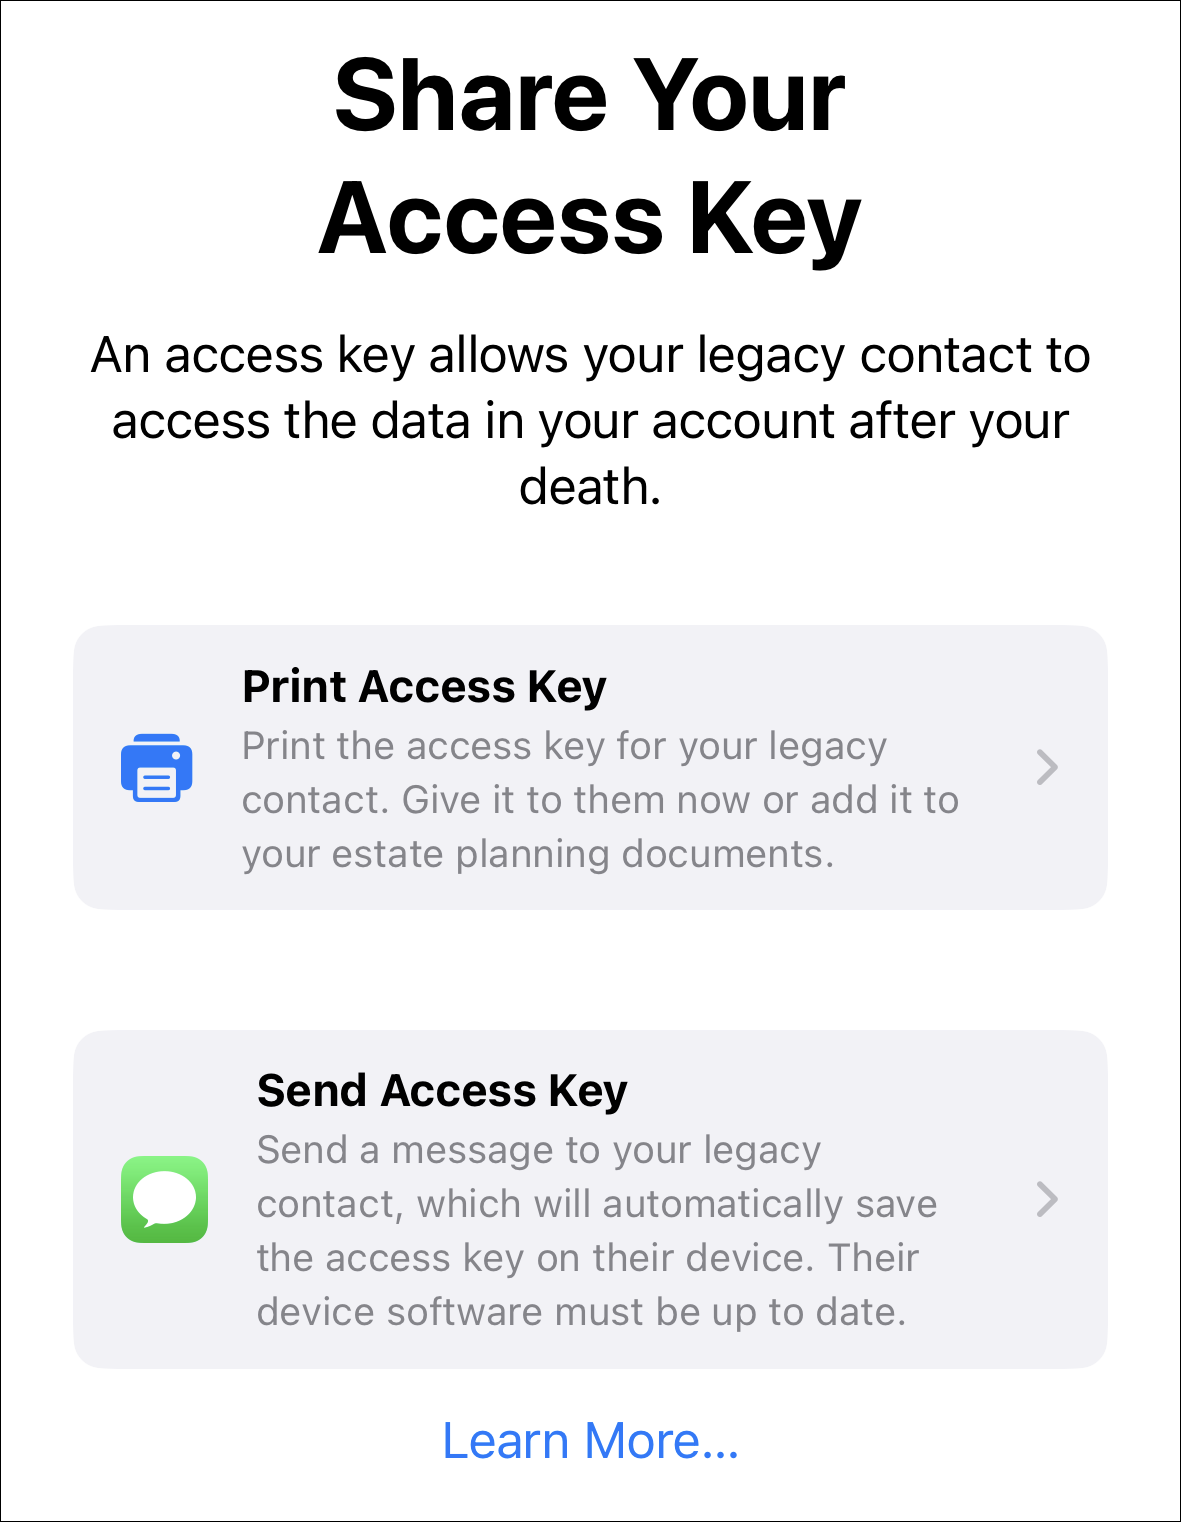
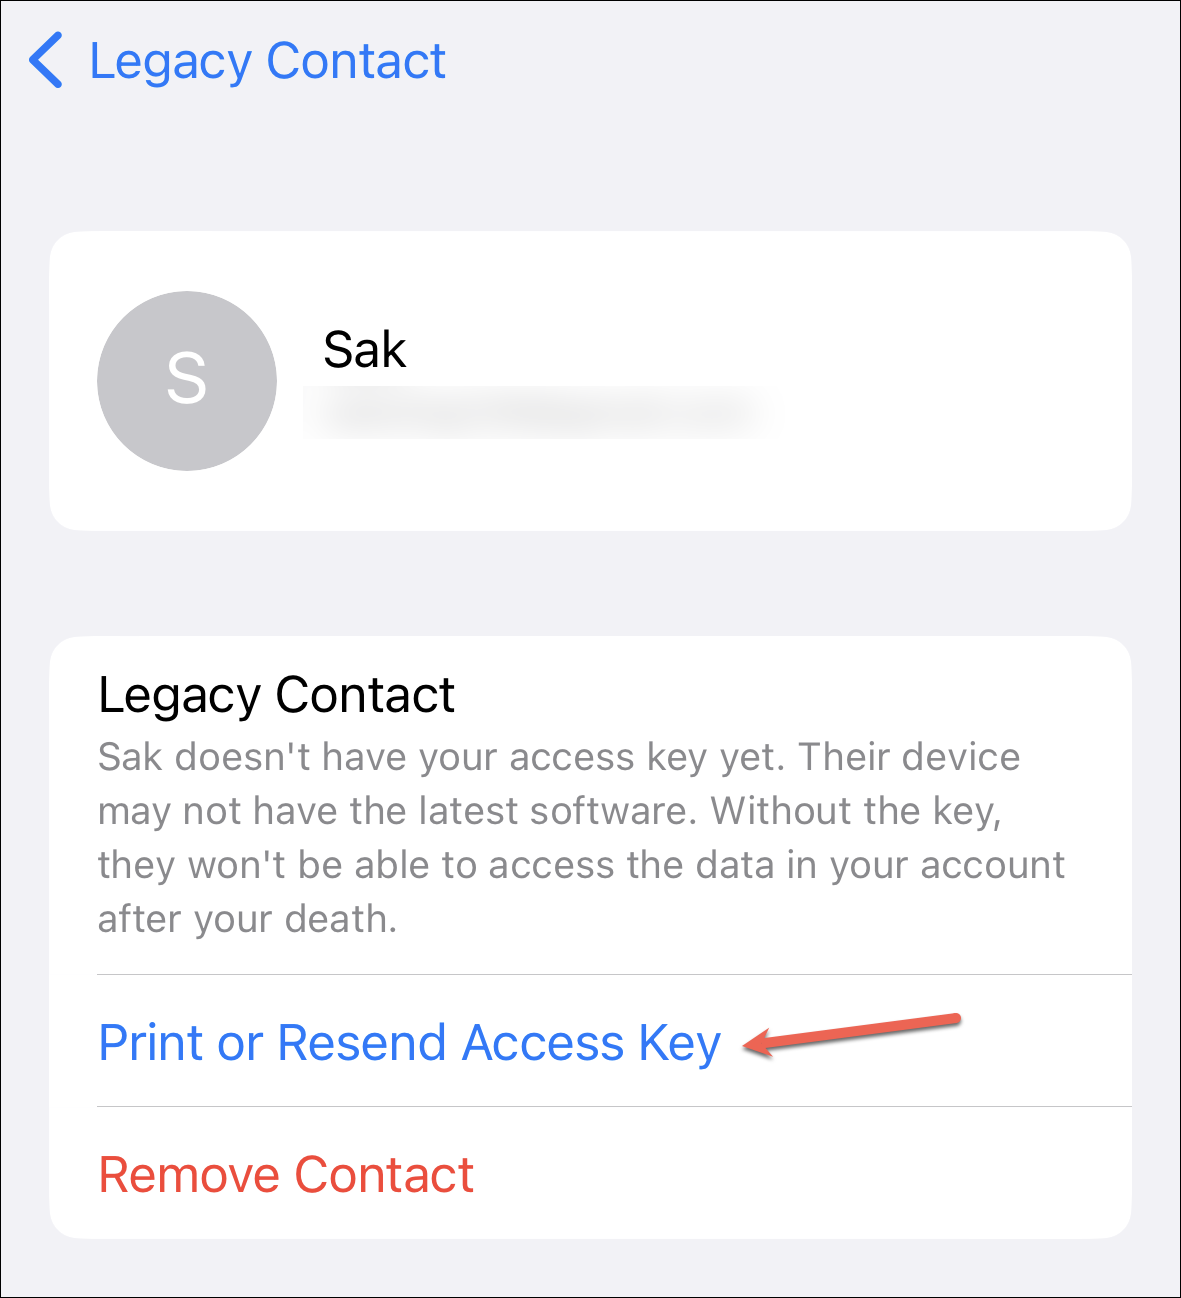
You’ll find two options on your screen to share the access key: ‘Print Access Key’ and ‘Send Access Key’ (using messages).
Now, how you should share the access key will depend on factors like device availability and personal preference. Let us elaborate.
Send Access Key Using Messages
If your legacy contact has an Apple device that supports the feature – iPhone with iOS 15.2 or higher, iPad with iPadOS 15.2 or higher, or Mac with macOS Monterey 12.1 or higher – then this would be the best course of action.
The OS versions that support the Legacy Contact feature can directly store the access key received from someone in the Apple ID settings. So, if you share the access key with them via Messages, all they have to do is accept your request and the access key would be stored in their settings. You’ll also receive a notification if they decline your request, so you’ll know to choose someone else who’s willing to shoulder your digital legacy.
If they have an Apple device that doesn’t fulfill the software requirement, you can ask them if they’ll be willing to update their OS. Otherwise, you can use the next method. Moreover, if you only want others to have your access key after you pass away, you can only keep a printout with your estate planning documents.
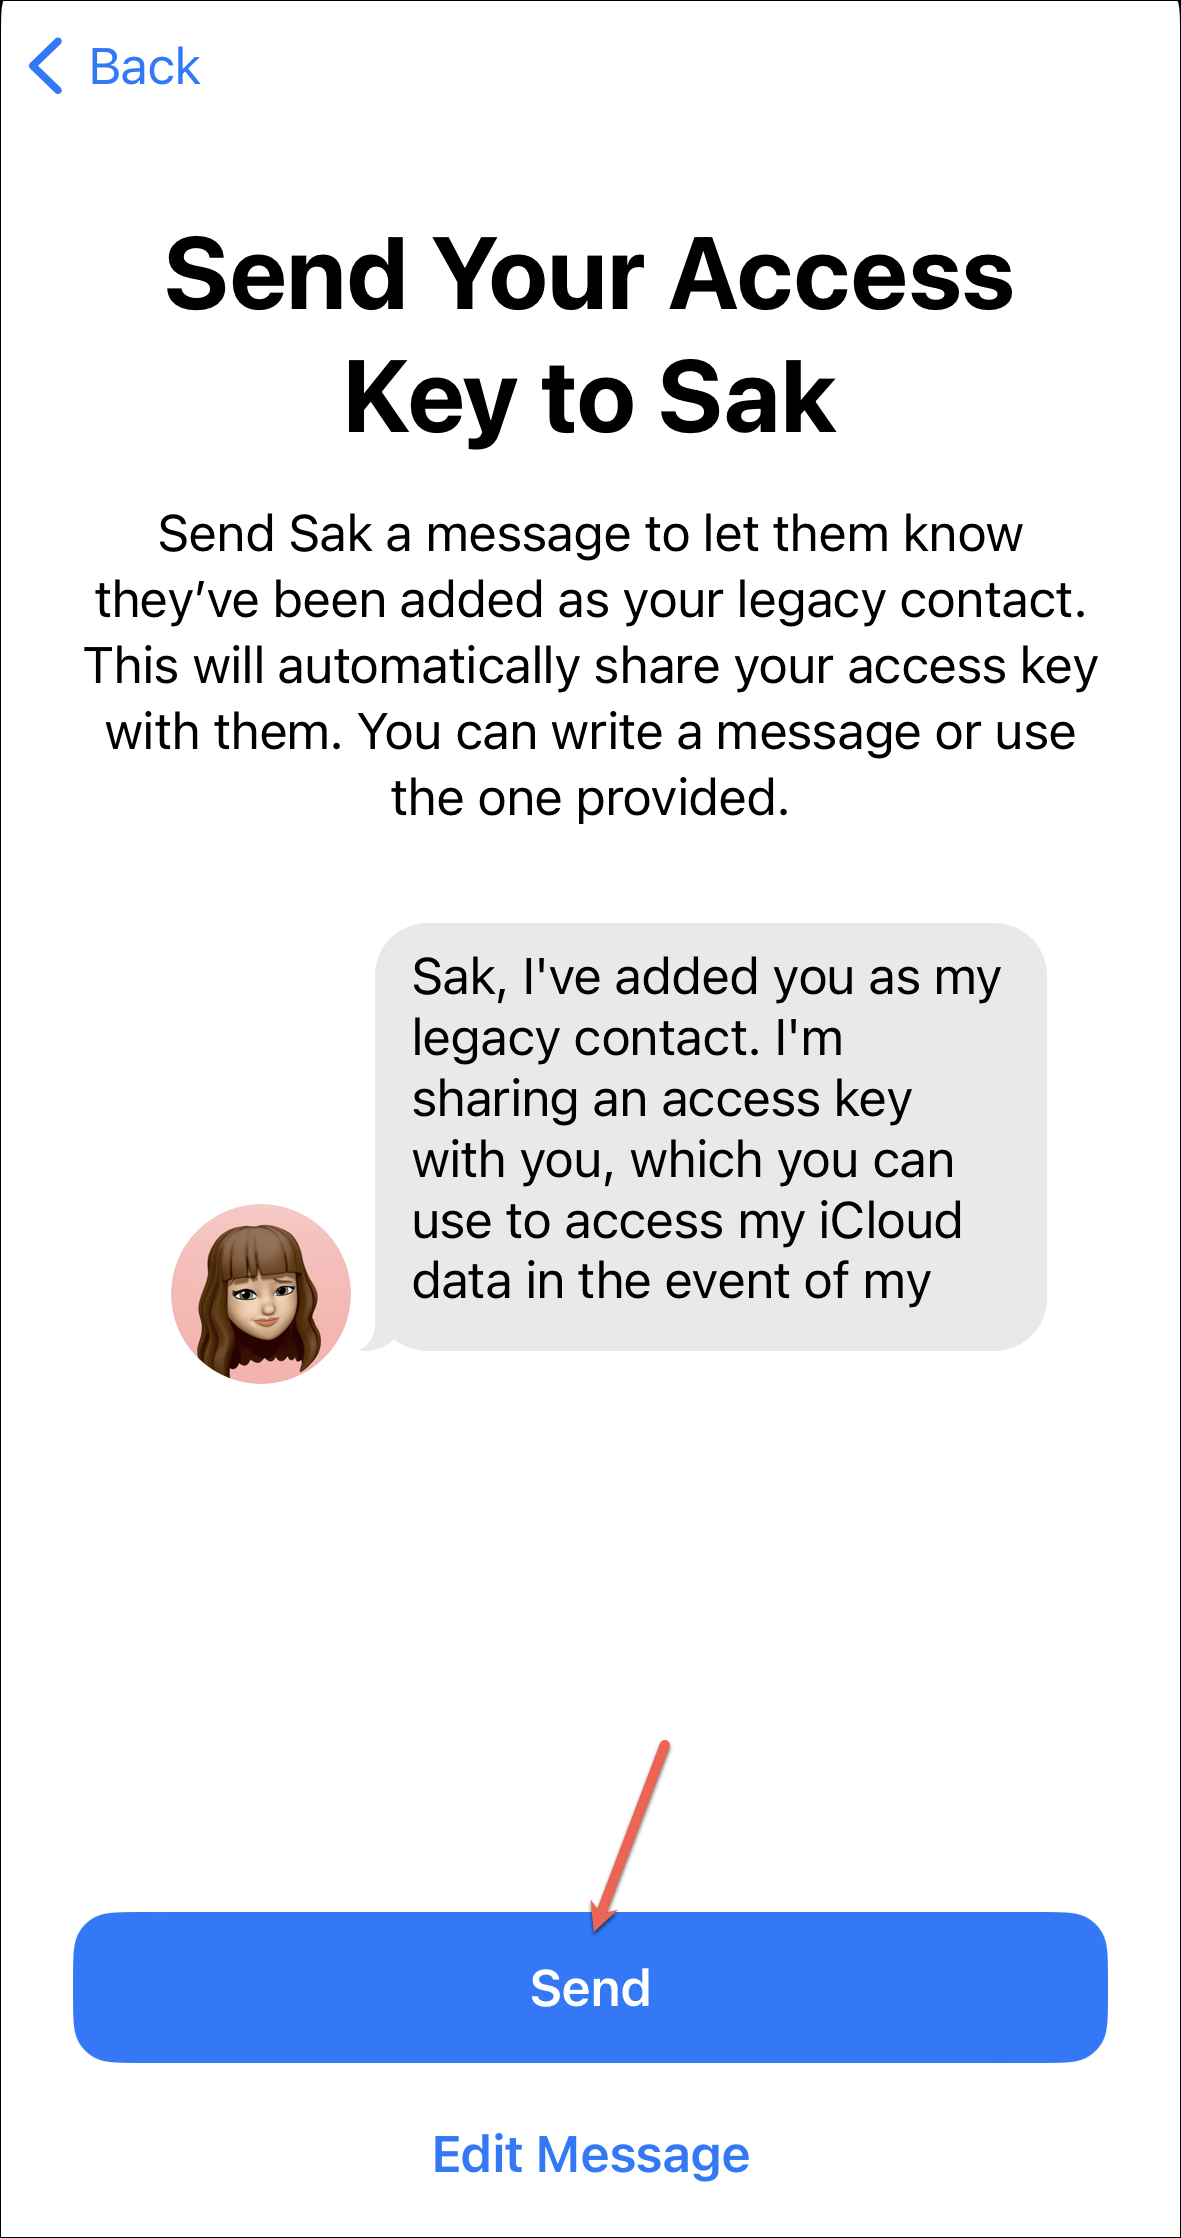
Tap the ‘Send Access Key’ option. Then, tap ‘Send’ on the message; you can also edit the message before sending it.
Even if you send the key using messages, you can still print it from the legacy contact settings to keep a copy with yourself or your estate planning documents for safekeeping.
Print the Access Key
Whether you would like to share the access key with your legacy contacts only after your death as part of your estate planning, or they don’t have an Apple device with compatible software, printing the key is the way to go.
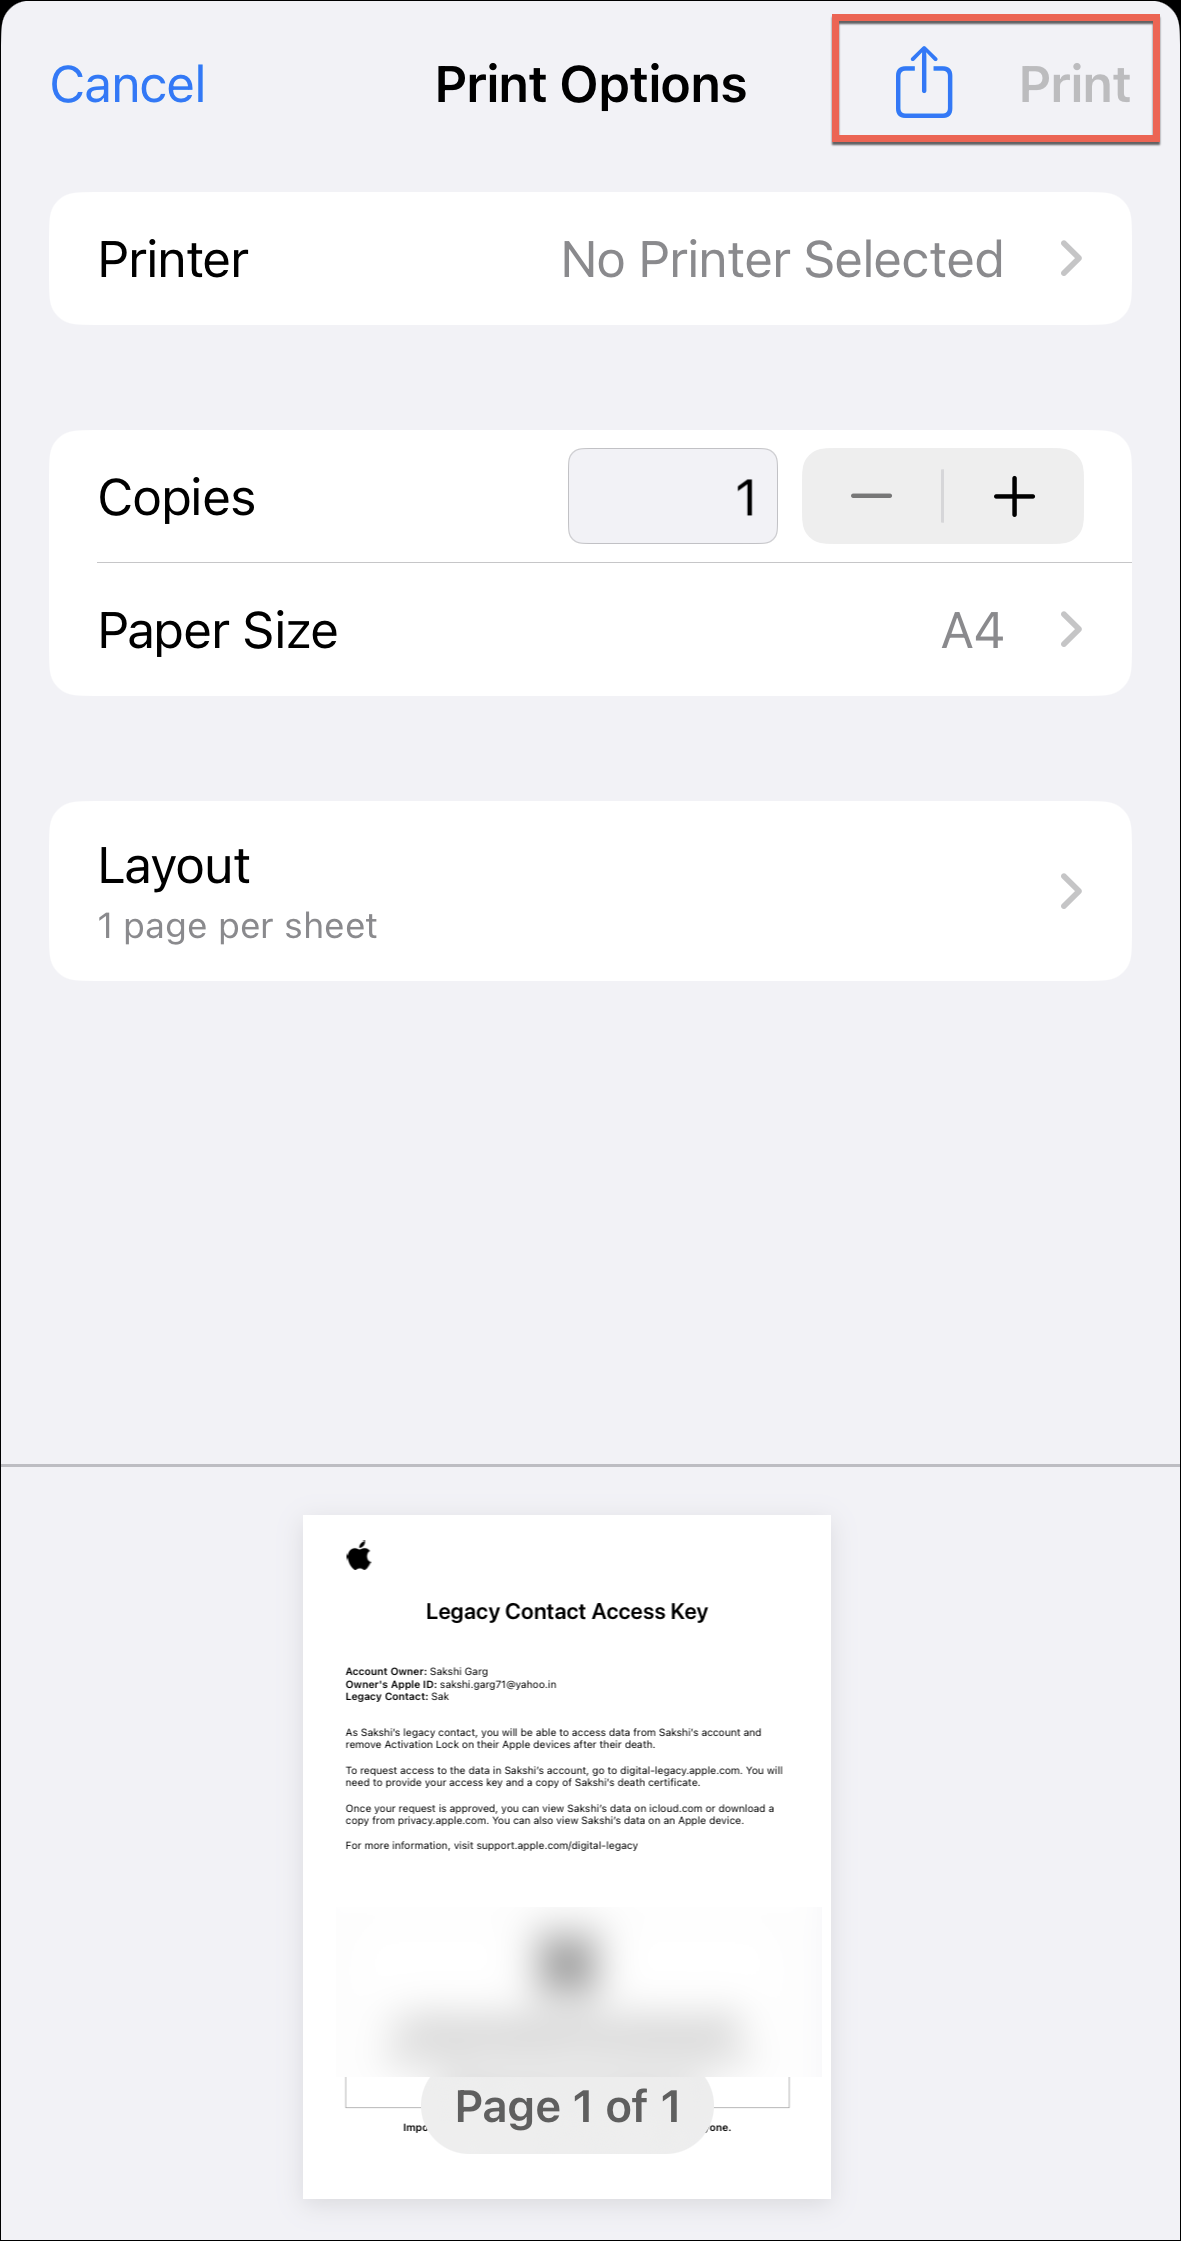
You can also save a PDF and share it via mail or text instead of printing an actual physical copy. But if you’re going to be sharing a PDF via mail or messages, follow up with them to make sure they get it and save it.
Tap on the ‘Print the Access Key’ option. Then, either tap the ‘Print’ option directly. Or, tap the ‘Share’ option and save the PDF to your files or share it using other sharing options available.
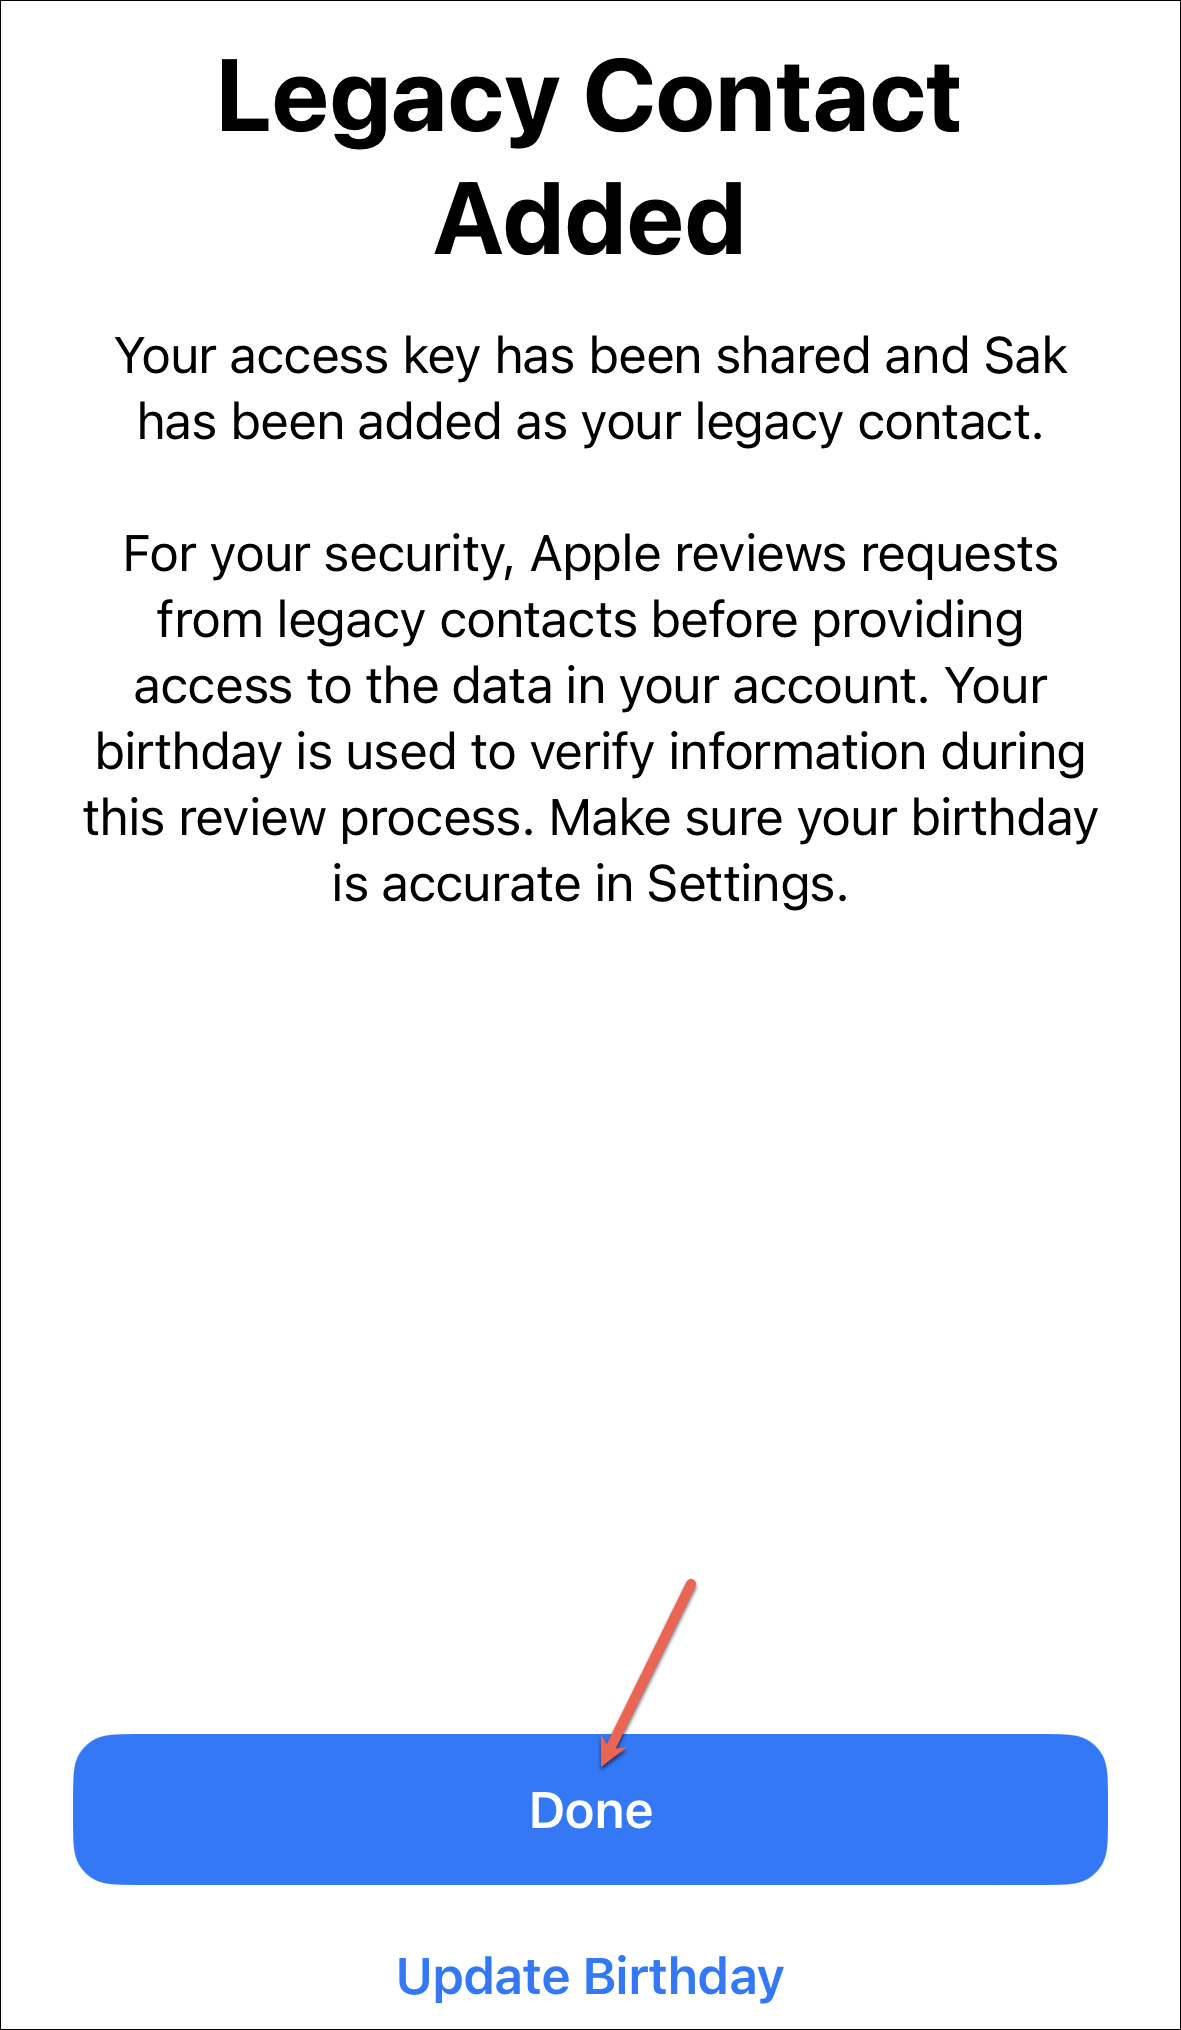
And that’s it. Your legacy contact is set up. Your birthday is also used in the verification process. If you’re sure you have the correct information in your Apple ID settings, then tap ‘Done’ to close the setup screen. Otherwise, tap ‘Update Birthday’ to go to the menu to update your birthday.
You can add more legacy contacts in a similar manner.
Removing a Legacy Contact
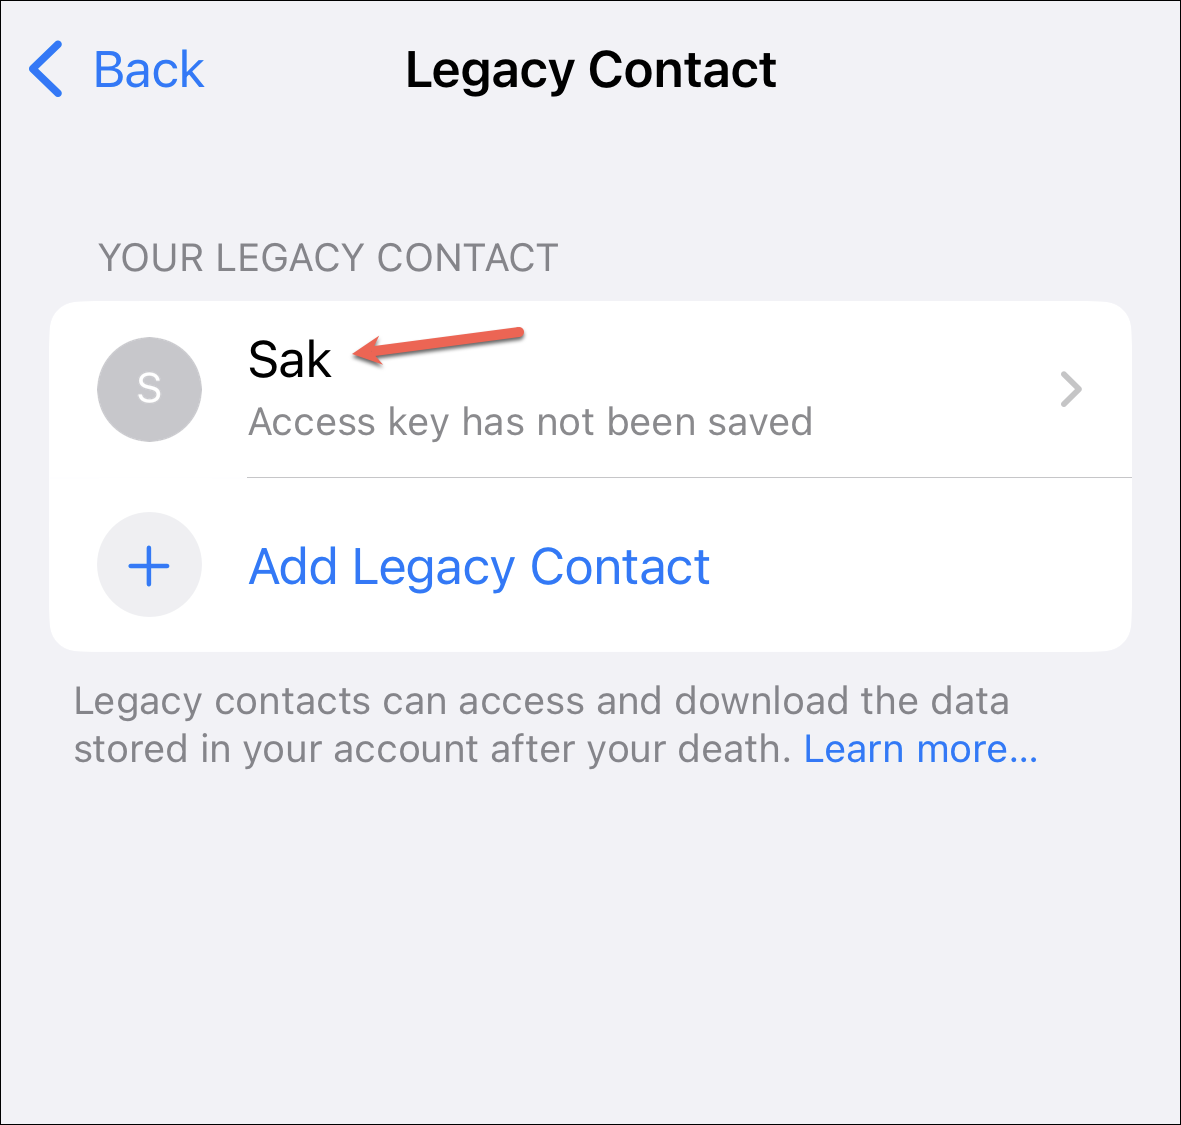
If you no longer want a person to be your legacy contact, removing them is easy. Navigate to the ‘Legacy Contact’ menu from the settings by tapping Your Name > Password & Security > Legacy Contact.
Then, tap the name of the person you want to remove.
Tap the ‘Remove Contact’ option on the screen.
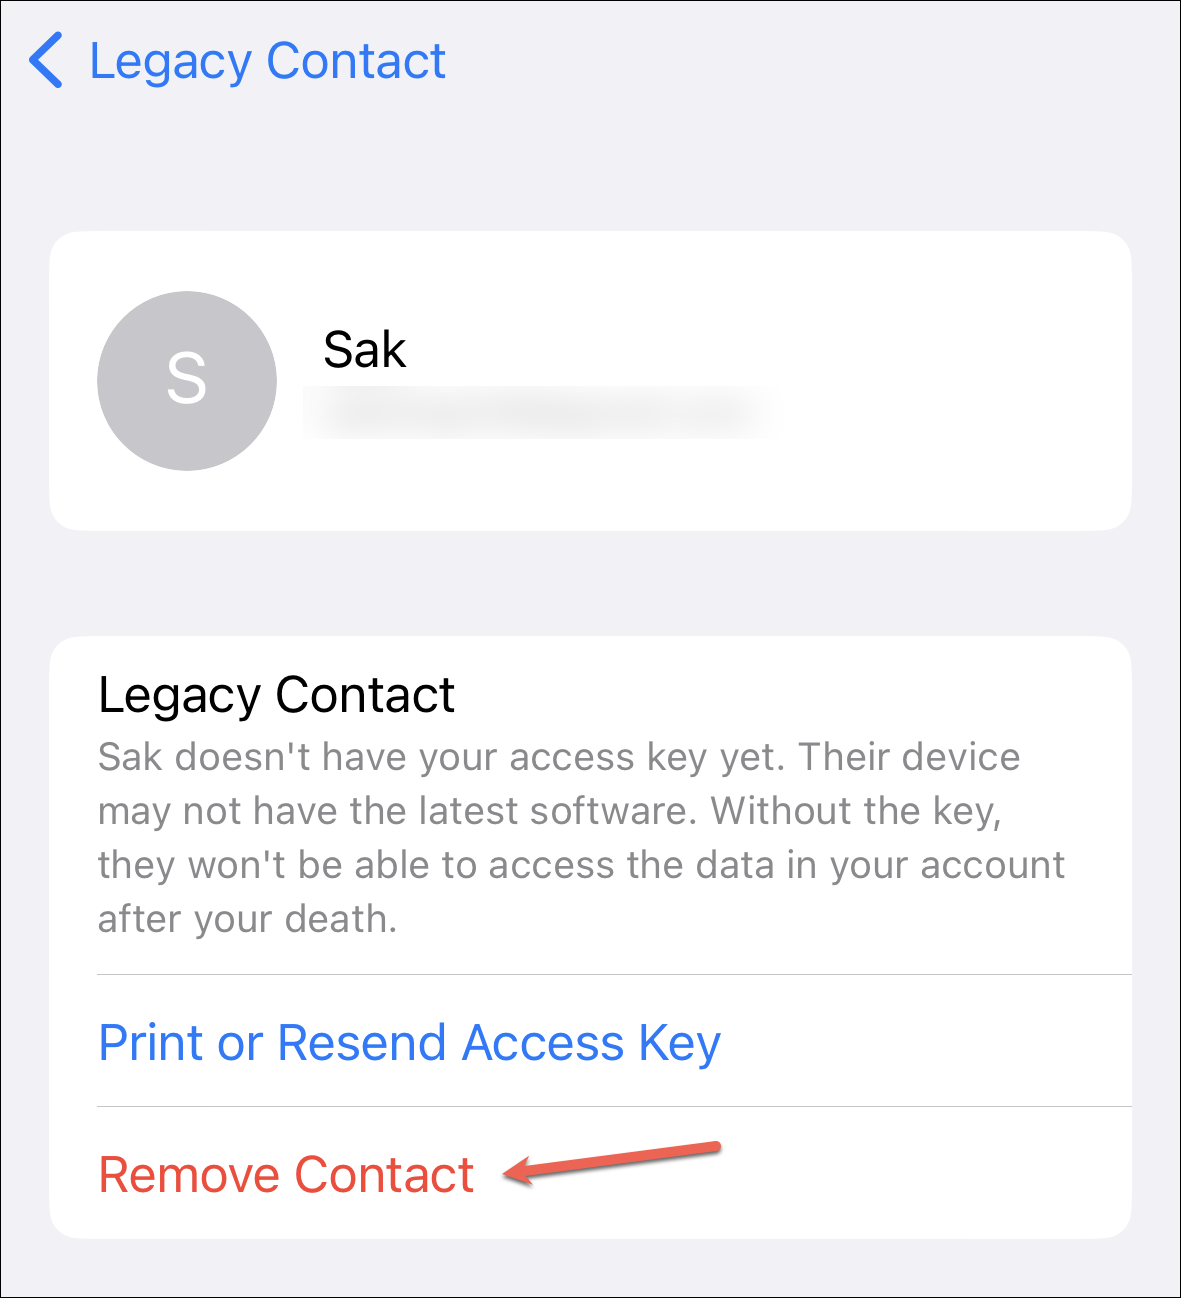
They won’t receive a notification that you chose to remove them as your legacy contact. And their access key would stop working. But if they had your access key saved in their Apple ID settings, your name would stop appearing in the Legacy Contact list on their device that supports this feature.
How to Request Access as a Legacy Contact
If you want to request access to a loved one’s account as their legacy contact after they have passed, you can either do it from the Settings of an Apple device that supports the feature or from the web.
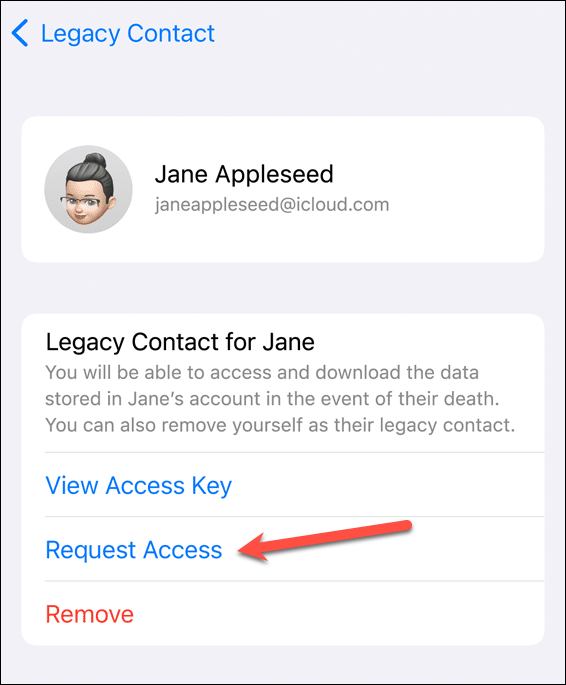
To request access from your iPhone, open the Settings app. Then, tap your name at the top. Go to ‘Passwords & Security’. Tap the ‘Legacy Contact’ option.
Then, tap the name of the person for whom you want to request access. Further, tap the ‘Request Access’ option. Since the access key is automatically stored, in this case you would need to upload the death certificate only.
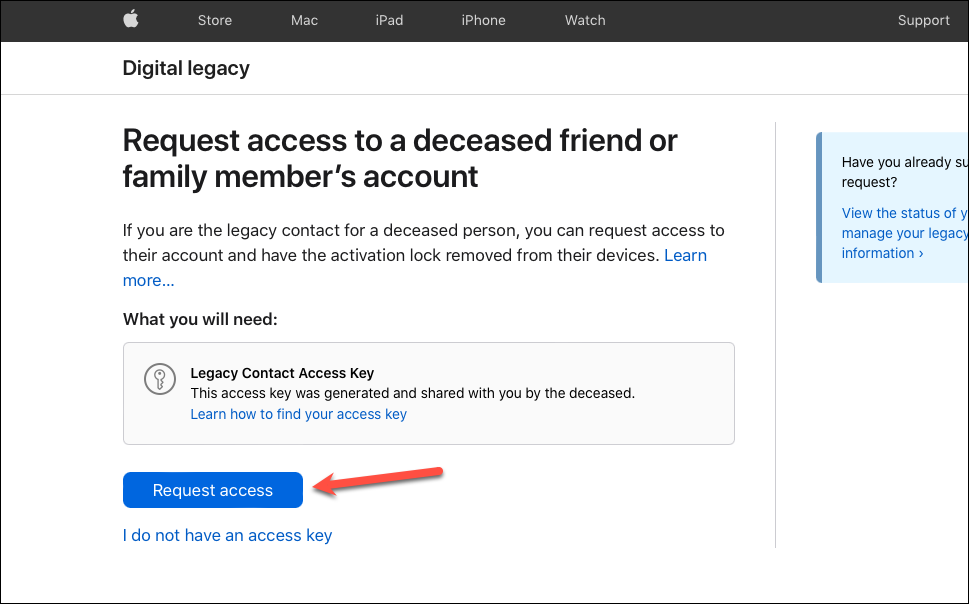
To request access from the web, go to Apple’s Digital Legacy site. Then, click the ‘Request Access’ option. Then, you’ll need to verify your identity and provide the access key and the death certificate to request access.
Once your request is approved, you’ll receive an email from Apple with instructions and details for contacting the legacy contact Apple ID.
That’s about all you need to do to make sure your digital legacy survives even when something happens to you.


