
Dropbox is a reliable cloud storage platform that offers a user-friendly interface and a pay-as-you-use subscription model. With the increasing use of the internet and our preference for convenience, cloud storage has become a valuable tool for storing and sharing files.
Download and Install Dropbox on Windows
- Go to dropbox.com/install and click the 'Download Dropbox app' button.
- Run the downloaded installer by double-clicking on the
DropboxInstaller.exefile. - Follow the on-screen instructions to complete the installation process.
- Alternatively, you can also download the Dropbox Lite version for Windows S Mode devices from the Microsoft Store by searching for 'Dropbox Lite'
Using Dropbox on Windows
Accessing Your Dropbox Directory
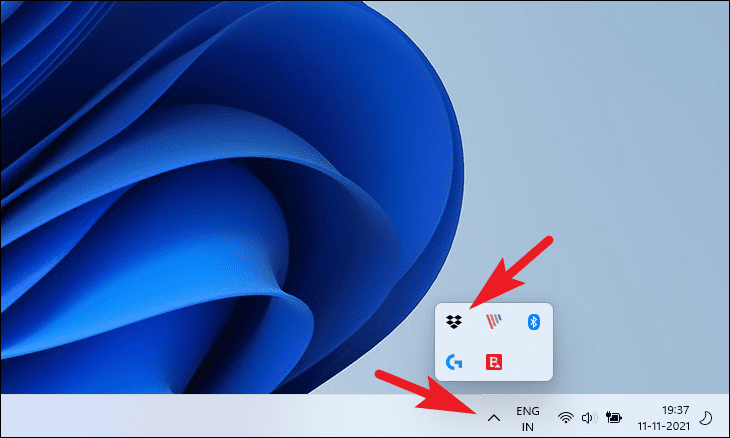
- Access the Dropbox directory by clicking on the chevron in the right section of the taskbar and selecting the Dropbox icon.
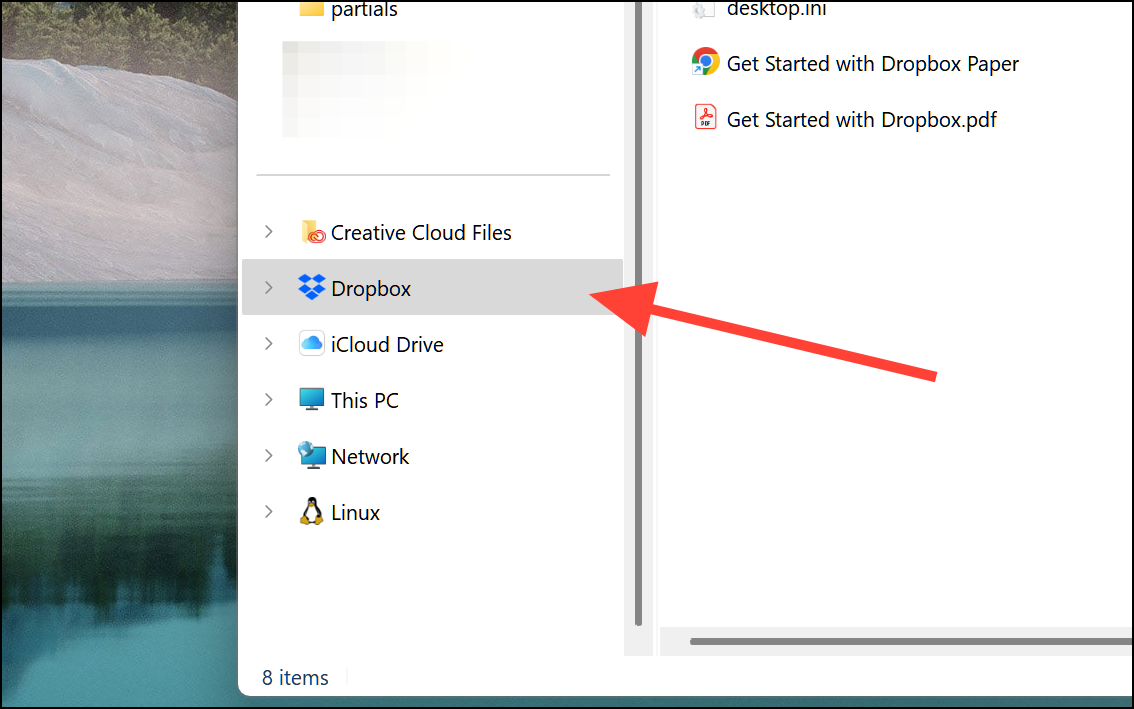
- Alternatively, you can also access the Dropbox directory from File Explorer by selecting 'Dropbox' from the left panel above 'This PC' option.
Sharing Files or Folders
- To share a file or folder, click on the Dropbox icon in the taskbar to open the pop-up window.
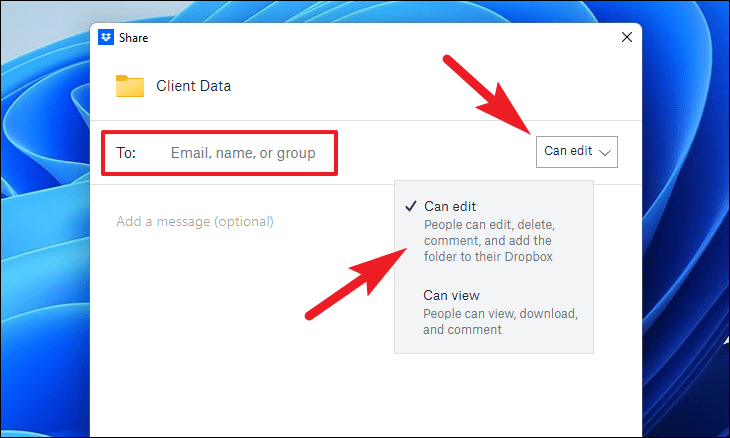
- Hover over the file or folder you wish to share to reveal quick actions, then click on the ‘share’ icon.
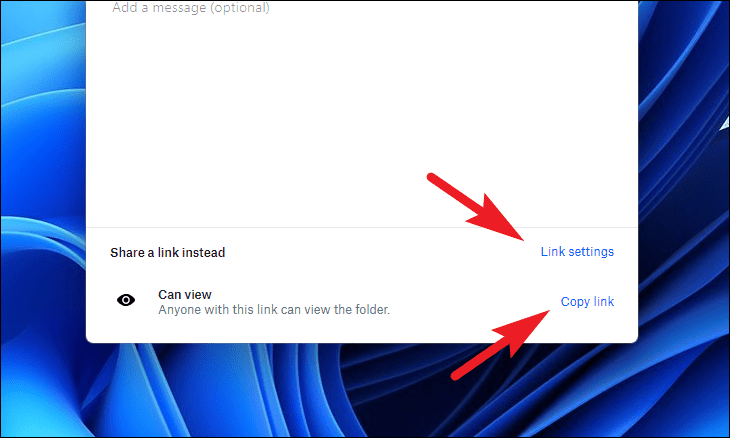
- You can enter a contact name, a group name, or an email address of the person you wish to share the file with. Choose the appropriate permission for the file, or alternatively, generate a shareable link by clicking on the ‘Copy link’ button.
Checking Dropbox Sync History
To view your sync history, click on the Dropbox icon in the taskbar and select the ‘Sync history’ tab. This section displays all recently synced files and folders.

Searching in Dropbox
When you need to find a specific file, use the search feature in Dropbox for a quick find:
- Click on the Dropbox icon in the taskbar.
- Click on the ‘search’ icon at the top of the pop-up window.
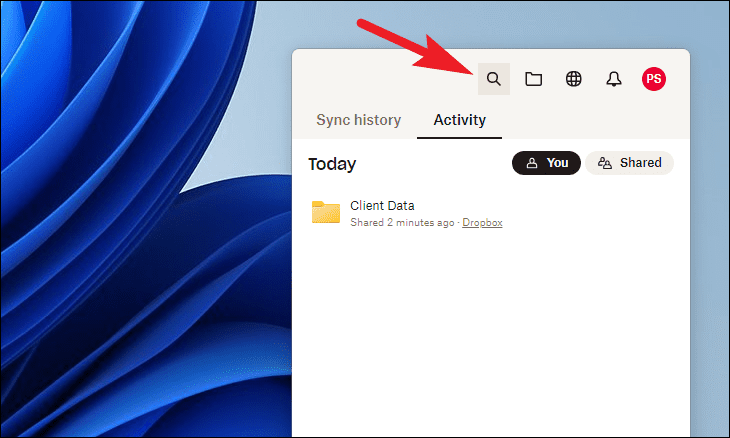
- Enter the file name or part of it in the search box to see the matching results.
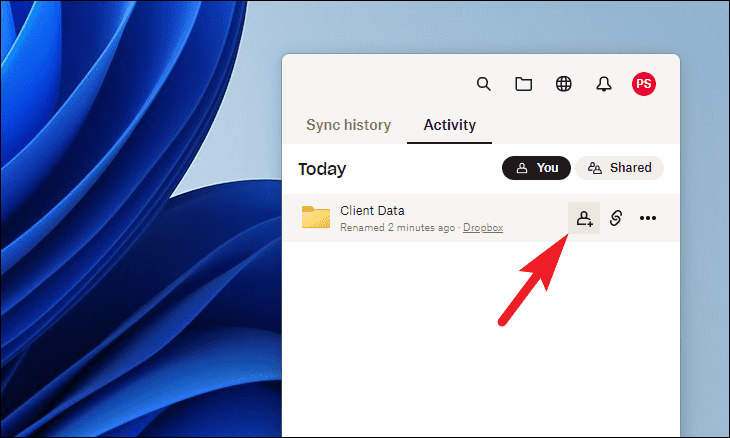
- To share a file or folder, click on the Dropbox icon, select the "Activity" tab, hover over the desired file/folder, and click the "Share" icon.
Configuring Dropbox App Preferences on Windows
- Open the Dropbox app on your Windows PC.
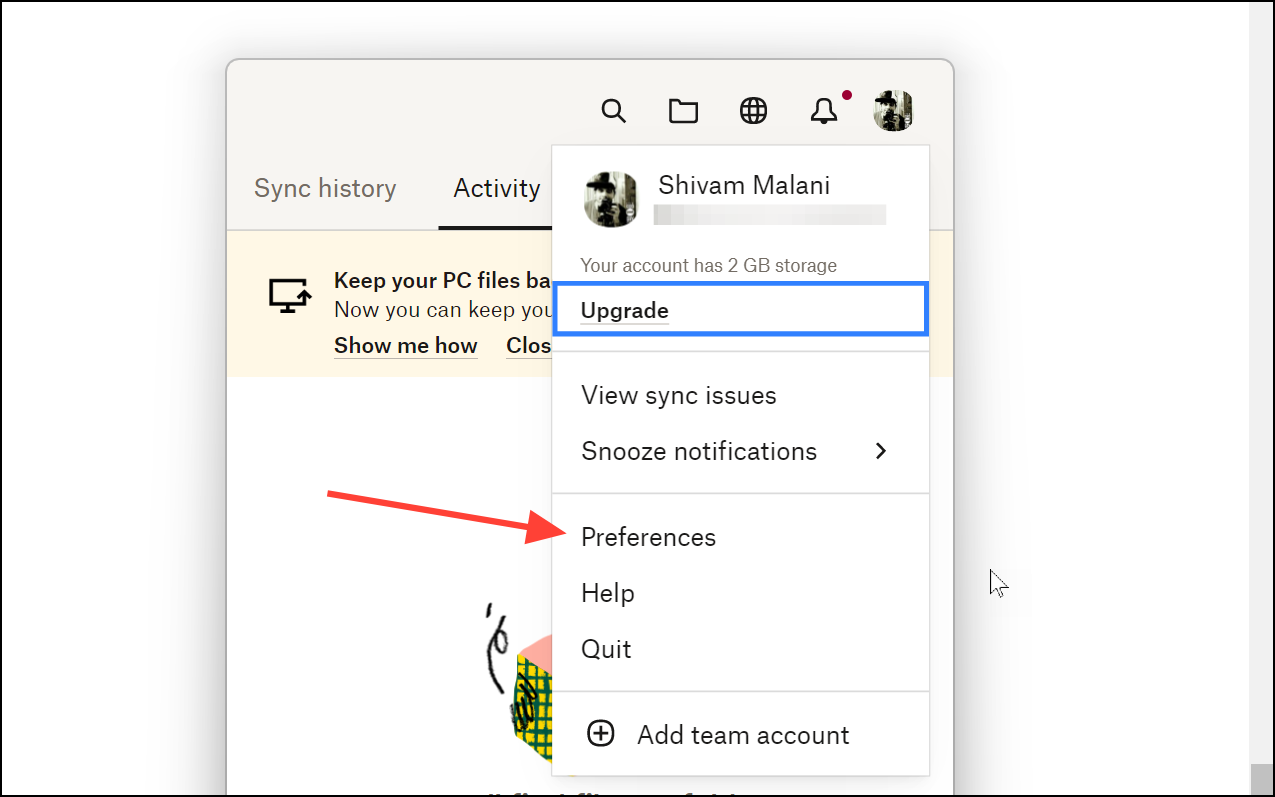
- Click on your profile picture or initials in the top-right corner of the app window.
- Select "Preferences" from the drop-down menu.
- In the Preferences window, you will see several tabs:
- General: This tab allows you to change the language of the app, enable or disable the Dropbox badge, and choose whether to start Dropbox on system startup.
- Account: This tab displays information about your Dropbox account, including your storage space and plan type. You can also log in and out of your account from this tab.
- Backups: This tab allows you to set up and manage backups for your computer and external drives. You can also enable camera uploads to automatically upload photos and videos from your devices.
- Bandwidth or Network: This tab allows you to manage your bandwidth usage and configure proxy settings. You can also enable LAN sync to speed up syncing for files stored on your local network.
- Notifications: This tab allows you to customize your notification preferences, such as which notifications you want to receive and how long you want to snooze notifications.
- Sync: This tab allows you to choose how you want to sync your files. You can select which folders to sync to your computer, as well as the location of your Dropbox folder.
- Make the desired changes to the app preferences and click 'Apply' or 'Save' to confirm your changes.
Additional Tips
Here are some additional tips for configuring your Dropbox app preferences:
- Use selective sync to save space on your computer by choosing which folders to sync locally.
- Enable LAN sync to speed up syncing for files stored on your local network.
- Customize your notification preferences to receive the notifications that are most important to you.
- Set up backups to protect your important files in case of data loss.
By following these steps, you can easily configure and use the Dropbox app preferences on your Windows PC to suit your individual needs and preferences.


Member discussion