
Although Windows 11 delivers a modern interface and solid performance, Ubuntu remains a favorite for users who value extensive customization and enhanced security. If you’re interested in experiencing both operating systems on one machine, setting up a dual boot with Windows 11 and Ubuntu is an excellent choice.
Prerequisites
- An 8GB or larger USB drive.
- At least 30GB of free space on your secondary storage.
Create a Separate Partition for Ubuntu
Before installing Ubuntu, you’ll need to create a separate partition on your secondary storage by shrinking an existing volume.
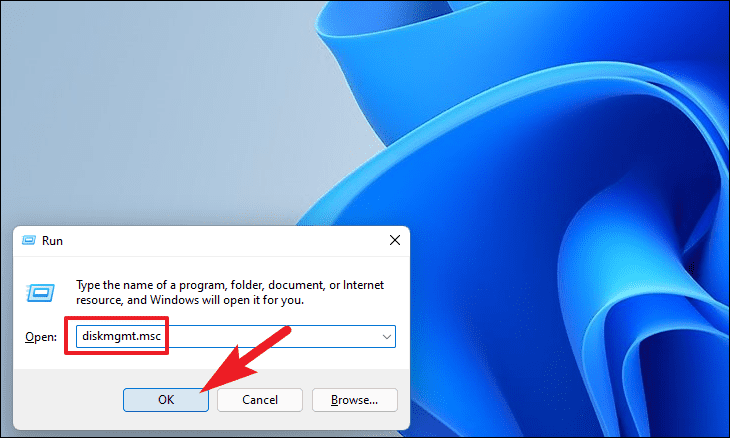
- Press
Windows+Rto open the Run dialog. Typediskmgmt.mscand pressEnterto launch the ‘Disk Management’ tool.
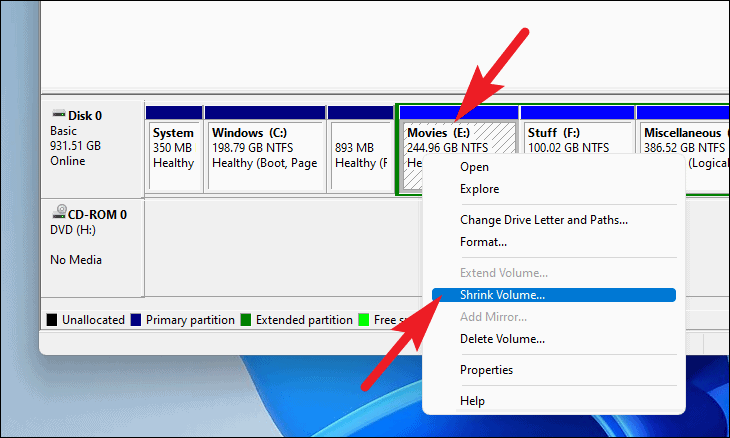
- In the Disk Management window, right-click the drive where you want to install Ubuntu and select ‘Shrink Volume…’. This will open a dialog to reduce the partition’s size.
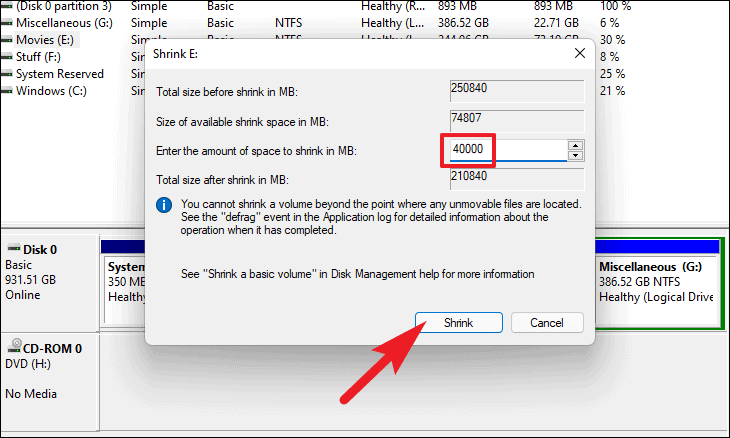
- Enter at least
30000in the ‘Enter the amount of space to shrink in MB’ field to allocate 30GB for Ubuntu. Click ‘Shrink’ to proceed.
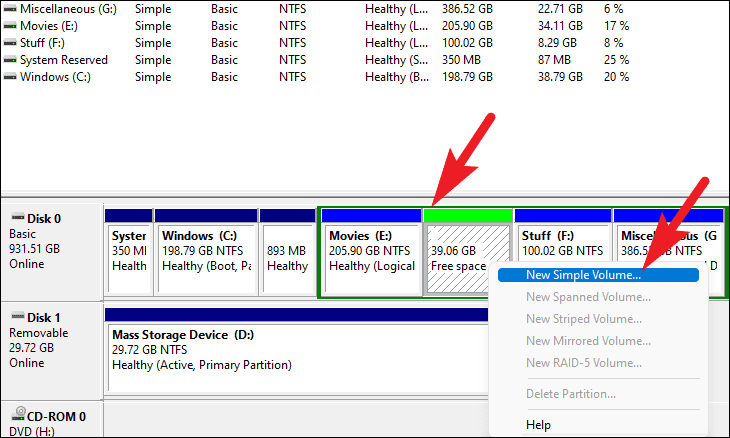
- After shrinking, you’ll see unallocated space. Right-click this space and select ‘New Simple Volume…’ to create a new partition.
- In the New Simple Volume Wizard, click ‘Next’.
- Specify the volume size if desired and click ‘Next’.
- Assign a drive letter and click ‘Next’.
- Select ‘Format this volume with the following settings:’, keep the default settings, and click ‘Next’.
- Review your settings and click ‘Finish’ to create the new partition.
Your new partition is now ready for the Ubuntu installation.
Download Ubuntu and Create a Bootable USB Drive
Next, you’ll download the Ubuntu ISO file and create a bootable USB drive. If you already have an Ubuntu bootable USB, you can skip to the installation section.
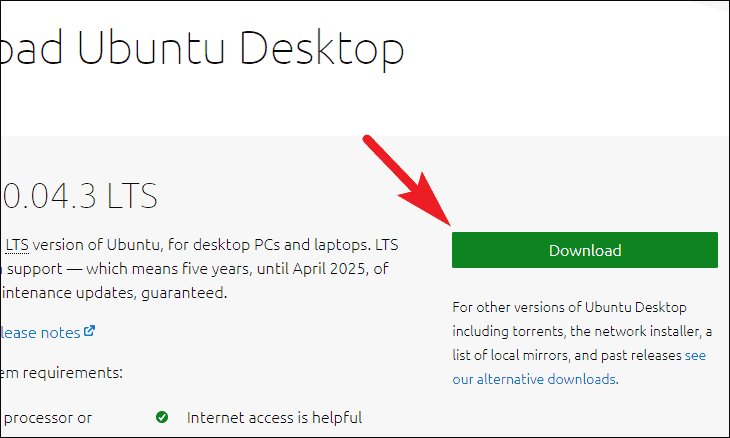
- Go to the official Ubuntu website at ubuntu.com/download.
- Click the ‘Download’ button next to the latest Ubuntu LTS version to get the ISO file.
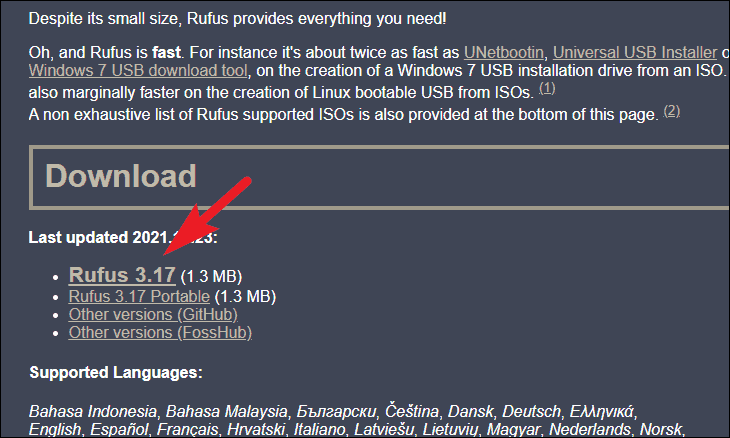
- Visit the Rufus website at rufus.ie. Scroll to the ‘Downloads’ section and click the latest version to download Rufus.
Note: Insert your USB drive into the computer before proceeding.
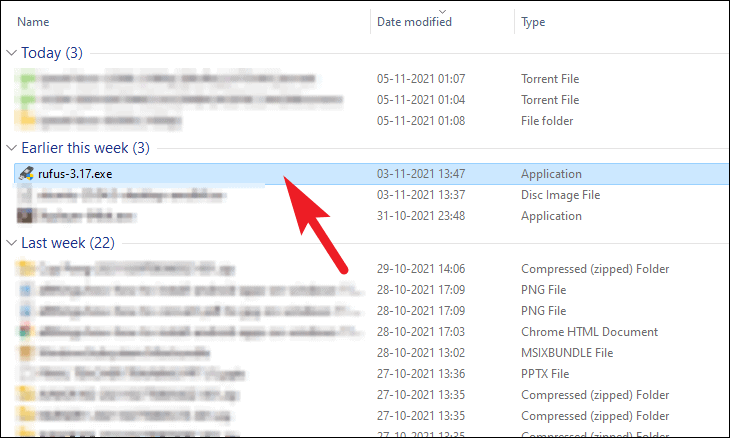
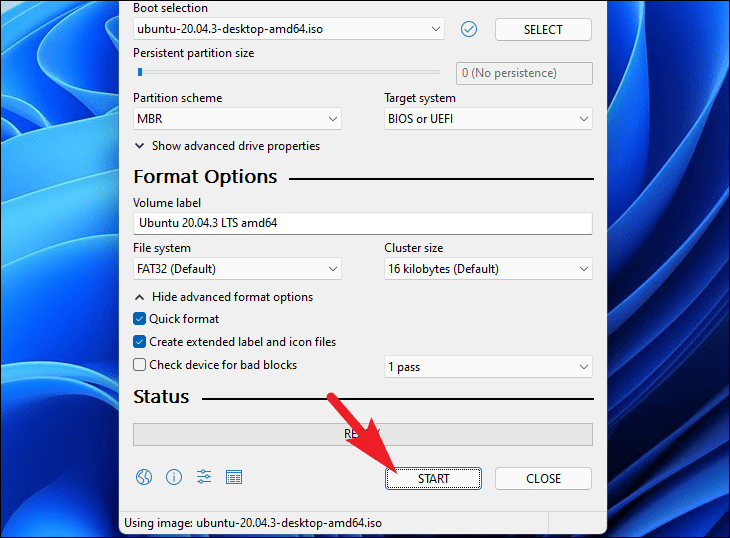
- Open Rufus by double-clicking the downloaded file. No installation is required.
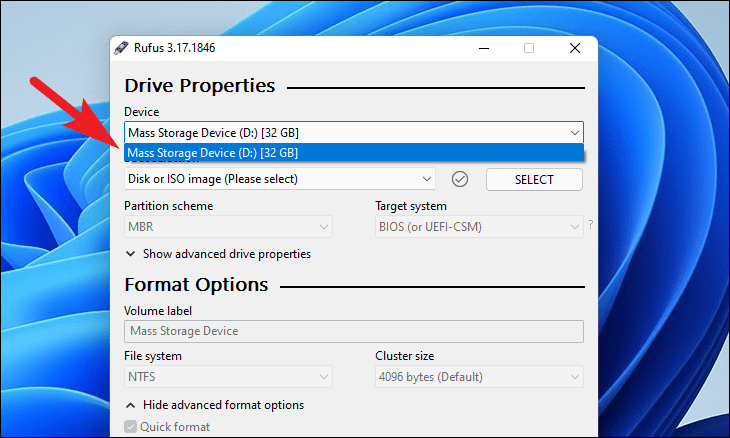
- In Rufus, select your USB drive under the ‘Device’ dropdown.
- Click ‘SELECT’ next to ‘Boot selection’ and choose the Ubuntu ISO file you downloaded.
- Once the ISO is loaded, click ‘Start’ to begin creating the bootable USB. A warning prompt may appear; click ‘OK’ to continue.
Install Ubuntu Using the Bootable USB
- Shut down your computer, insert the Ubuntu bootable USB drive, and turn the computer back on.
- Access the boot menu by pressing
F2,F10, orF12(the key varies by manufacturer). - Select the USB drive from the boot options and press
Enterto boot from it.

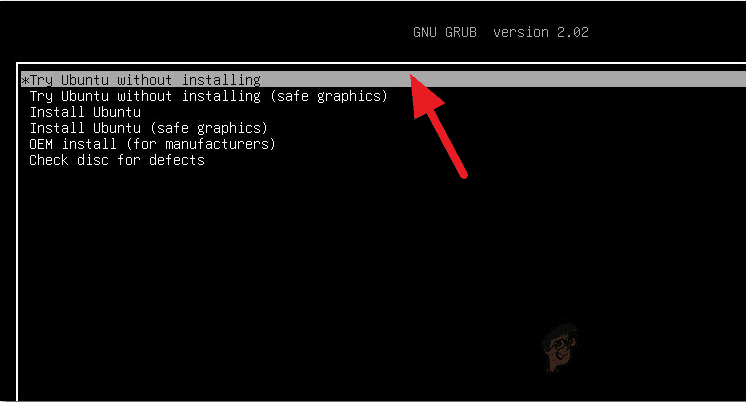
- When prompted, select ‘Install Ubuntu’ and press
Enter.
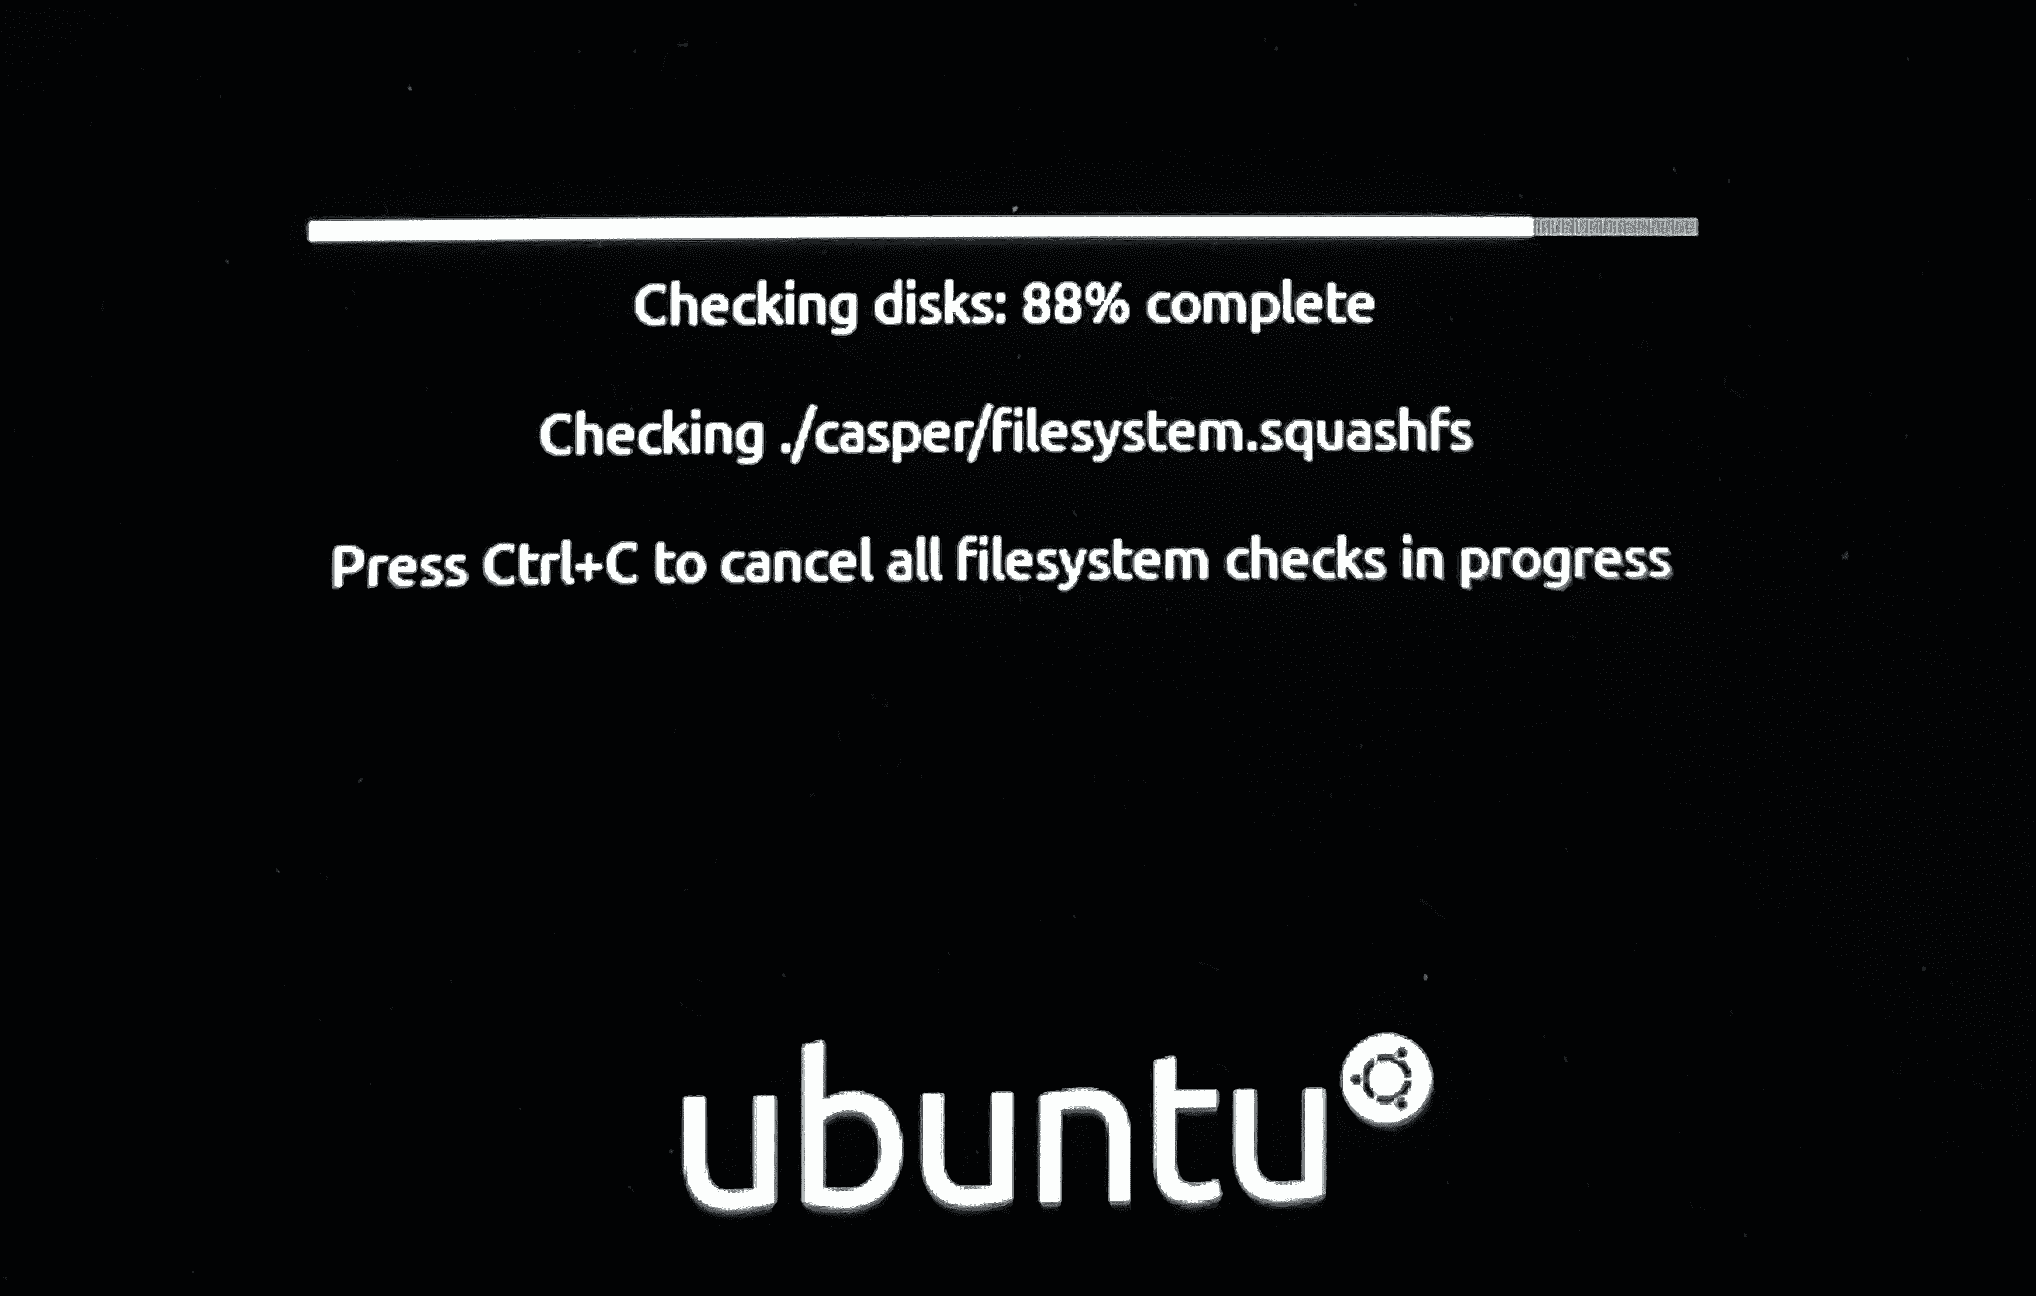
- Ubuntu will perform a system check. To skip this, press
Ctrl+C.
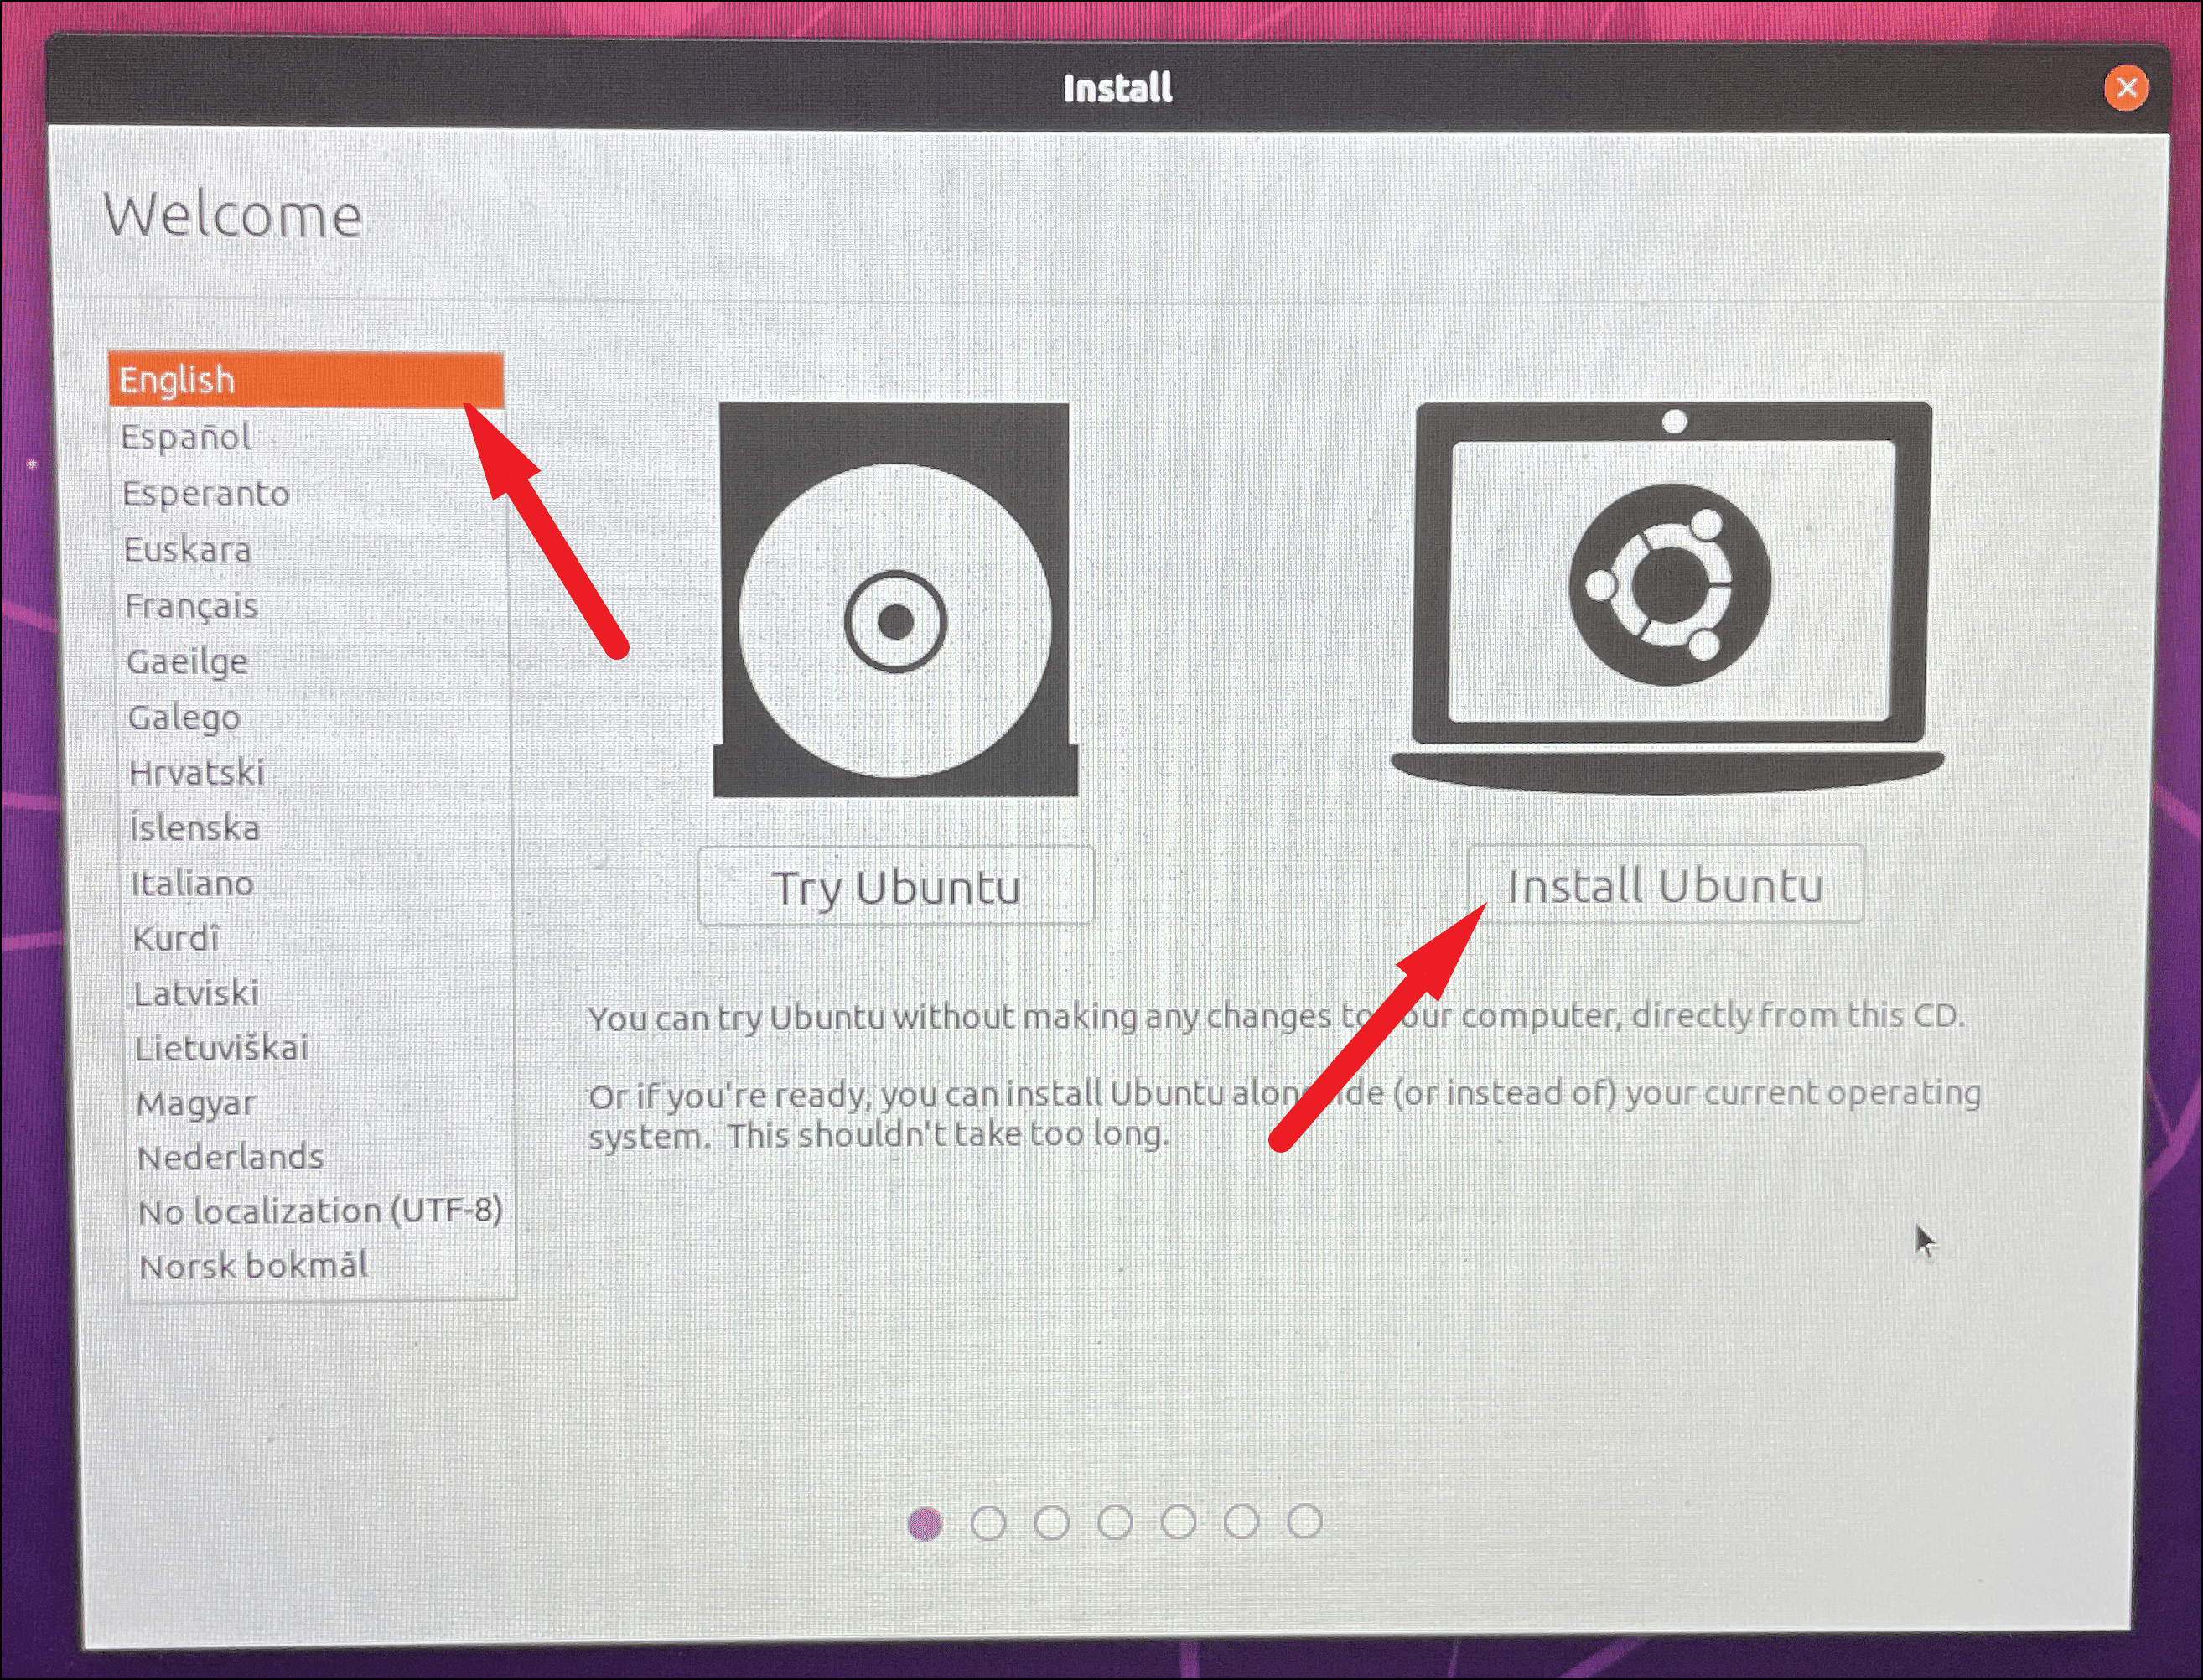
- Choose your language and click ‘Install Ubuntu’.
- Select your keyboard layout or click ‘Detect Keyboard Layout’ to have Ubuntu choose automatically. Click ‘Continue’.

- On the ‘Wireless’ screen, you can connect to a network or proceed without connecting. Click ‘Continue’.

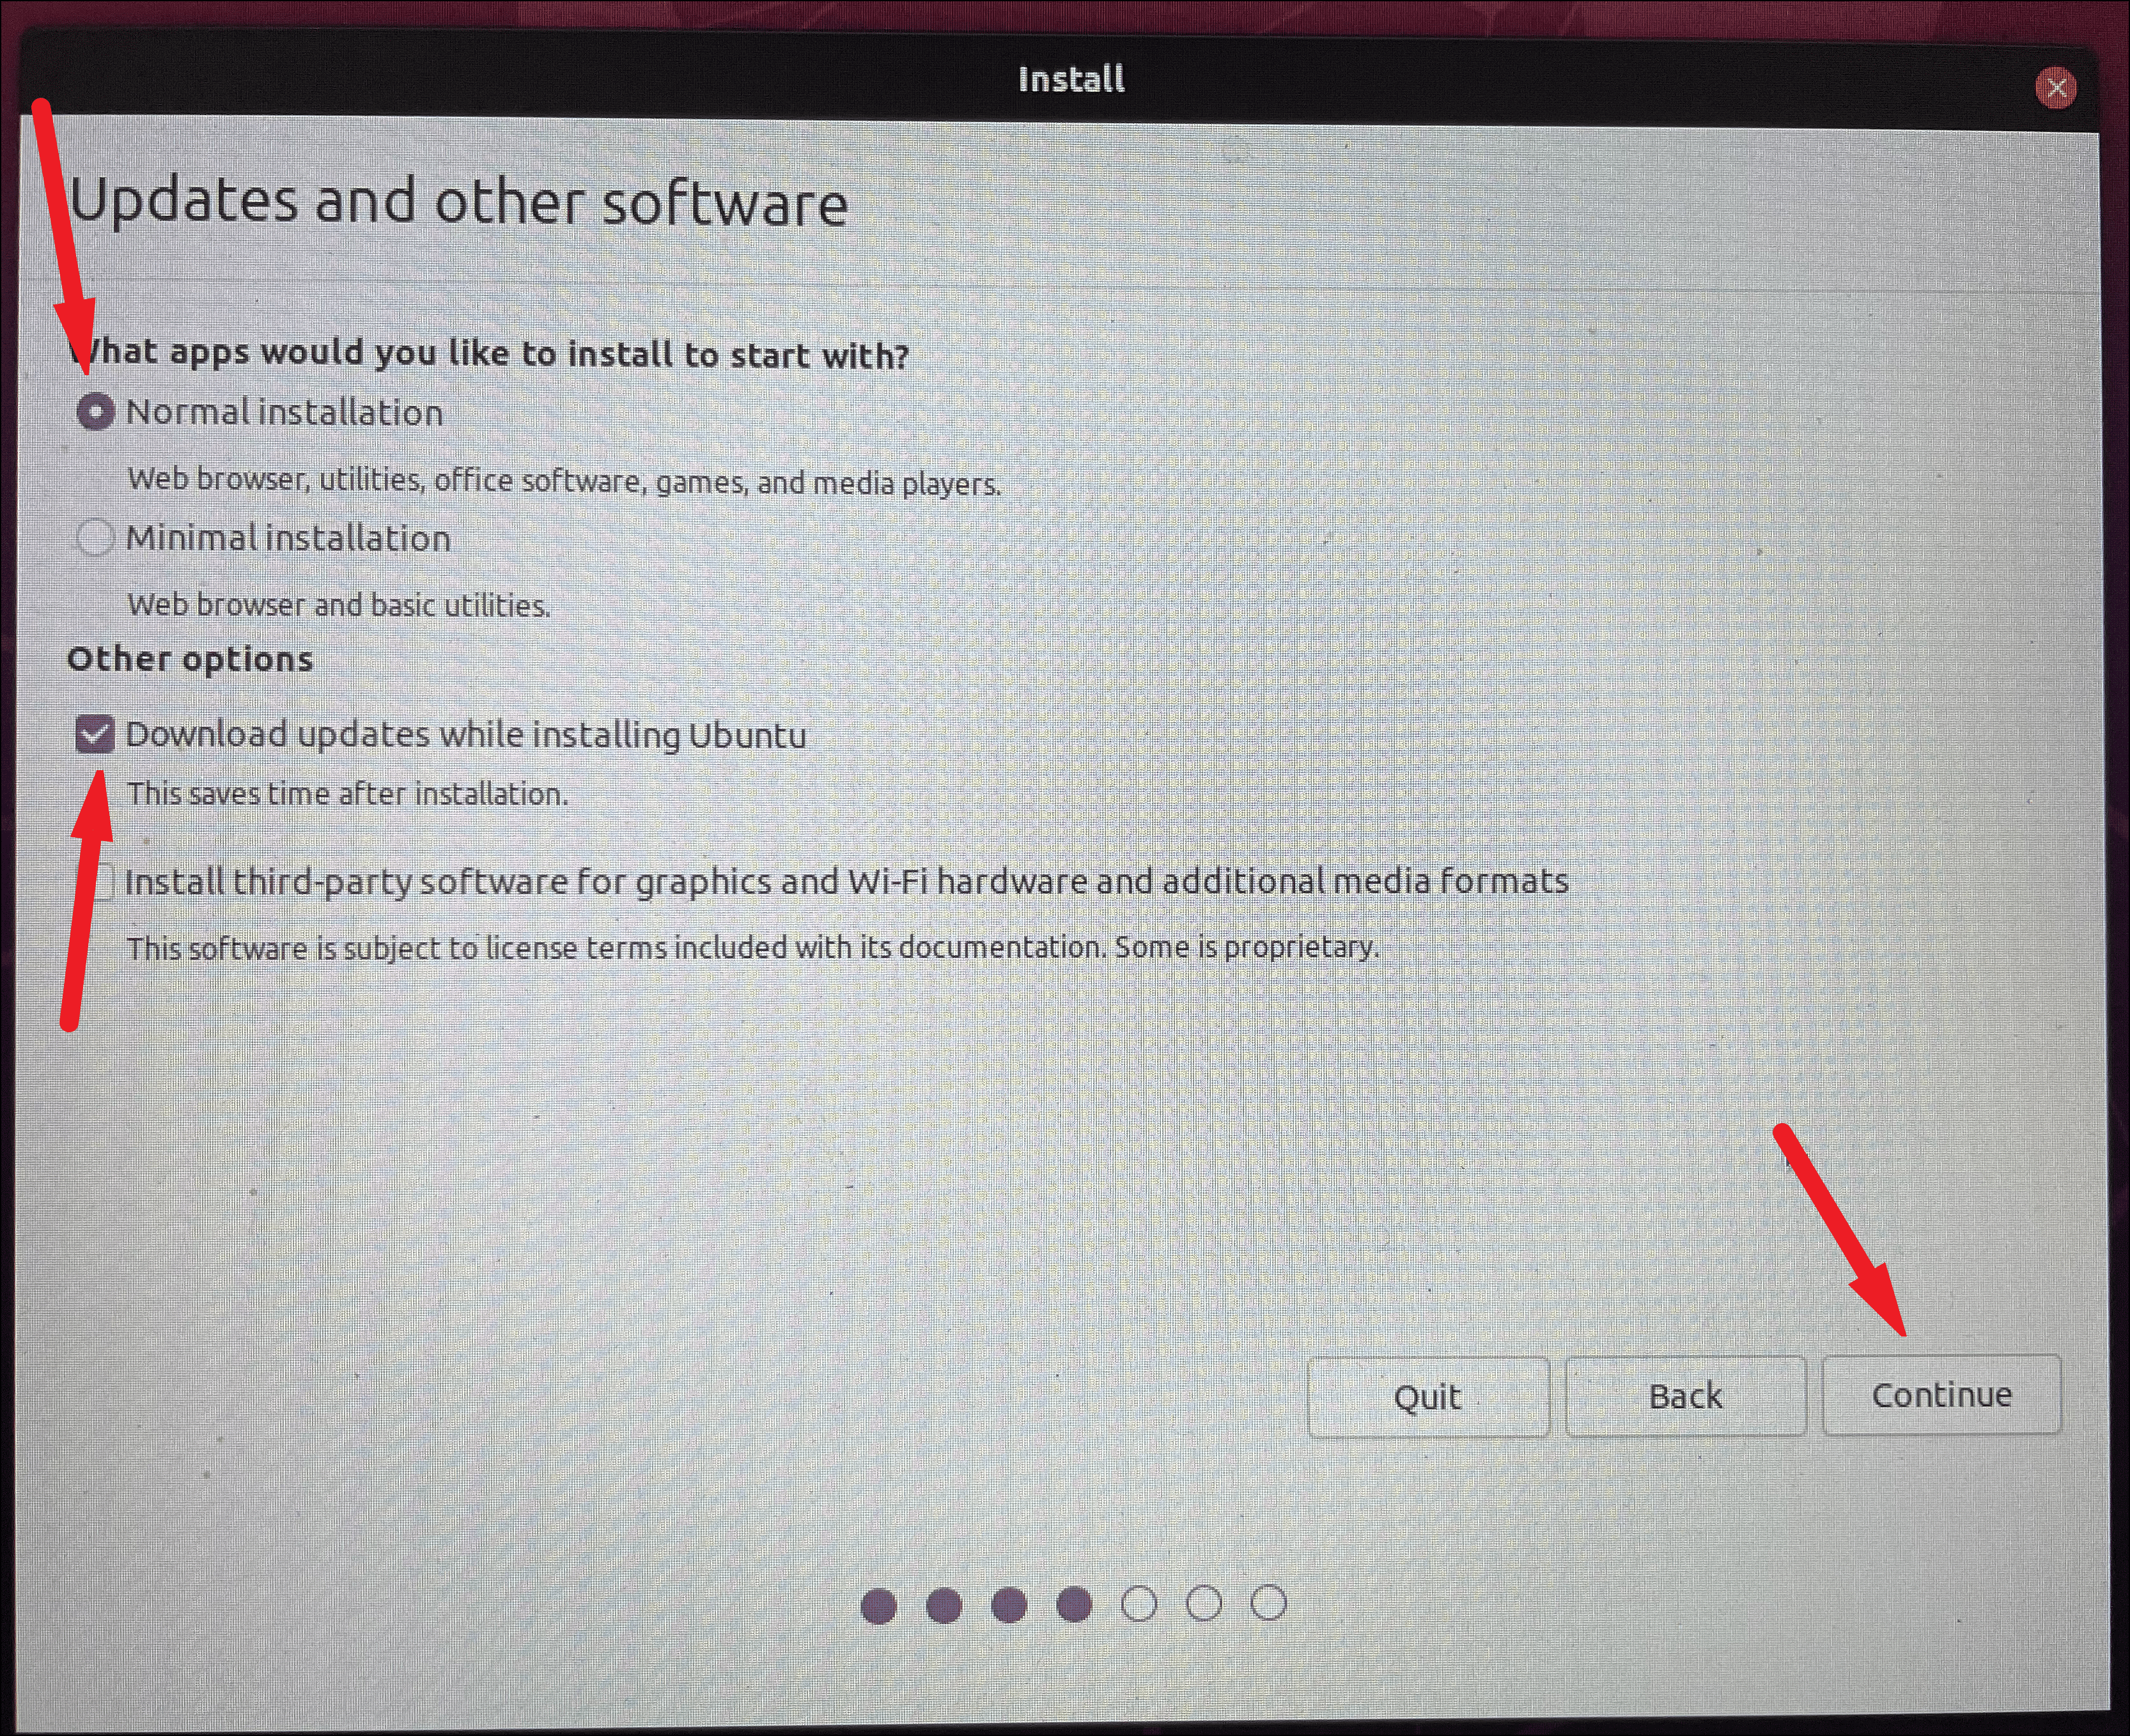
- Under ‘Updates and other software’, select ‘Normal installation’. If you’d like to download updates during installation, check ‘Download updates while installing Ubuntu’. Click ‘Continue’.
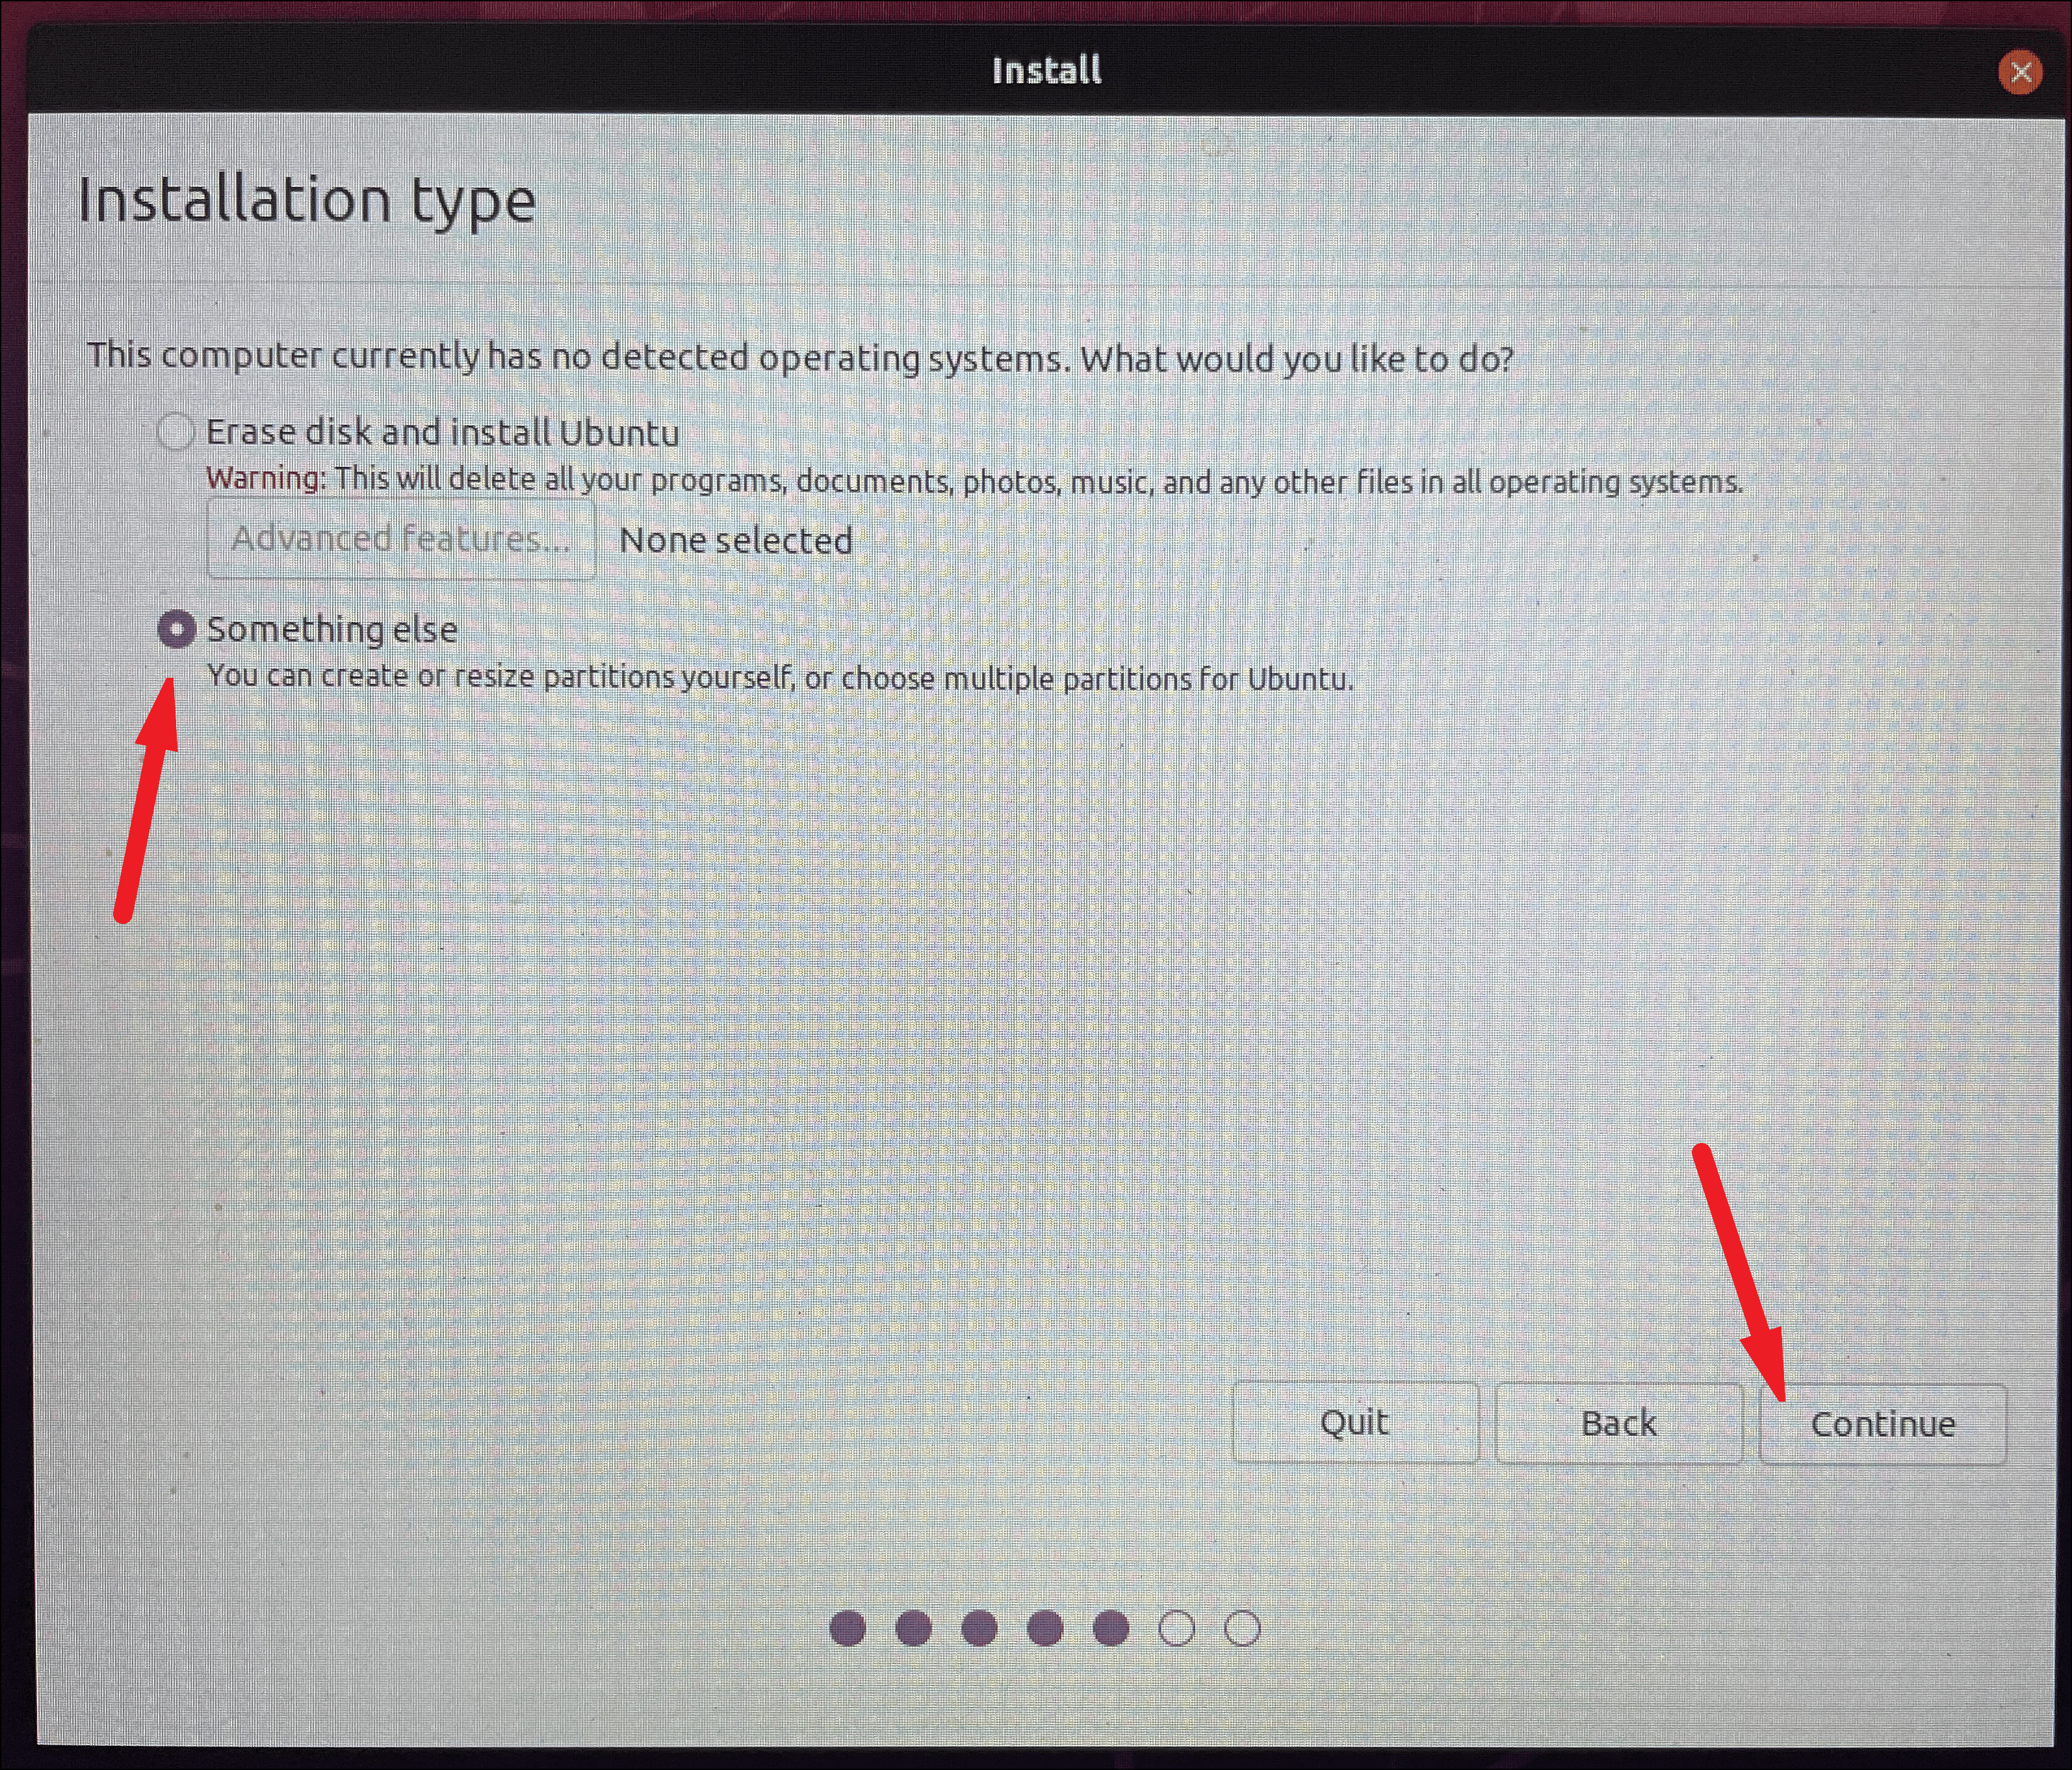
- Choose ‘Something else’ for the installation type and click ‘Continue’.
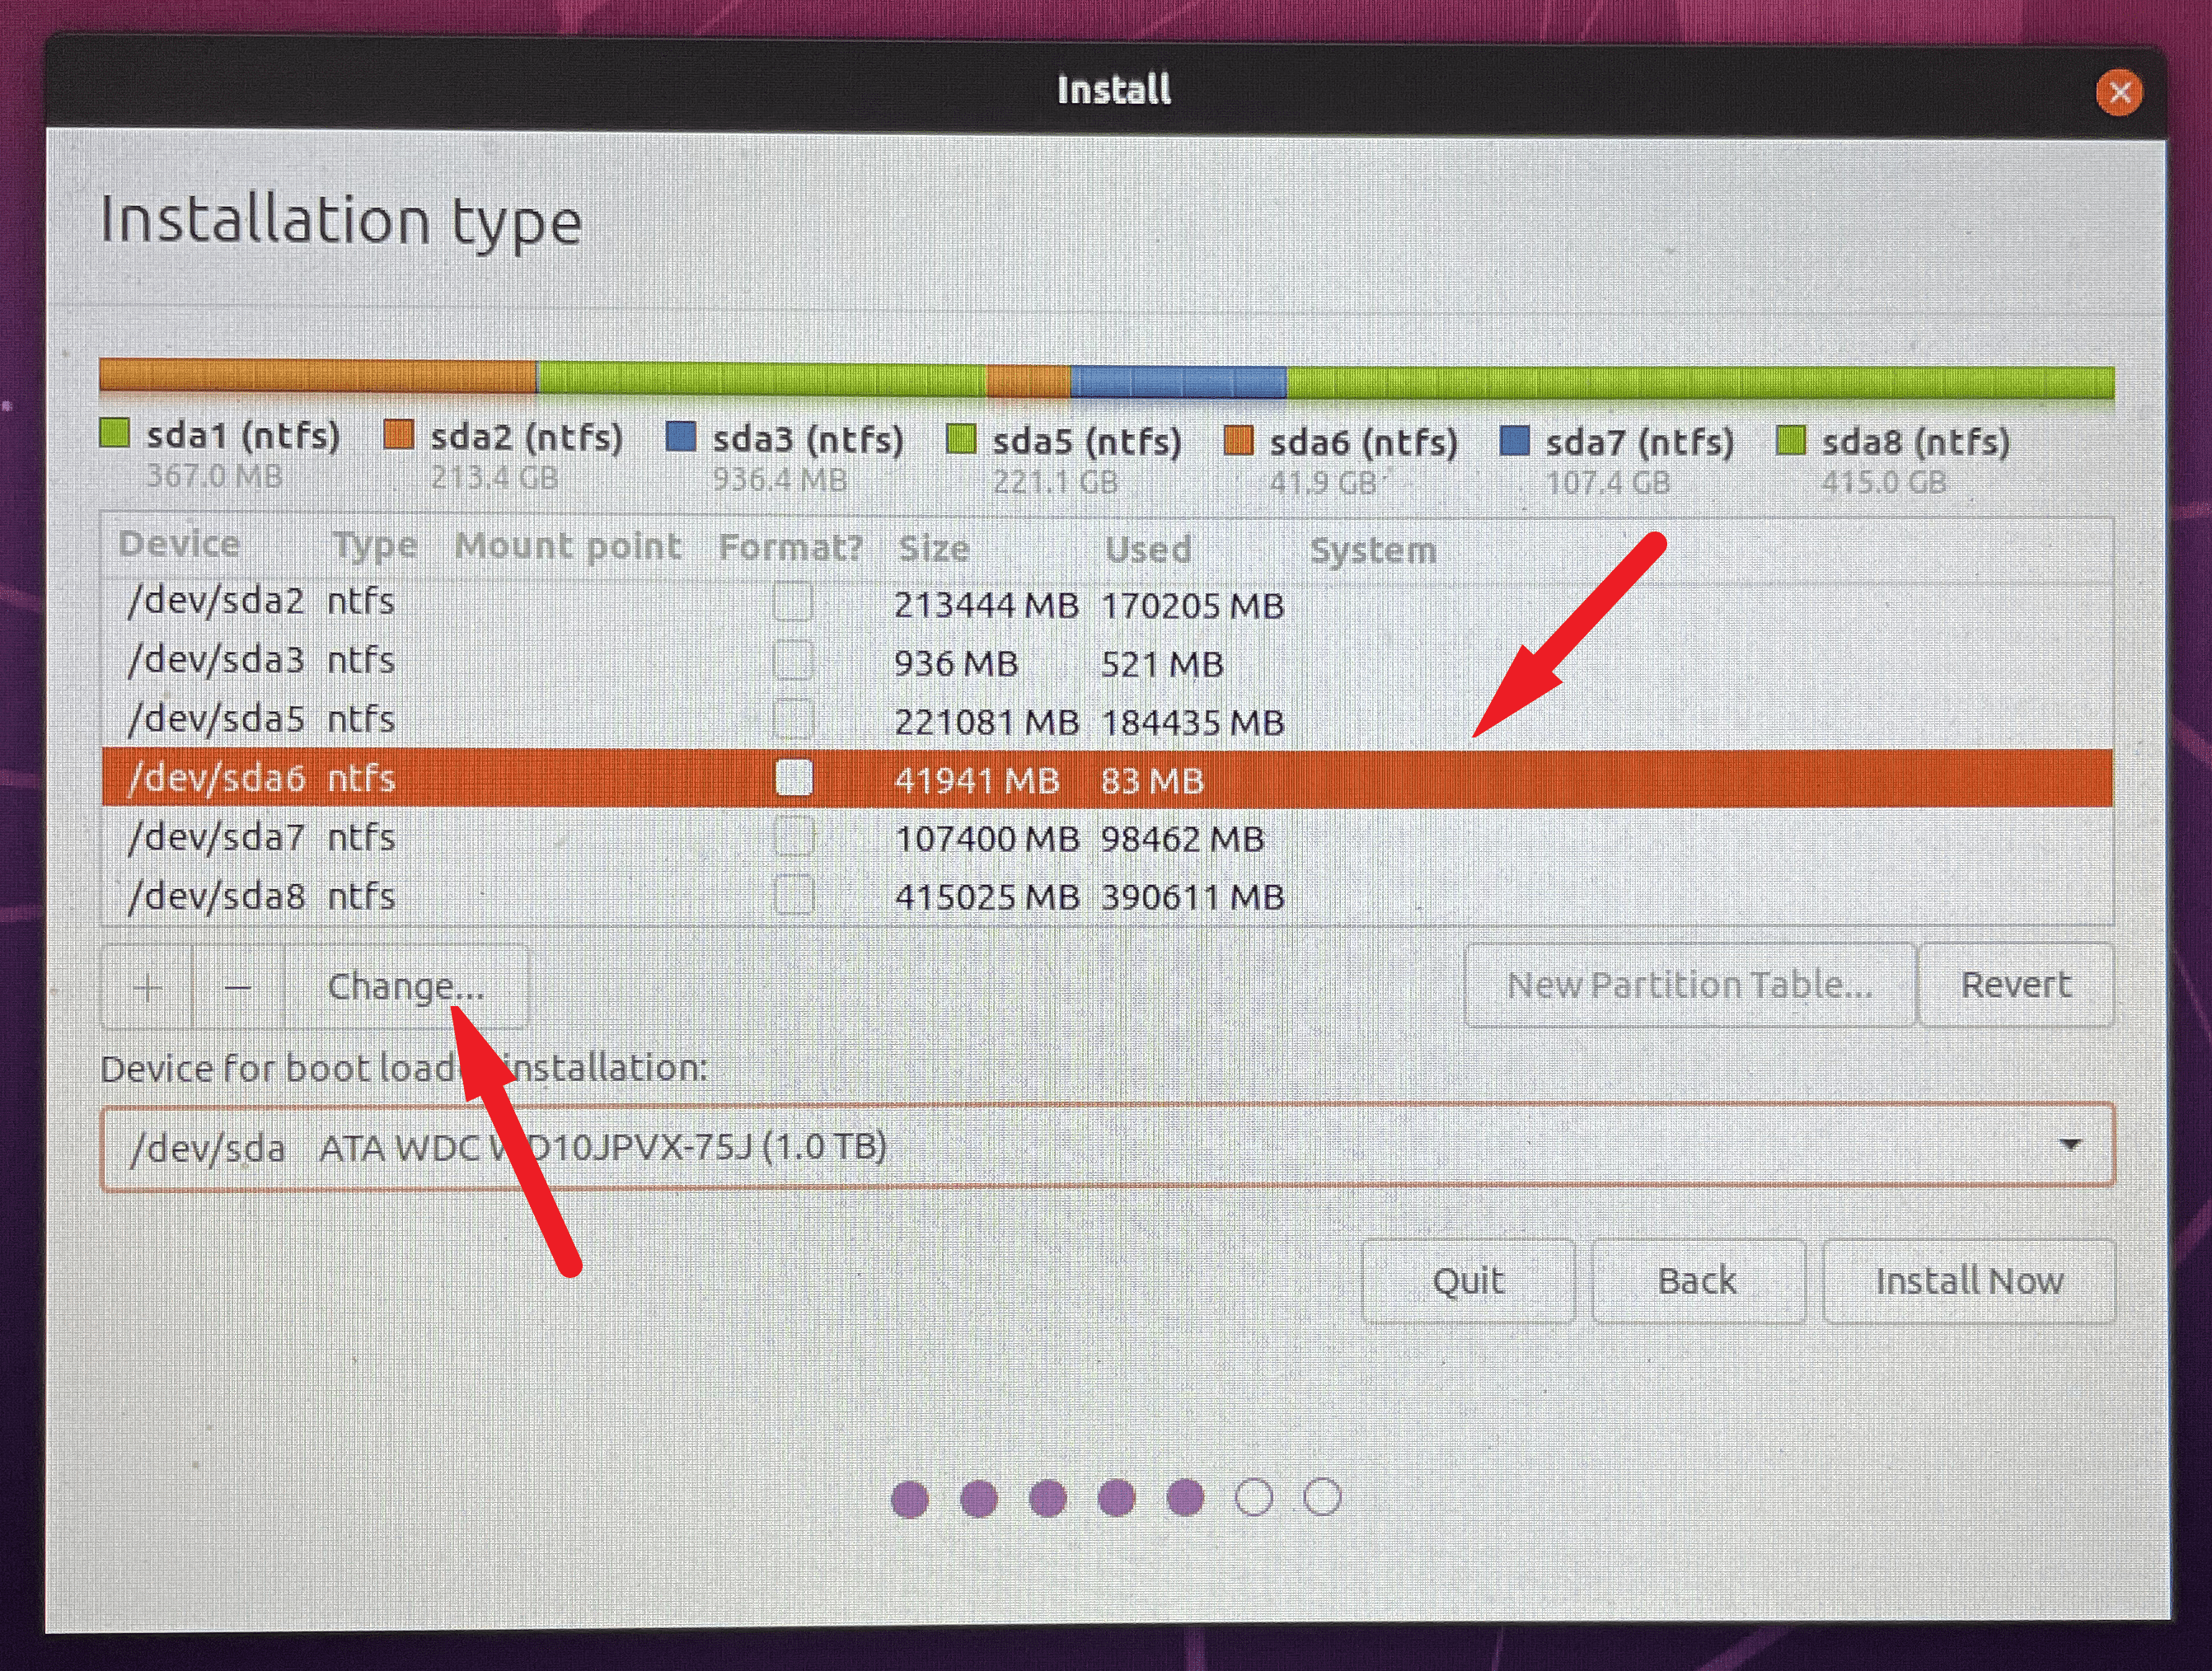
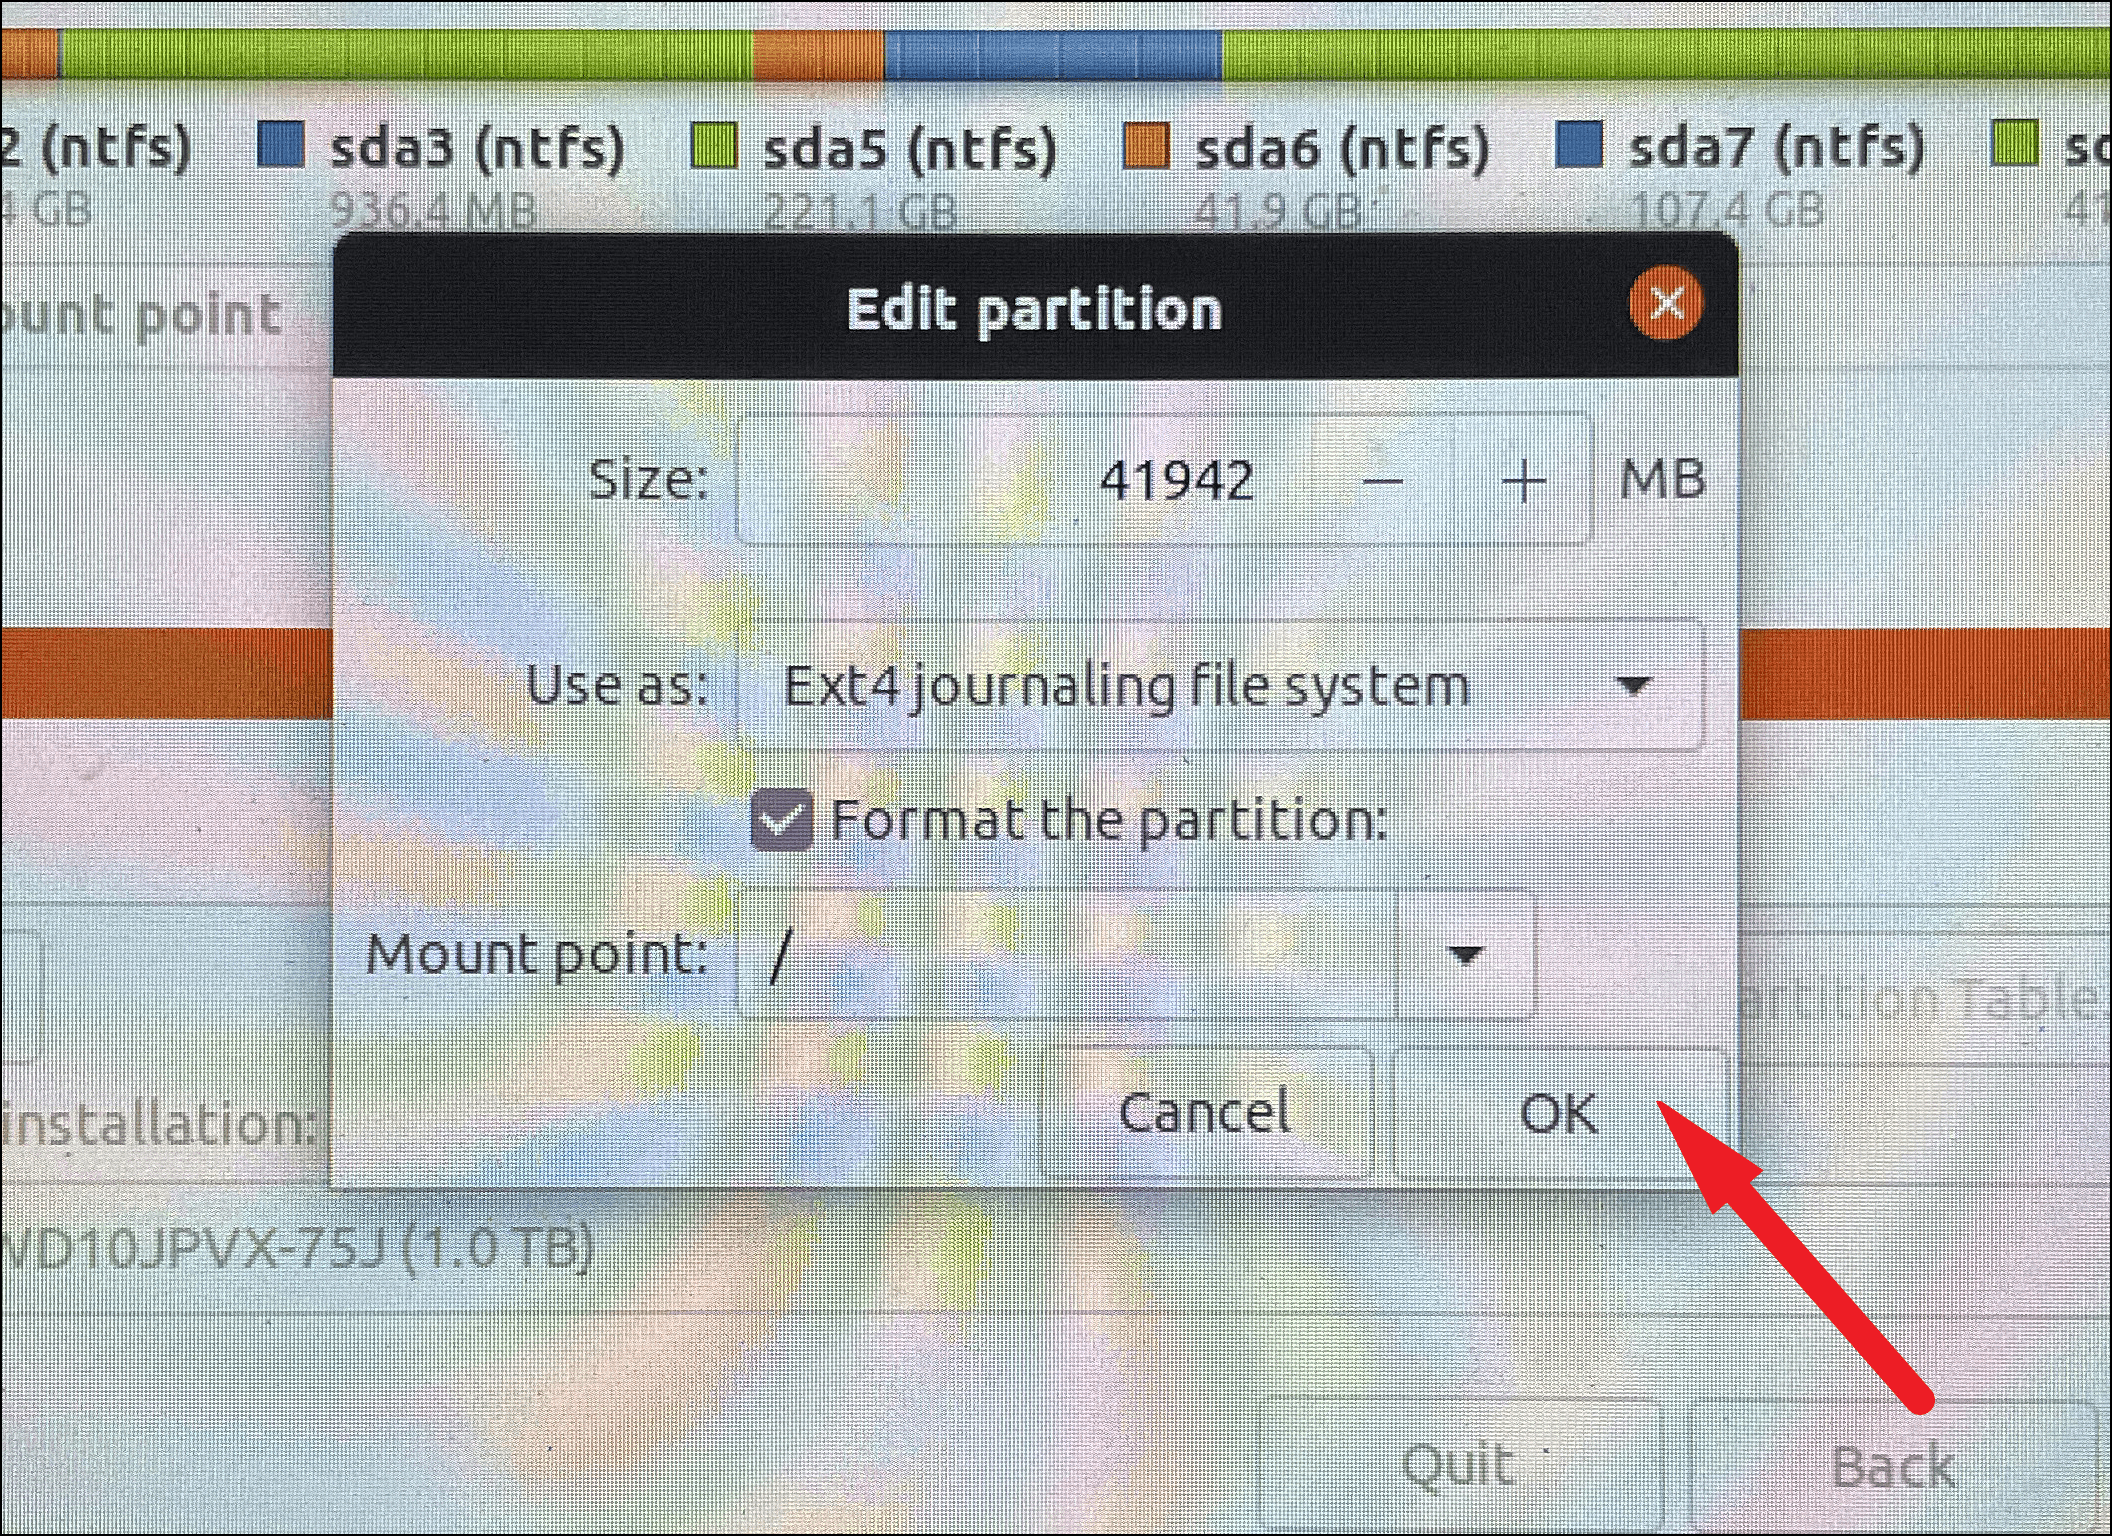
- Select the partition you created earlier and click ‘Change’.
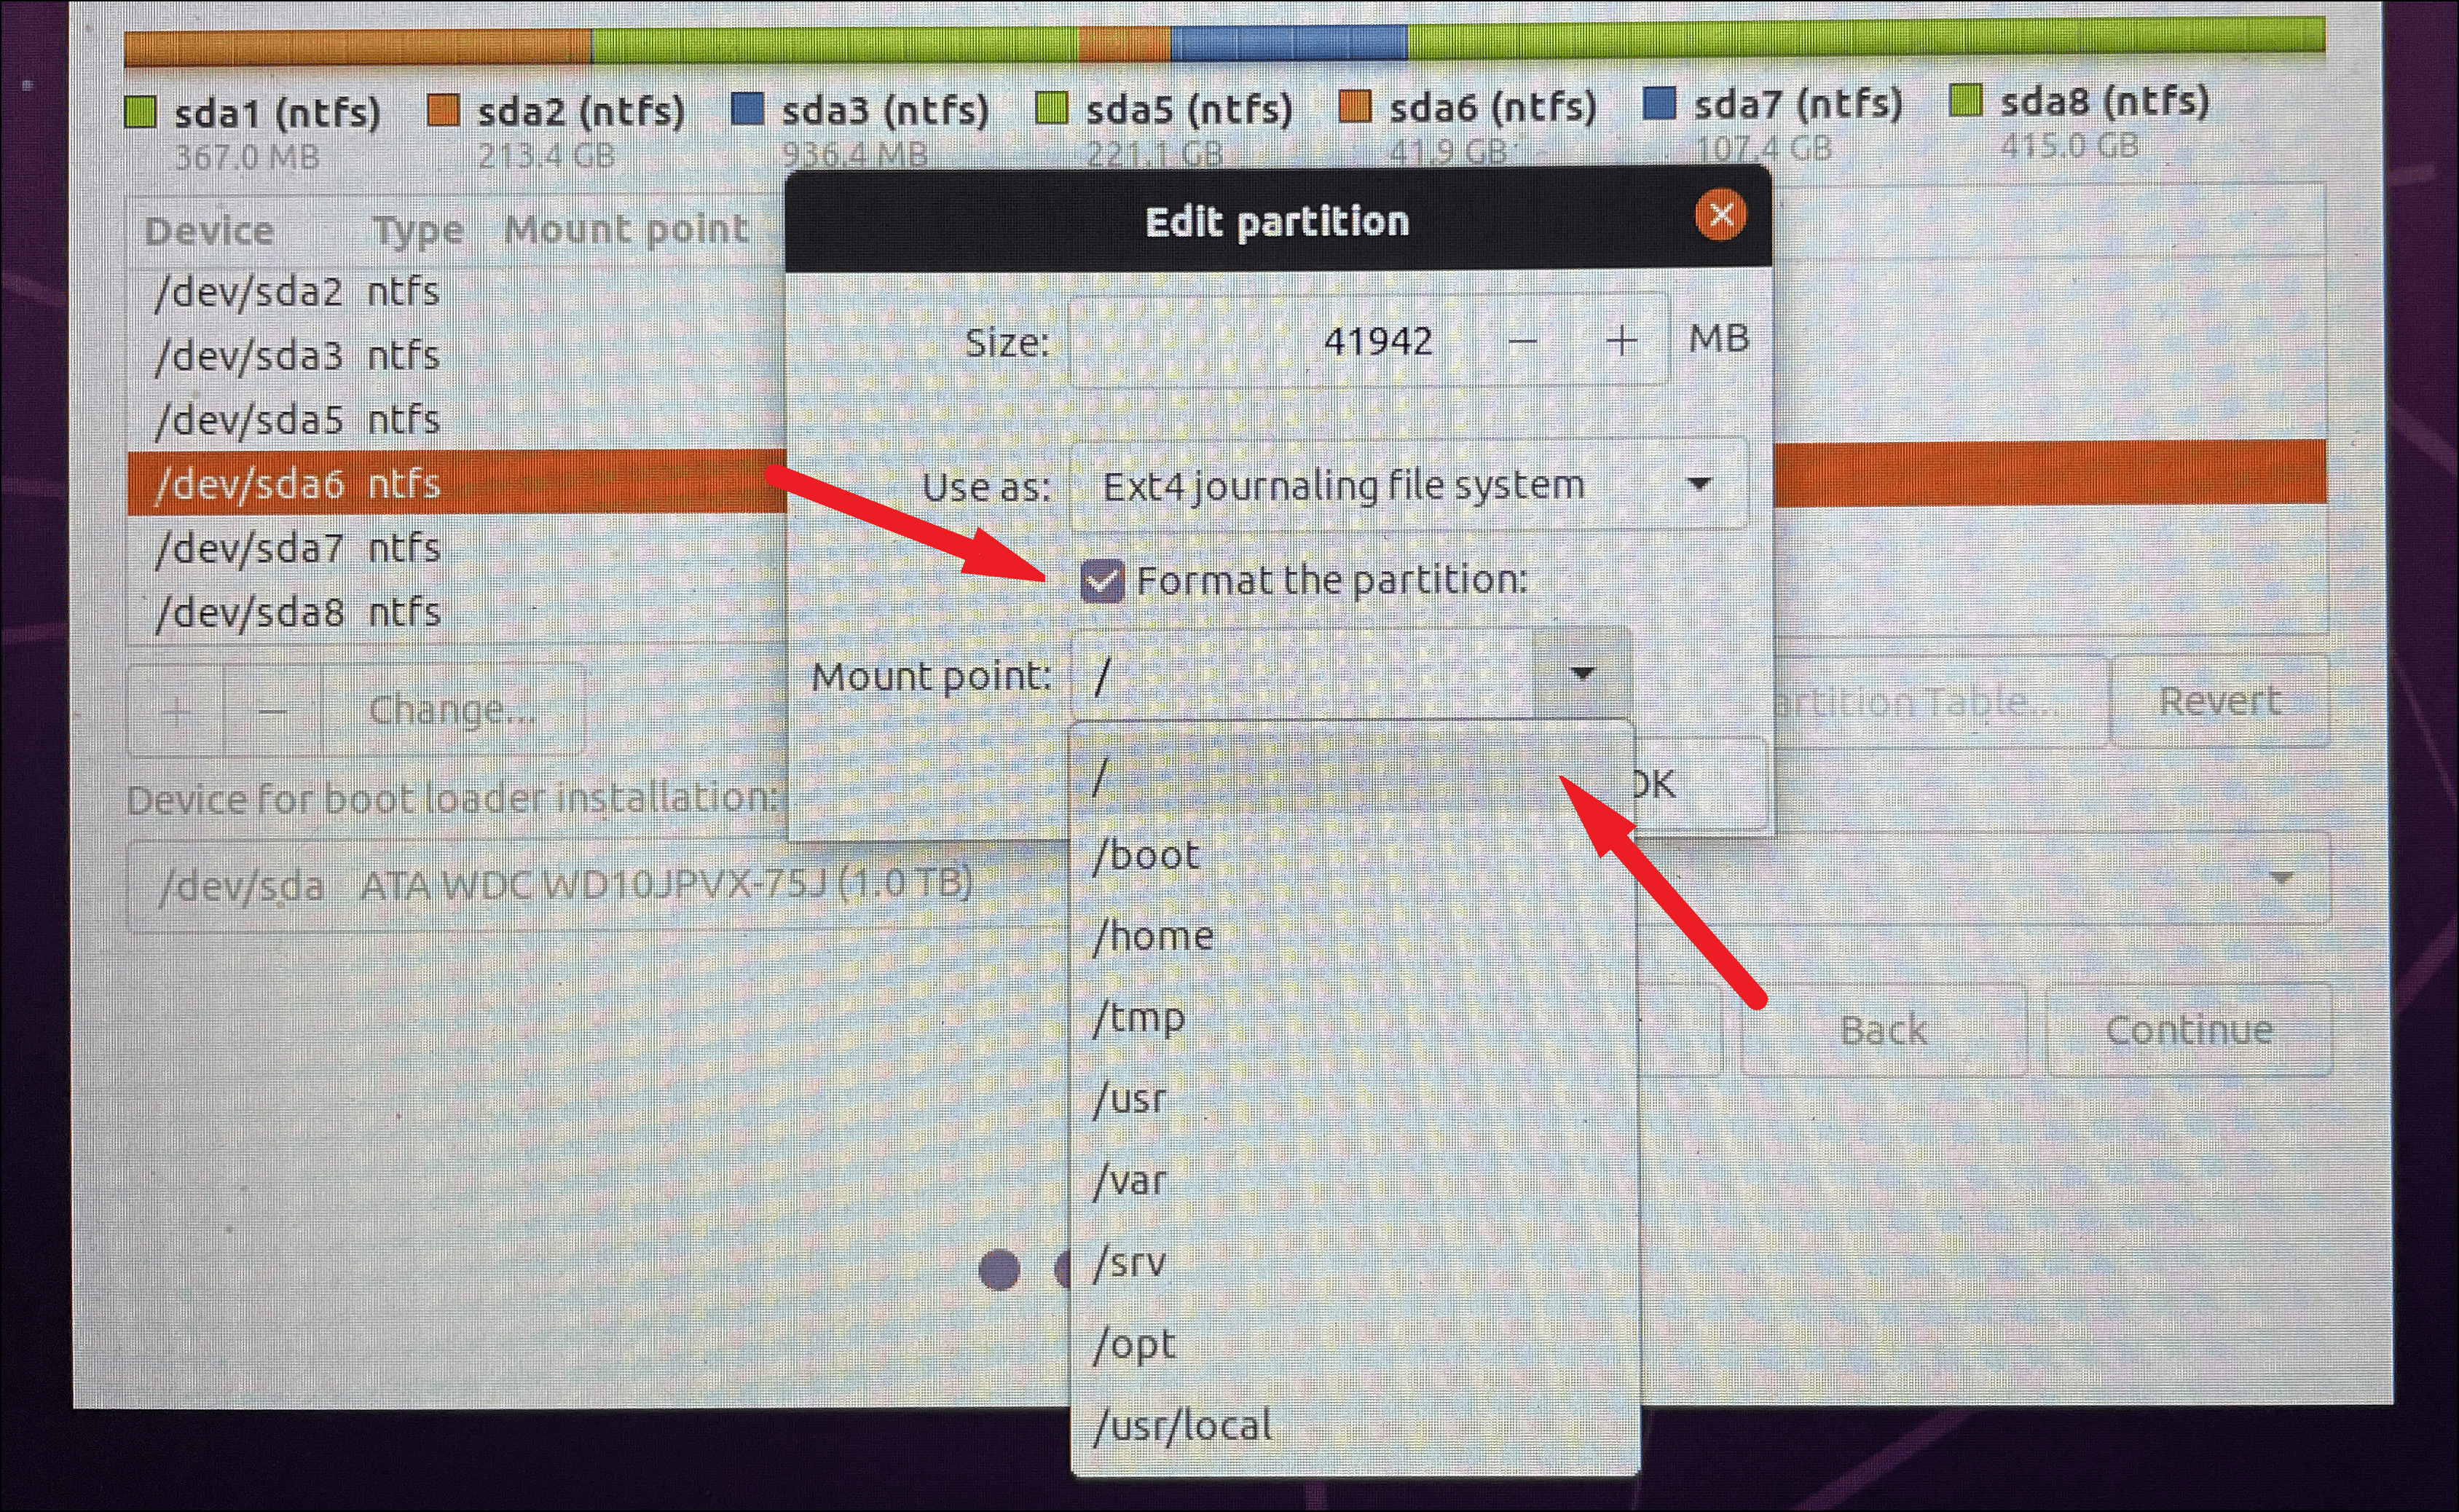
- Set ‘Use as’ to ‘Ext4 journaling file system’.
- Check ‘Format the partition’.
- Set the ‘Mount point’ to ‘/’ and click ‘OK’.
- Click ‘Install Now’ to begin the installation.
- Follow the prompts to set up your user information and preferences.
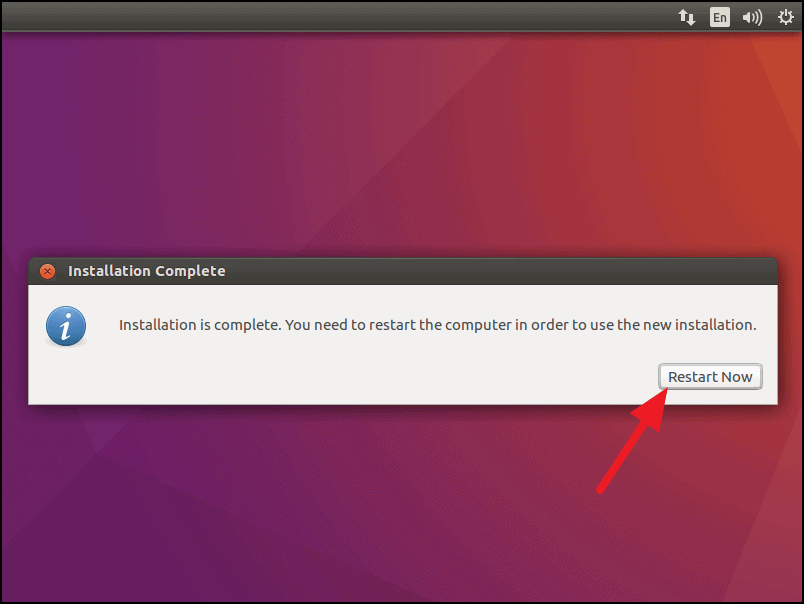
- Once the installation is complete, click ‘Restart Now’ when prompted.
During boot up, select ‘Ubuntu’ to start using your new Ubuntu installation.
By following these steps, you can enjoy both Windows 11 and Ubuntu on the same machine, leveraging the strengths of each operating system.


